


Remodeling Our Outdated Cottage Bathroom
2 Materials
$700
2 Weeks
Medium
Before we decided to purchase our little cottage, we knew that the bathrooms would require a ton of time and effort to restore. Before we knocked down three walls and added two bathrooms upstairs, there were only two bathrooms in the house. There was a half bath right as you walked in from the side porch, as well as a bathroom in the middle of the downstairs hallway that, for all intents and purposes, served as the master bathroom though it was hardly the size of a small walk-in closet. We wanted to open the master up and make it feel more roomy, so we closed in the hallway, tore out the existing fixtures and and made a few more improvements.
First, we closed in the hallway. It is not evident in this photo, but just to the right of where the new bathtub current sits was the former hallway. This hallway connected the master bedroom and the guest bedroom. In our remodel, we decided to get rid of the master bedroom and turn it into our dining room.
We did not need all of that space for the dining area, however, so we were able to take out some of that dimension and give it instead to our master bathroom. In turn, we converted the former guest bedroom into our master bedroom. It is small but sweet and just cozy enough to work for us. We also opened up one side of the new master bedroom to feed directly into the master bath. This way, we can simply step out of our bed and into the bathroom without having to walk down a cold hallway, like we used to do before the remodel.
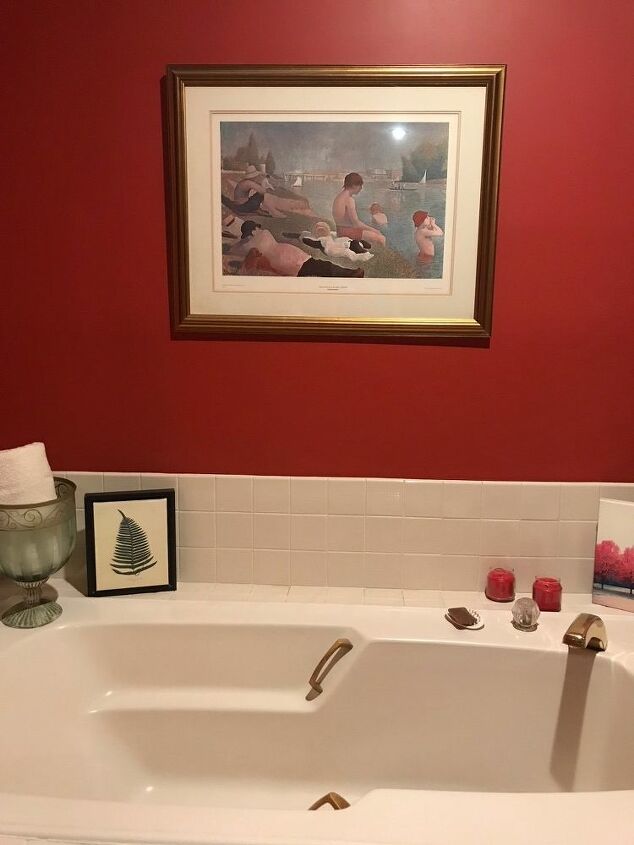
After we made that structural change, we were able to install our soaking garden tub. I knew I wanted an oversized tub like this one because it was similar to one that I grew up with. This is actually called a garden tub, and came complete with those bronze pull bars you see in the image above. The hardware was also bronze. Down the road, my husband and I hope to replace those fixtures with a more modern oil-rubbed bronze set, but for now they are functional and actually add a little bit of glam, so we are sticking with them! While I love the new modern farmhouse theme, I think a few elements of silver or gold can make a room really feel special, and this is no exception.
Above the tub, I hung one of my favorite pieces of artwork. This one is called “Bathing Place” by an artist called Asnières. As the bathroom is indeed our bathing place, we thought it was a perfect fit. Plus, it had the accent colors of red and green that we were going with in this space, so it was just right.
Since we decided to keep the bronze hardware for now, we matted the reproduction print in a light cream mat and had it custom framed in a bronze frame to match it. I am careful to not splash water on this piece, as that could damage the glass on the frame. If it does get wet, we have to quickly wipe it up or it will leave smudges.
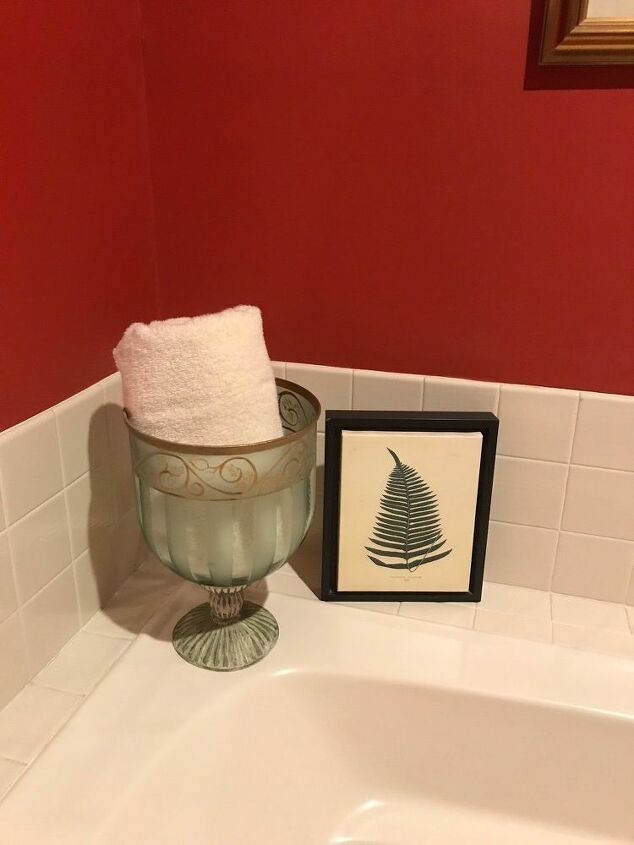
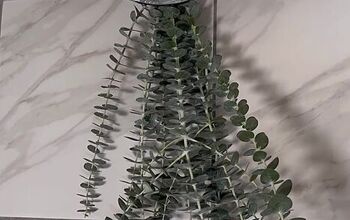
On the left hand side of the bathtub, we placed an oversized, transparent vase. I had picked this piece up years ago at an estate sale and I have never had a plant large enough to fill it. To make it work in this space, I put a fluffy white towel inside the vase.
To make this work in your home, I suggest finding a towel with colors on it that complement the colors on your wall or the accent tones you decide to incorporate. We could have left this vase to sit on its own and it would have been a fine touch to this area of the tub, but we decided to pair it with a decorative picture of a fern plant. This was a simple way to bring the outdoors inside and also allowed us to set dark green as an accent color in this space.
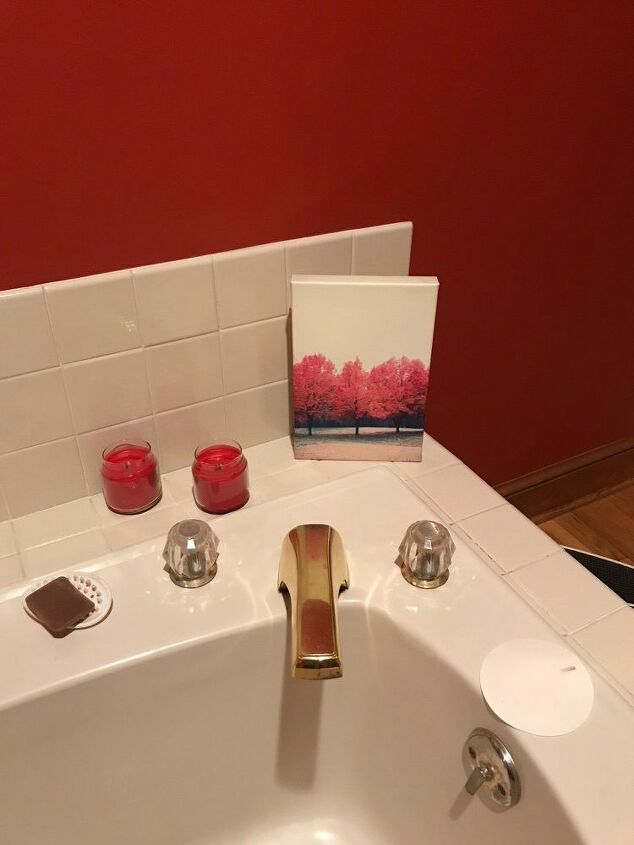
On other side of the bathtub, by the faucet and hot/cold water knobs, we played up the other accent color in the room: red. Our walls are a firey shade of crimson that we found at our local hardware store. Before this, the tiny bathroom had simply been painted a stark white. While I actually adore an all-white interior, I wanted to add dimension and depth to this room so we went dramatic and chose a bold wall color instead.
However, I was careful to keep the rest of the decorations as simple as possible so they would not compete with the color scheme. This image of red trees is actually an enlarged portrait of our backyard Bradford Pear trees! My husband took a picture of them one spring morning and I am so glad he did, as a few weeks later, a great thunderstorm came and split that pretty middle one right in half! Only when we had it developed did we realize how perfectly the shade of red matched our bathroom walls. It was definitely a happy coincidence that turned out just right!
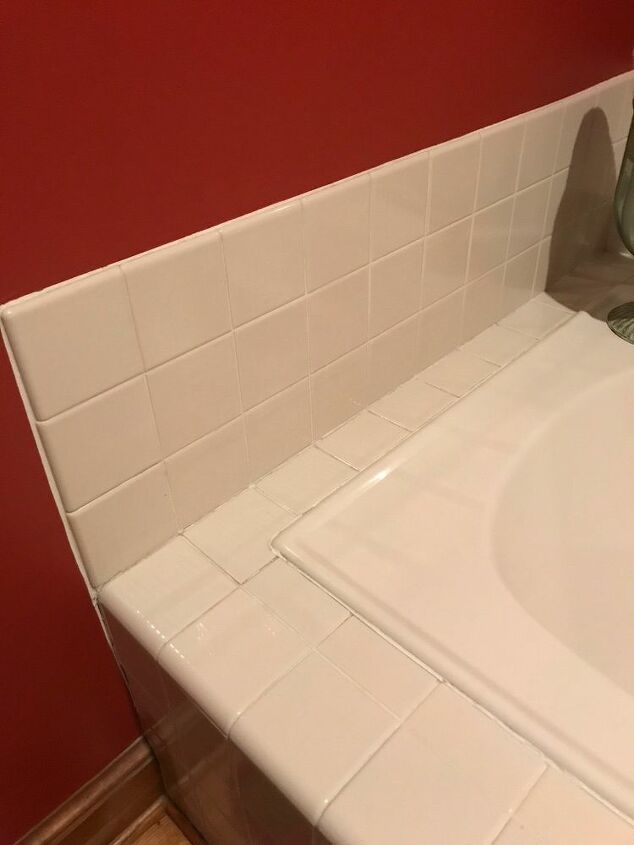
I want to take a second now and talk about the tile around our bathtub. When we first decided to remodel our bathroom and border our bathtub with a tile enclosure, most of our friends and family members, and even our contractor, thought we were a little crazy. After all, tile can be expensive and is notoriously difficult to keep clean.
Why would we want it all the way around our bathtub, which is one of the most heavily used areas in our home? The answer was simple. We loved the way it looked. I had seen the idea in one of my favorite home decorating magazines and had clipped the article out and saved it for years.
In the time since we have had the bathtub installed, we have simply worked diligently to keep it clean. We are careful to spray the tile down once every few days and give the grout a deep clean with a solution of bleach water and dish soap about once a month. So far, we have had zero issues with it and are still happy with our decision. In our former home, our bathtub was enclosed by a beadboard, wooden enclosure that was susceptible to mildew, so we prefer the tile for its ease of maintenance and ability to be wiped down after every use. While we did consider installing a standalone tub in this master bath, I love that the space around the tub allows us to decorate and add a few simple special touches.
From this picture, you can also see that we opted to install hardwood floors in our new master bath. Here are a few reasons behind our decision. First, we have carpet in our master bedroom and, as the master bath is an ensuite design that flows directly from that room, we wanted some type of flooring that would offer contrast and still stand out and be highly functional.
We also wanted a flooring that would be easy to clean but would mask any dust or debris until we could get to it. We have two small children and keeping any surface of our home pristine is pretty difficult. Wood grain, with all of its intricacies, is great at making a room look neat and uniform while also hiding the fact that it’s been a few days since we’ve swept up! While we opted to go with a simple neutral tile in the other bathrooms upstairs, we wanted this bathroom to feel special, warm and inviting, so hardwoods were a natural choice. Of course, this means we need to keep the main areas covered in rugs, as hardwoods are more easily water damaged than other types of bathroom flooring.
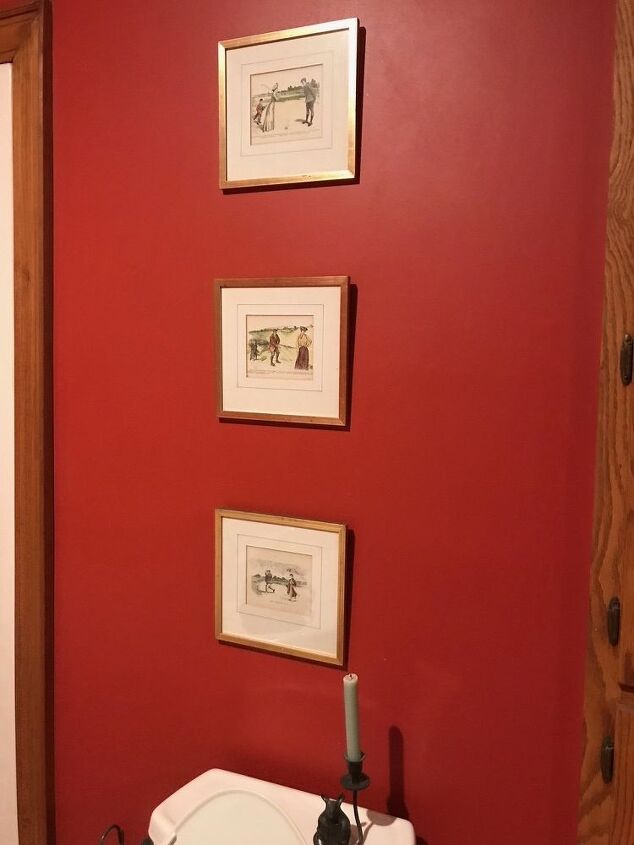
Another one of my favorite areas in the master bathroom is the collection of smaller-scale golf paintings that we have hanging above the toilet. I do know that the paintings are hanging just a little off-center above the tub, but that was actually intentional.
The thin, light green candle stick on the top of the toilet is placed there to take up the right-hand space and give balance to the design. These are antique prints that my uncle found in an art book from the early 1900s. They were simply pages in the book that he took out, matted and had framed in a similar gold color scheme to match our faucets.
This is a simple and cost-effective way to get great art in your home. Thrift stores, antique sales and estate sales often have used, older model textbooks or picture books for pennies. Pick one up, flip through it and know that if you see a few pieces you like, you could have an entire gallery wall for less than the price you would pay for a newly framed piece at the hobby store!

Want more details about this and other DIY projects? Check out my blog post!


Frequently asked questions
Have a question about this project?