


DIY Nightstands on a Budget
12 Materials
$50
3 Hours
Medium
I recently made over my youngest son's bedroom. I wanted to stick with the modern vintage vibe that I was going for in his room, but didn’t want to spend a fortune on vintage nightstands. So I started thinking about how I could DIY nightstands that would fit the look of his room. And this is what I came up with…
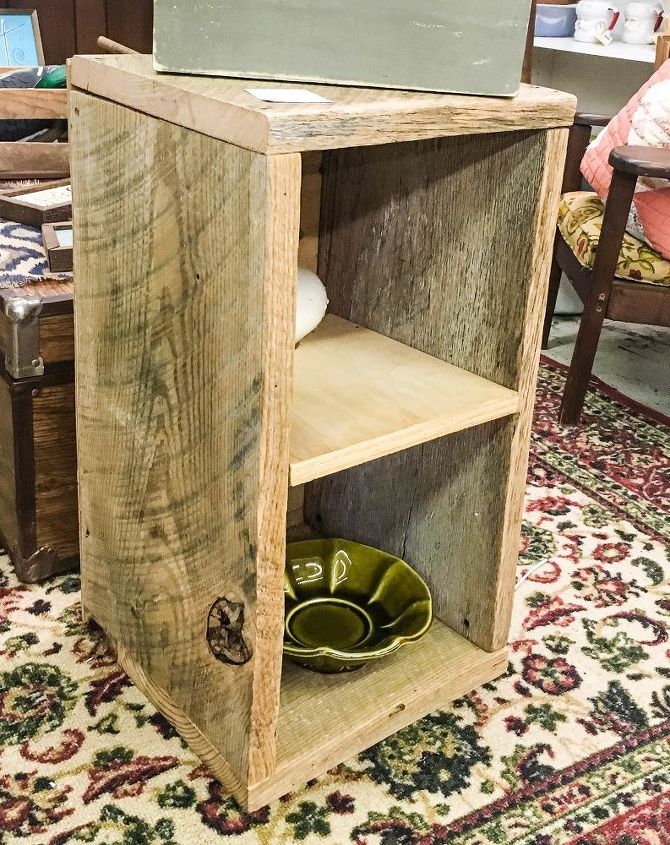
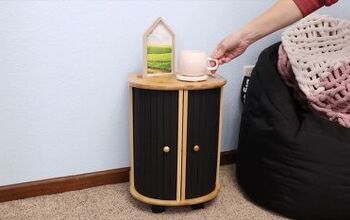
I didn’t want to use new wood on this project because I wanted the wood to have some character. You can’t necessarily go to the local hardware and get old wood, so I headed to a local antique shop to see what I could find. I found this little shelf unit for a steal of $18 and knew the size of the wood on each side would be perfect for my project. And I’d even have some left over pieces for another project. Score!
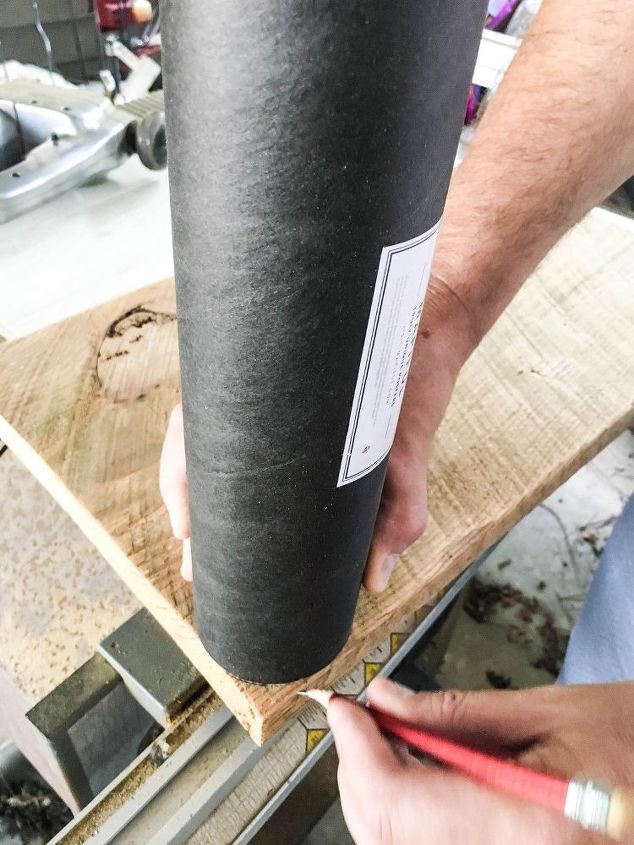
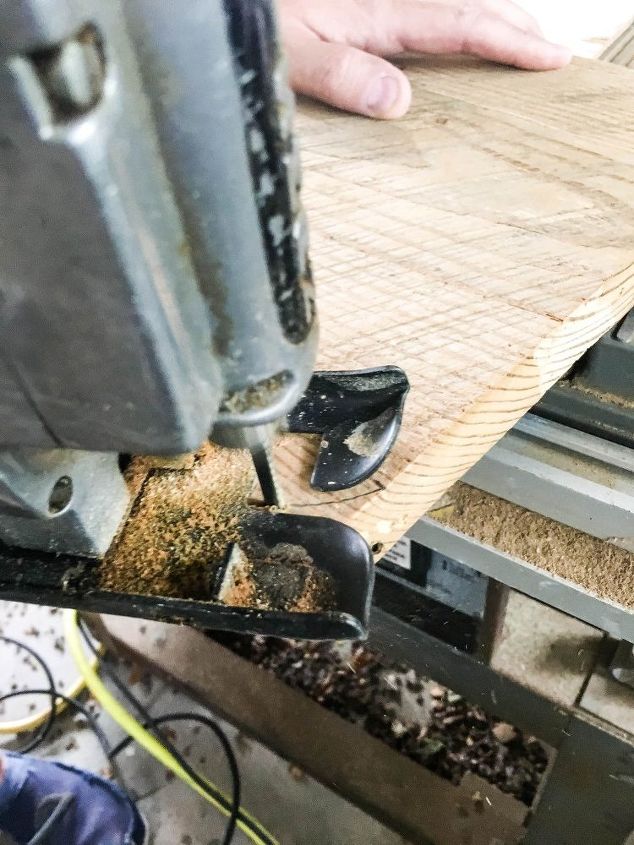
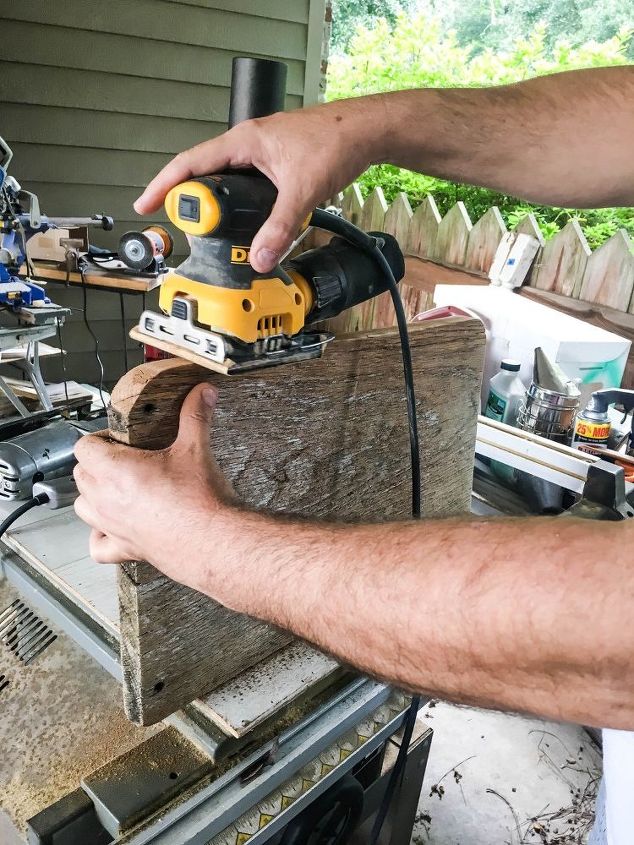
The first thing we did was disassemble the shelf unit. It was screwed together so it was very easy to take apart. I wanted rounded edges as a safety factor since it was going on the side of my son’s bed. We measured an inch on each front corner and then used a round object to draw a rounded edge. Then we used a jigsaw to cut the rounded edges and sanded the edges to give them a smooth finish.
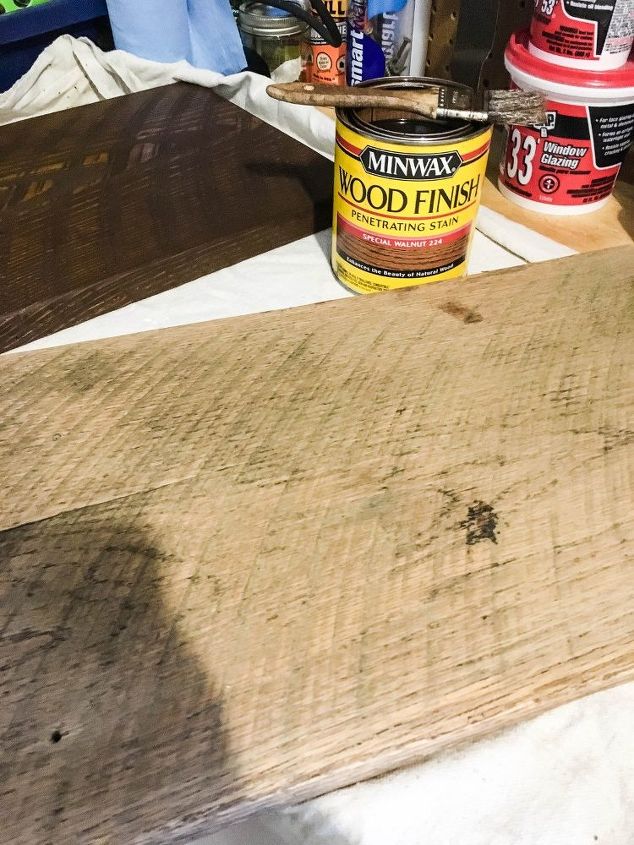
After the boards were sanded, I stained them with Minwax in Special Walnut.
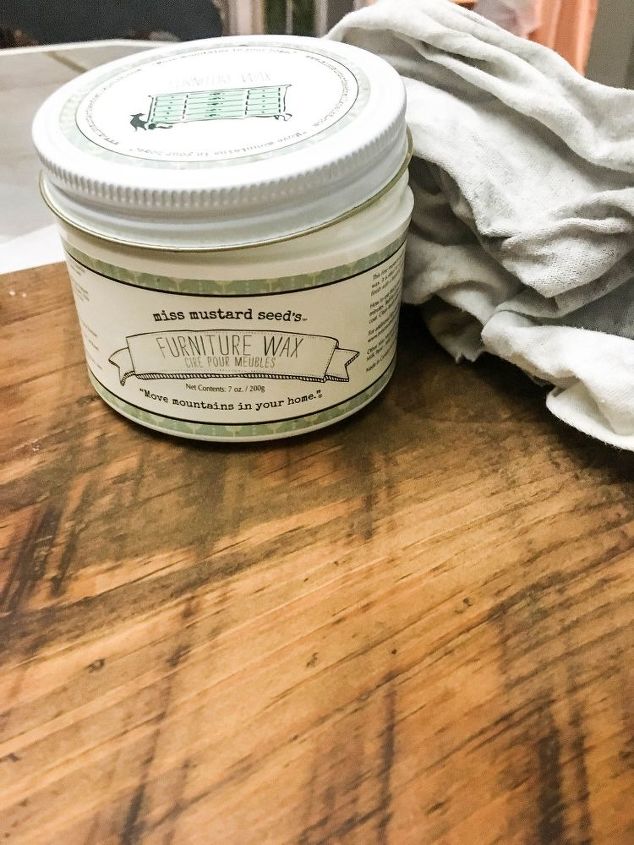
Once the stain was dry, I applied Miss Mustard Seed’s Furniture Wax to give the wood a protective coat.
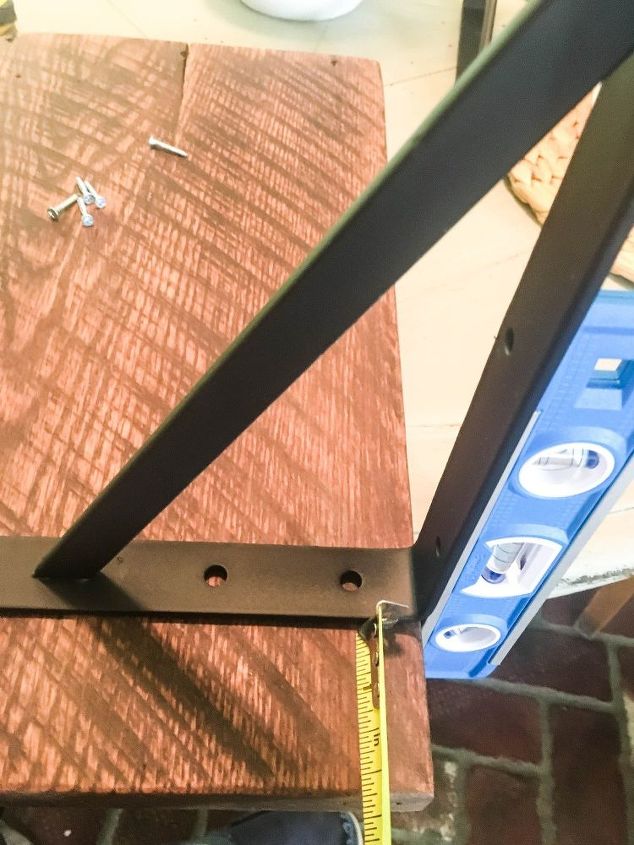
Next, I attached the shorter end of the brackets to my boards, about two inches in from the edge on each side. Make sure the back of the bracket butts up to the back of your board. You can use a level to make sure it’s straight so that when you place it against the wall, it will all be flush.
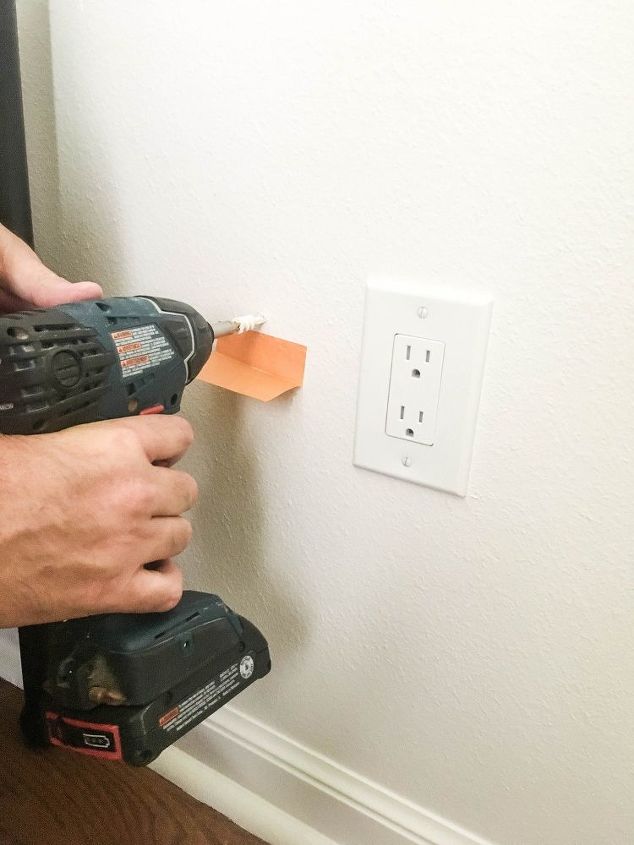
After the brackets were attached to the board, it was time to attach the DIY nightstands to the wall. You will need to measure out where you want to place the DIY nightstands and use a level on top to make sure they are straight. We predrilled sheetrock anchors to make the shelf more secure. Tip: if you place a folded post-it note underneath, it will catch the sheetrock dust so it doesn’t get all over the floor.
Once you have your sheetrock anchors in place, it’s time to attach your DIY nightstands to your wall!

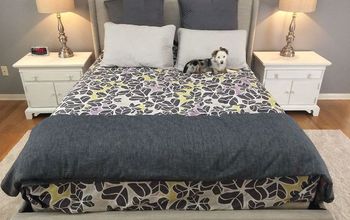
We placed the nightstands on each side of his bed and placed a gooseneck light above each. I couldn’t be more thrilled with the way they turned out!
If you missed the full room reveal, you can check it out HERE. And I’ll be back soon to share those DIY crates below the DIY nightstands.
Resources for this project:
See all materials


Any price and availability information displayed on [relevant Amazon Site(s), as applicable] at the time of purchase will apply to the purchase of this product.
Hometalk may collect a small share of sales from the links on this page.More info

Want more details about this and other DIY projects? Check out my blog post!
Comments
Join the conversation
2 of 68 comments
-
Love this, thank you for sharing.
-
Love, love,love this idea 😻😻😻


Frequently asked questions
Have a question about this project?
Are the sconces (which are awesome!) hardwired, or can I just not see their cords?
My bed unfortunately is up against the wall. I do have about 3 to 5 inches to work with.. Any ideas?