


DIY Custom Wine Bar Serving Tray Using Reclaimed Wood & IKEA Bed Slats

by
N'Ckyola
13 Materials
$15
3 Hours
Easy
I have a lot of serving trays already but each of them serves a specific purpose. Which brings me to why I wanted this one in particular. Wine, specifically wine storage & serving.
In our current home we have a little niche that we keep our wine & wine gear in. Here's what it looked like when we bought the house. Pretty plain.
Truth is, I have a love hate relationship with niches. They're okay if they have a purpose, but whatever you do with it has to look like it "belongs".
When we first moved in, I wasn't sure how we'd use that little space. But after living with it a while it made perfect sense - a wine bar!!!
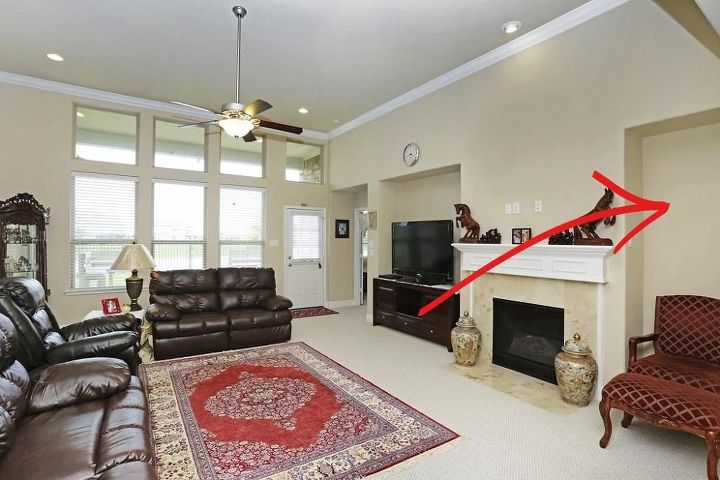
Only problem is the niche is an odd size. No wine fridge would fit perfectly in that space & any wine rack(s) would have to be either customized or very strategically placed to look like it belongs there.
So... customization it is!!
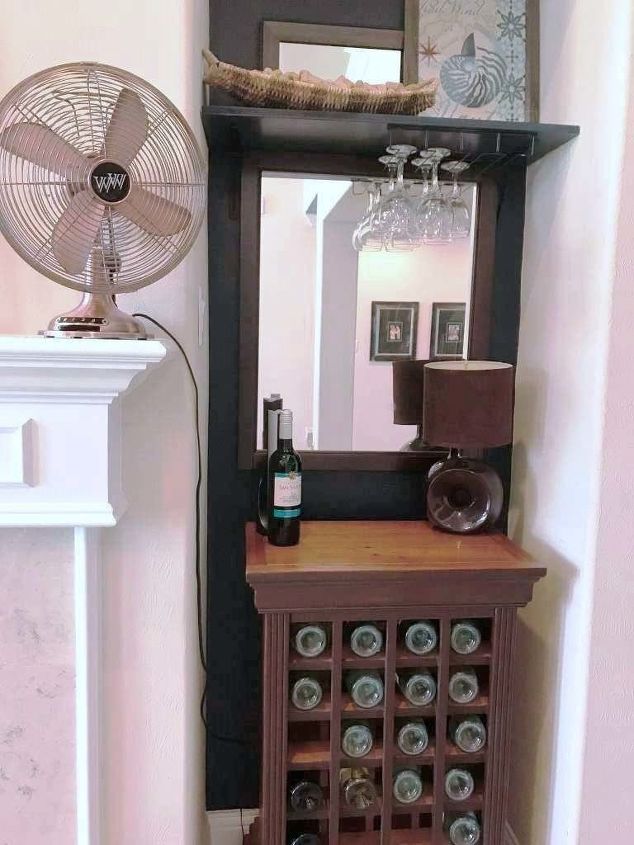
I already had this cabinet from the move so I put it there while I decided how to treat the space. I added a shelf above with a wine glass holder underneath & a basket to catch corks.
It's convenient. But it doesn't quite fit & drove me a little crazy, especially when I dropped something (like a tossed cork that didn't quite make it into the basket) fell down the side or back.
Finally I decided that while I think through the design of the wine wall we ultimately want, I really should do something to make this space more "us" & a little more functional.
So I decided to make a custom fit serving tray. I completed this project for free because I used reclaimed wood for the top/base, old bed slats for the sides, & leftover hardware. I think you could do this pretty much with any scrap wood you have on hand.
In the end, even with buying wood & inexpensive hardware you might spend $10-15 depending on your choices.
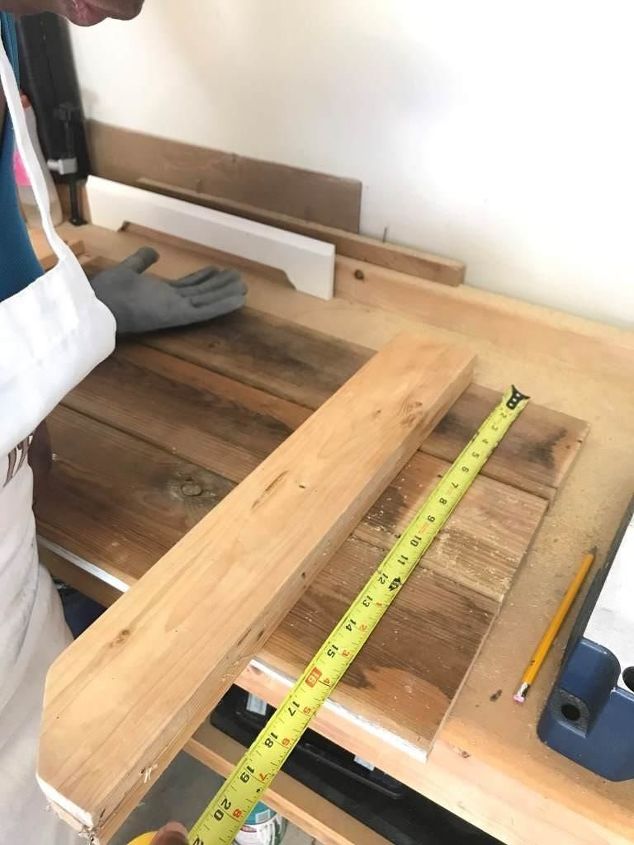
To start... Measure the space. Mine is exactly 32” wide x 18” deep. So I need 3 1x6’s side by side.

Measure the 1x6 to be slightly shorter than the exact length – in my case it’s 31 ¾”.
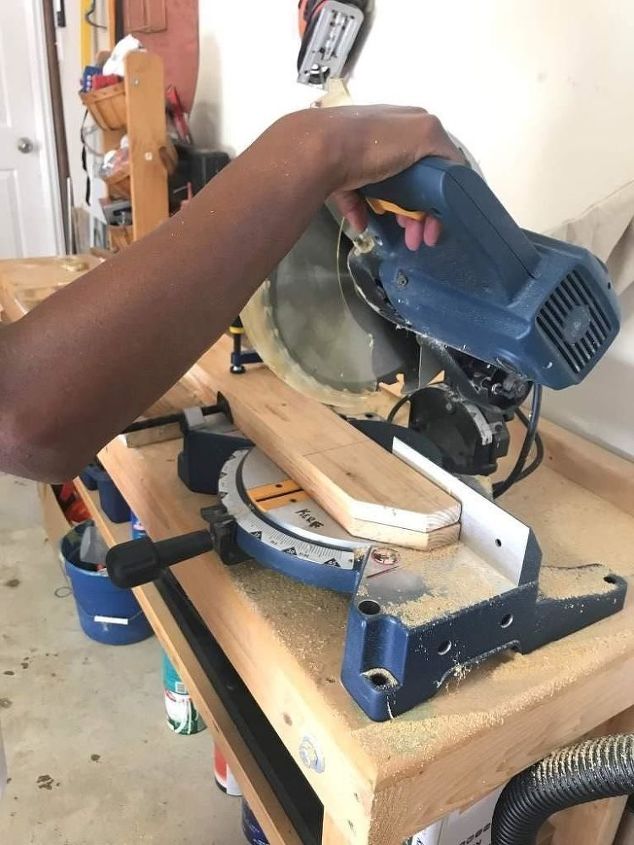
Cut the first board and do a dry fit. Make sure it fits exactly as you want it because this will be the template for the rest of the cuts.
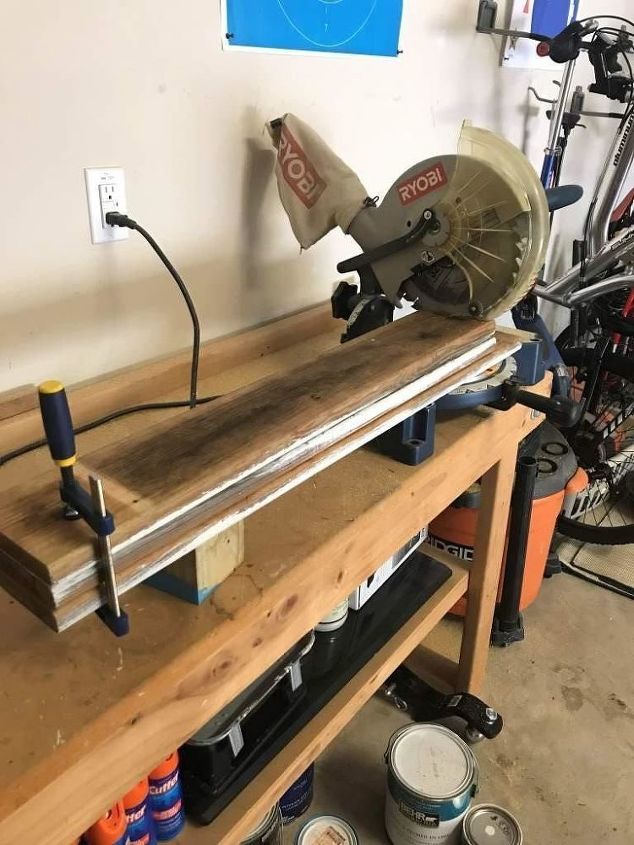
Now I can use this 1 board to cut the other 2. Stack & clamp the 3-1×6 boards making sure to line 1 end up perfectly. Then saw through the 2 remaining boards using the top (cut) board as a template & making sure that the saw blade is snug against that top board.
The top pieces are done. Now we'll follow the same basic steps for the "sides".
Measure the 1x4 to the overall width of the tray. In my case it will be 17". My 1x4's were remnants from a previous project done with IKEA Sultan bed slats so they were easier to work with than 1 long 1x4.
If you buy 1x4s, you can have the hardware store cut them down or do it yourself when you get the lumber home. They'll be more manageable that way.
Clamp the 1x4s together & cut them 1x4s just outside the mark you measured out. For more details about why I cut outside my measured marks, read more about the kerf in the full post.
Now all your cuts are done & the tray can be assembled.
Lay the 1x4's on your work surface approximately the length of your 1x6 boards.
Place the 1x6's side by side lengthwise on top of the 1x4's.
Align the length of each 1x4 perfectly with the edges of the 1-6's on each end. Clamp to hold in place. If you choose to use wood glue, this is where you would use it - in between each 1x6 & between each 1x4 and the 1x6 "top".
- 1 clamp across the 1x6's - it should be parallel with the 1x4's on the ends
- 1 clamp on each end to hold each 1x4 in contact with the 1x6's
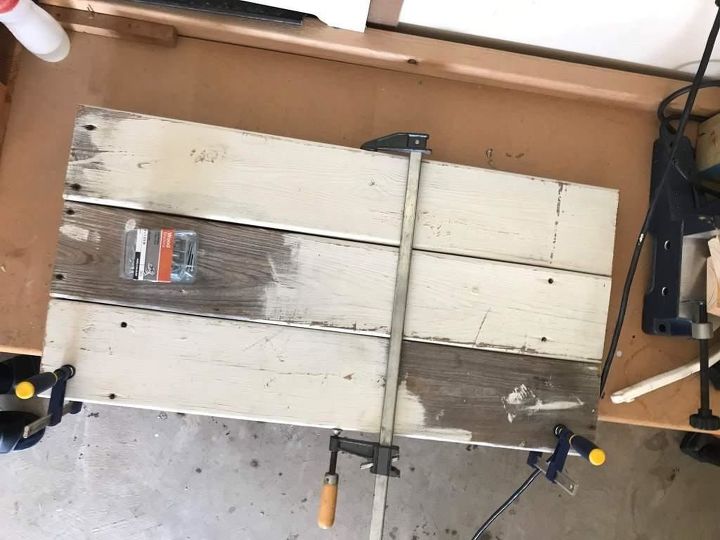
This is what your setup should like. Clamps are your best friend!
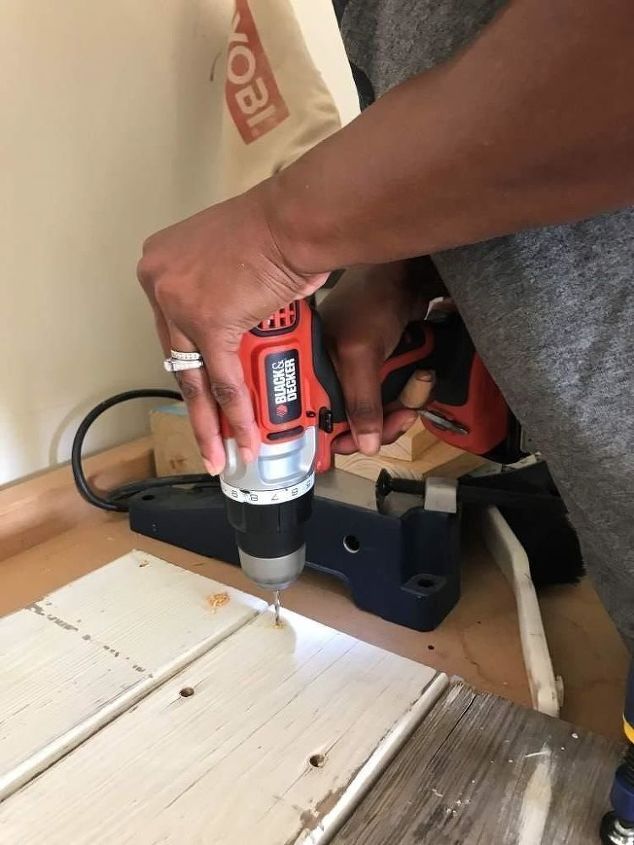
Now using a 1/8" bit, pre-drill holes about ½" from the ends & sides of the 1x6's.
Screw wood screws into the pre-drilled holes.
The wood screws should sit flush with the surface. If you don't want the nails visible at all, you can fill the holes with wood filler.
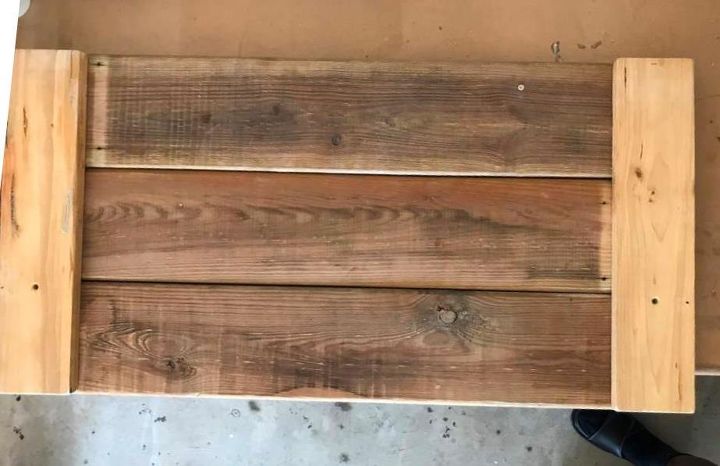
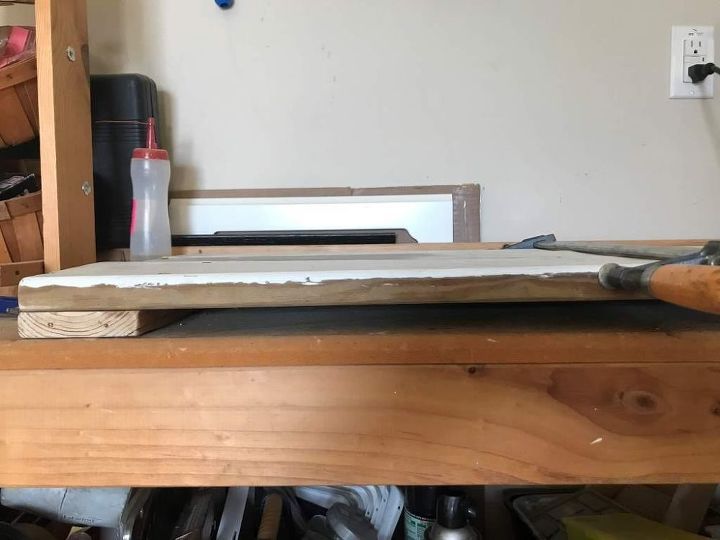
Flip it over. The tray is almost done at this point. All it's missing is the finish (i.e. paint, stain, poly) & the hardware.
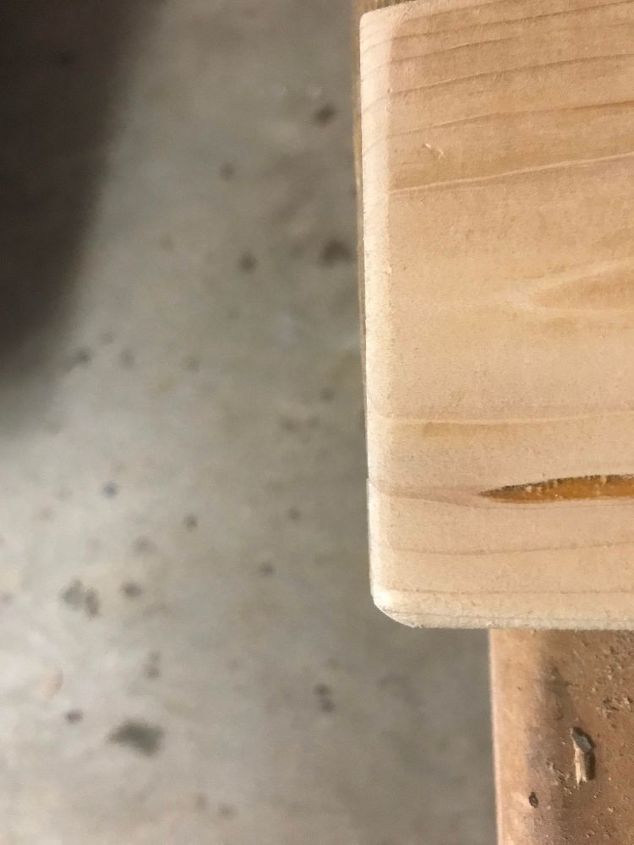
Sand all the surfaces smooth - start with 80 grit sandpaper if your wood is really rough or has a finish on it. Work your way up to 220 grit sandpaper for a super smooth finish.
I also like to sand down all corners and sides so that they are rounded a little. I use 120 grit sandpaper for this step. It's one of those small things that make a big difference in how the piece feels. No rough or sharp edges, just really smooth & natural.
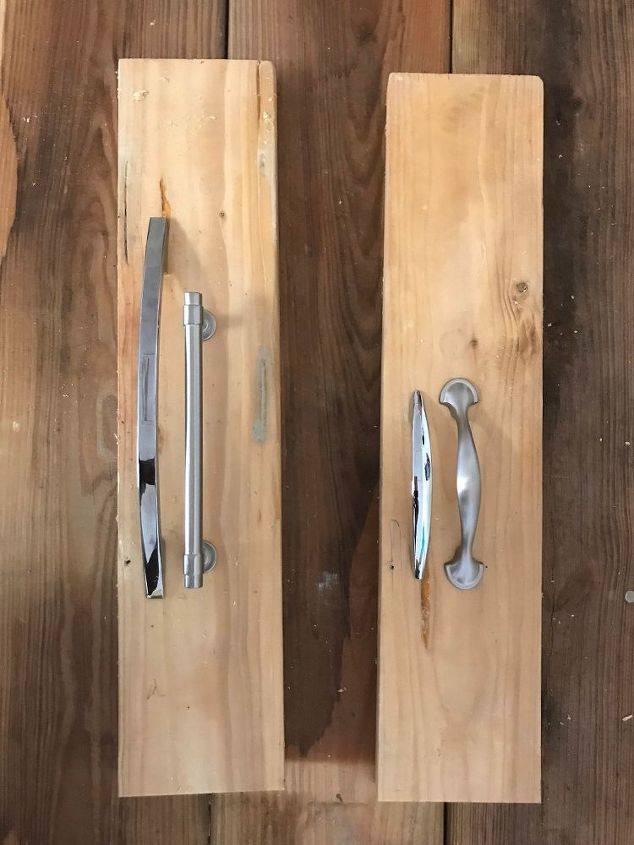
Choose your hardware wisely, based on the size of your tray. It was a hard deciding which hardware to go with but I knew it had to be large scale to hold up to this tray.
Measure and mark the holes for the hardware & using a 3/16" drill bit. Make sure you drill all the way through the wood.
If you like the rustic or farmhouse look, you could apply your stain of choice (optional) + polyurethane at this point.
DH & I are not so into that look, even though it was kinda hard to paint over that gorgeous wood grain. I had all these fancy (& not so fancy) ideas, things like a gilded (silver or gold leaf) top, marble top, marble top with gilded sides, contact paper... the options are endless.
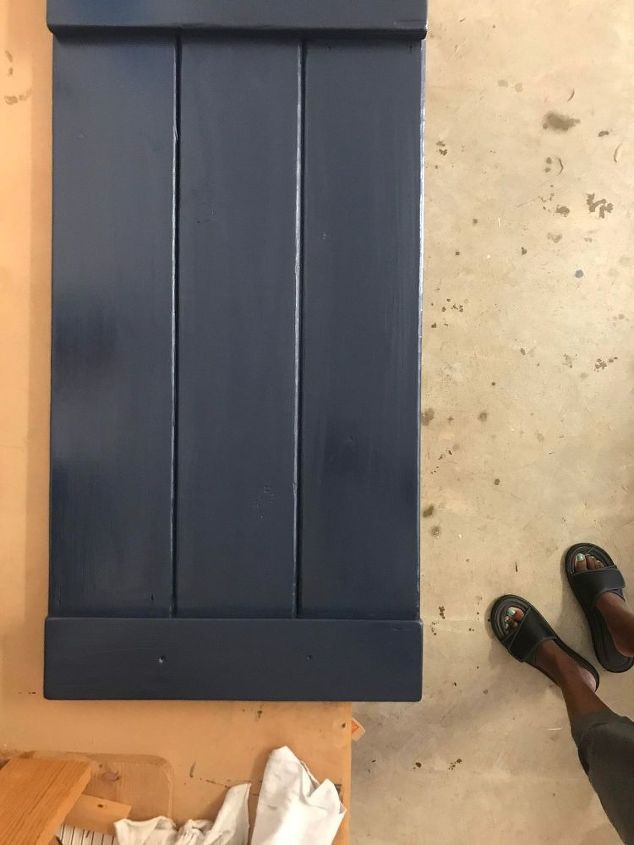
But... we already knew what we were going for - an almost lacquered look the same color as the niche, SW Naval.
I applied 1 coat of paint & 2 coats of semi-gloss poly, with a light (220 grit) sanding between the coats of poly .
After it's completely dry, screw the hardware up from the bottom through the top & into the pulls.
After it's completely dry, screw the hardware up from the bottom through the top & into the pulls.
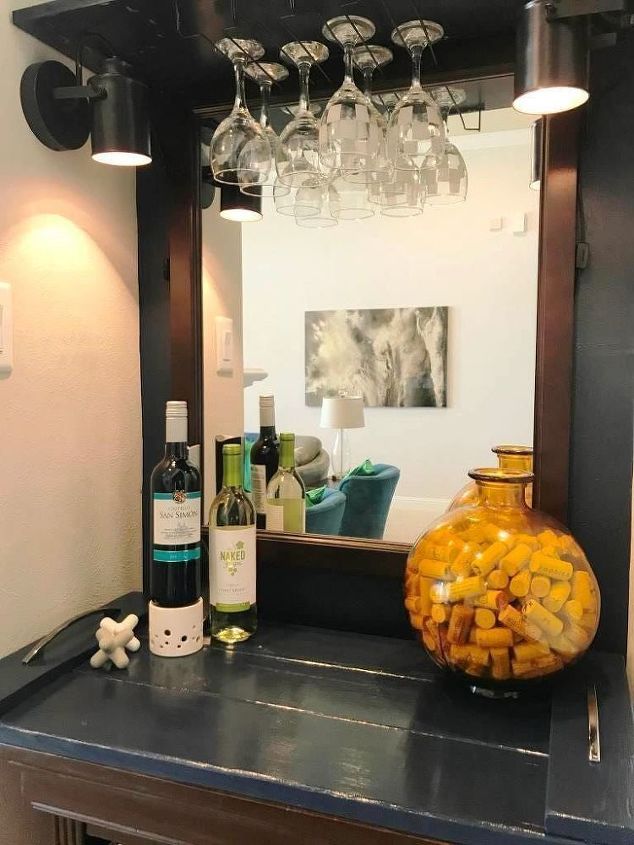
What we ended up with is a custom fitted tray that makes our war bar look built in.
The best thing is that the tray can be moved and is large enough to use on a large coffee table (book club anyone?) or even a large dining table.
In fact it's so big, sturdy, & heavy that we've already decided it will become a tabletop when we install the wine wall - whenever we get around to that. 
Check the original blog post for more details on this project & a few tips I picked up from the woodworking forums.
Want more details about this and other DIY projects? Check out my blog post!


Frequently asked questions
Have a question about this project?