


DIY Rustic Light-Up Christmas Sign

by
Mauri
11 Materials
$15
1 Hour
Easy
Hi friends! My name is Mauri and I blog at TheAmericanPatriette.com where I share ideas for all things home to help women bring beauty into their homes and ultimately make them places to gather. This particular project has been the most popular tutorial on my blog to date.
I hope you love making it to bring some warmth, beauty, and a reminder of Truth into your home during the Christmas season! Here are the basic steps, but you can find the full details, including the specific materials I recommend, on my blog.
Here's the finished pro
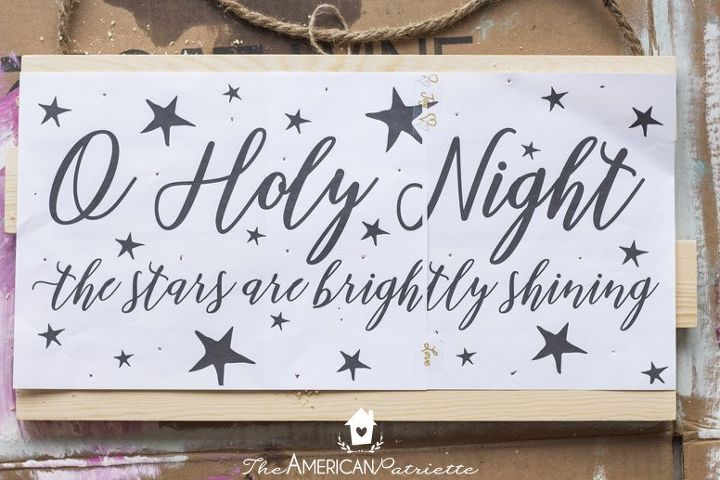
You'll get started with a pallet wood sign (I bought mine at Hobby Lobby), as well as the printable I created specifically for you to recreate this on your own. You can snag the free printable using a link on the tutorial post.
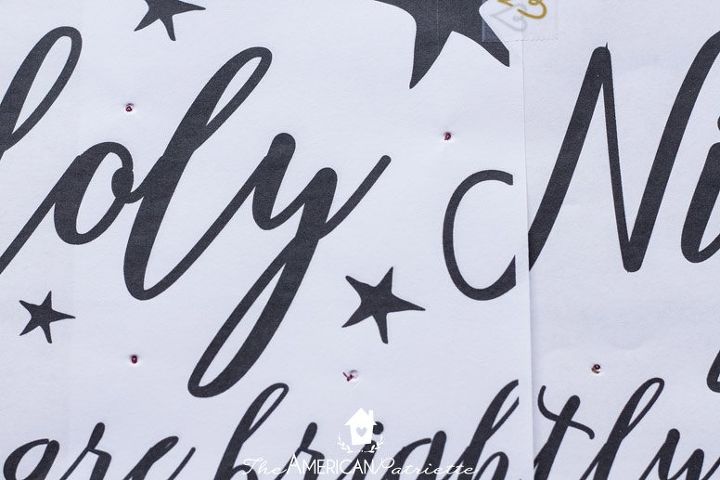
You'll first mark on the sign and make impressions onto the wood for where you'll drill holes to insert Christmas lights.
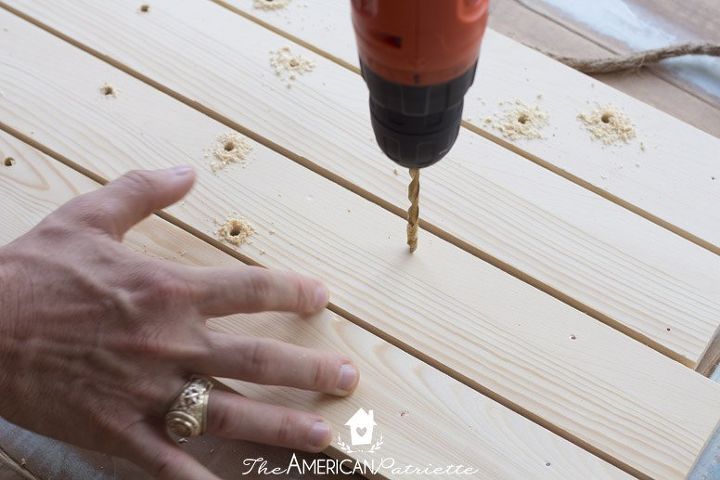
After you indicate where you want your lights in relation to the placement of text/stars on the sign, you'll drill the holes large enough for the lights to poke through from the back.
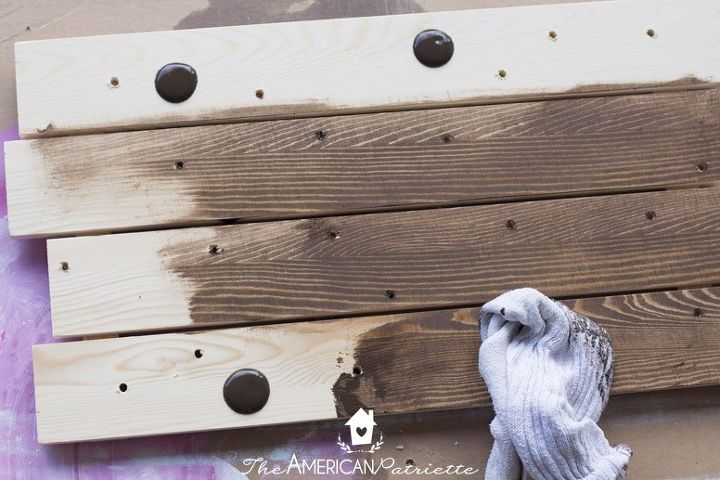
Next, you'll stain the wood. I talk about why I would recommend this particular stain in my blog post - it's my favorite stain to use for craft projects because it's water-based. It dries very quickly and cleans really easily.
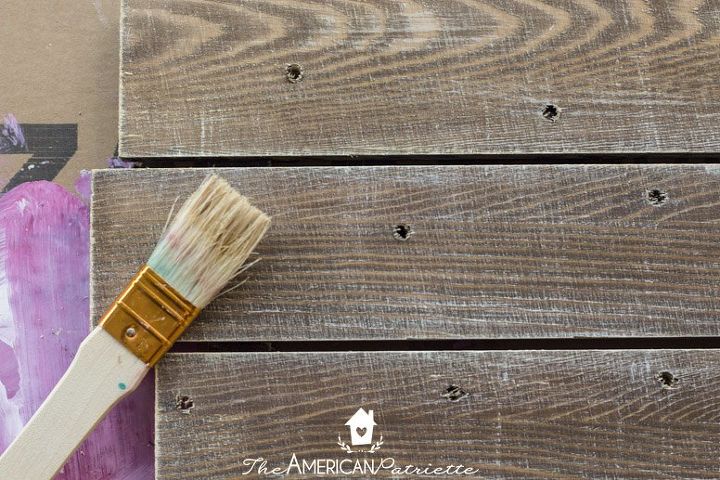
After the stain dries, you'll use an old paintbrush to give the sign an antiqued look by doing a dry brush effect.
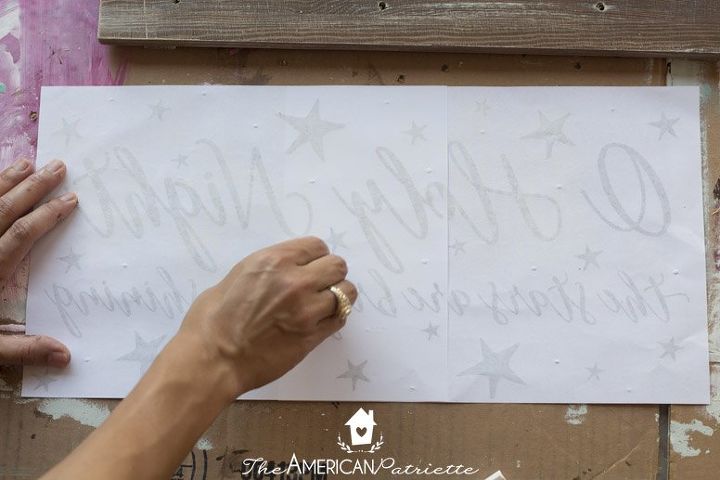
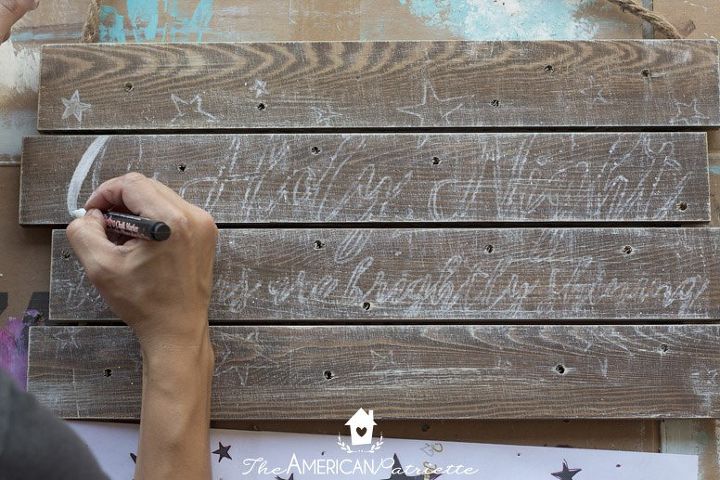
Next, you'll chalk the back of the sign with regular blackboard chalk. You're chalking the back so you can transfer the lettering into the wood via tracing.
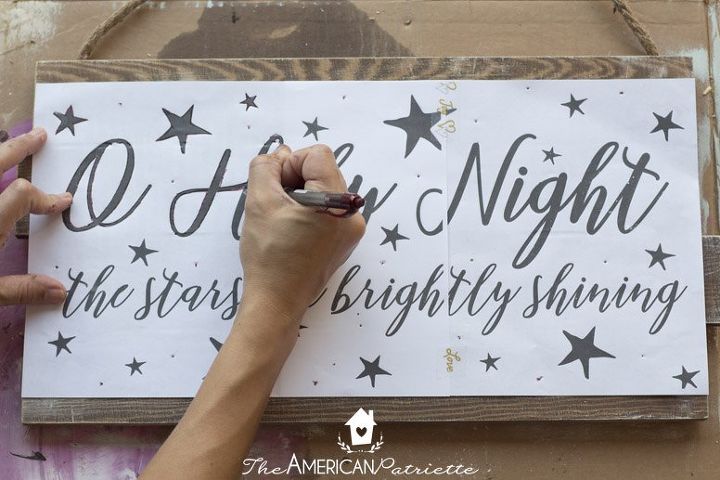
Press hard with a pen and trace the letters and stars onto the wood. They'll leave the chalk impression behind that you can then come in and fill in with a white paint marker.
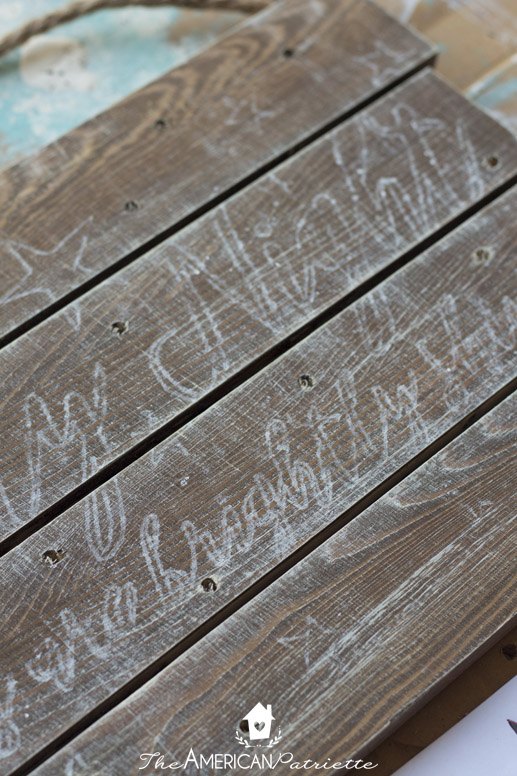
See how it traced so well onto the sign? Now you just have to fill in the letters and stars with the paint pen.
Color in all of the letters and stars using a chalk paint marker - I share the exact one I'd recommend and why in the blog post. I've tried a lot of white paint pens, and this particular brand has been the best!
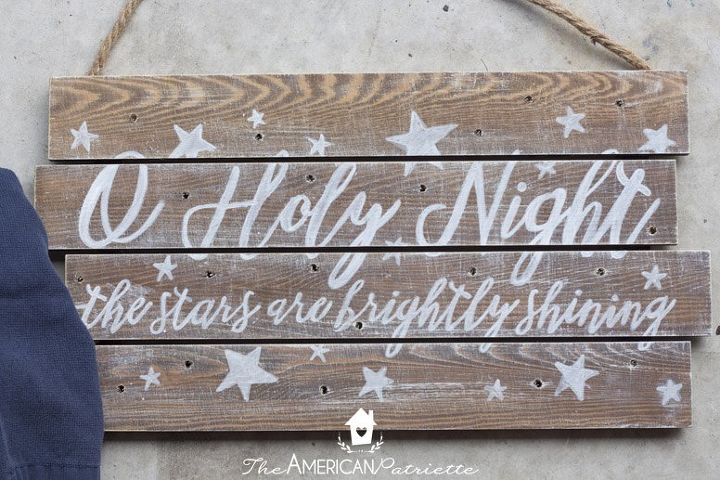
After you paint the letters and stars on, you'll wipe off the excess chalk dust.
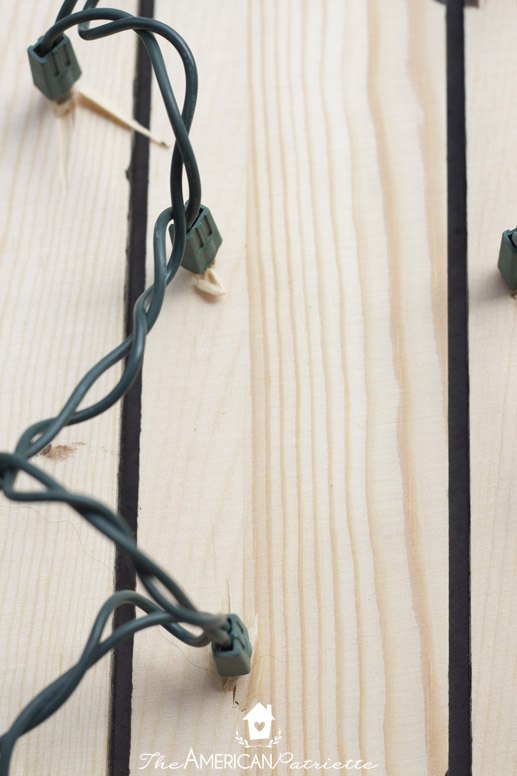
Next, you'll insert the lights from the back of the sign and fill in all of the holes.
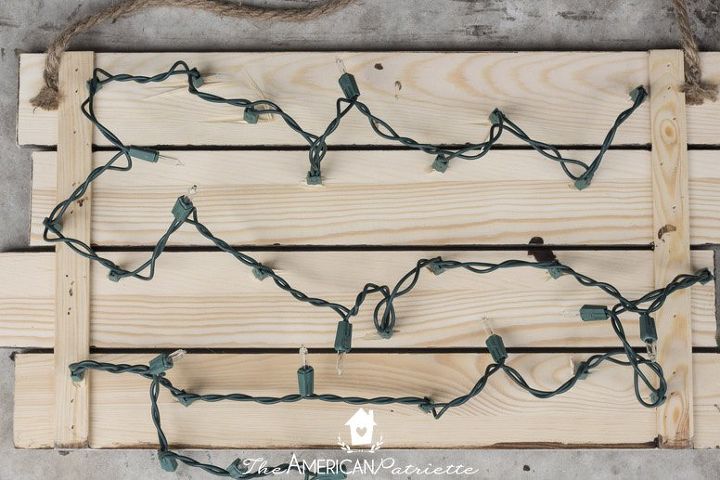
Once you've inserted all of the lights, you're ready to turn it around and turn it on!
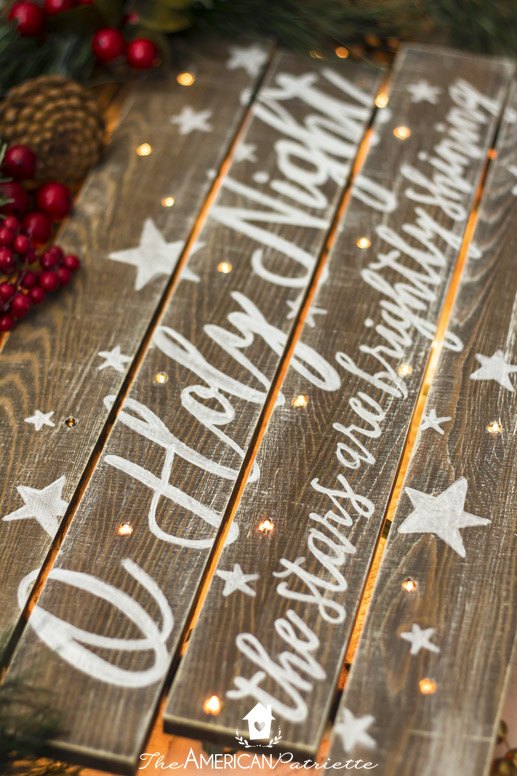
Has such a lovely glow! You can learn a lot more about the specific steps, including dry times and material recommendations, on my blog!
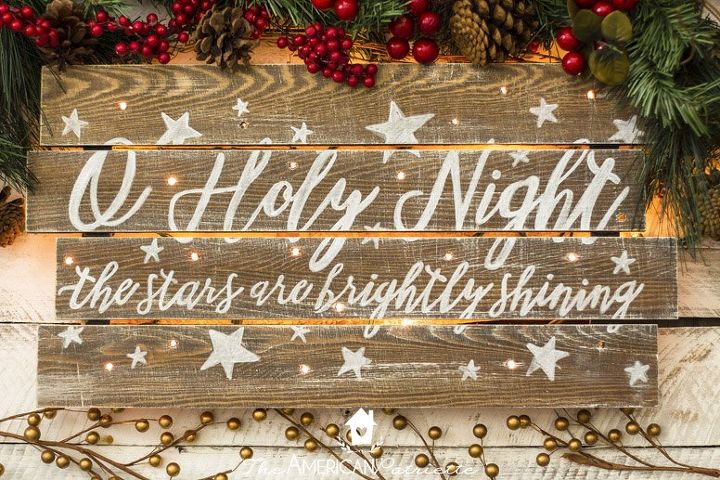
I hope you love making this project! Makes for a gorgeous piece of Christmas decor and a great homemade Christmas gift!
Resources for this project:
See all materials


Any price and availability information displayed on [relevant Amazon Site(s), as applicable] at the time of purchase will apply to the purchase of this product.
Hometalk may collect a small share of sales from the links on this page.More info
Want more details about this and other DIY projects? Check out my blog post!
Comments
Join the conversation
2 of 30 comments
-
Hi
i didn’t receive an email for the printable sign
maybe I’m being inpatient
thank you in advance
Cheryl
-
Wow that looks really nice. You do fantastic work. I really want to try this.


Frequently asked questions
Have a question about this project?
What did you use to fill in the holes around the lights?
What size strand of lights do I need?
Hi Mauri, I am trying to jump onto your blog but it won’t let me in? Have you another link I can use to get the printable? I really want to try this. Thank you