


Trimming Shrubbery Up and Away From Our Home’s Exterior
2 Materials
$150
5 Hours
Medium
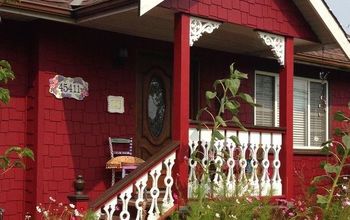
When we first bought this little brick cottage back in 2013, we did so for a slew of reasons. It had been our first starter home and we made so many happy newlywed memories there. It is two miles from my parents and the homes of both of my siblings. It is a brick structure with incredible bones and a great foundation. However, one of the main reasons why we decided to come back to this place and buy it for good was because we passed it every day on our way to work and after we left, we slowly saw the front shrubbery begin to creep up, then almost cover the pretty windows.
The front row of shrubs is comprised mainly of boxwoods, hollies and nandinas. I had spent many hours in the front of that house, carefully and meticulously trimming the shrubs back. To see them in disrepair made me heartsick and I knew we had to take action. We had to save our home, cut those those shrubs back and breathe new life back into the place. Here are the first steps we took to beautify the front, improve the curb appeal and put down roots in our forever home.
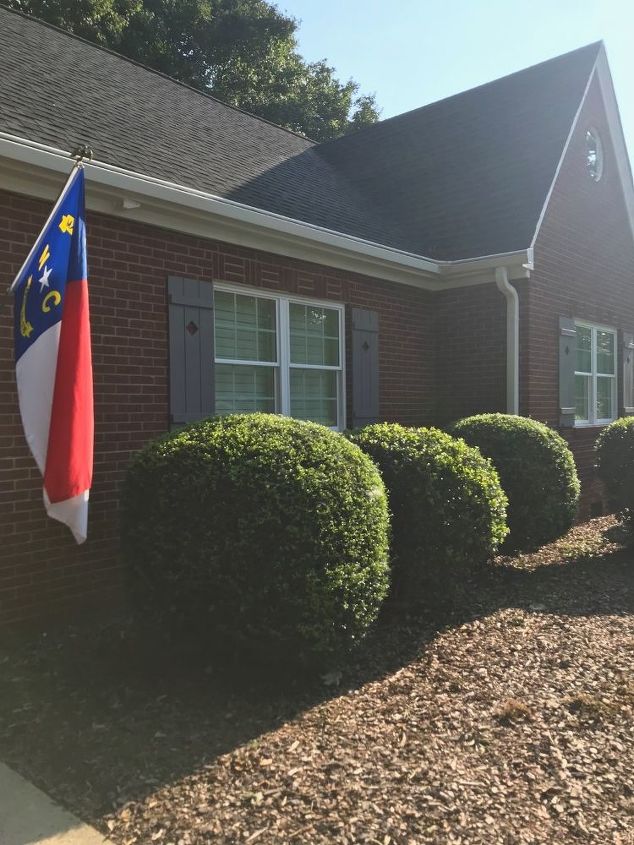
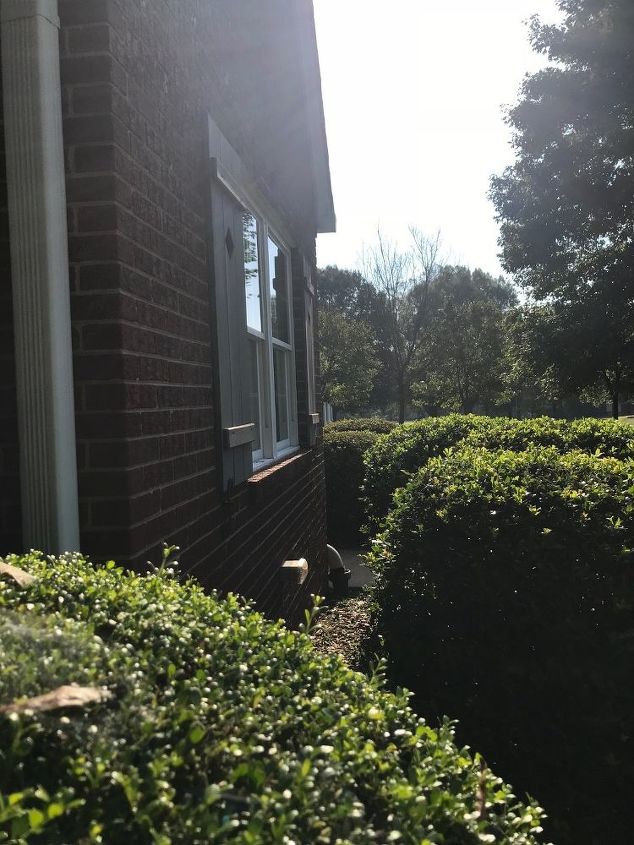
Our first order of business was to cut the shrubs away from the exterior of the home. This was important to us because in their current state, they were touching the windows, gutters and brick and were providing plenty of opportunity and space for critters to crawl around. So, the back of much of the shrubbery had to go. I found it easiest at this step to use hand pruners, as I cut through two extension cords trying to get the perfect angle to eliminate the back branches.
If you do decide to use electric trimmers, be aware of where the blade is at all times. In the time since we completed this project, I have continued to use my simple, handheld trimmers as I feel the most comfortable with them.
For this step, I simply trimmed the major branches back and away first, then spent a little more time hand-cutting and rounding out the back to make sure each one looked uniform with the next. To make cleanup easier, I cut a black trash bag along the two seams, laid it out flat and kept it at my feet to catch falling leaves, limbs and debris.
Cutting shrubbery away from the house is not only a wise step to take for aesthetic or cosmetic reasons. It also helps to maintain the lifespan of the home’s exterior material. While we had brick that was not too damaged from the constant brushing of branches, sticks and prickly leaves, if you have vinyl siding or wood siding along the exterior of your home, over time, overgrown shrubs could cause damage to their appearance.
If this does happen, you may need to hire a painter or a carpenter to come repair the issue.
If this does happen, you may need to hire a painter or a carpenter to come repair the issue. If it’s the former you require, you can read more here about how to properly vet a local painter who is reputable and reliable in your community. As the exterior of your home is what everyone sees when they drive by, it is critical that you maintain it to the best of your ability. For us, cutting back our front row of shrubbery was the perfect solution. Plus, it just makes the entire front lawn look neater and more well-kept.
Next, I also wanted to cut the bottom layer of the shrubbery off, to essentially get the bushes off the ground. Again, I did so because low-hanging branches just seemed like a great place for a snake or squirrel to hide and I wanted to discourage any wildlife from sneaking around outside our home and coming in through the foundation or anything along those lines. While I had to lie down in many instances and reach to get the perfect angle, I am pleased with the way these turned out. This would be a place where electric trimmers would be a bit easier, as you are just shaving off the bottom layer as opposed to trying to round out the sides in the back.
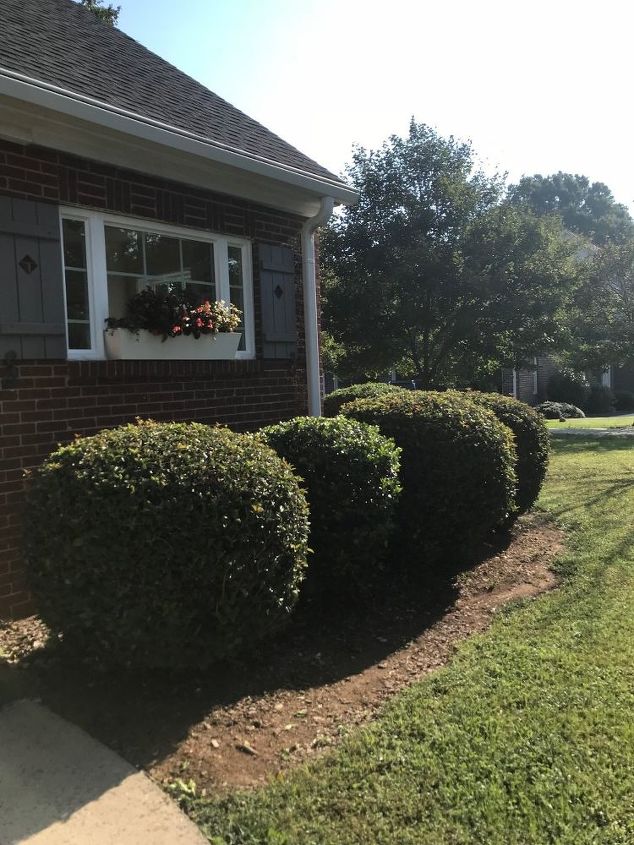
Next, we wanted to create an area of mulch beneath the bushes, bordered by the concrete sidewalk that has been here since the home was built in the late 1950s. To do so, we worked in tandem with a local landscaping company. We tore out the patchy crabgrass that was currently growing beneath the shrubs, added a weed barrier to prevent weeds from popping up in the spring and summer, and filled the space in with a layer of natural bark mulch.
As you can see, there is an area along the right side where we need to add a barrier of some sort to prevent runoff and keep the mulch looking as neat as possible. At this time, we are considering sandstone pavers or simple bricks to complete the look, though we need to find bricks that will match the home’s exterior without clashing. To maintain the look of the shrubs year-round, we created a schedule that involves trimming them at least once a week and spraying the mulch with a weed killing solution once a month in the summertime. We mainly get clover popping up even though we installed the weed barrier, which is frustrating but not too much of a challenge to combat.
Keeping the shrubbery trimmed regularly helps to prevent them from growing too much and getting too out of hand. Especially if you are going to use a handheld trimmer, anything you can do to cut back on the legwork and manual effort is a plus!

Want more details about this and other DIY projects? Check out my blog post!


Frequently asked questions
Have a question about this project?