


DIY Jewelry Holder
10 Materials
$20
2 Hours
Easy
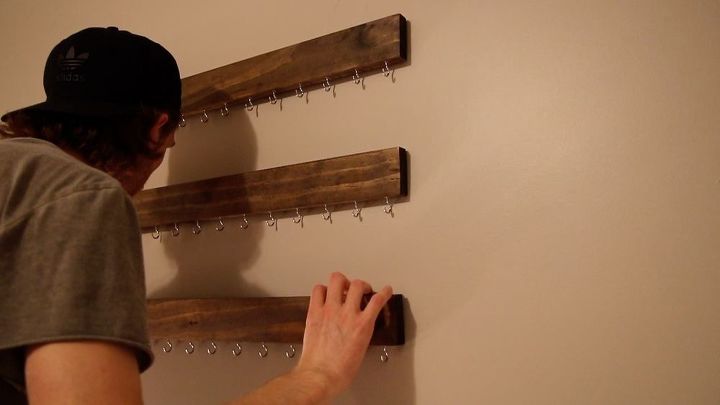
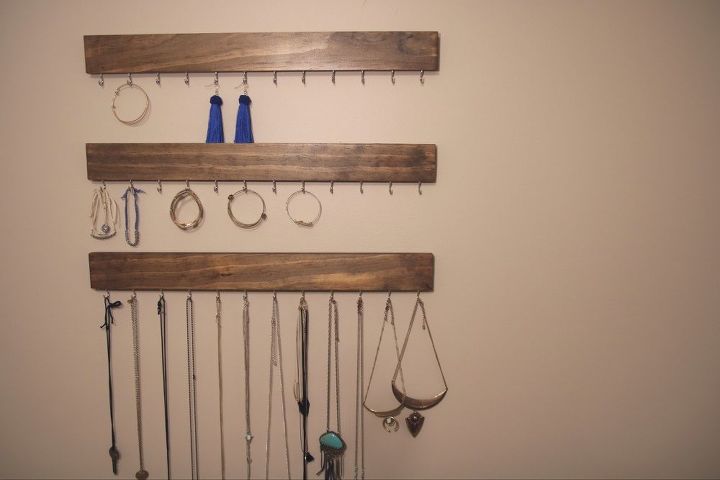
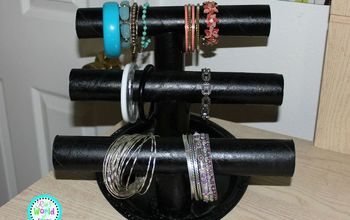
In this post I am going to show you how I made this very simple DIY necklace holder. This only took a few materials and a few tools to make. This was not something I typically do, but it was for a good friend, so I figured I would show you how I did it. Enjoy!
{
"id": "5098381",
"alt": "Subscribe to my Youtube Channel",
"title": "Subscribe to my Youtube Channel",
"video_link": "https://www.youtube.com/embed/SuZOSlD3NGA",
"youtube_video_id": "SuZOSlD3NGA"
}
{
"width": 634,
"height": 357,
"showRelated": true
}
This project only took a few different items to make. Anyone could definitely do this with limited tools. I started with a 1x3 that was 6 ft long. I cut it in to 3 boards that were all 24” long. If you are doing this, you can make these whatever size you want. I wanted them to be this long. After I cut the boards, I sanded them very well starting at 120 grit paper and ending with 220 grit.
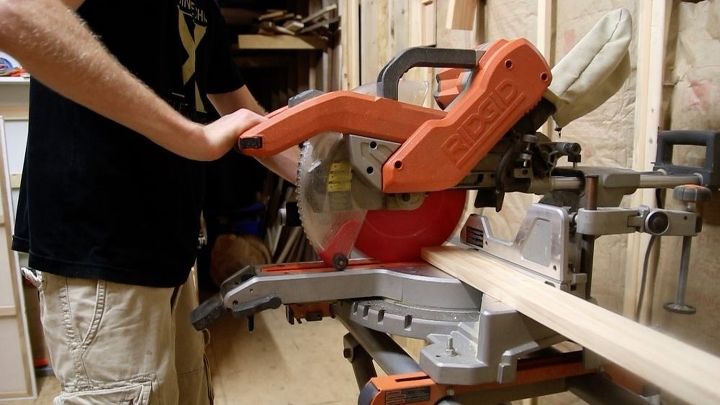
Cutting the boards to 24"
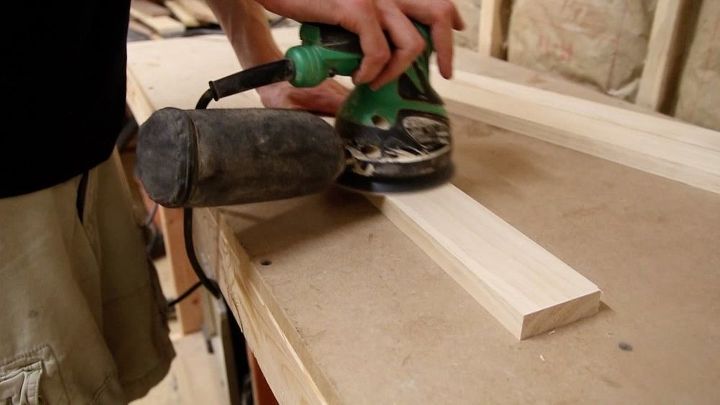
Sanding the boards
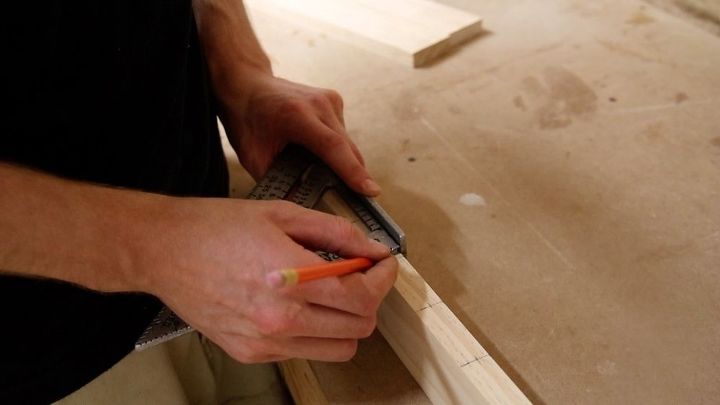
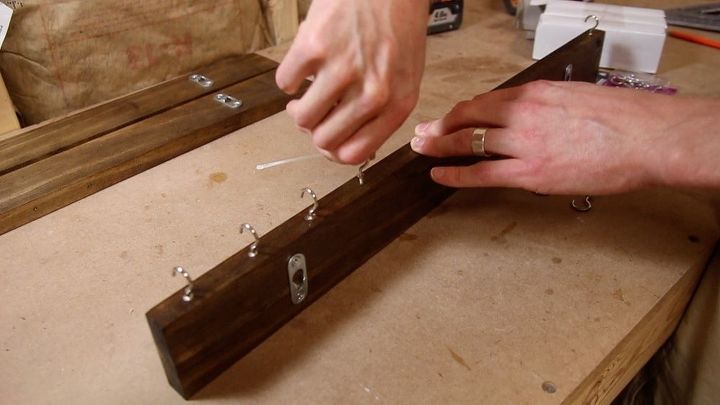
Marking the hook location
This part was a little tricky. I wanted my hooks to be perfectly placed and even across the bottom of the boards. So I marked every 2” on my board. Then I marked the middle of the board width at every 2 inch mark. I had a very precise mark to drill a small pilot hole for the hook. I used a very small bit and drilled all the holes in the side of the board. After they were all drilled, I went back in and sanded all my pencil markings off.
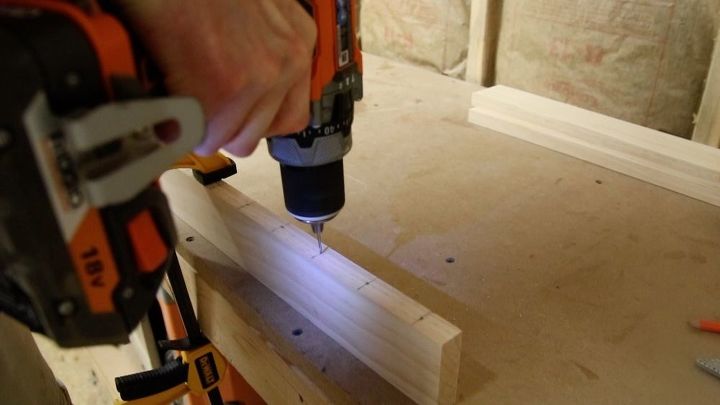
Pre Drilling for the hooks
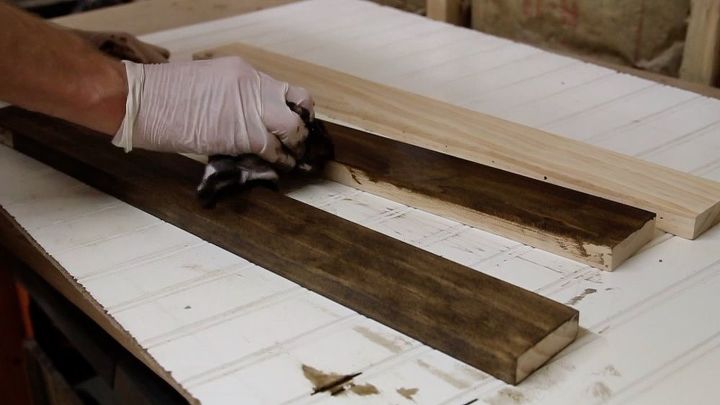
Applying Finish
Next it was time to apply finish to the boards. You can use whatever color stain you would like for yours, but I chose a Dark Walnut color made by Minwax. I used a rag and wiped it on letting the finish to soak into the wood and wiping up all the access. I let this dry for a few days and then I used spray shellac to give it a clear coat. I love spray shellac because it dries very quickly and leaves a nice matte clear finish.
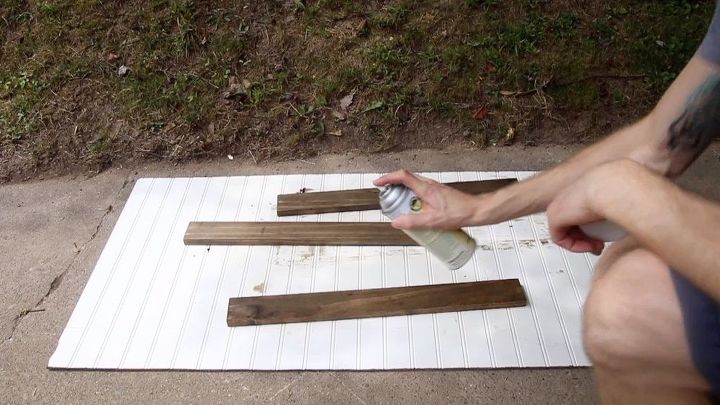
Spray Shellac

Marking location for keyhole hangers
Next I attached all of the hardware on the boards. I used keyhole hangers on the back of the board to use to hang on the wall. These are very simple to install. I first marked where I wanted them to be, making sure they are even with each other because if not,your boards will not be straight on the wall. Then I pre-drilled where the screws would go to fasten. I made sure to put a small piece of tape on my drill bit telling me when to stop because I did not want to drill all the way through the boards. Then I screwed them into the board. I attached my keyhole hangers 16” apart, that way when I hang it on the wall I could go into a stud.
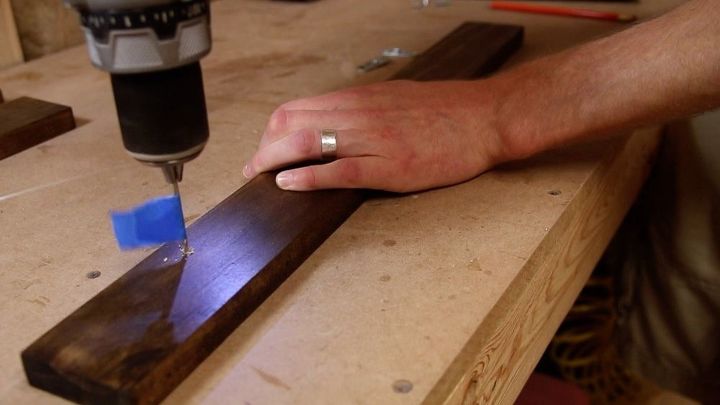
Tape is used so I don't drill too deep
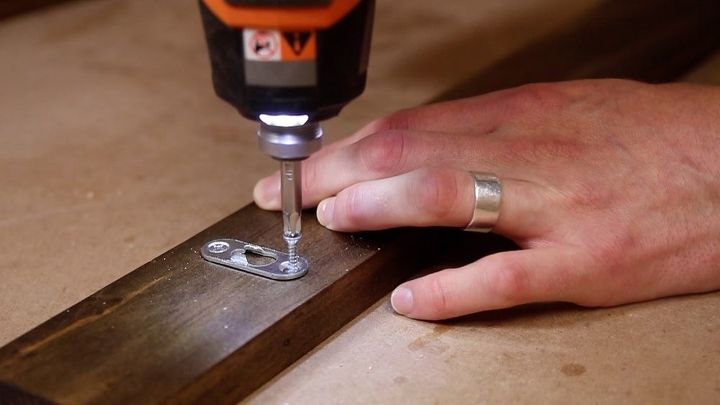
installing keyhole hangers
Installing cup hooks
Next I screwed in all of the cup hooks into the holes I previously predrilled. I also wanted to note that I purchased the hooks I got from amazon. I have a link in the materials section. They were very cheap on amazon and look great.
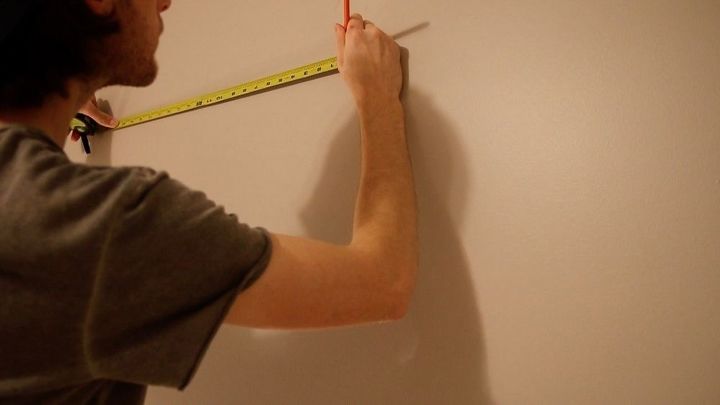
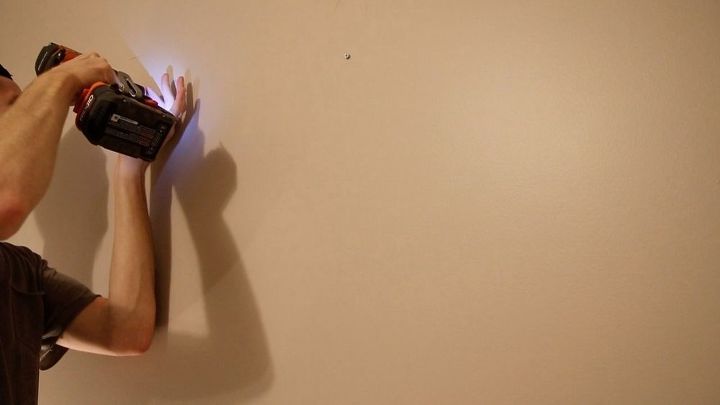
Hanging the boards
Once the boards were all assembled, it was time to hang them on the wall. You can either find a wall stud to put these into, or you can use some sort of drywall anchor to hang if you don’t have a stud to go into. Either way will work, because they won’t be holding much weight. I first measured where I wanted them to be (16” apart), placed a screw in that location, and then, hung a board on the screws. I repeated this process for the other two boards under the first. You can spread these however far apart you would like. Mine were 8 inches apart. After this, the hangers are complete!
Make sure you check out the video for this project to see all the steps I took in greater detail. It was a very simple project but it turned out great. If you liked this project, you might enjoy some of my other projects videos! Be sure to check them out and also follow me around the web.
Resources for this project:
See all materials


Any price and availability information displayed on [relevant Amazon Site(s), as applicable] at the time of purchase will apply to the purchase of this product.
Hometalk may collect a small share of sales from the links on this page.More info

Want more details about this and other DIY projects? Check out my blog post!
Comments
Join the conversation
2 of 13 comments
-
Such a great way of keeping long necklaces from getting all tangled up. This definitely makes is so easy to find the right piece of jewelry to accent ones outfit. Nice job.
-
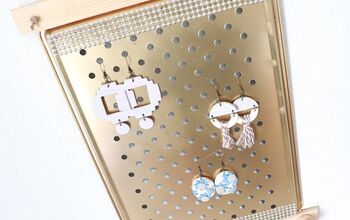
Great idea thank you for sharing. I would go one step further maybe and glue the slats to a backer board so that I can hang it on the inside of my closet and only have two holes to make for hanging. It also looks like you could hang your dangle earrings from the small cup hooks too. I am also thinking that one slat can be made to hold a perforated shelf liner that you glue or staple to the back of the slat or between two thinner slats to hold stud earrings. Dollar Tree has this type of shelf liner in a roll when in stock. Thank you for posting :)


Frequently asked questions
Have a question about this project?