


Halloween Throw Pillows
11 Materials
$30
2 Days
Medium
My mom and I saw a Halloween throw pillow at Michael's and I knew I could make one for her. Then I thought I would create a second pillow so she could have a fun set to put out every year!
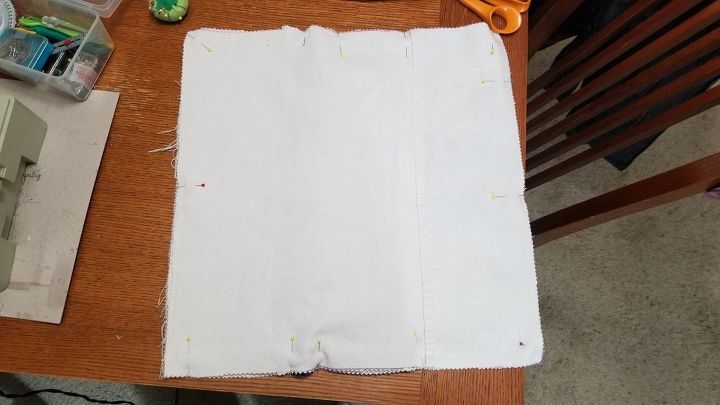
To make the two pillow covers start with 2- 18" x 18" pieces of drop cloth fabric for the fronts and 4 - 18" x 12" pieces for the backs. This will create an "envelope" pillow cover that can be easily removed for washing.
Set the 4 pieces for the backs aside until later.
Using two different Halloween print fabrics cut out the pieces you will need for the pillow covers.
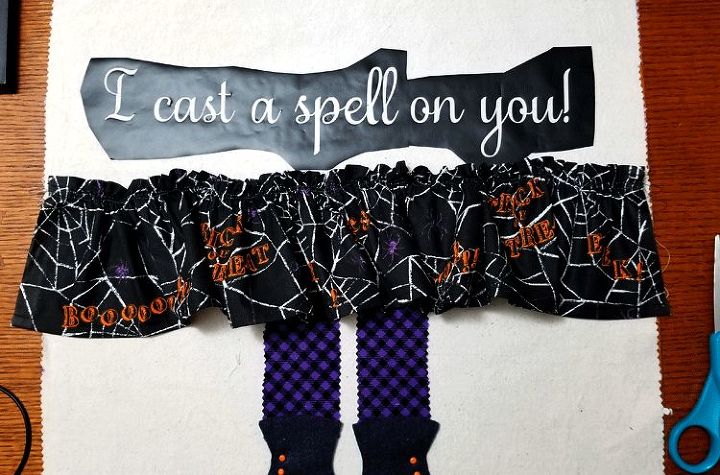
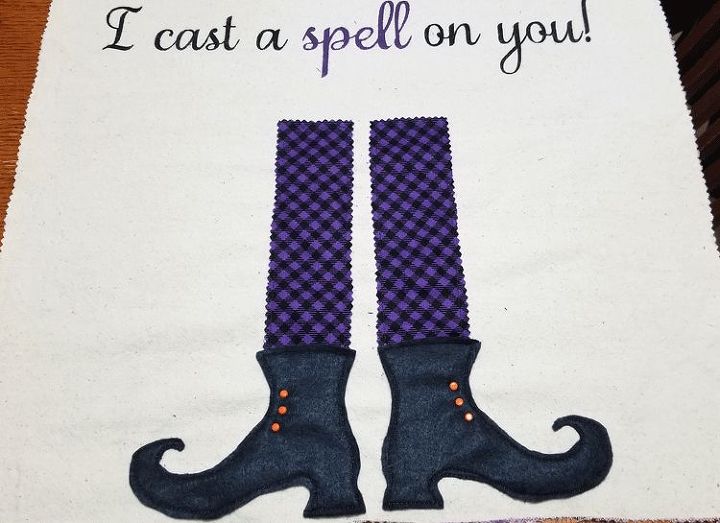
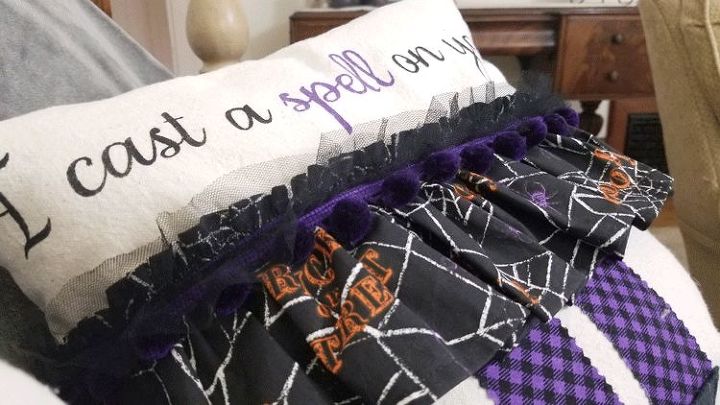
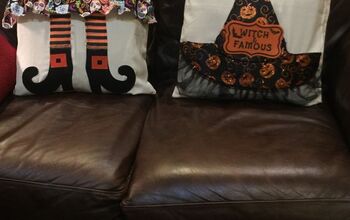
The first cover has the witches skirt, legs and shoes. I measured and cut out her legs 2" x 12", the shoes from black felt and cut a piece of fabric 36" x 6" for her skirt.
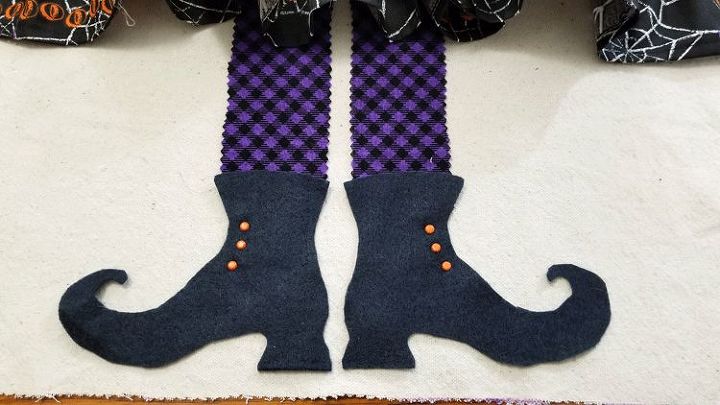
I added some brads to the shoes for some detail but buttons would work too.
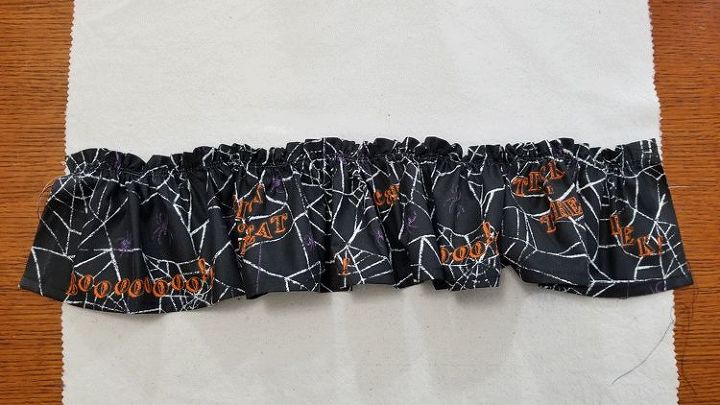
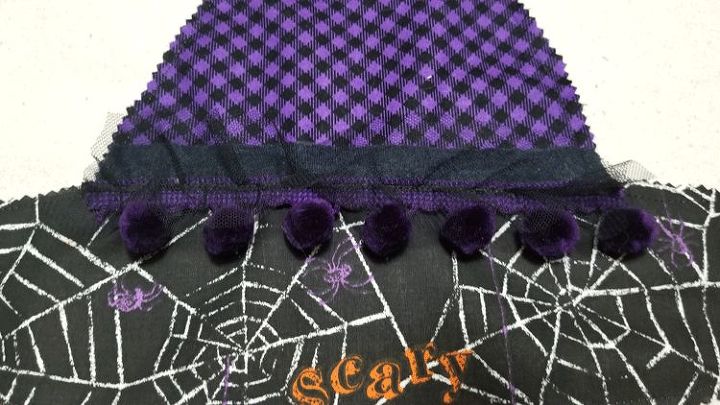
I pressed and stitched the long sides of the skirt then added gathering stitches to one side to gather it up and make it look like a skirt.
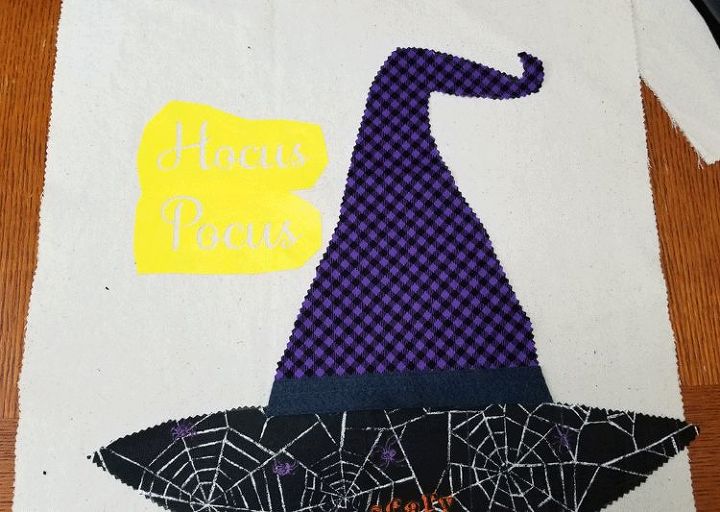
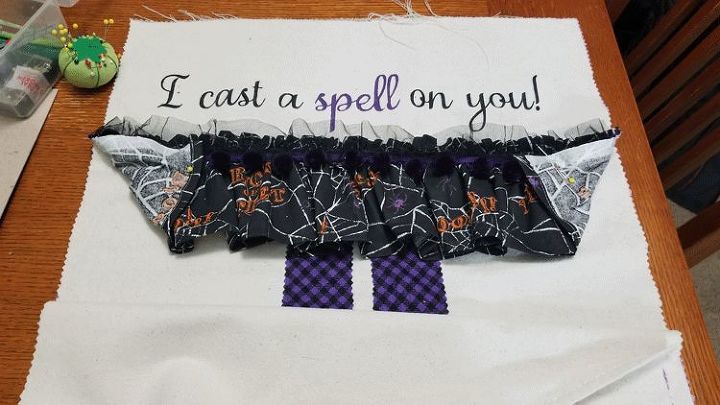
I did the same thing with the hat on the matching pillow. Cut out the hat parts and added a piece of felt for trim.
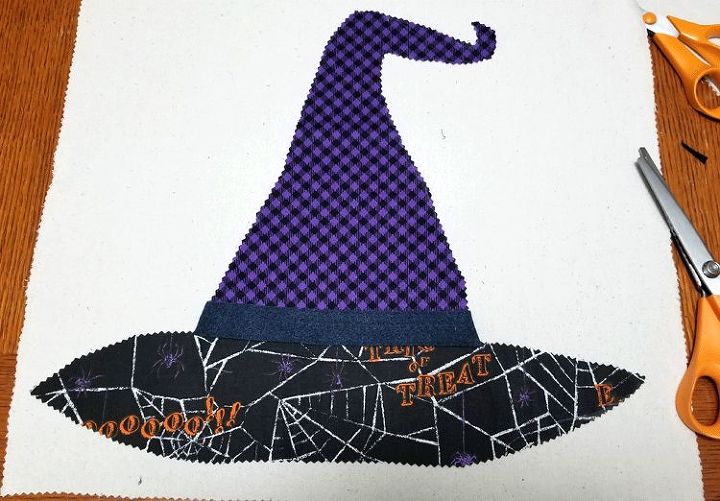
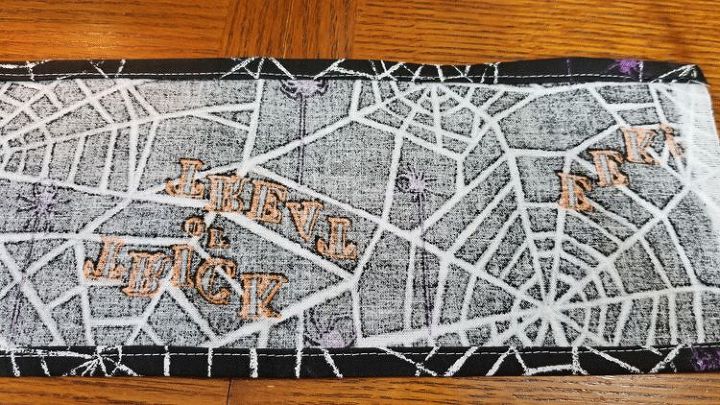
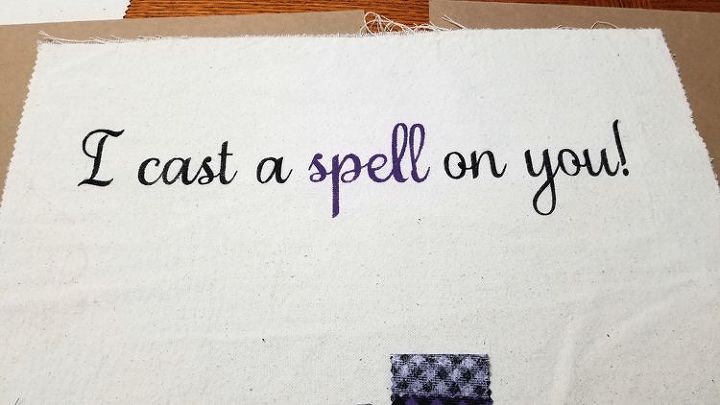
Before I stitched all of these pieces down I stenciled some text onto them. I used my Silhouette Cameo to make vinyl stencils.
Acrylic paint with some textile medium mixed in makes a great washable fabric paint for a fraction of the cost.
I used a stencil brush and the paint mixture inside the stencils. It always turns out nice.
When the paint is dry and heat set start stitching the witch parts onto the fronts. Pin them down and carefully stitch around each piece.
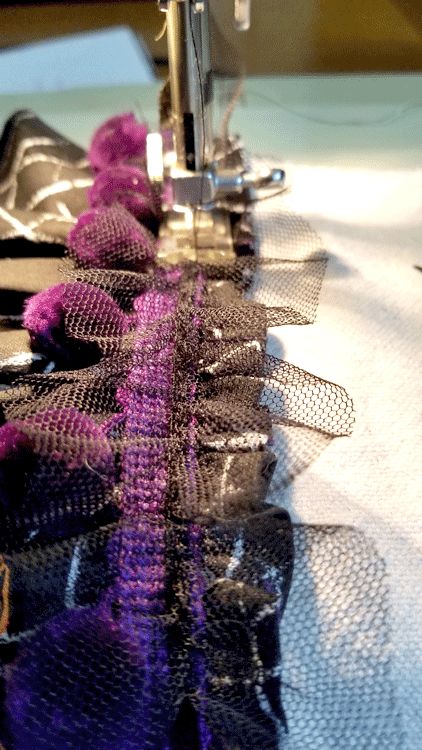
I added some fun trims to the skirt and the hat too.
I was now ready to add the pillow backs be done. I didn't want the bottom of the skirt to be stitched into the sides of the pillow so I pinned it out of the way.
With right sides together add the 2 back pieces so they over lap in the middle. Stitch around the entire pillow.
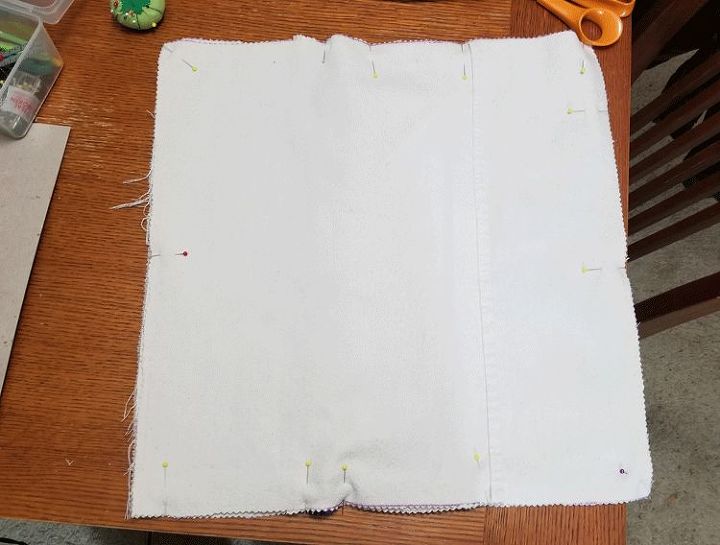
Clip off the corners to reduce the bulk inside the pillow then turn right side out. Add an 18" x 18" pillow form and you are done!
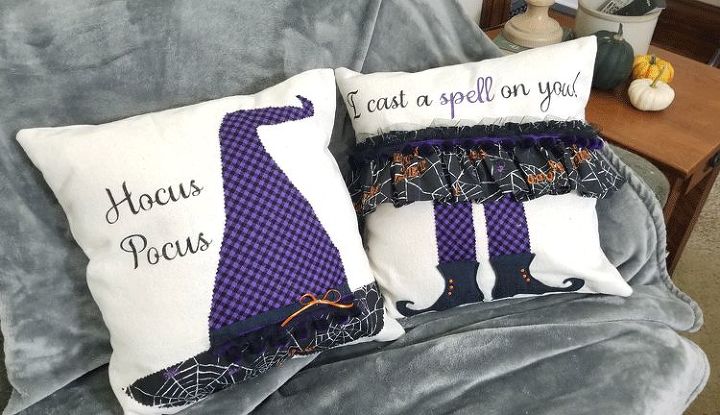
Cute right? I love the way they turned out. There are more detailed instructions included in the blog post.
If you liked this project you will most likely love my other projects. Please sign up form my email/newsletter and keep up with what I am doing each week!
Resources for this project:
See all materials


Any price and availability information displayed on [relevant Amazon Site(s), as applicable] at the time of purchase will apply to the purchase of this product.
Hometalk may collect a small share of sales from the links on this page.More info

Want more details about this and other DIY projects? Check out my blog post!
Comments
Join the conversation
3 of 35 comments
-
Inspired so much on this Halloween pillows, that when Insaw them that day J made them. Of course I did cheat some. I got a witch hanging decor from dollar store from last year. Took it apart to look like Michelle’s Post. And didnmy own super quick and nothing fancy as I needed to do this before I forgot. ANd WaLa! 😂 instant pillow. Thank you so much for sharing.
I wasn’t able to post it then.
-
Yours are gorgeous! I love this.


Frequently asked questions
Have a question about this project?