


DIY Craftsman Window Trim

There's something about a chunky craftsman window/door trim that makes my heart melt. I think it's the perfect way to add character to any space, but especially those faux farmhouse spaces like our builder grade ranch. The builder left us with a less than desirable trim, so updating the windows with a chunkier trim really gave this area some va-va-voom! This tutorial is fairly simple and only requires the most basic of tools. Check out the tutorial below and visit my post for the full step-by-step
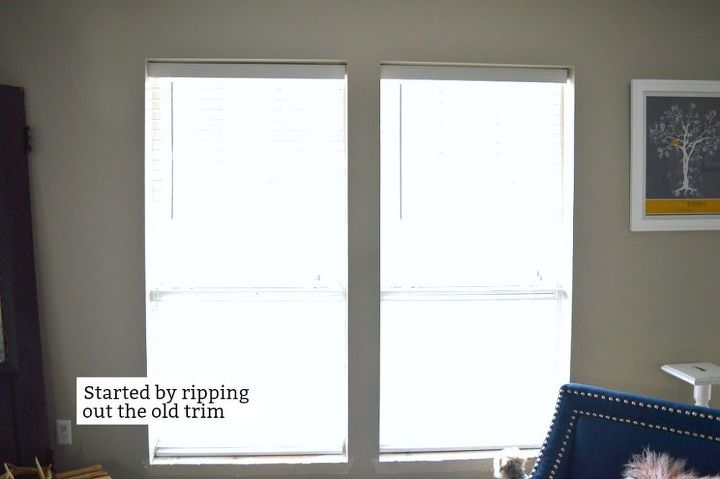
1 | Remove the old trim.
We started by removing the old trim with a crow bar, thankfully that was just one little piece. This left us with the frame of the window.
2 | Measure and cut your boards
I started with a sketch of our window and the layout we would create. See my full post tutorial for the layout. I used a mix of 1x2s, 1x3s, 1x4s, and 1x6s to achieve this chunky craftsman look. Once I knew my measurements I cut all pieces using a miter saw. One thing I love about creating this look is that all cuts were straight. This girl still hasn’t gotten the hang of angled cuts.
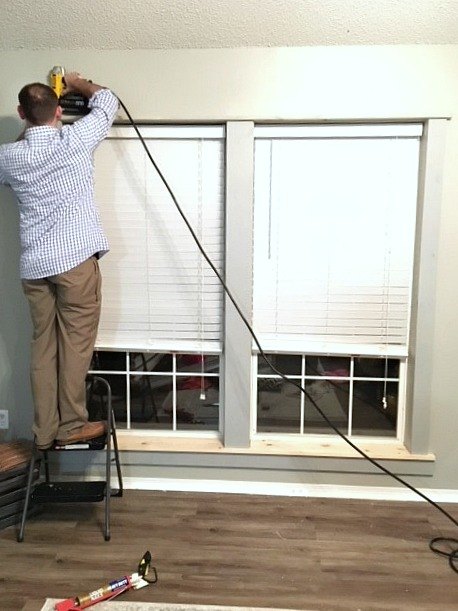
3 | Assemble your frame
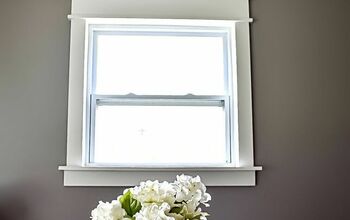
When all of our boards were cut to length, we began by installing the seal and the footer of the window frame. Next, we added the 1x4s along the length of the windows. Finally, we added the header which we beefed up for some added character. The header is made up of a 1×2 turned down and a 1×6 laid flat. Both pieces are the same width as the seal with a one-inch overhang. Then building up, I used a 1×2 with an extra one-inch overhang on either side and a 1×3 with another extra one-inch overhang on either side.
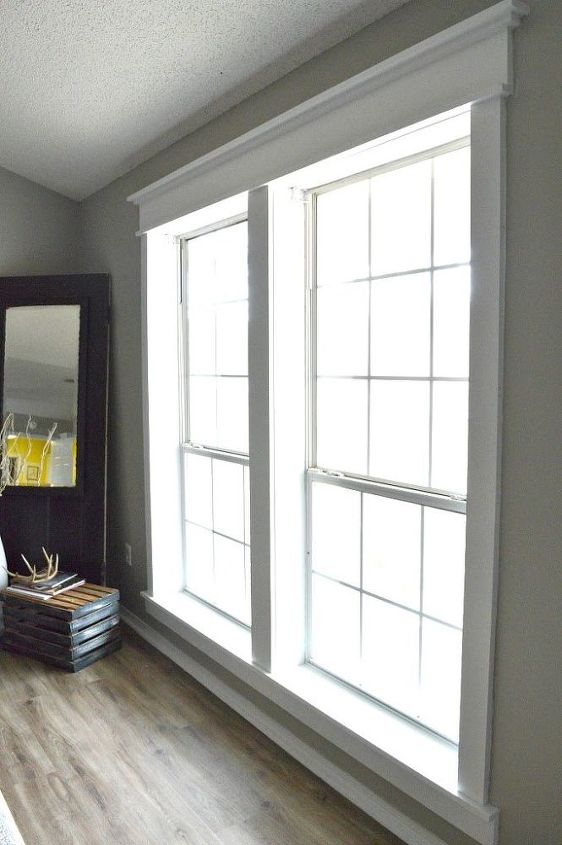
4 | Prime and Paint
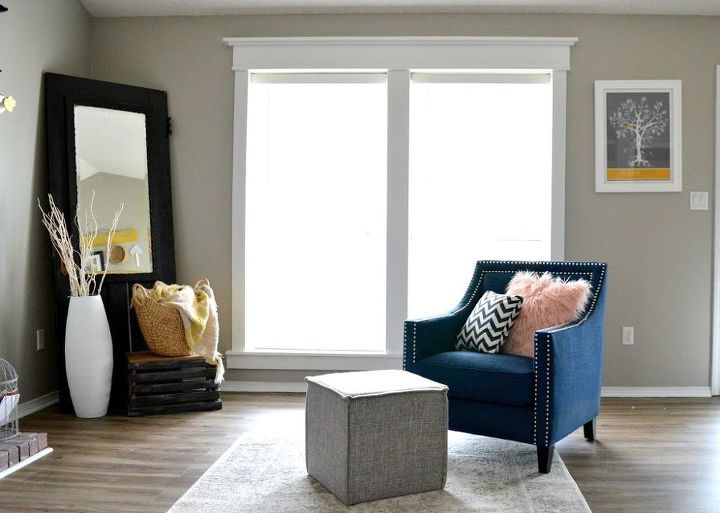
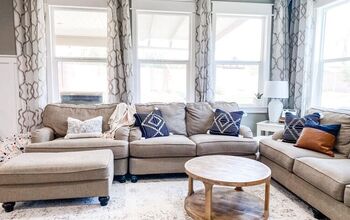
Next, I caulked the seams and filled the nail holes. Then, I simply primed and painted a crisp white for some added pop. The end result is some much-needed farmhouse character. To finish off the look, we added drop cloth curtains which you can find my tutorial here.
Comments
Join the conversation
-
THIS is WOW! Great job!
-
I’ve actually thought about this, but I wondered what it would do to the walls if ever it was taken down. Remember when paneling was all the rage? Because mine were glued on, we had to replace the drywall.


Frequently asked questions
Have a question about this project?
What colour did you use on the walls?
Can i leave builder grade up and just add new around?
What part are you calling the seal ? Where is it? Are you meaning the bottom sill ?