


Learn How to Paint a Claw Foot Bathtub
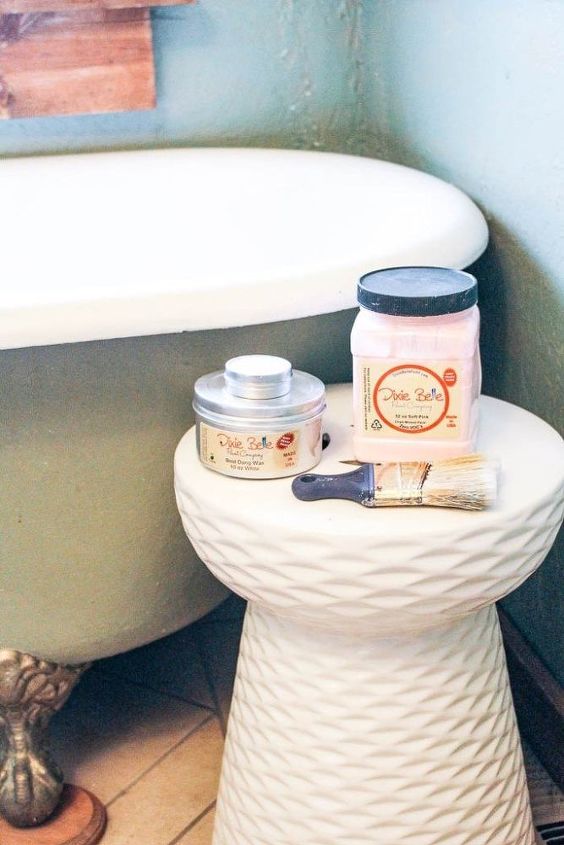
7 Materials
$50
2 Hours
Easy
At Home with Ashley painted her tub! "To kick off my bathroom renovation I decided to give the claw foot tub a paint job on the exterior."

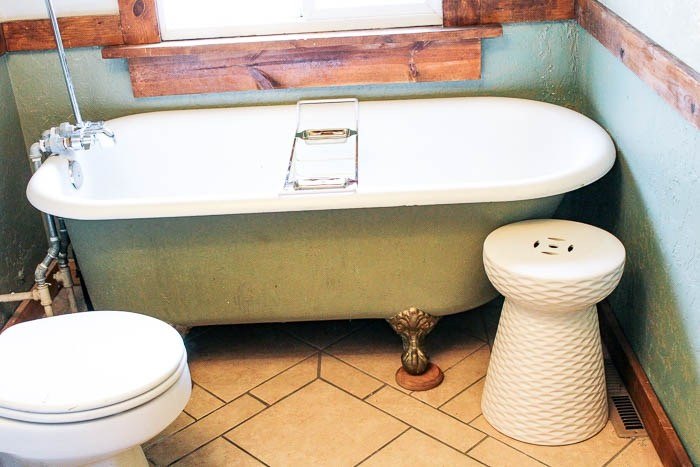
I love our 1905 house, I really do, but there have some major issues with it. I like to think I’m a positive person so I’ve been focusing on the best aspects that the house offers. Like, say, the claw foot tub!
I use that tub all of the time and ADORE it! Its nice and deep and I know that I’ll love that tub even more in the chilly winter. Plus, who can resist the historic charm?!
The pattern on the wallpaper is quite busy, so I didn’t want to compete with it. Or do pink overload. It was between pink and gold- both of which I was excited about. I decided that pink would be more fun and less formal, plus its what I’d always dreamed of for that room. So I went for it!
Prep your tub by giving it a good cleaning. Mine was covered in cobwebs in the back and dirty streaks in the front- gross! After I gave it a scrubbing, I put down drop cloths and taped off the tub legs. I jumped right in and gave the exterior of the tub its first coat of pink paint. I got great coverage! Right away, I knew it was the right color choice! This project was SO quick! It was less than 15 minutes for each coat! It just needed two coats.
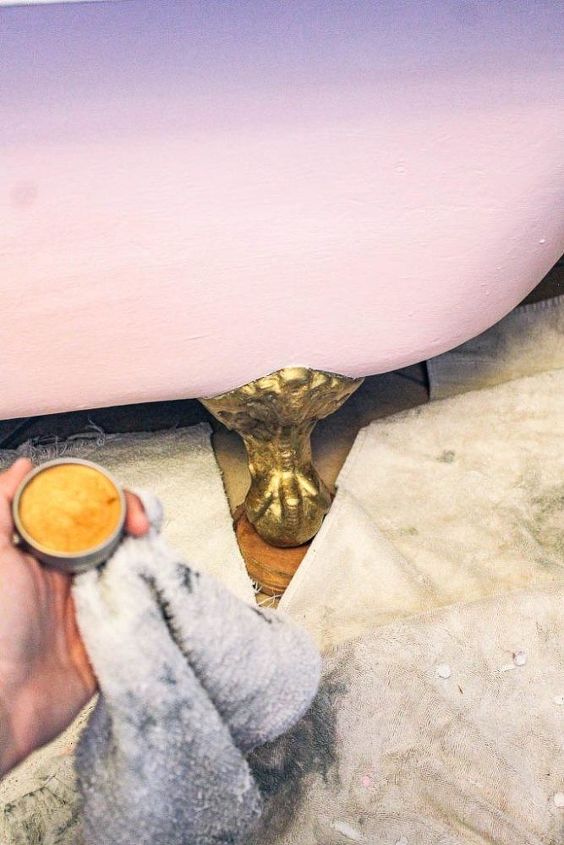
The legs on the tub are amazing! But they were looking a little dull for my liking (they almost had a bronze/green tint to them). I wanted them full on gold, so I used gilding wax in warm gold. The second I put it on, it felt more alive and golden. I let it dry for 60 minutes and then gave it a nice buffing. The difference is subtle, but I love it!
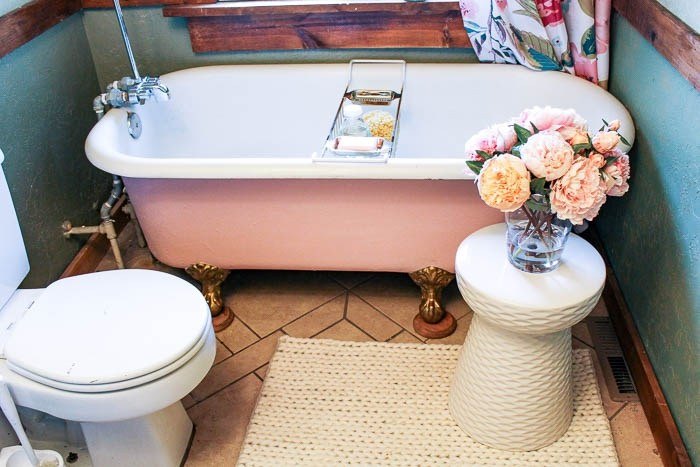
I thought the chalky finish was beautiful and almost didn’t do a top coat. But then I remembered a certain 3 year old who loves to splash. I didn’t want wet streaks down the tub that wouldn’t clean off (and maybe that wouldn’t have happened). But since I want the cute pink to last, I did a quick top coat with a clear satin finish.
And that’s it! I definitely kept it simple! I’ve seen bathrooms where wax was used on the tub to make it look aged. Or adding decoupage flowers to the tub (which is gorgeous!!!). I’ll wait until the bathroom is complete before adding anything. Though I do think I love the simple beauty of that tub!

Want more details about this and other DIY projects? Check out my blog post!
Comments
Join the conversation
4 of 35 comments
-
I'm not generally a fan of a painted claw foot tub (I absolutely love the original look of them), HOWEVER, seeing your after picture I have to say it really does tie in with the room very well. It's not too much and just enough at the same time.
-
They sell an electric Hot Knife for cutting Styrofoam, It slices through it like warm butter. Hope this helps.


Frequently asked questions
Have a question about this project?
Curious the inside of my old deep cast iron tub needs refinishing any suggestions
would like to know where to purchase the wallpaper? I LOVE LOVE wallpaper and want to do this whole scene in my old farm house
How did you get to the back side of the tub to paint it? I have an old claw foot and would love to give it a facelift.