


CREATING A GARDEN IN MINATURE
Easy
Step by step instructions on how to create a birdbath planter.


I came away from my recent trip to Nova Scotia with a renewed fascination for some of plant world's smallest members.
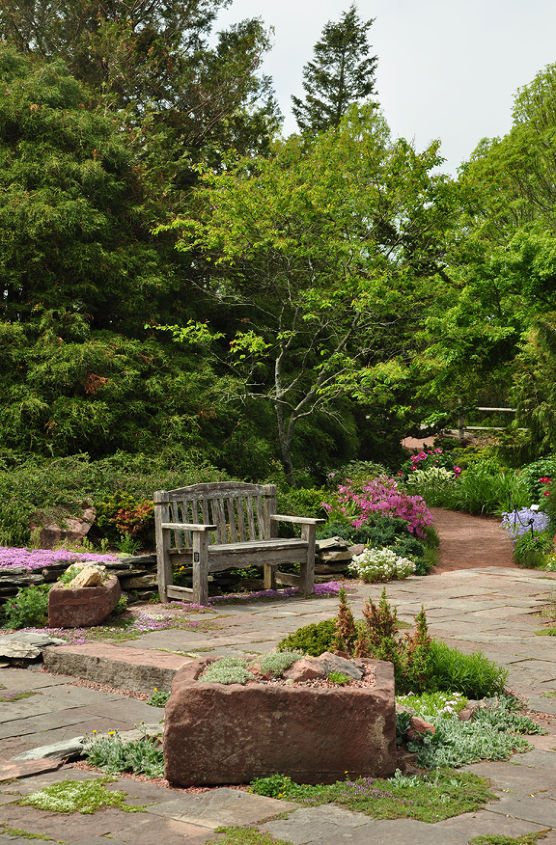
The rockgarden in Truro, Nova Scotia
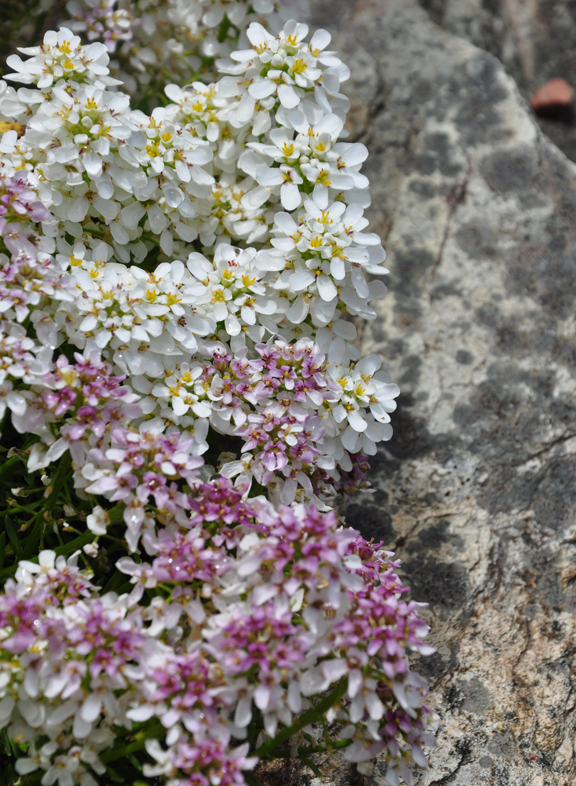
Candytuff
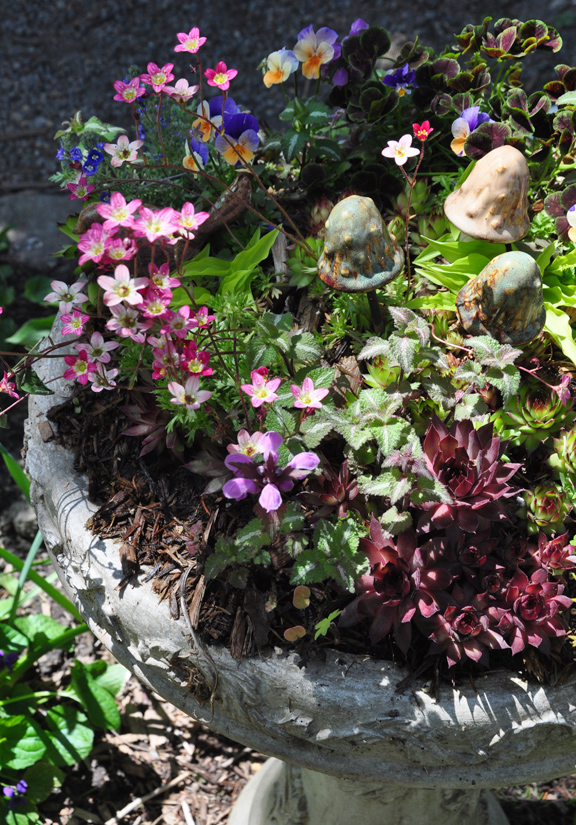
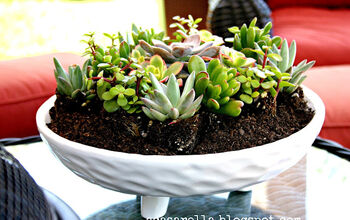
Back home in Ontario, I have two miniature gardens that I created a few years ago using old concrete birdbaths.
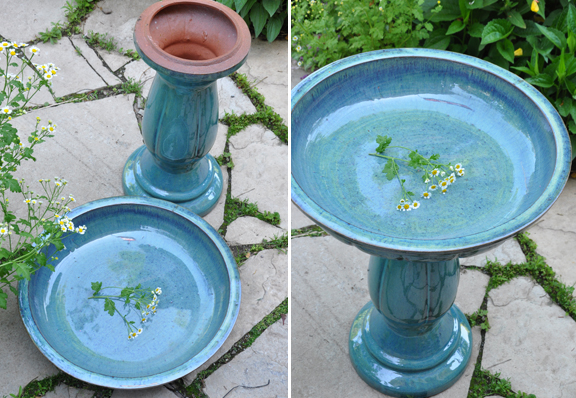
I decided to create a third birdbath planter for the front garden.
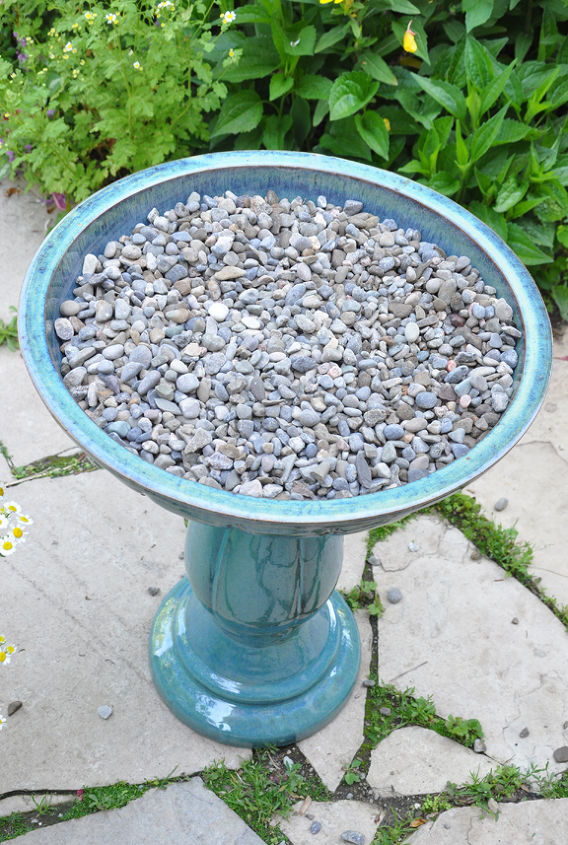
To start your birdbath planter, fill the top saucer halfway with fine gravel. I used pea gravel, but if you can find a finer gravel, so much the better. (Note: I have never drilled a hole in the bottom of my birdbaths for drainage. The gravel alone seems to provide enough drainage.)
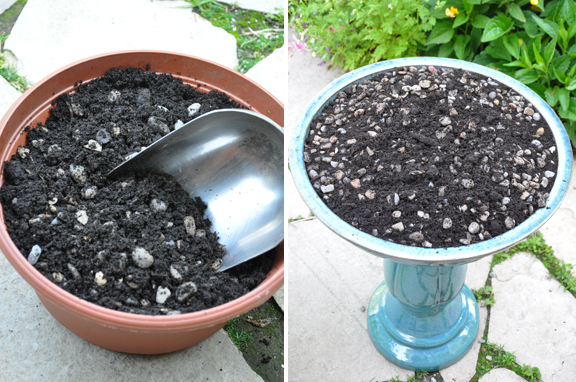
Find yourself an empty pot and mix together equal portions of fine gravel and a good quality top soil. Gauge the amount of topsoil/gravel mixture you need according to the size of your birdbath.
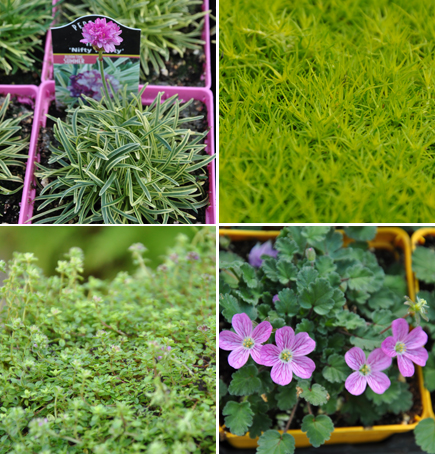
For plantings suggestions please visit my Three Dogs in a Garden blog post. There is a link at the bottom of this Hometalk post.
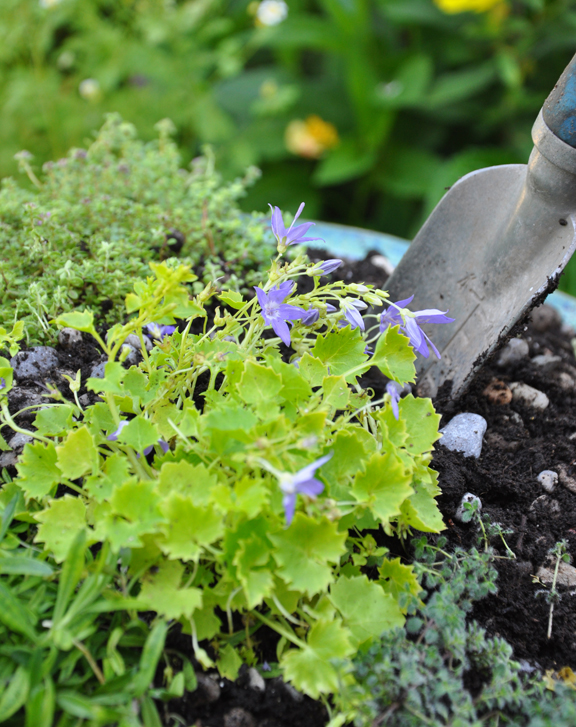
Begin planting along the outer circumference of the top saucer. Plants that will trail or spill over the lip of the birdbath are a nice choice.
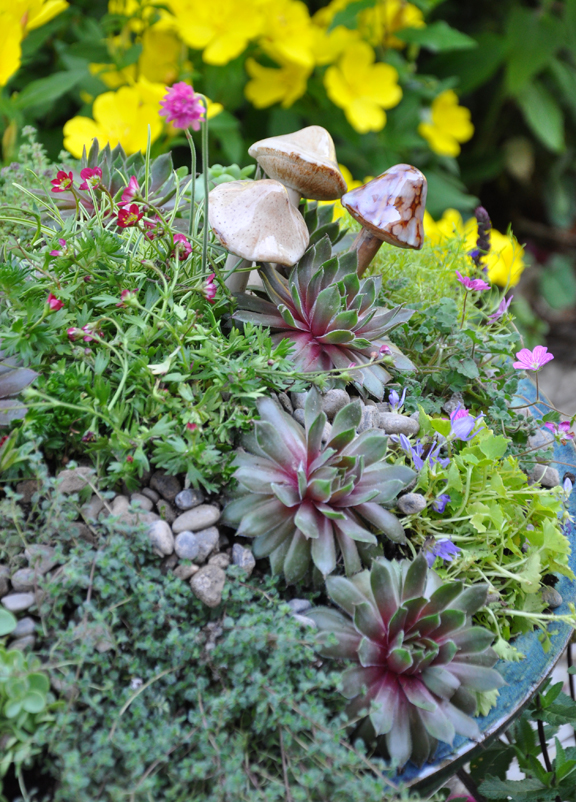
Spread the displaced soil evenly, slightly mounding it up in centre. In doing so, you are creating a bit of a rounded mushroom shape. (If you need to, you can always discard some excess soil mix back into the terra cotta pot where you created your soil/gavel mixture.)
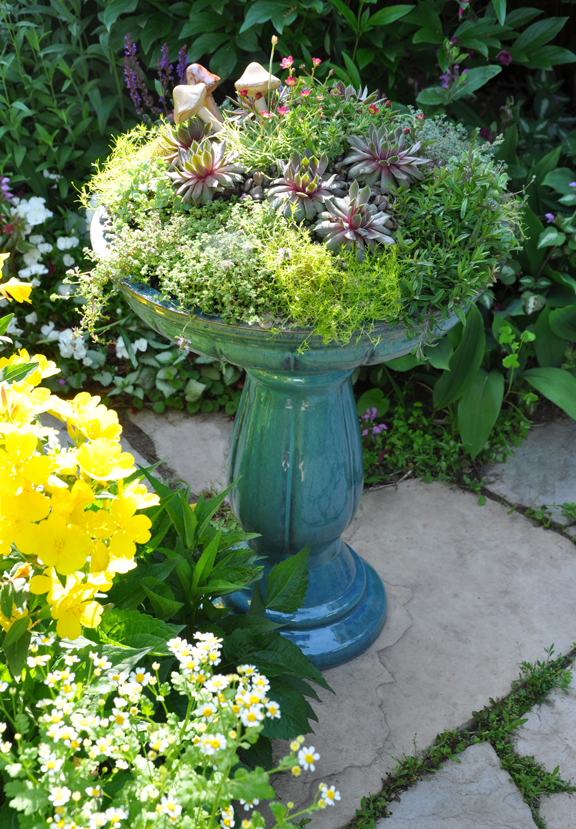
Water well until your plants are established and enjoy!

Want more details about this and other DIY projects? Check out my blog post!
Comments
Join the conversation
2 of 16 comments
-
Just really love this! Thank you for such nice easy to follow instructions! Your mini garden is so beautiful and happy looking!
-
Love it


Frequently asked questions
Have a question about this project?
How many little bedding plants did you have to buy to fill your birdbath? Wouldn't they naturally fill your birdbath with fewer starting plants once they start growing? Yours is beautiful by the way and so lush looking! I have two concrete birdbaths that I have planted flowers in for years. I placed a good sized resin statue in the center of one of my birdbaths and have it raised up sitting on an overturned terra cotta pot. Not glued down and has survived up to 80 mile and hours winds for many years so far (Knock on Wood). We live in tornado alley! Looks really pretty with the flowers around it. The other birdbath is larger in size and has a concrete statue that was once a fountain. It's statue is standing in the back of that bowl on a raised lip where the water and pump used to be. You are right they do look pretty with vines draping off the sides and pretty flowers in bloom in the bowls. We don't have any small kids to worry about knocking them over on themselves. That was such a terrible tragedy to have happened that that little boy and my heart is so sad for his family!