


Things Are Looking up. Pretty New Ceiling Treatment, Cornices & Crown

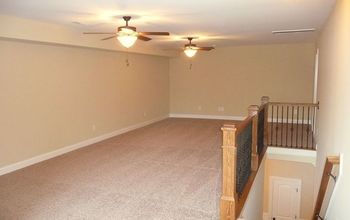
A few years ago a bought a real fixer. Over the years I totally gutted it and opened up the living room,dining room and kitchen. It was nice but opening up the space left the 8 ft ceiling looking boring. Structurally I couldn’t raise the ceiling. But I still wanted to add some interest to the ceiling and better define the spaces.
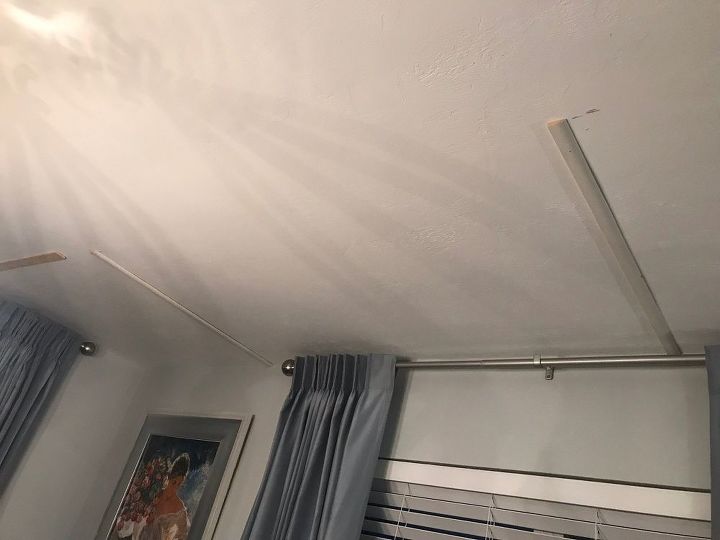
Once I decided the size, I nailed strips of wood on the ceiling against the side walls to make it easier to keep frames straight and centered.
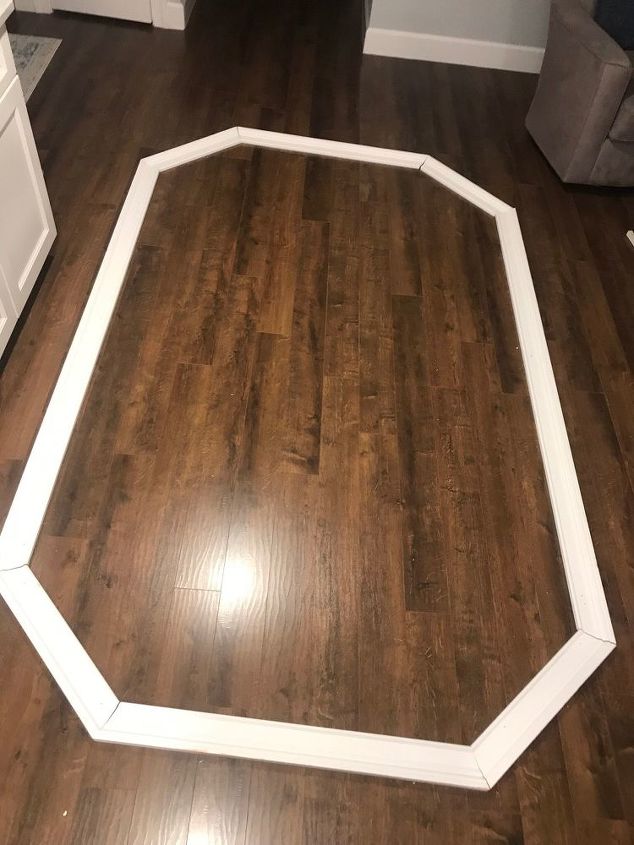
After cutting all the pieces of the frames I laid them down on the floor to make sure they all aligned
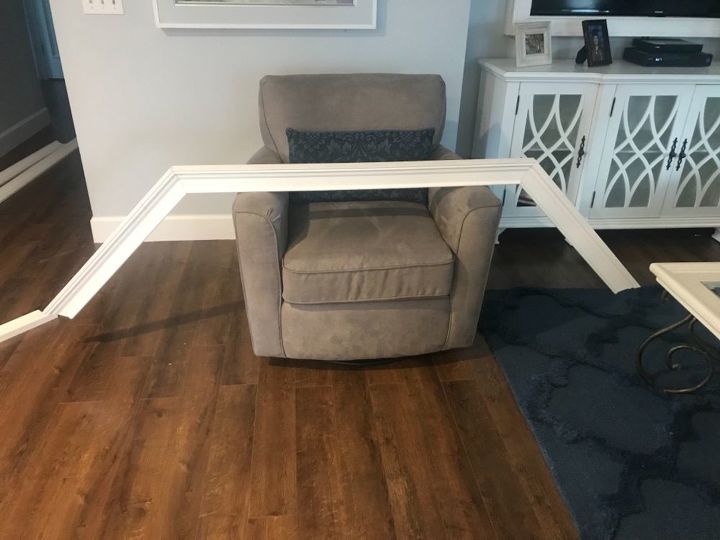
I actually glued the end pieces of the frames together before I attached to the ceiling. I could have just made rectangular frames, that would have been so much easier, but thought it would look too boxy
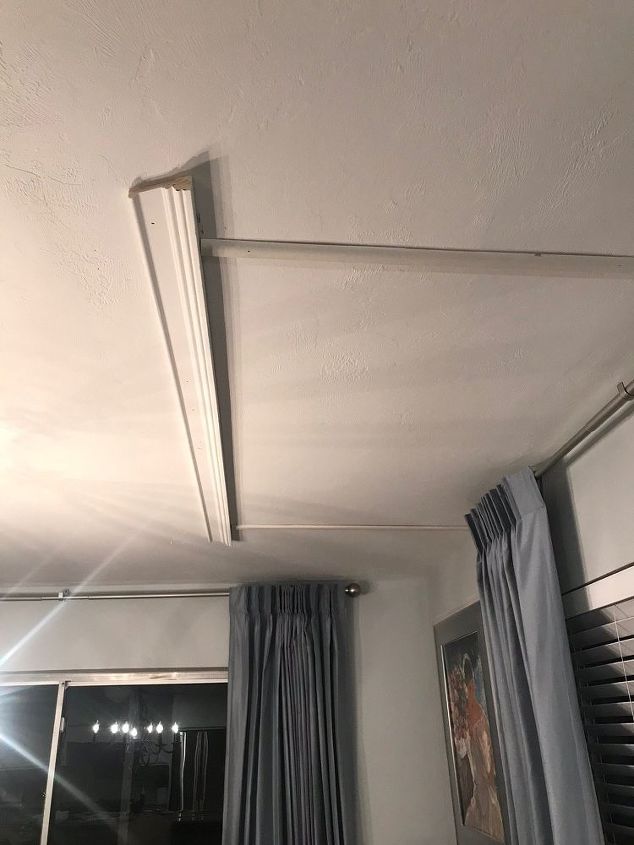
I attached my first long piece with nails and glue and butted it up against the wood strips that I had previously nailed to the ceiling. Then I just continued to attach the rest of the frame. I would suggest that you plan to finish attaching the frame before the glue has much time to dry in case you have to adjust when you get to the last piece.
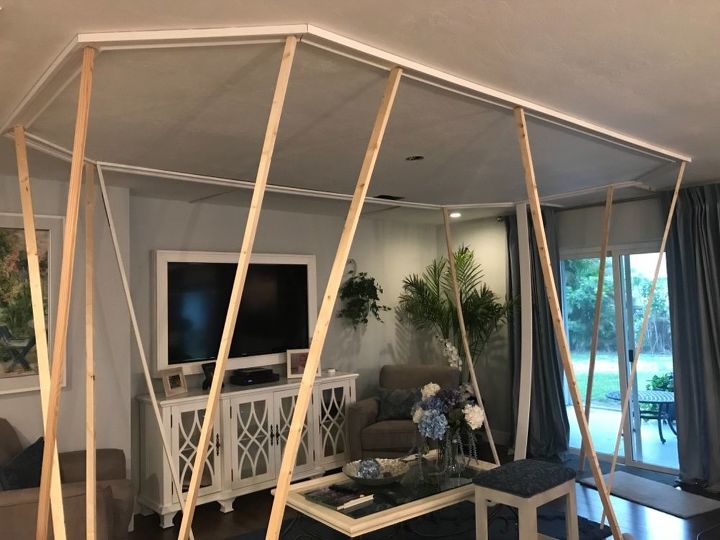
Even though I nailed molding to the ceiling, the nails don’t hold that well. So I used 1 x 2s to prop it up and hold in place as the glue was drying. I waited over night to make sure the glue was dry.
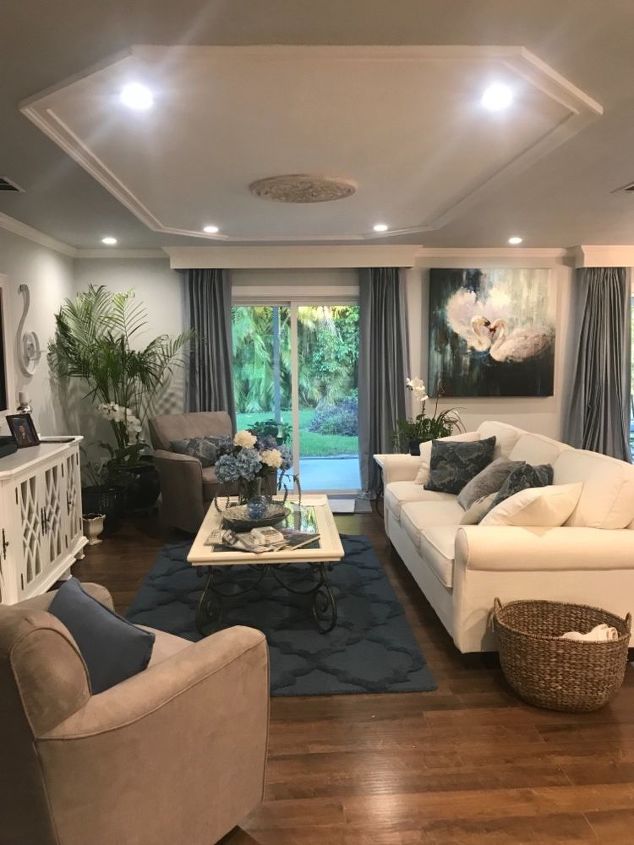
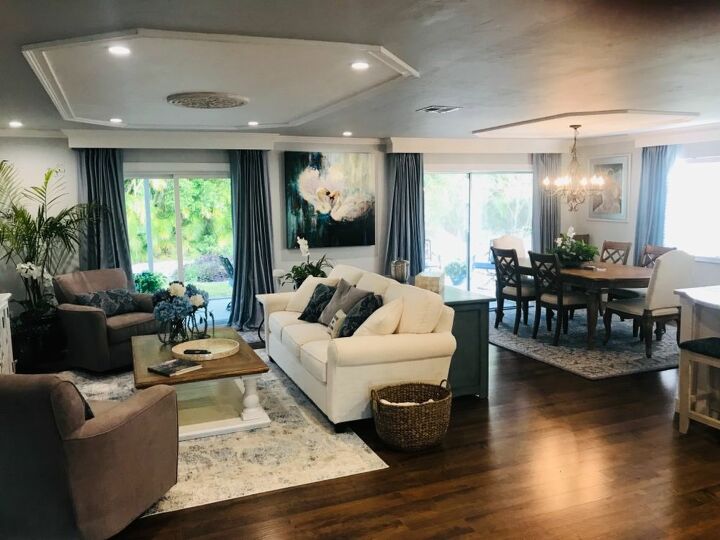
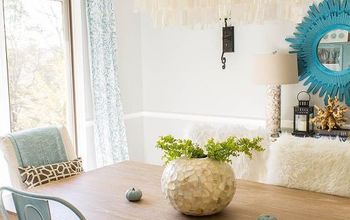
Finished Living room framed ceiling treatment
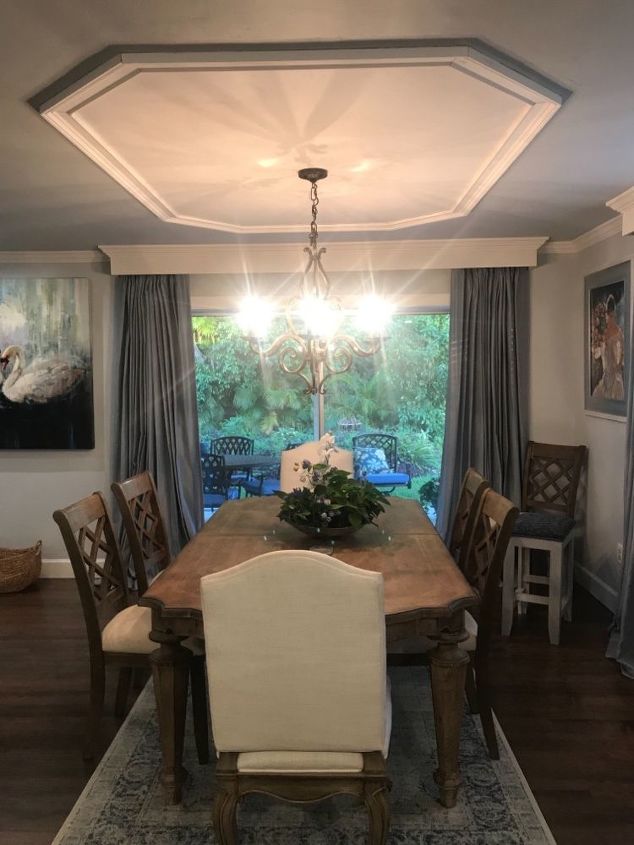
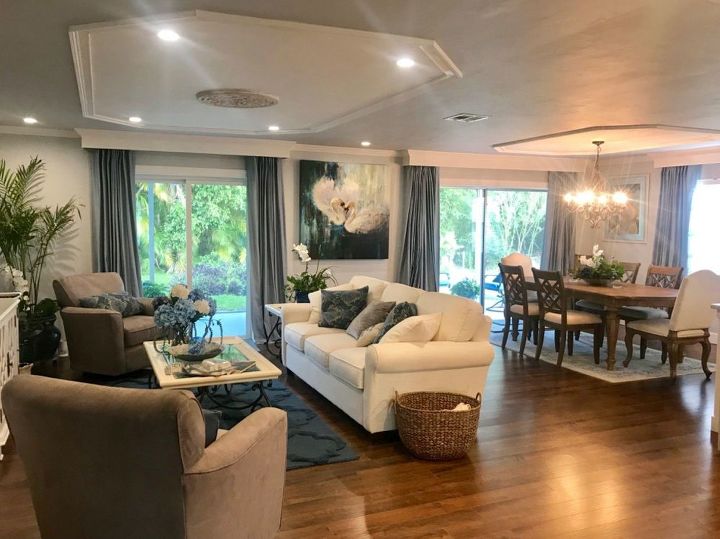
Finished ceiling frame in the dining room
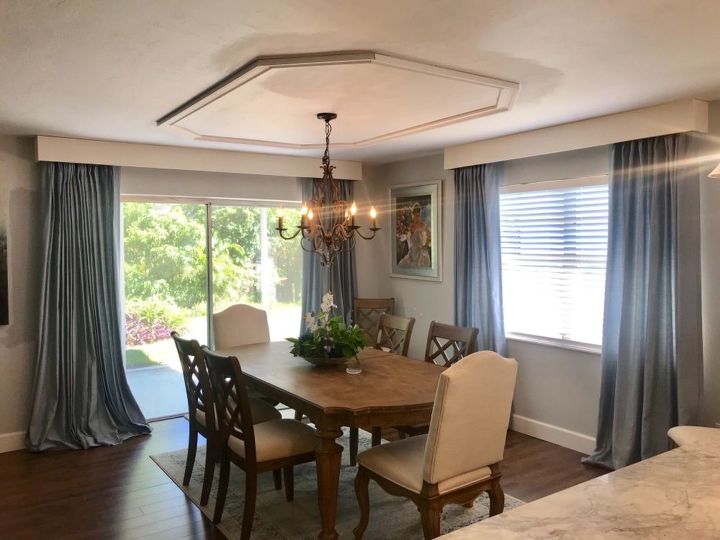
I also added cornices to windows out of 1 x 8”s
About $75 for the 3 cornices.
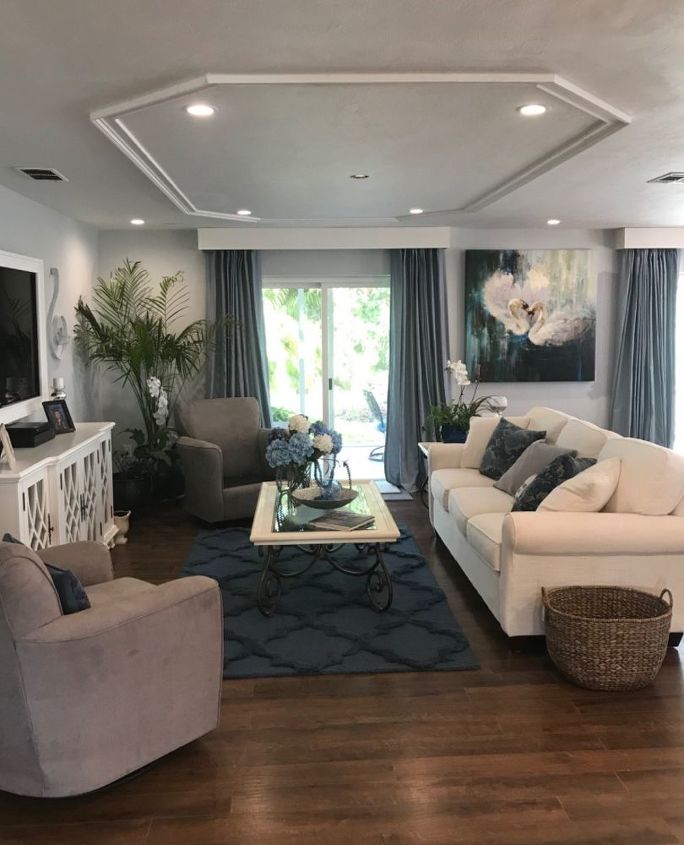
I had 5” recessed lights installed by an electrician in the corners of the living room frame that are 4” from the inside edge moulding. This cost was not included. Recessed Lights are available at Home Depot or Amazon

I added a Fetco Medallion from Amazon to cover the outlet for a ceiling fan that I didn’t want. It was $80 Lastly I added the crown moulding for the crowning glory. Lowe’s has contractors bundles of crown. I needed 2 bundles $200.
I painted the ceiling the same color as the walls except for the inside of the frames remained white to help set off all the trim work.
Finished project. I love it. Can’t believe what a difference it made. If you click on my profile you will see my other projects. The Swan picture was purchased at a discount art gallery in Naples Florida that is now closed. It is not signed by an artist and there is nothing to identify it.
Resources for this project:
See all materials


Comments
Join the conversation
-
Not a question. A compliment! Stunning. So professional and original. Makes your space beautiful. Thank you for sharing your artistic creativity!
-
By adding in three separate areas you subtly defined spaces without walls, posts, or anything else to block overall view of overall space but added purpose to space. Great visual


Frequently asked questions
Have a question about this project?
Not a question. What a beautiful space.
Very nice. Great idea to brace while glue cures. Me? I see disaster getting braces up to be effective, so I’d hire out. Thanks for sharing a very nice inspiration
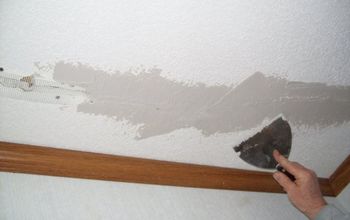
Debbie: this probably wouldn't look good on a 'popcorn' ceiling would it? Did you remove your popcorn ceiling first? If so, how? Thanks!