


Floating Shelf for Small Collections
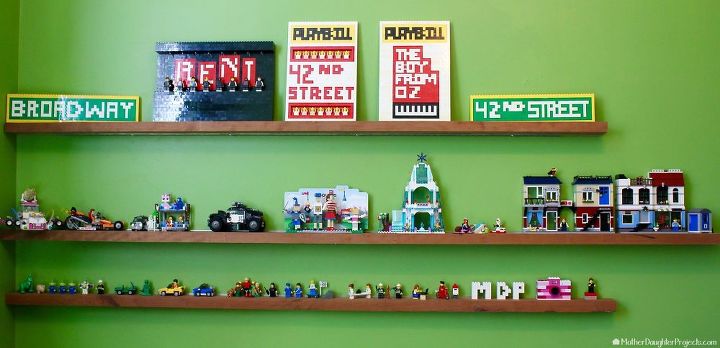
On this edition of Workshop Wednesday, we revisited a project we did three years ago. It's still holding strong and is home to a collection of small Lego sets.
We realized we never shared the tutorial here in Hometalk. The project lends itself to even novice DIYers. You can see a preview of the shelves at the 2:15 timecode mark. Take a look and then read on to see the tutorial
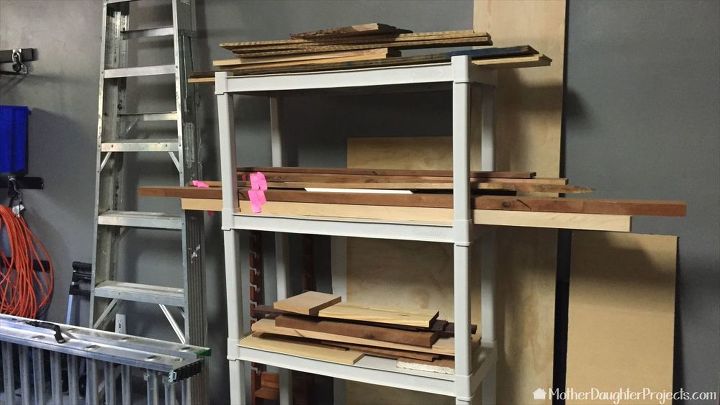
Unlike most of our projects, this one began with a search in our scrap pile for a board that would work for our small Lego sets. The board we are using is 72" long, 1 1/4" thick, and 2 1/2" wide.
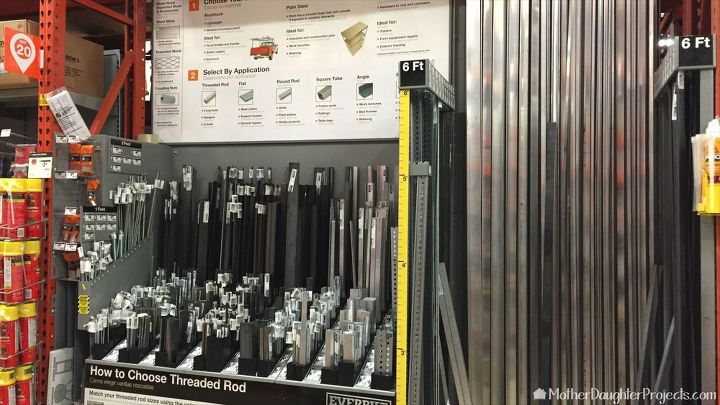
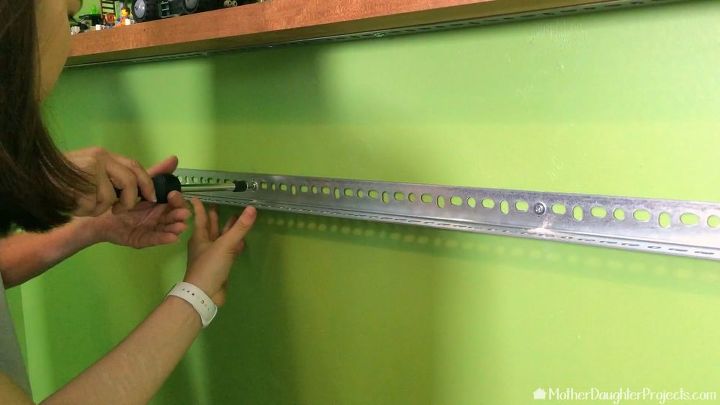
We did head to the store for a 36" long piece of slotted angle iron and some screws.
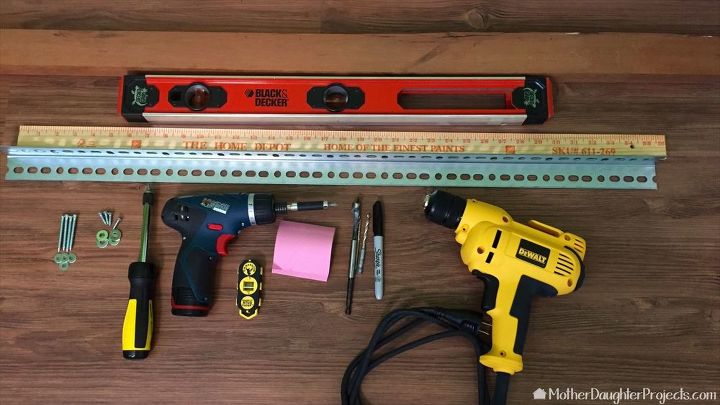
Here are a few tools we used to complete our project. We needed a drill, a few measuring things, stud finder, level and some assorted screws.
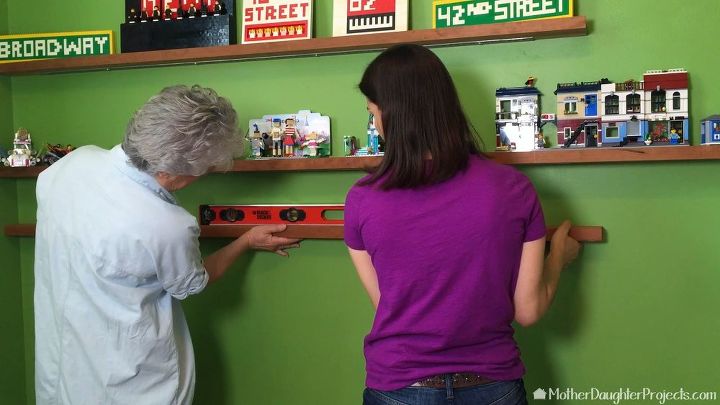
Our first step was to determine the placement of the shelf. We held it up to the wall, leveled it and marked the placement on the wall.
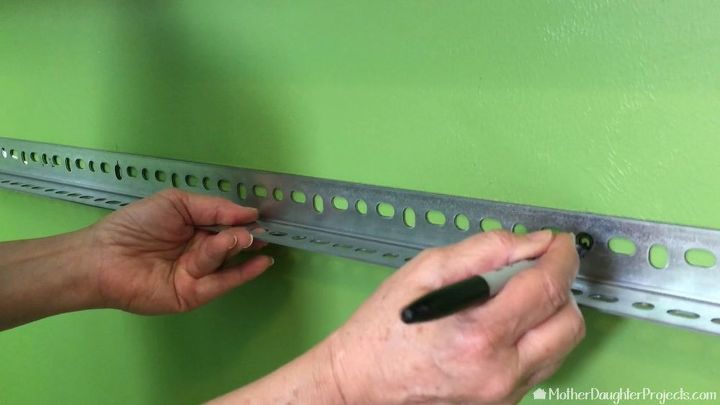
We used the stud finder to located the studs as we needed screw the angle iron into at least a couple of them. We then held up the angle iron and marked the placement of the screw holes.
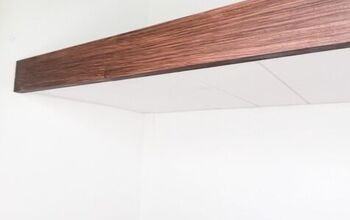
The screws that attach the angle iron to the wall will stick out a bit. In order for the back of the wood to lay flush with the angle iron, we needed to create an indentation in the wood. We used a wood boring drill bit.
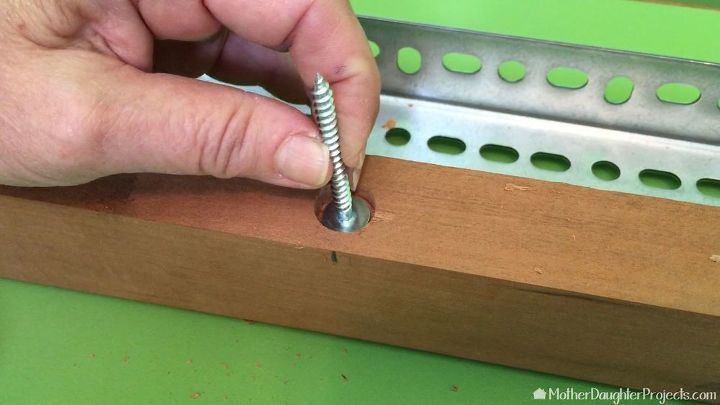
This hole will allow the head of the screw to fit into the back of the shelf.
Watch the video here.
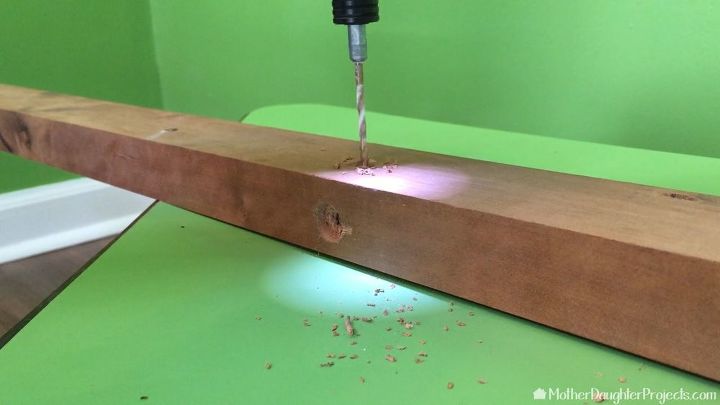
We drilled pilot holes in the bottom side of the shelf to make it easier to drive the screws when we attached it to the angle iron.
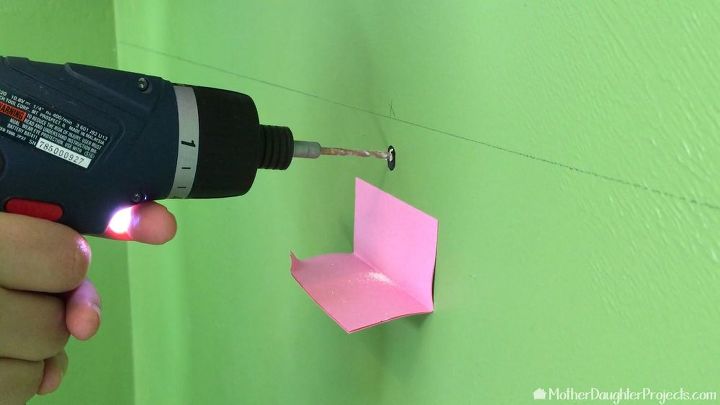
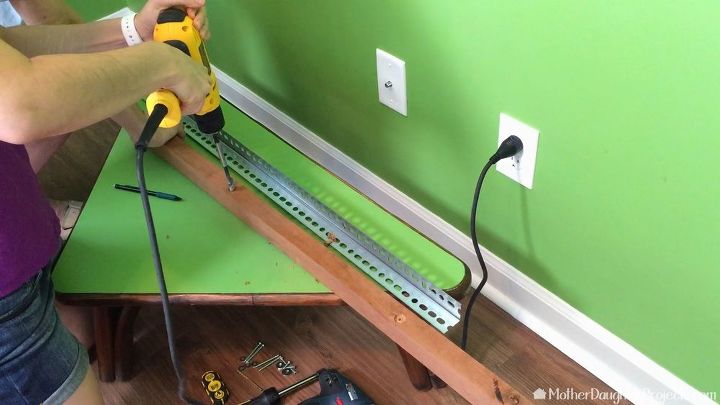
To attach the angle iron to the wall, we drilled pilot holes, held up the angle iron, and then put in the screws. That folded post-it note helps collect the dry wall dust as it falls as the hole is drilled. It is easy to keep your space clean with this hack. Just fold it up and throw it away--no more fallen dust on your baseboards.
We found it easier to use a screwdriver rather than a power drill to put in the screws.
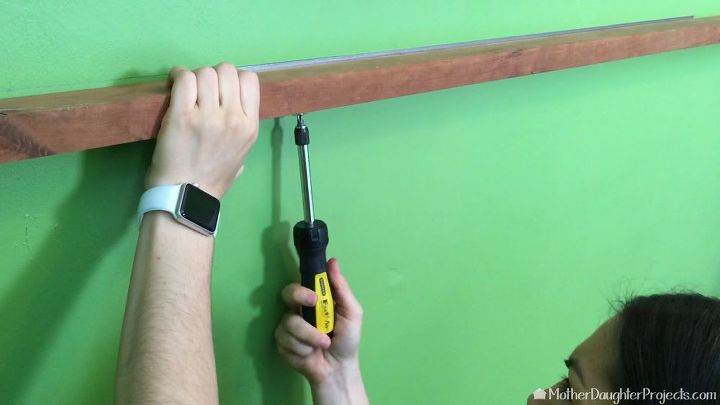
The last step is to set the board on the angle iron and secure it into place from the bottom using the pre-drilled pilot holes.
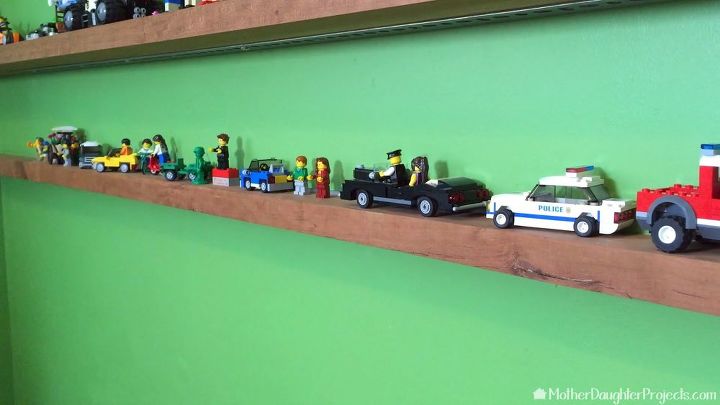
Now, all these little Legos have a home. If you're not a Lego collector, this would work for any small collectibles such as salt and pepper collections, small houses, tiny shoes, and more!


Comments
Join the conversation
-
That would be great for my Grandson. He has many many trucks, cars, Dinosaurs and many more, the shelves would be perfect for him👏👏👏👍👌
-
Love it! Your a good dad!!💕


Frequently asked questions
Have a question about this project?
do you paint the angle iron underneath? is it visible from anyone seated in the room?
instead of the angled iron; could you use a shelf bracket or "L" shaped hardware? ...in order to mount the floating shelf.
Can cover over knotty pine?