


Make a Decorative Horse Sculpture
Using a brick and a toy horse, I made this faux bronze sculpture using chalk and metallic paints.
This is an intermediate-level, faux-finish painting project and a good chance to practice dry-brush blending. Start with a brick and a toy horse.

I found this plastic horse with a velvet flocking at a thrift shop for $2.00 and the brick from my garden. I removed the mane and tail and glued the horse to a brick.
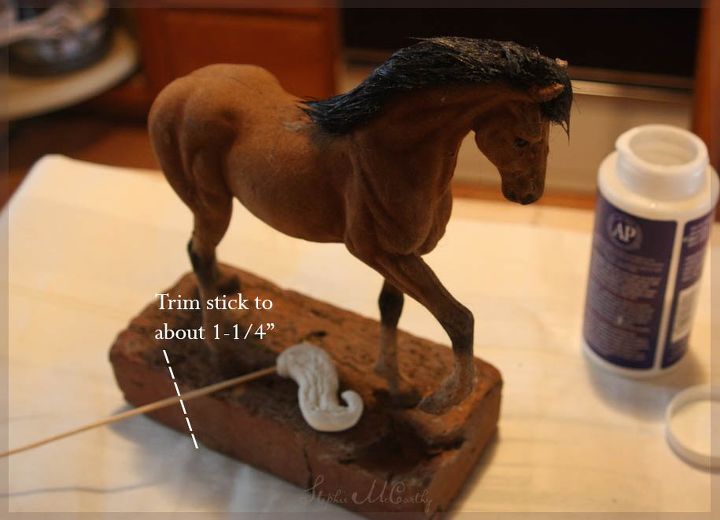
I shaped the tail with modeling clay and used a wooden skewer that I cut to about 1-1/4". If there is no hole in your horse where the tail can go, make one. Insert the new tail into the hole, and secure with glue.
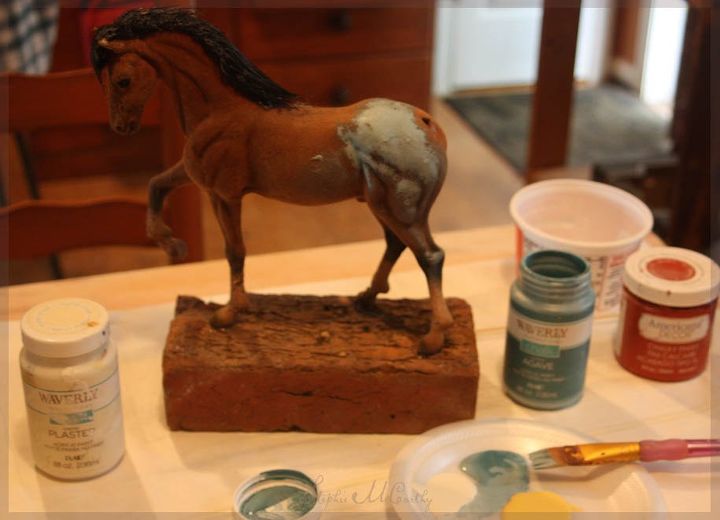
I used chalk paint in just 4 colors to simulate a bronze/copper effect. Patchy areas of green-blue and light brown paint are blended together using a mostly dry brush. I lightened the blue and brown colors with off-white and yellow as needed.
The green-blue lightened with off-white was my predominant color. Light brown (called "Truffle" with Waverly paints) helped blend in the green-blue patches.
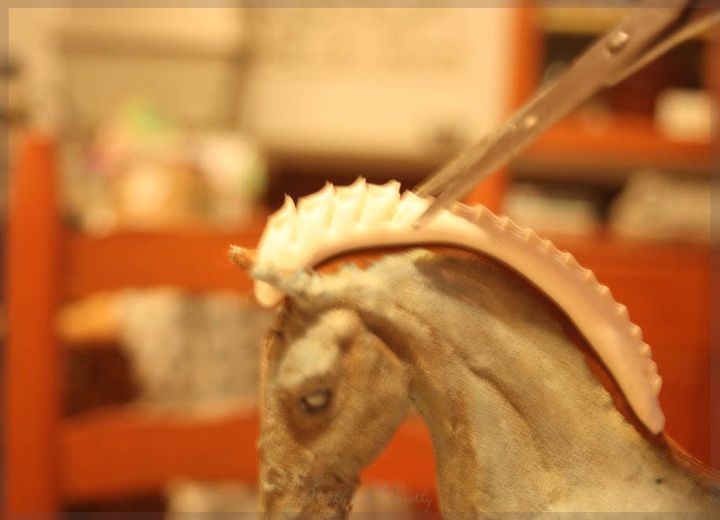
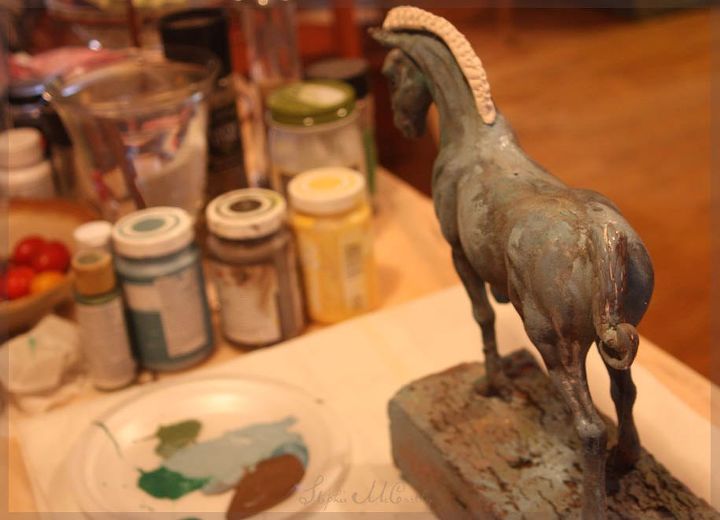
I shaped a mane out of modeling clay and used tweezers and scissors to add texture. Let the clay dry and use glue to attach it to the horse's head. Paint it to match the horse's body.
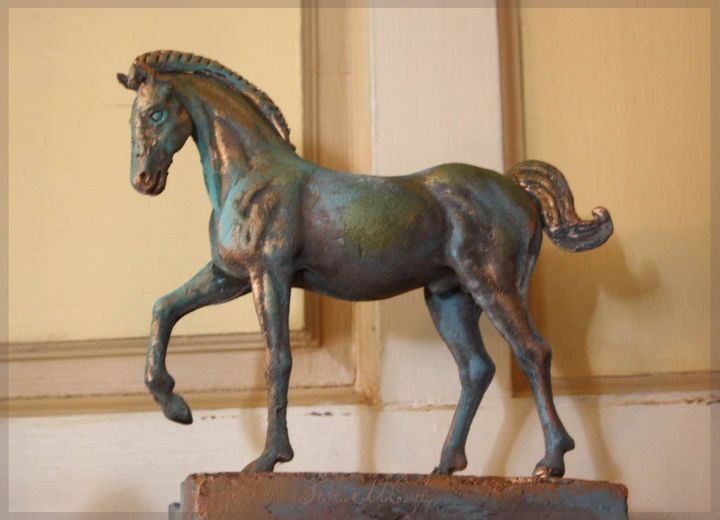
When the chalk paint dries, use metallic colors such as
gold and green to highlight. if you've over-done your gold, like I did at first, blend the blue-green and brown paint on top, to tone it down.
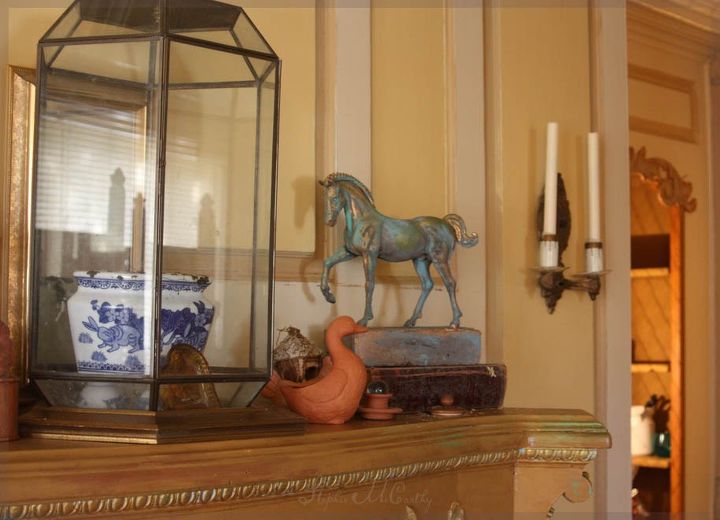
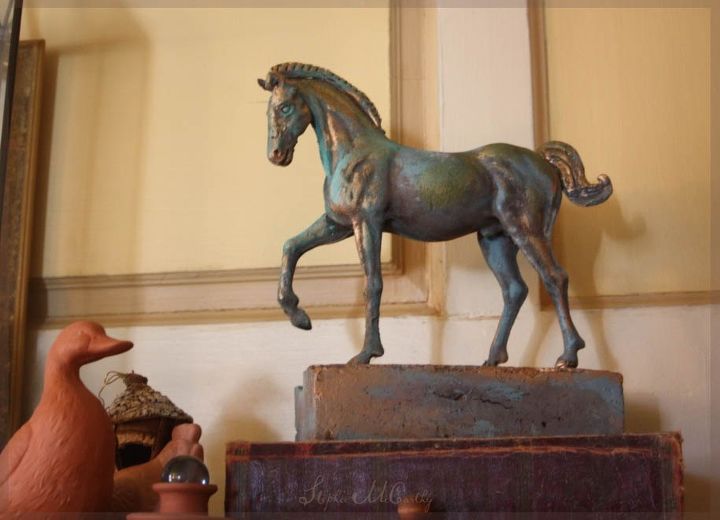
The horse looks wonderful on the mantel just as I imagined it would. We are restoring a 200 year old house and doing a lot of decorative painting throughout. If you'd like to see some of our progress, click here.
Resources for this project:
See all materials


Comments
Join the conversation
-
Stephie, I’ve only made it to the spray paint a plastic animal stage. But I want to try theaged bronze look and many others. Thanks for an excellent tutorial. 😊
-
I am sooooo impressed! I found a large toy horse at the Goodwill, and I am going to attempt it now. I was also thinking it might be kind of fun to coat the horse with a bunch of those little mirrors or tiles. I'm also going to try spreading one with mortar for a faux concrete look. Or faux a woodgrain! Fun! Thank you for the inspiration!


Frequently asked questions
Have a question about this project?
Can't help but giggle. It looks so good! You also stole my idea of using an giant old glass light fixture as a treasure viewer/holder. Is that project here? Thanks.
I'm sure he did, but do you want "cute" or "classy"? That is the question.