


The Storybook House - A Charming Holiday DIY Craft

Once Upon a Time, there was a little shop with the most charming window display in all the land: Old, forgotten books had been magically transformed into a village of holiday houses. The covers of the books were the roofs, and the pages were the exterior walls. The theme was black and white – printed words on white paper.
I was enchanted with these holiday houses, and I vowed that one day I would try this project myself. Only my "Storybook House" would be more colorful because I would be using a children's book.
Finding The Materials
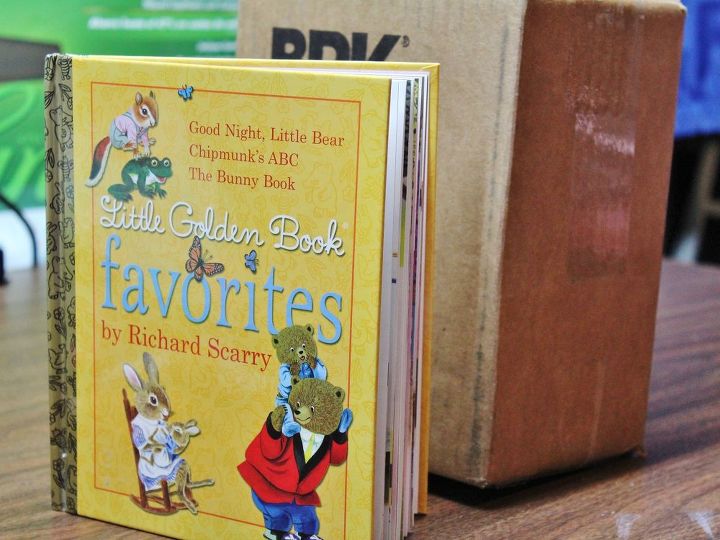
Recently, I decided that it was time to give this a try. I headed to the thrift store to find a children's book with charming illustrations of both indoor and outdoor scenes.
(Here I must say that, since I would be cutting the pages out of this book, I wasn't looking for a rare antique. And, in fact, the book I decided to use is still in print. So, I don't have to feel too guilty about chopping it up and using it for a craft project.)
Anyway, back at home, I rooted around our basement to find a box that would serve as the framework for the house.
The book measured 6.5" X 8" and the box measured 7″ X 9″ X 5″.
The Prep Work
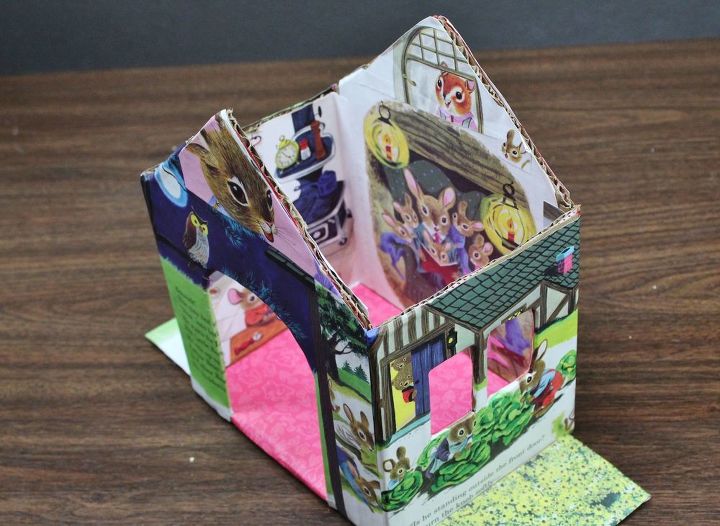
Using a utility knife, I cut an appropriately-pitched roofline in the top of the box, folded the two bottom side flaps out to add stability to the "house," and then securely taped the two remaining bottom flaps to serve as the subfloor of the "house."

Then I adhered Kraft Paper to the entire box using Mod Podge. This was just to get a smoother surface before decorating the box.
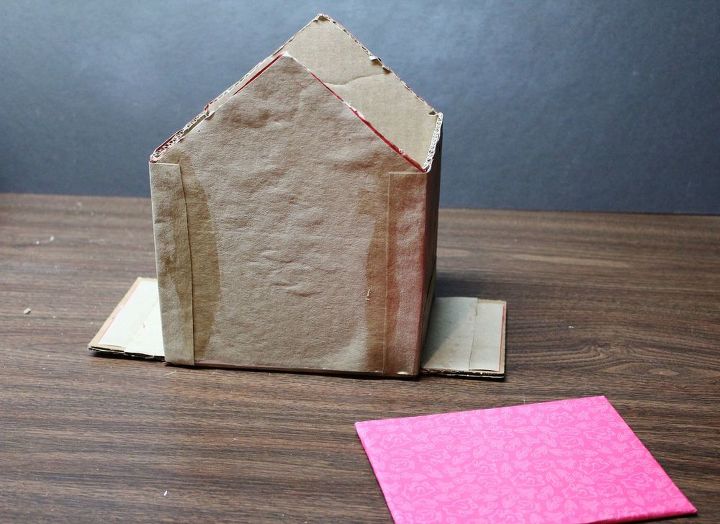
I cut out an additional piece of cardboard to use as the "floor" of the house and, again using Mod Podge, I covered it with an attractive white-on-pink lining page that I'd cut out of the book.
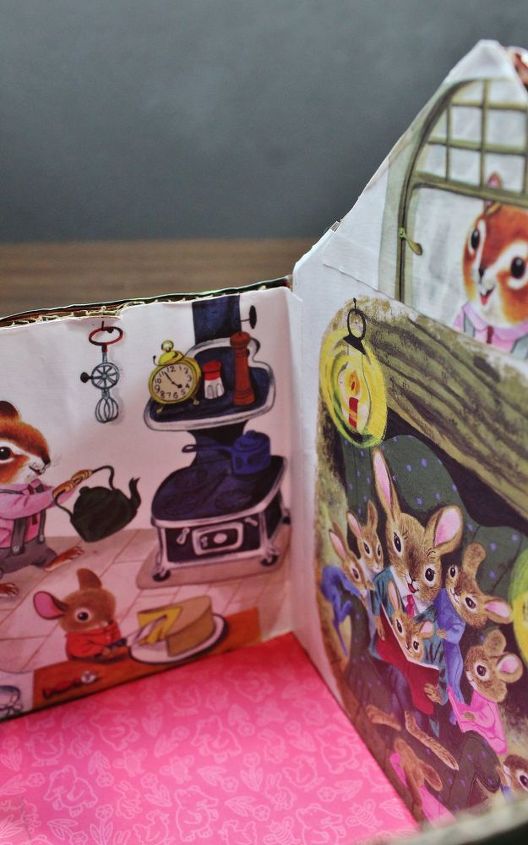
Then I measured, drew out, and then cut out a rounded doorway and a split window. After all, there would be a lot going on inside this house, and I wanted it to be visible.
The Fun Begins
Now it was time to get creative. I perused the children's book for indoor scenes to paste inside the house, and outdoor scenes for the exterior.
Then it was just a matter of cutting them to the size I needed and pasting them to the house using the Mod Podge.
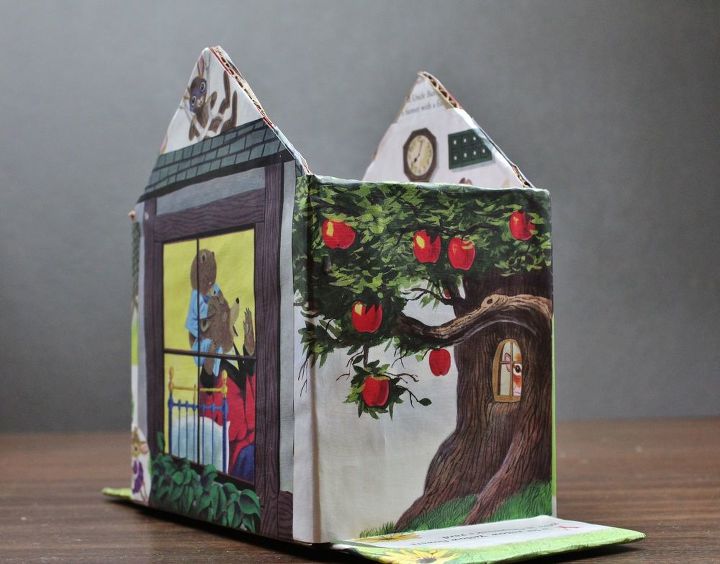
After this was completed, I brushed Mod Podge over the entire house to protect it and give it a little sheen.
At this point, I hadn't attached the "roof" yet.
The Roof
I carefully cut the remaining pages out of the book with my utility knife, making sure to leave the spine and cover intact.
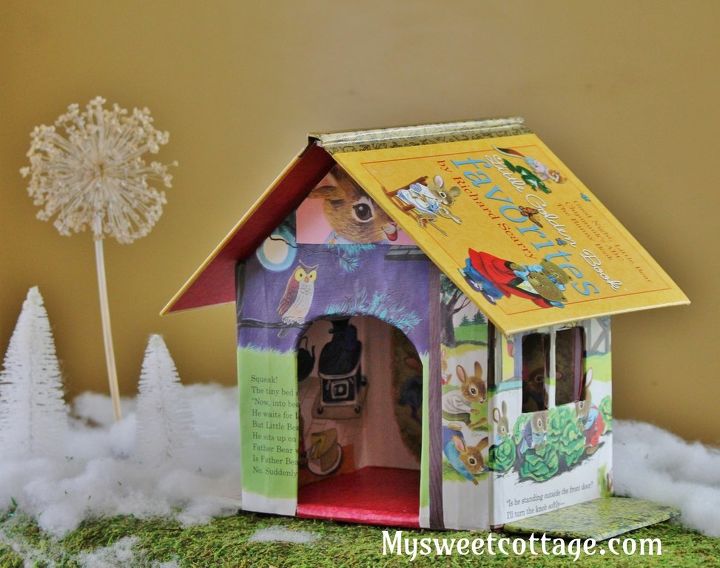
After I had the book cover separated from the pages, it was no longer a book cover. It was a roof! And I glued it to the house using plain old Elmer's Glue-All and making sure there were no runs.
The Result
This is a charming little addition to my holiday decor, but it can actually be displayed any time of year (minus the "snow" and bottle brush trees of course.)
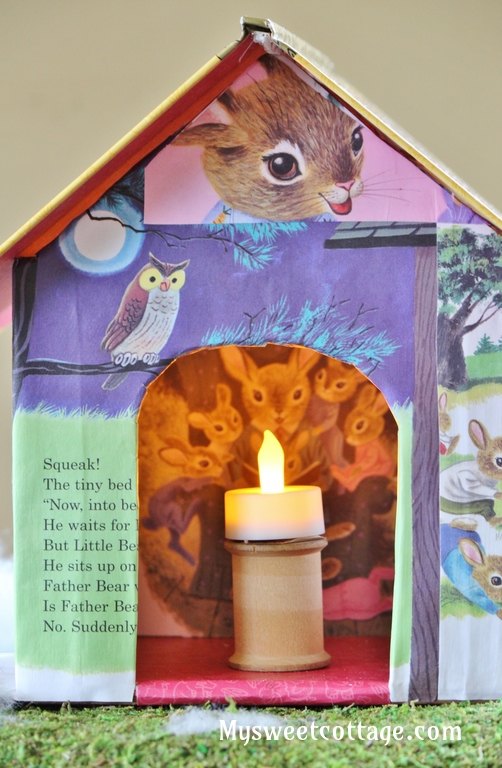
The interior was a little dark, so I added a small battery-operated votive candle on a thread-spool "table." (For obvious reasons, I would never use an actual wax candle inside this Storybook House.)
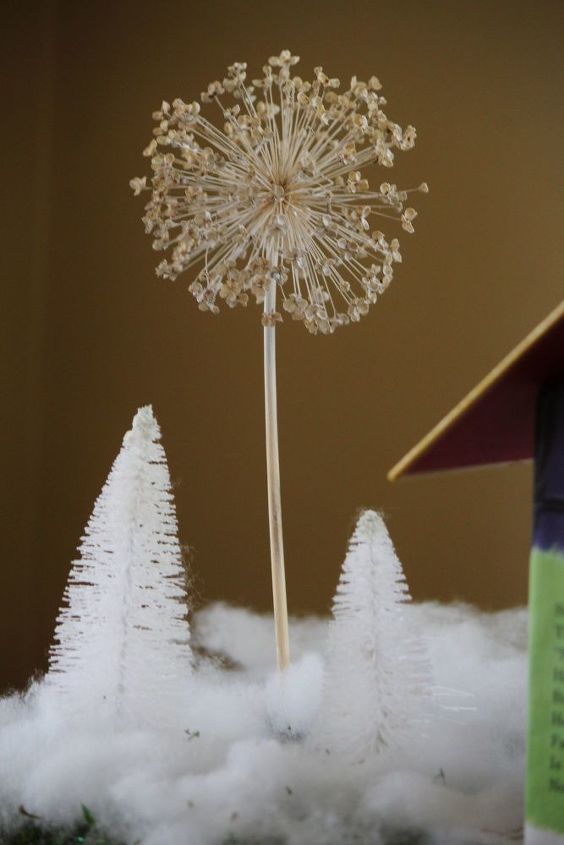
For more on this project check out this post. And, for how I made the easy and versatile "frosted tree" towering above the bottle brush trees, check out this post.
Because I already had a lot of the materials for this project on hand, I'm listing the cost of this project at $2, which was approximately the price of the children's book I found at the thrift store. My time estimate is two days because I included drying time for the Mod Podge and glue.
Child Safety
Although this Storybook House is very appealing to youngsters, it's worth mentioning that it should be used for decor only, and not as a child's toy.
Resources for this project:
See all materials


Comments
Join the conversation
-
Absolutely adorable thank you for sharing!
-
What a wonderful idea! I love it! My next craft project with my granddaughters.


Frequently asked questions
Have a question about this project?