


DIY Headboard That's Easy to Build and Install - No Holes Required!
When I stay put in one place for a while, I get antsy and start to change things up with my decor! This time, it's my headboard that got a makeover to give my bedroom the boutique hotel look and feel.
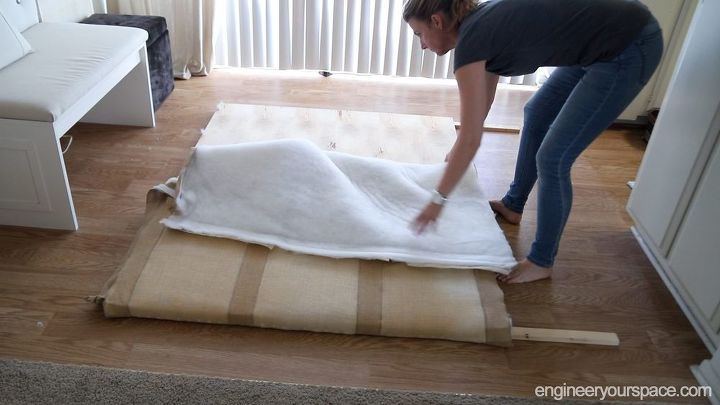
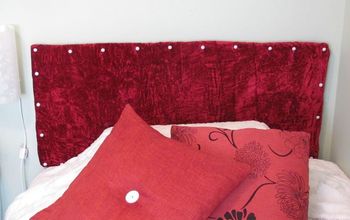
The first thing I had to do was remove the upholstery - I had used batting and burlap fabric with ribbon to cover it up.
I had built the structure with legs so that the headboard could be wedged between the wall and the plain bed frame I had bought second hand and not need to be screwed into the wall. You can see how I built the structure in the video at the end of this post.
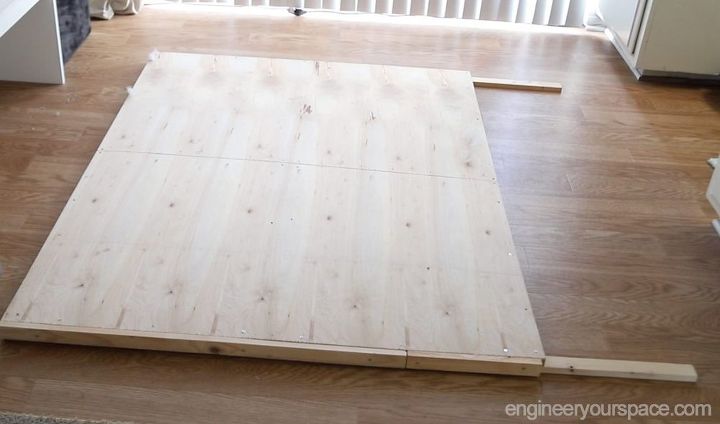
For this new headboard, I wanted it to be more sleek and upscale, like something that you would find in a boutique hotel. I opted to cover up the structure with 3 wood panels which I made by attaching 1"x2" furring strips to the edge of 1/4" plywood (floor underlayment).
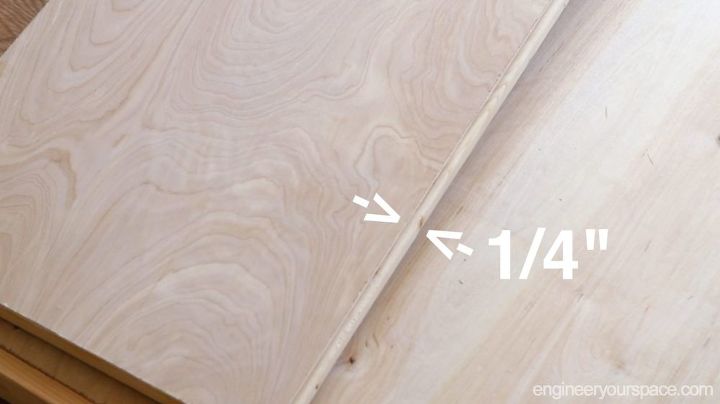
I placed the furring strips so they stuck out of the side of the panels by about 1/4" and that was to create a ledge for the screen molding to rest on. I left the 1"x2" furring strips flush with the edge at the top and bottom.
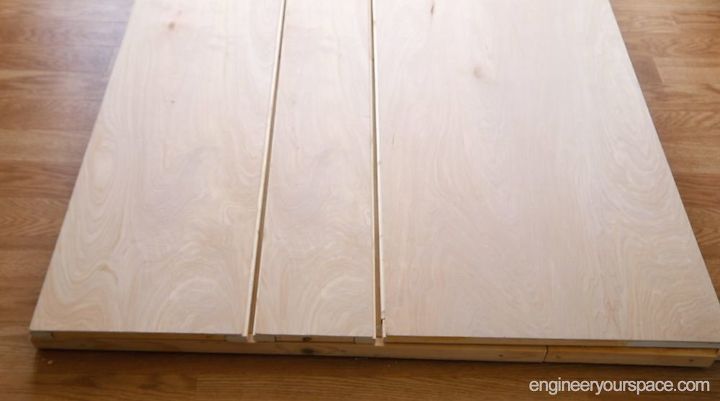
I sized the panels to create a 3/4" gad at the top and bottom of the middle panel which I filled in with the screen molding.
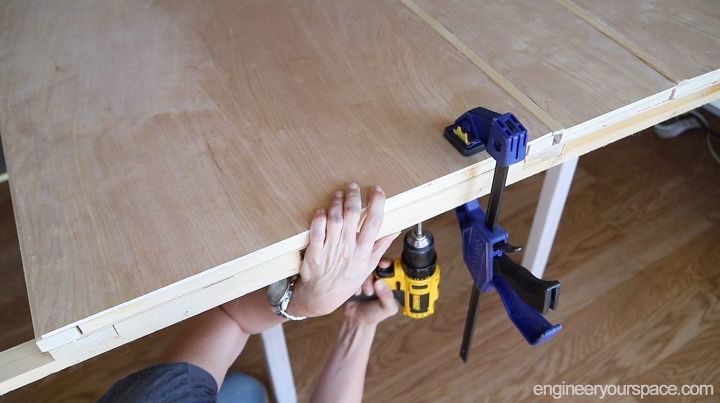
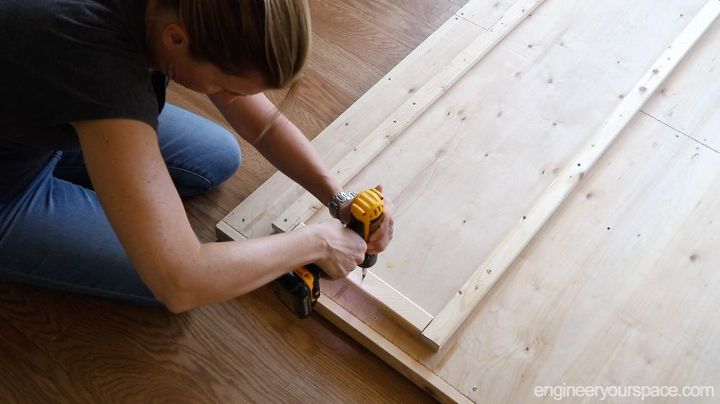
Next I attached the wood panels to the structure, and I put on 2 coats of shellac.
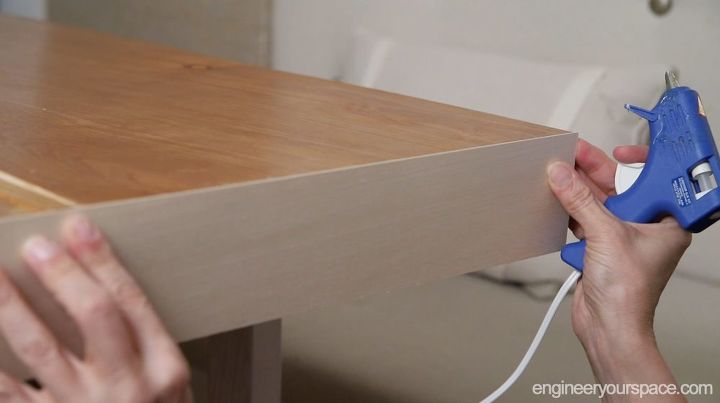
I covered up the sides with thin basswood, using hot glue to secure it. I also used hot glue to secure the screen molding in place.
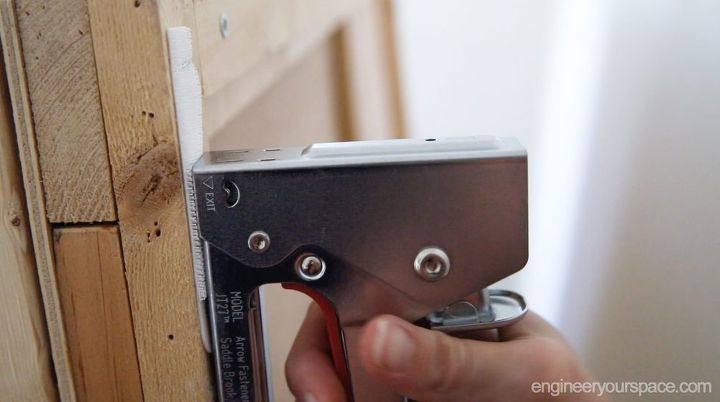
Last but not least, I stapled removable 3M command strips to the back of the headboard (the adhesive doesn't stick to natural wood very well so that's why I used staples) to line up with the ones on the wall.
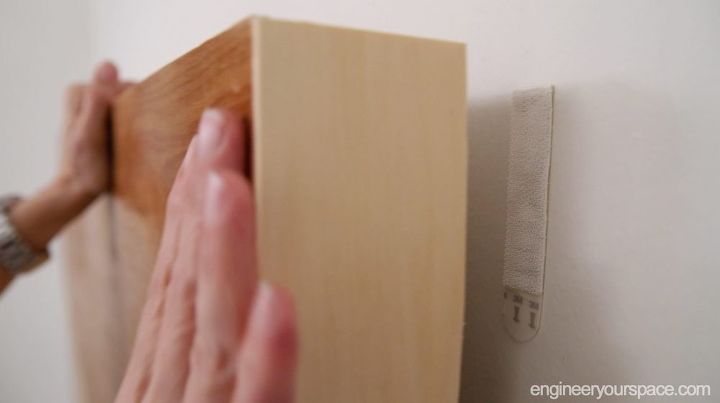
Because the legs take the weight of the headboard, and the bed is up against the headboard at the bottom, these removable 3M Command strips are more than enough to prevent it from falling over.
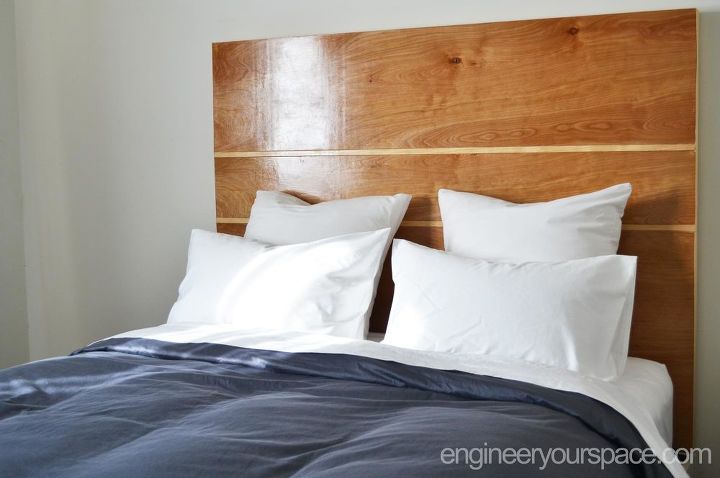
I absolutely love this look, especially combined with the new bedding I got from Brooklinen - it totally upgraded my sleeping experience!
You can see how I made the first headboard, including building the structure, and more details on how I made the new one in this video.

Comments
Join the conversation
-
Great
-
Really nice and sleek. Well done.


Frequently asked questions
Have a question about this project?