


DIY Peppermint Candy Christmas Tree
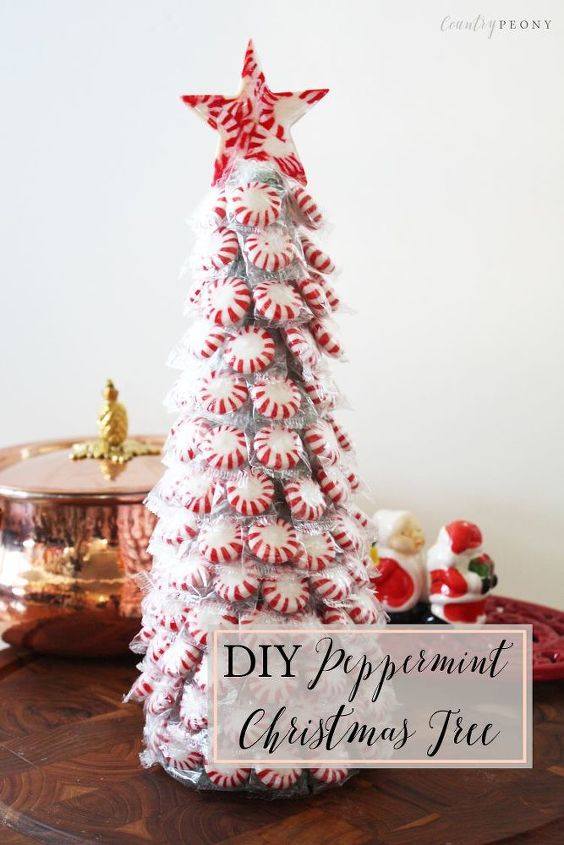
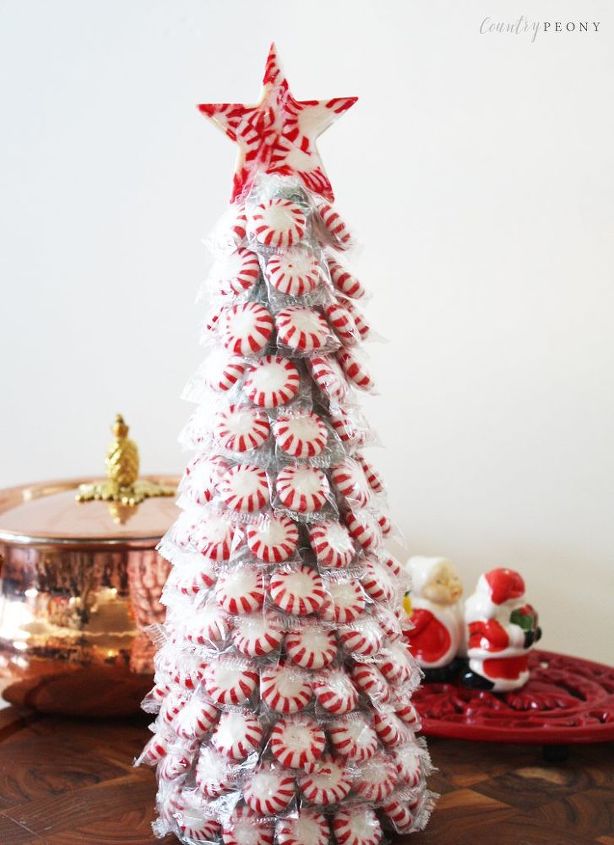
A Christmas tree you can eat! This simple, yet festive peppermint candy Christmas tree is perfect for the holidays as it is a feast for your eyes and your palate.
My favorite season is here! As a crafter, Christmas is very near to my heart because this is the time of the year that my mother would craft alongside me. One of my favorite Christmas crafts that my mother would make with me as a child was the peppermint candy Christmas tree.
Today I am sharing the simple, yet festive and sweet Christmas tree with you. Like most of my projects it is very simple, inexpensive and versatile. Please feel free to add any type of candy that you wish as long as it is individually wrapped.
Please see the steps below to make your own candy Christmas tree:
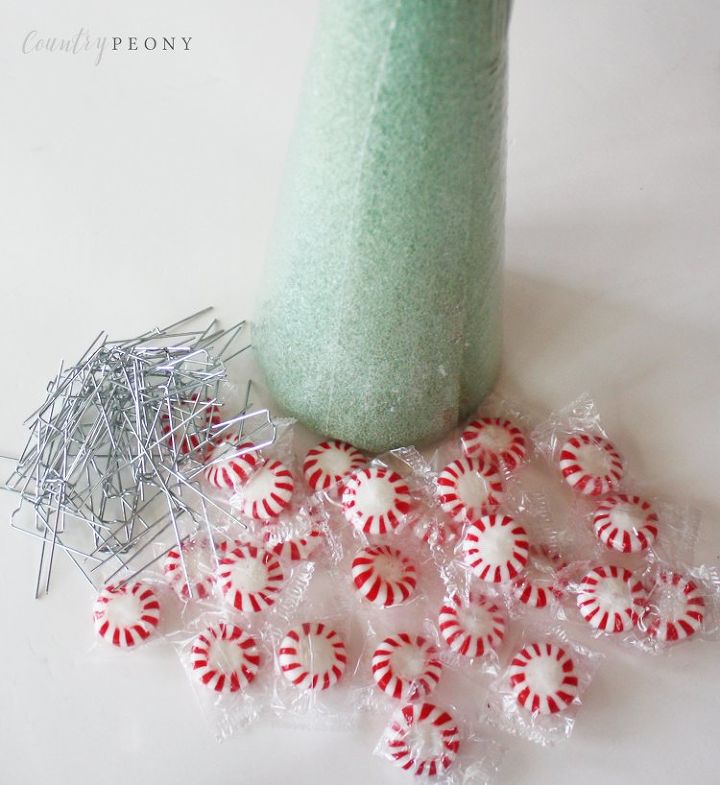
- Styrofoam Cone. I used 3.8" X 11.8". I also used a green cone, but white would work well too.
- Individually Wrapped Peppermint Candies. I used about 150 mint candies.
- (affiliate link) Floral Greening Pin
- Topper. Here is a link to my blog that features the step-by-step tutorial to make your own homemade peppermint candy topper.
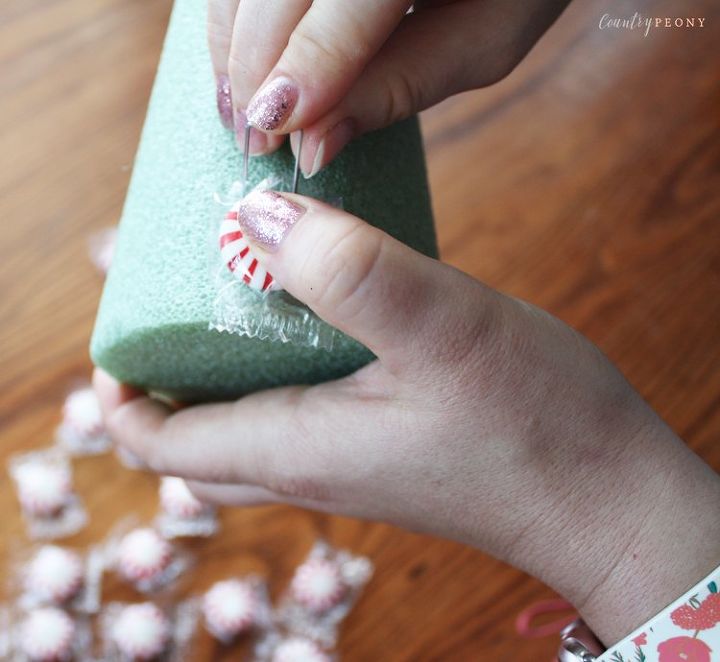
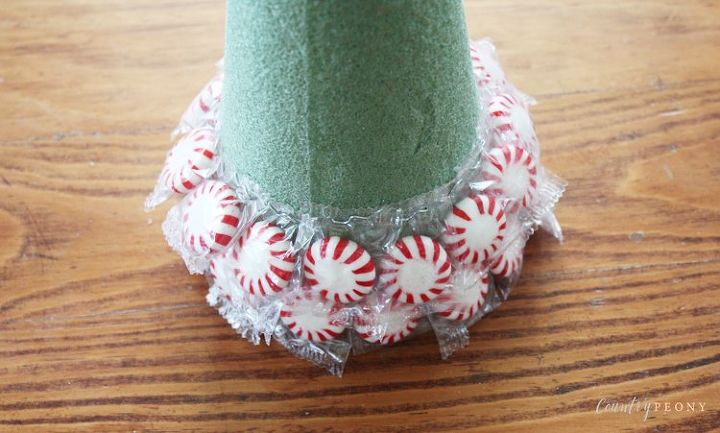
Step 1: Start at the bottom. Pierce the greening pin through the top of the peppermint candy wrapper into the foam. Continue to add candies to the bottom of the cone until you have one even layer. Ensure the candies are right next to each other so the foam is covered.
*Don’t start the peppermint too far down the bottom of the cone. You need ensure there is enough space for the cone to sit upright onto the tabletop.
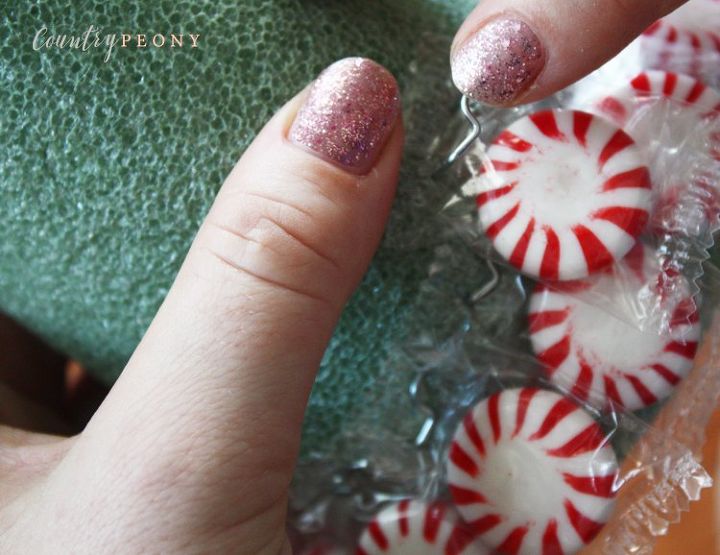
Step 2: Work your way up, and add the next layer of peppermint candies. Overlap the candy on top of the bottom layer, and place it in between the two candies below so that there is plenty of coverage.
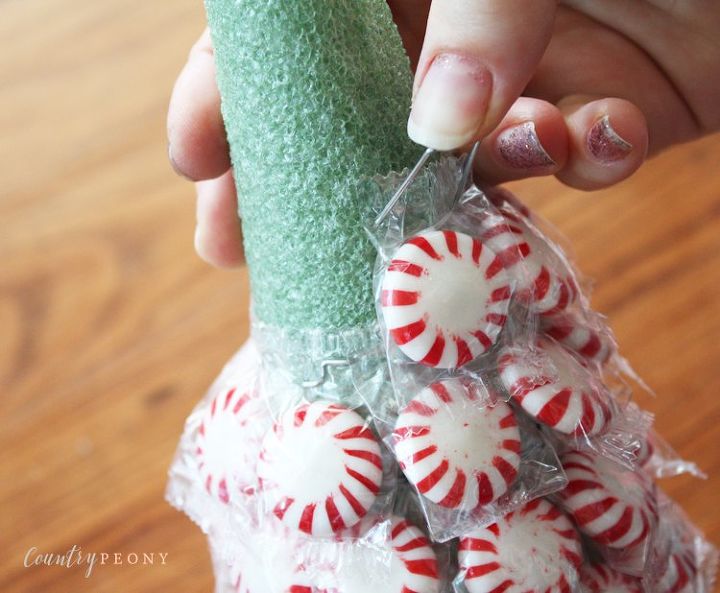
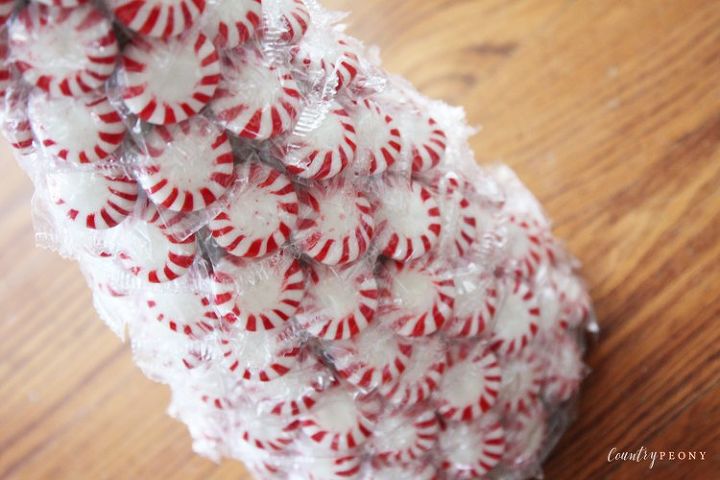
Step 3: Continue to work your way up. Once you start to reach the top of the cone it will start to narrow and the greening pin may pierce through to the other side. To avoid this, start to push the greening pin down into the cone instead of straight across.

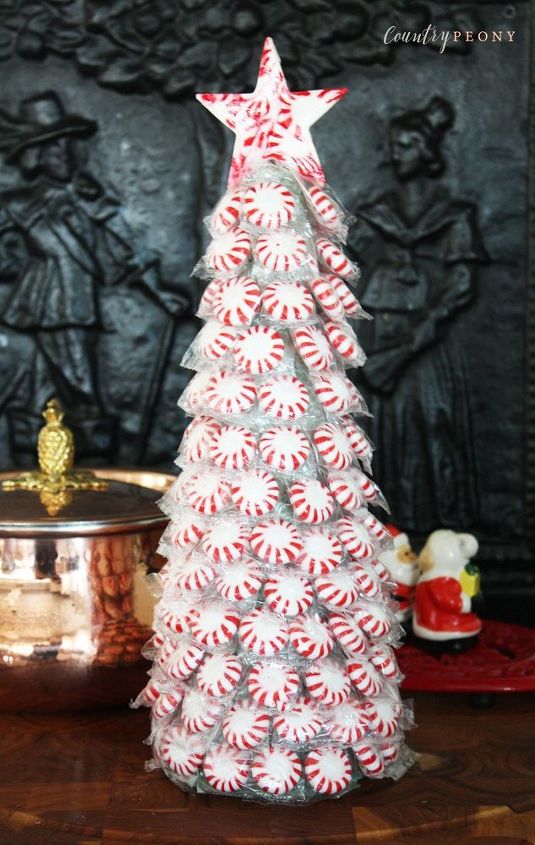
Step 4: Once you have covered your cone with peppermint candies it is time to add a topper. You can use a wrapping bow or a Christmas bow. Or you can add a homemade peppermint candy star like I did. You can follow the link to my blog under the tools list to see how I made the peppermint star topper.
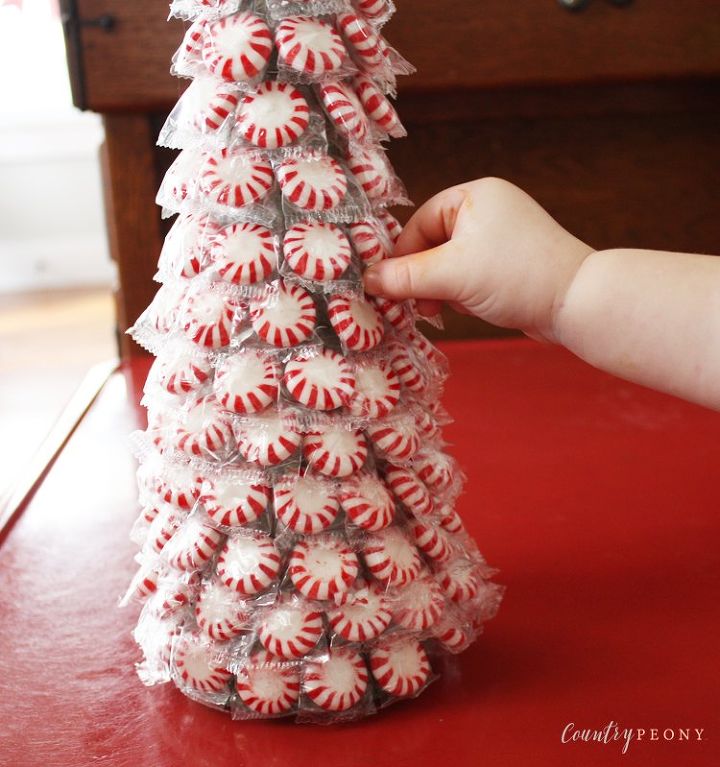
This is a really fun Christmas craft for older children. Younger children, like my daughter, enjoy the final product. This can also be a fun conversation piece at the dinner table, and guests can enjoy a mint once they are done with dinner by pulling off one for themselves.
However you decide to decorate your Christmas tree, I hope you enjoy the process! Happy Christmas crafting!
Resources for this project:
See all materials


Comments
Join the conversation
-
Cute idea. Will try to make
-
Love this! Definitely going to make this with my granddaughter. Thank you for sharing.


Frequently asked questions
Have a question about this project?
I'm wondering if there is another option to the pins since we will have young children at the table. maybe glue dots or tape?