


Faux Animal Skin Rugs
Have you ever just had one of those ideas you were so excited to create? This summer I vowed to redo both Minion's rooms. We’ve lived here for a few years, had painted their rooms while we were moving in, just so they could be excited about the new house. We were moving in the middle of the school year, so they were nervous about new schools. Annalise wanted pink, Alizabeth wanted blue. And really, that hasn’t changed a whole bunch. I first started out by finding out what colors they still liked in their rooms, i.e., what would still work. We also went online shopping for new bedding. We had discussions, we had brain storming sessions. It sounds like so much more work than it really was, but I’m not going to be painting again for a while. I wanted to make sure...SURE sure...that they would be happy with the new color.
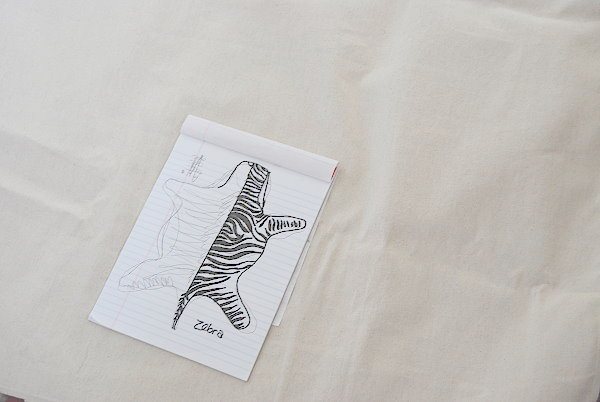
Along the way, as we were talking about the rooms, Alizabeth and I were chatting and somehow the subject came up of a faux animal skin rug to hang on the wall. What a cute idea! But, hey, I’m cheap. CHEAP. I was not about to pay $200+ for a real cowskin. Or much more for zebra. Besides, I’d feel bad about a real animal hide.
Along the way, as we were talking about the rooms, Alizabeth and I were chatting and somehow the subject came up of a faux animal skin rug to hang on the wall. What a cute idea! But, hey, I’m cheap. CHEAP. I was not about to pay $200+ for a real cowskin. Or much more for zebra. Besides, I’d feel bad about a real animal hide.
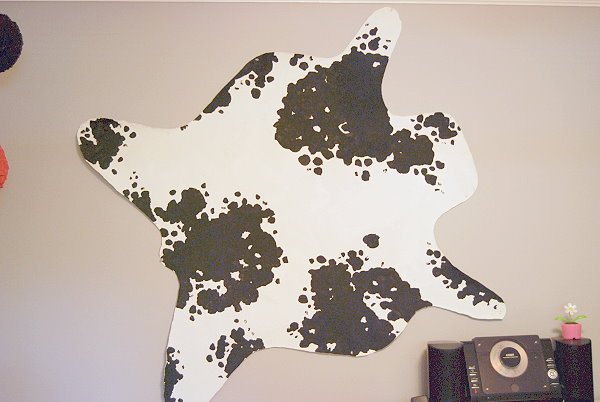
However, I wouldn't feel bad if it’s made out of canvas. After talking about it, Annalise was wanting one for her wall as well, and she and I decided that a fun spotty cowhide look would be unique and perfect for her new room.
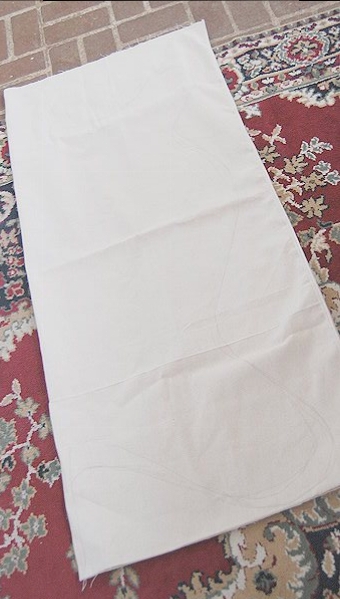
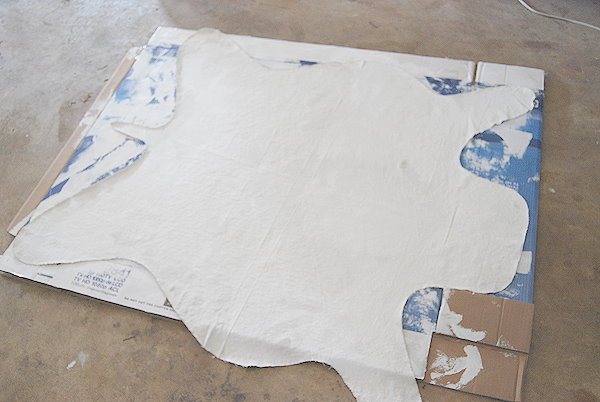
Really, you only need to trace half the shape, on the fold, then cut out both sides at the same time. You will see that I have created a tail, in the final skin I have trimmed the tail off, many animals do not have the tail skinned.
After it’s cut out, find a spot you can paint it, and as big a piece of cardboard or tarp that you can fit it on.
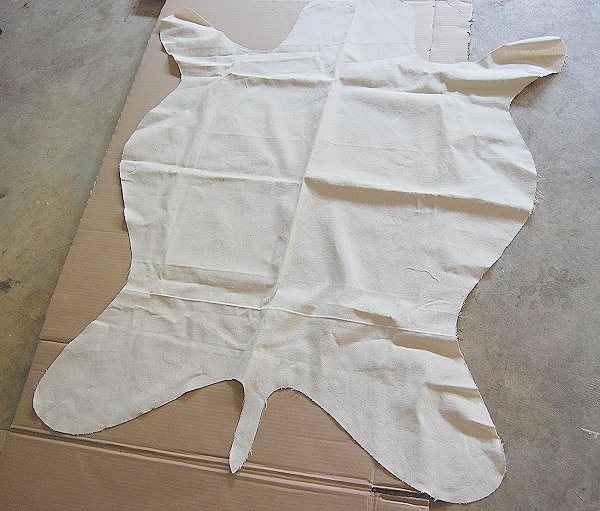
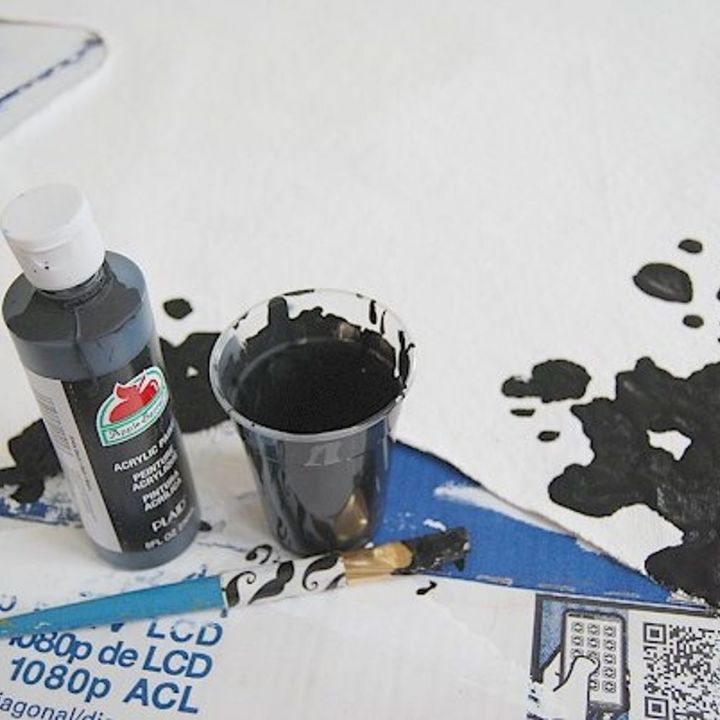
Now, paint the canvas with a roller and acrylic paint, or latex paint. I used a white paint that was eggshell finish. It took two coats for a solid white.
Now, you can begin painting your decor lines.
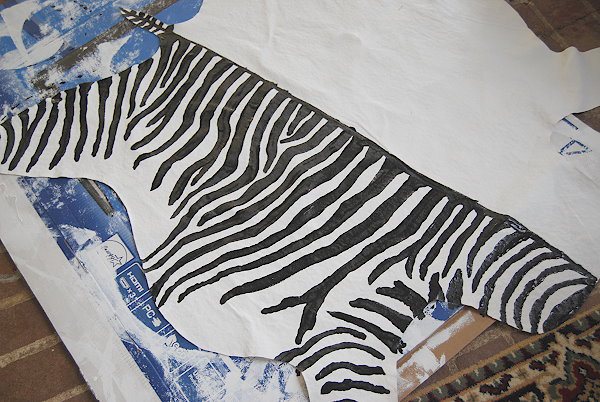
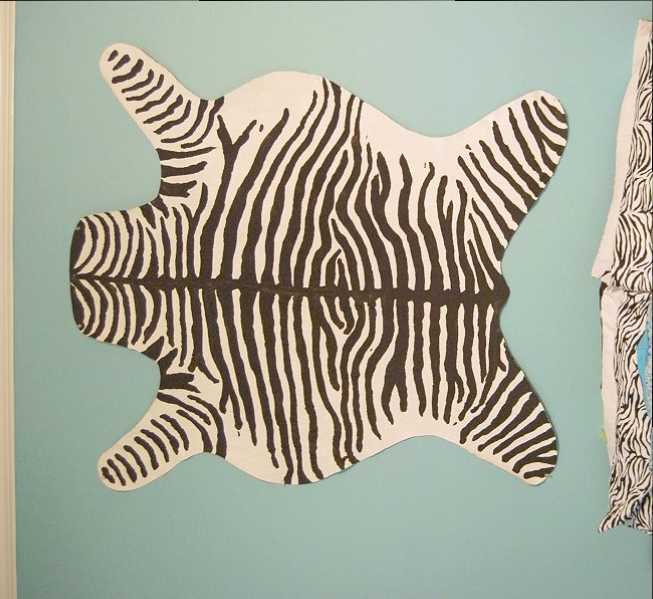
Painting the center line of the zebra allowed me to mirror the stripes on the other side.
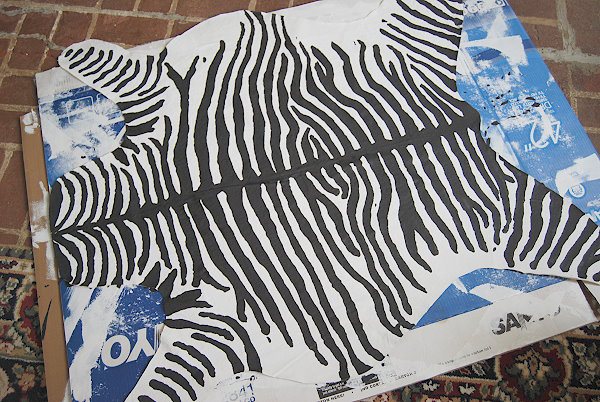
When finished, I trimmed off just a small part of the edges as they had unraveled a bit with painting. It gives a nice sharp edge.
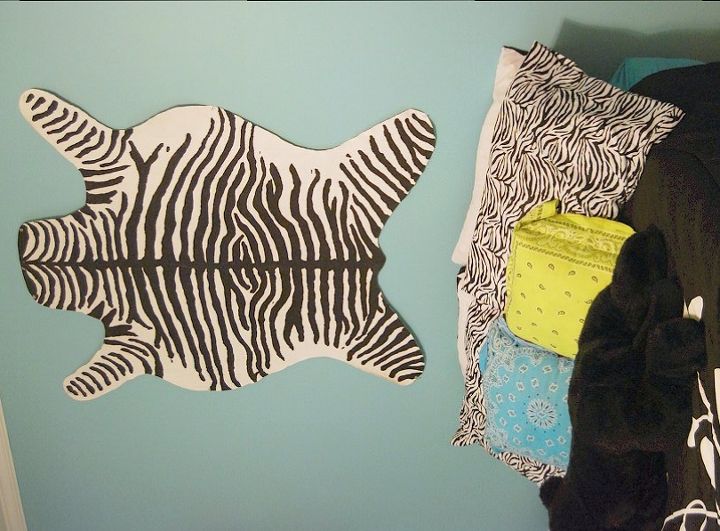
Hang up the finished piece with clear tacks and enjoy!

Want more details about this and other DIY projects? Check out my blog post!


Frequently asked questions
Have a question about this project?