


Beginner Santa Sack Sewing Project
When I was seventeen, my mom gave me a Singer sewing machine for Christmas. And even though I was really happy to finally have one of my own, my fear of using a sewing machine, paired with a severe lack of motivation to learn the basics, resulted in that lovely gift sitting unused for years.
However, a few months ago, all of that changed! Because I wanted to make a decorative banner for our wedding, I decided to wipe the dust off of my untouched sewing machine and learn a thing or two about how it worked.
After viewing a couple of YouTube tutorials, I felt confident enough to give my first project a try, and, to my surprise, it was a success! Turns out, using a sewing machine isn't as scary or complicated as I'd convinced myself it would be.
Anyway, after the success of that project, I knew it wouldn't be long before I turned to my Singer again, which brings us to the purpose of this post!

To get started, you'll need to set up your sewing machine with the thread you want to use, and plug in the iron. Next, measure out the two pieces of fabric you're going to need to put together your Santa sack.
I chose to work with some leftover linen, and I cut it into two 20" x 26" rectangles.
I folded one of the shorter sides on each piece of linen half-an-inch down and then pressed it in place with the iron. Pressing creates a nice, crisp edge, which will make future steps much easier to accomplish.
I placed one piece of linen on top of the other, and made sure the pressed edges were facing out for each of them.
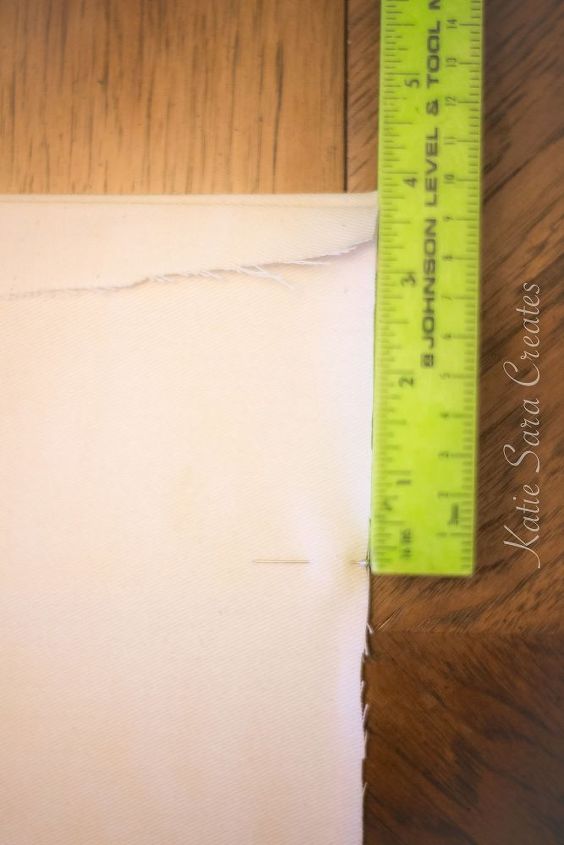
Next, I measured four inches down on each side. With a pin, I marked the four inches, and then I transferred the fabric over to my sewing machine.
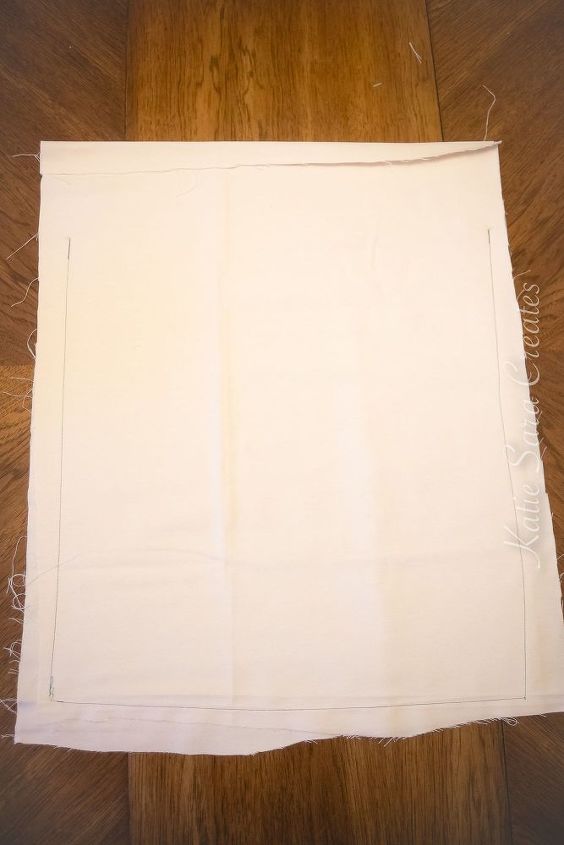
Starting at one of the pins, I stitched down the side, across the bottom, and back up to the second pin, which secured both sheets of linen together.
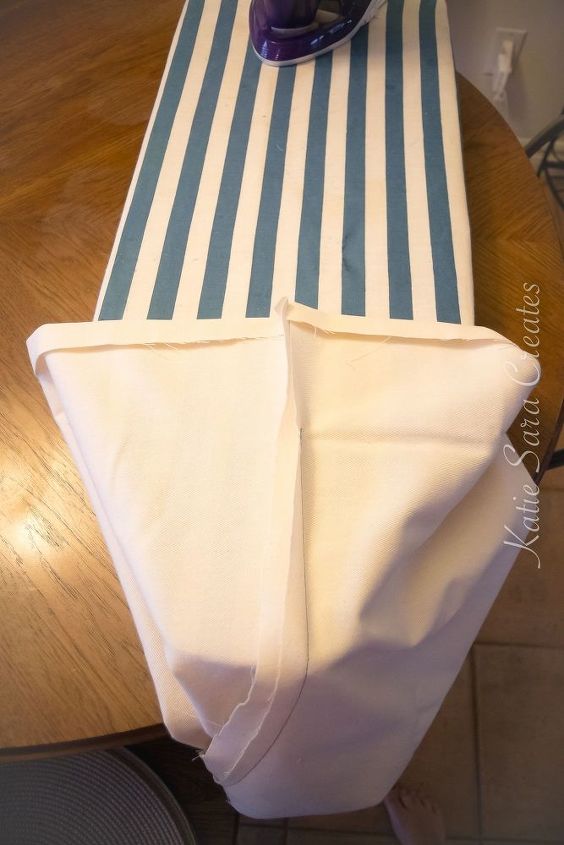
I then inserted the top of my ironing board into the sack and made sure one of the unstitched sides was facing up.
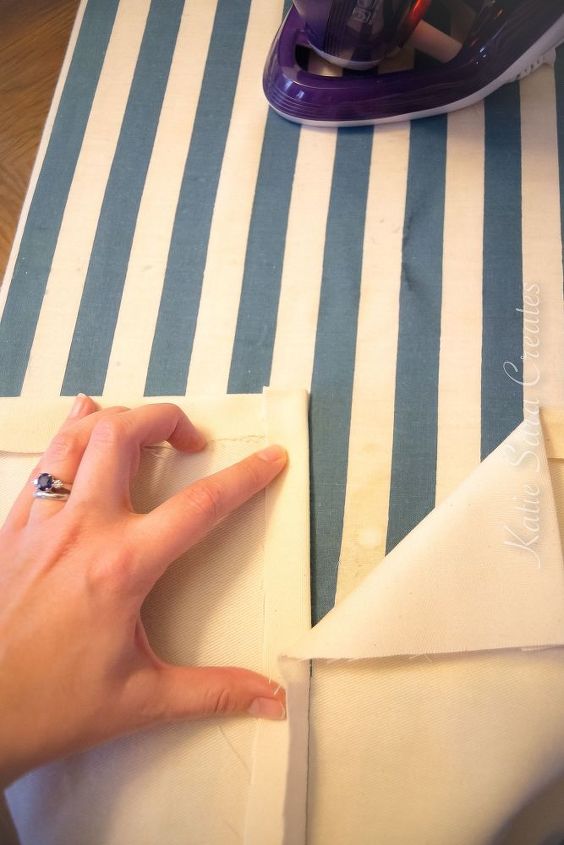
I folded back both seam allowances and pressed them with my iron.
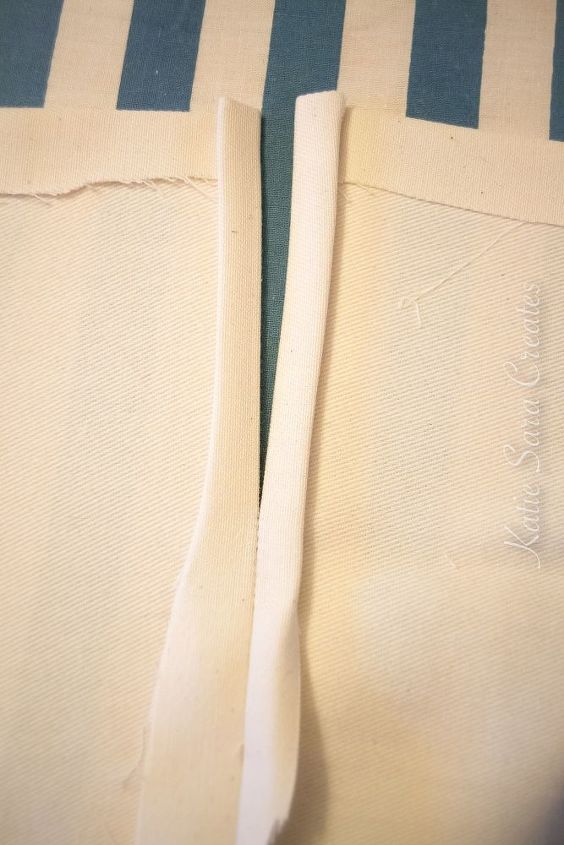
After the first two folds had been pressed, I folded each side a second time and pressed them, too.
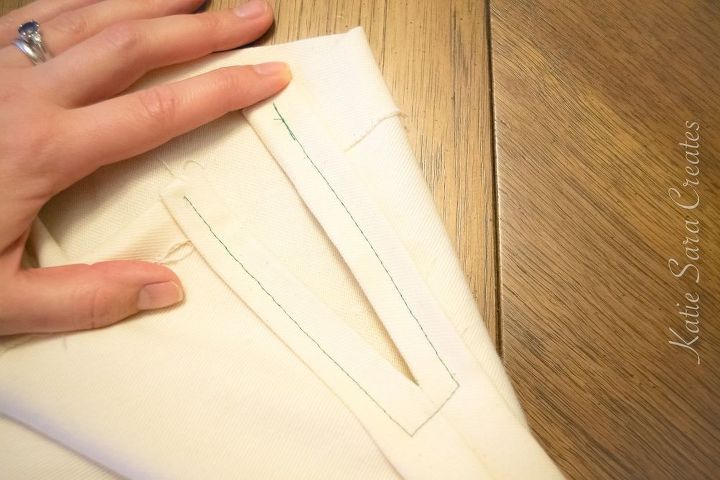
Once again, using my sewing machine, I stitched down the first pressed seam allowance and stopped just after I'd passed the very first stitch I'd made when sewing the two pieces of linen together. With the needle down, I turned the fabric, stitched across the bottom, and then turned it again before stitching up the second pressed seam allowance.
I then repeated those steps with the other unstitched side of my sack.

To create my drawstring casings, I folded each side of the sack down approximately one-and-a-half inches and pinned them in place.
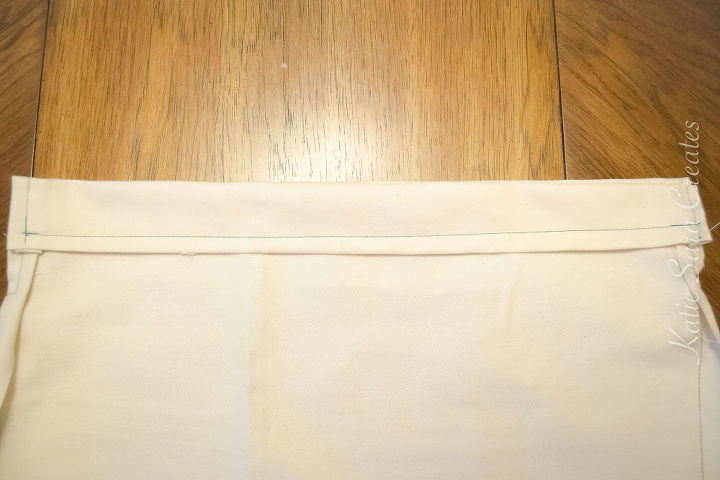
I then stitched along the bottom edge of each side, making sure to leave enough room so my rope could be threaded through.
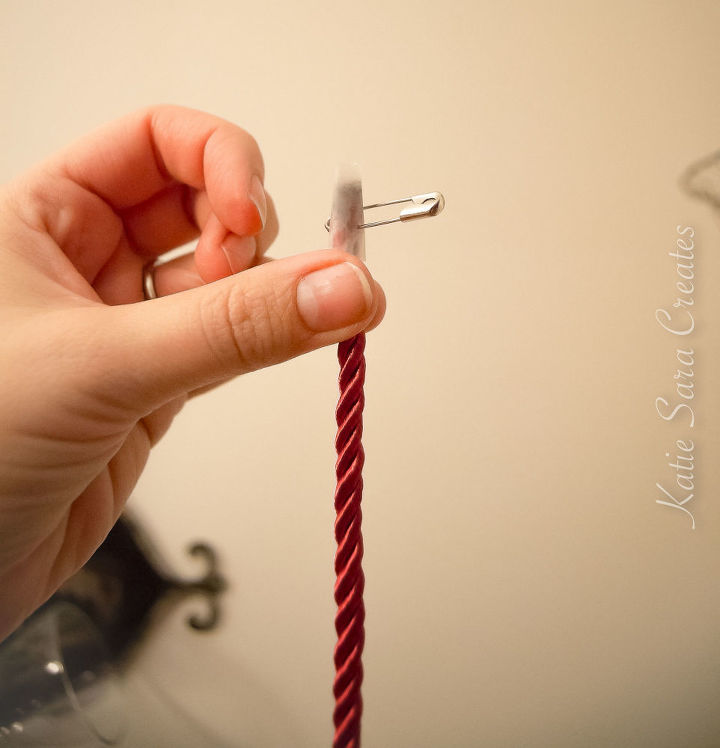
I decided to use silk rope for my drawstring. Because of the size of my bag, I needed to cut two 48" pieces.
To thread them through the casings, I taped one end of each drawstring and attached a safety pin to it.
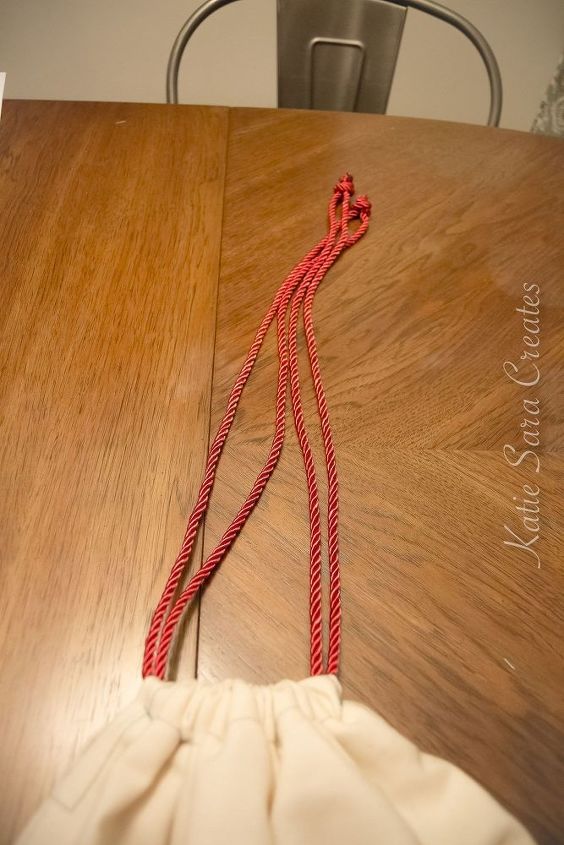
After turning my Santa sack right-side out, I used the safety pin to guide my first piece of rope through both casings. I brought each end of the rope together and tied a knot before cutting away the excess.
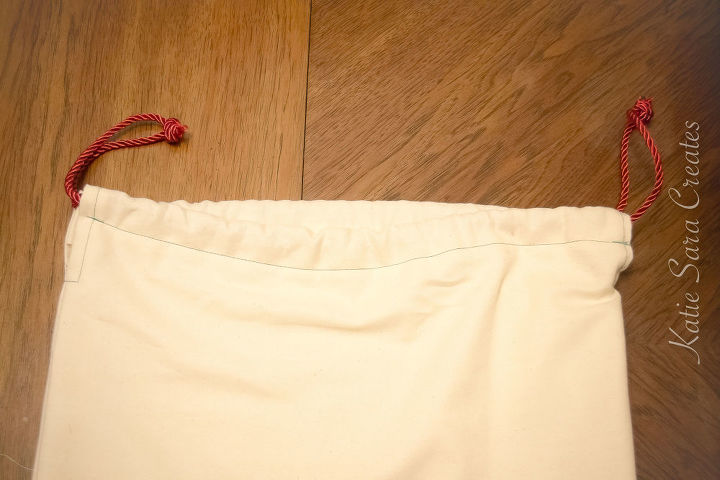
I repeated that process with the second piece of rope, but made sure to thread in the opposite direction.
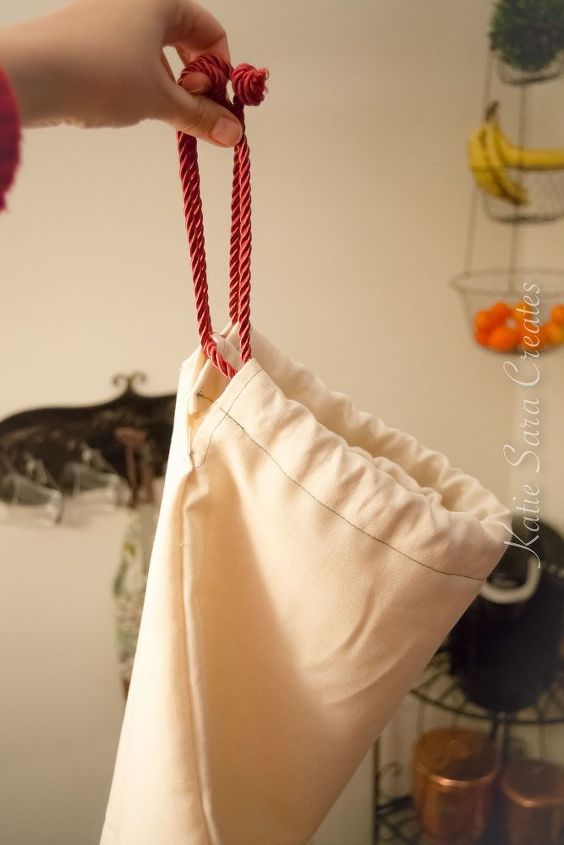
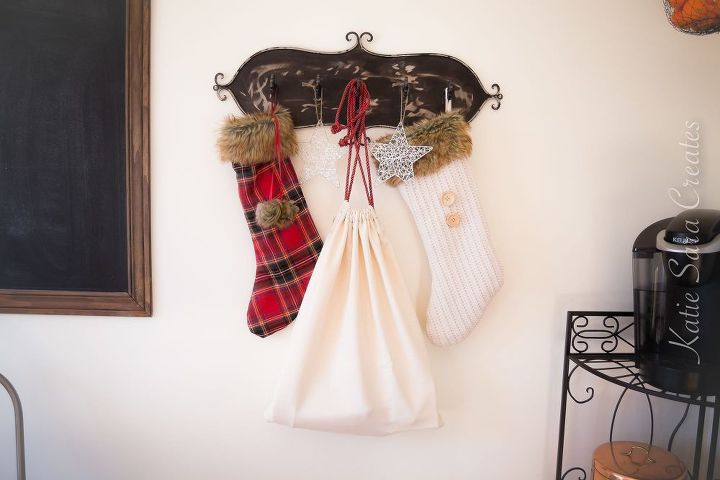
Just like that, the Santa sack was complete!
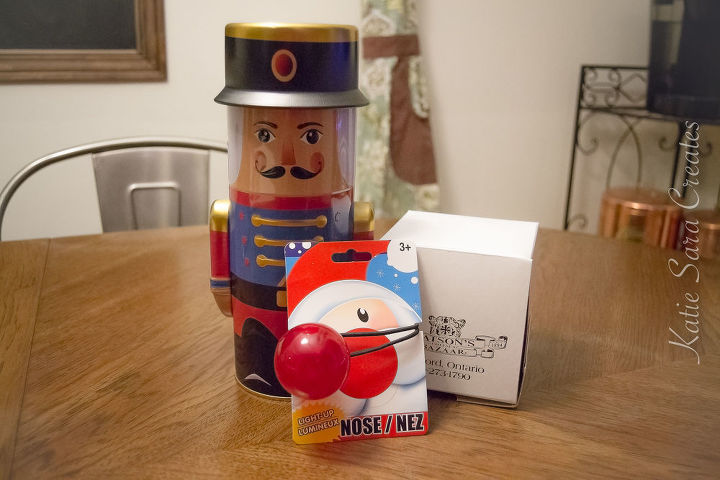
All that was left to do was fill it with a bunch of goodies! Isn't that nutcracker tin just the cutest?
Who wouldn't want to receive one of these adorable, treasure-filled creations on Christmas morning?!
Resources for this project:
See all materials


Comments
Join the conversation
-
Looks great. Very professional. The nutcracker tin IS cute. Never saw one before. The sack is a great surprise. And reusable.


Frequently asked questions
Have a question about this project?