


Drink Tray Repurposed

Well I finally got into the holiday spirit! So my youngest has settled down with his girlfriend and bought a couch and tv. So I thought I would make him a sofa tray. I had this wine cork board someone had made me and it was falling apart and I didn’t want to trash it.
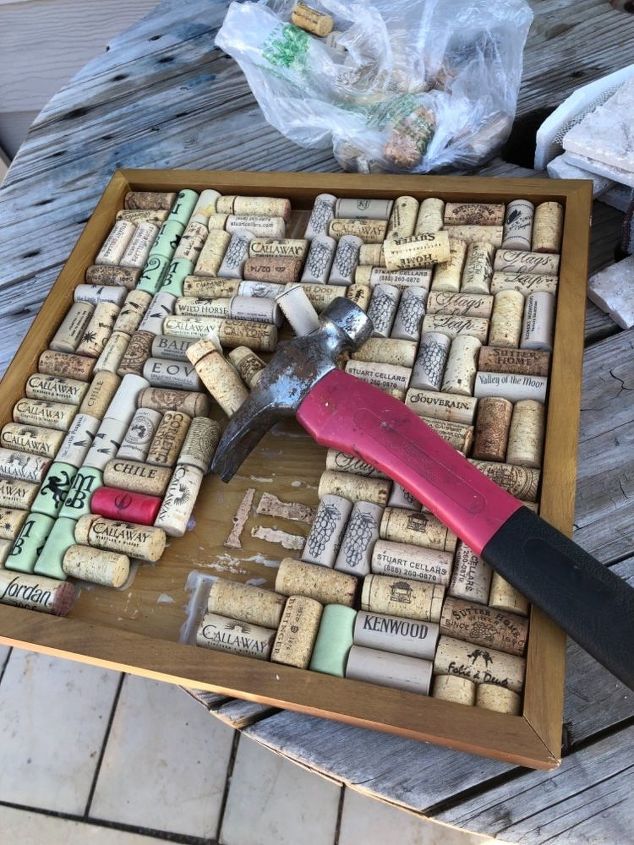
most of the corks came off easy the problem with hot glue gun is glue becomes brittle and does hold. I used the claw side of hammerto remove most corks.
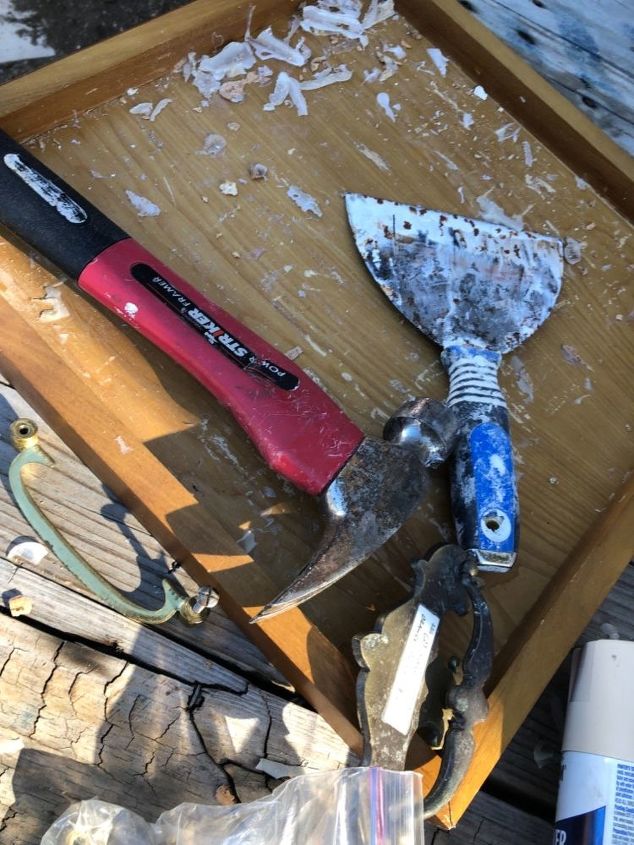
After I got most of it off I had to use a flat scraper to remove stubborn glue and chucks of cork. When I got most of it off I also took my orbital sander to the whole thing prepping for paint.
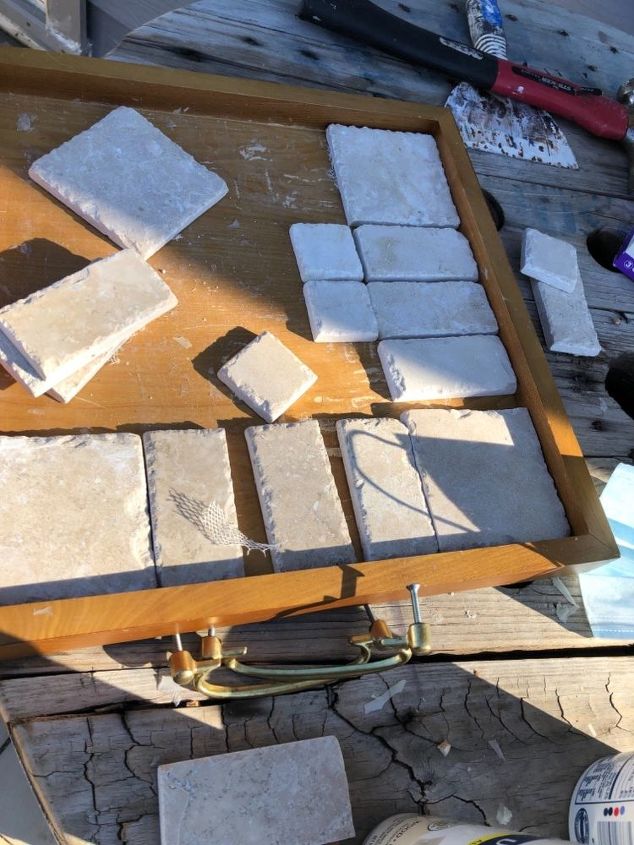
I was going to use some leftover slate tiles but I didn’t have enough, time to look through hoarding supplies.
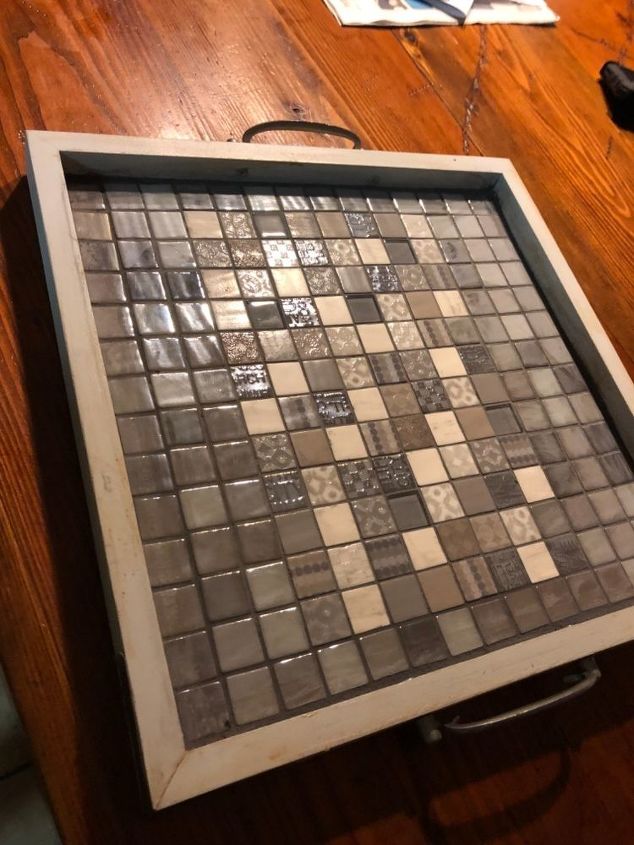
I had sheets of tile they weren’t the same but I used flat ones around the edges and the texture ones in the center.
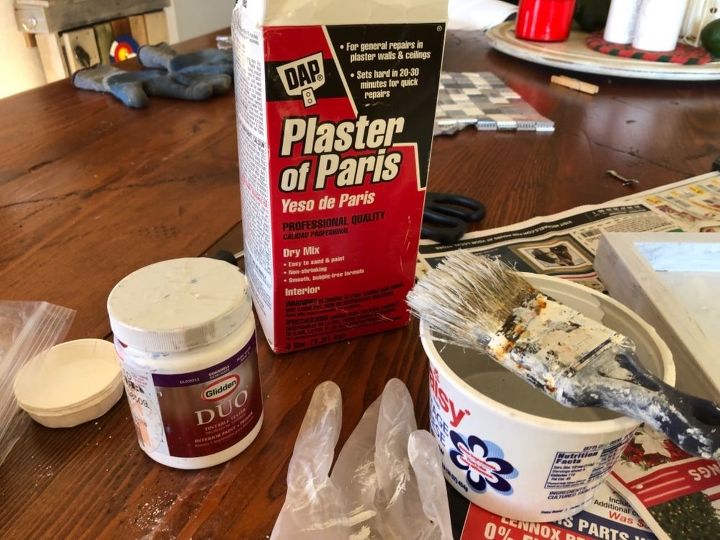
I always buy opps for future projects so I had had this sample light gray. I always save yogurt containers for painting projects then they at least get one more use before ending up in our land fill. I pour some paint in and a couple of scoops of plaster of Paris and painted the tray. Once it was dry I sanded a bit and brushed lightly with a aged brown. And whipped most of it off.
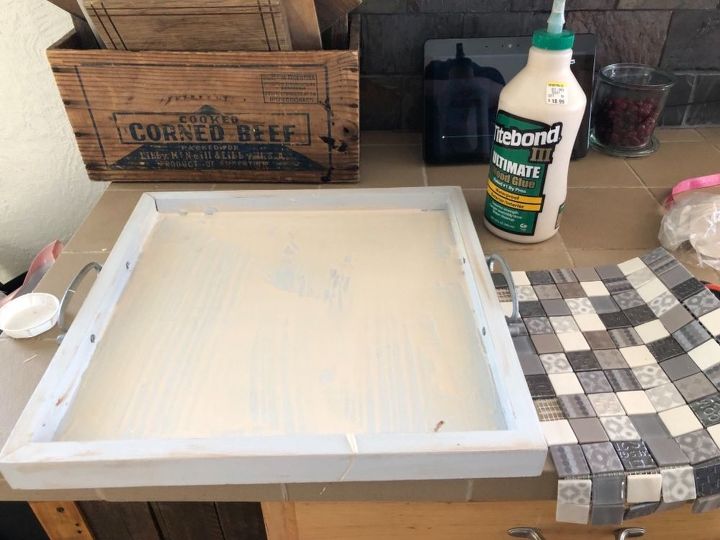
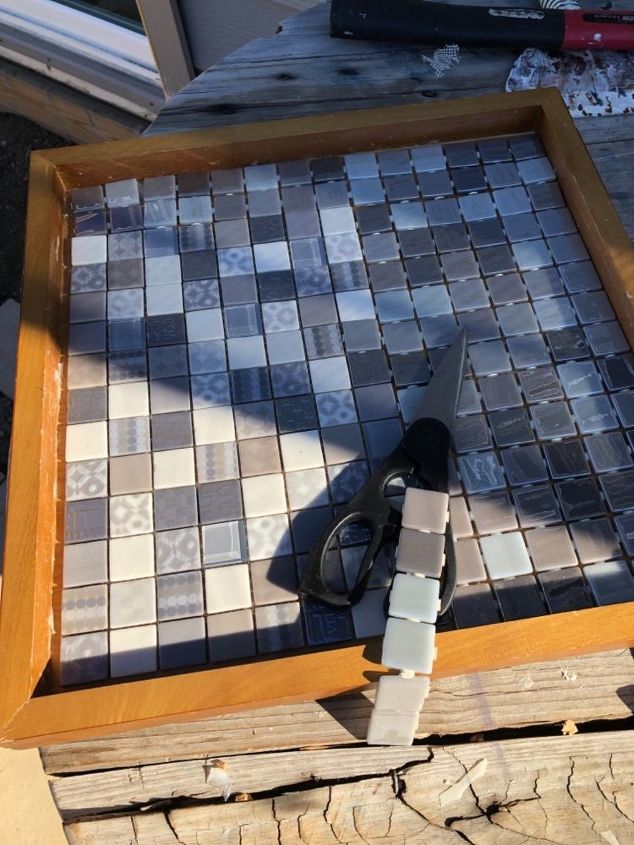
I choice to use wood glue rather than mortar to insure that the tiles would not pop loose. I laid them out and pushed them into the glue. Wiping up any extra glue.
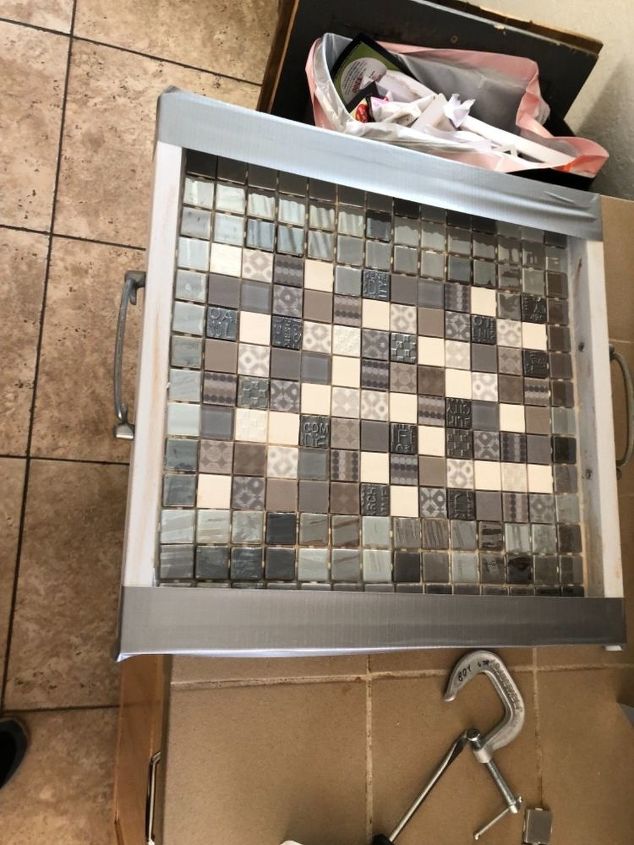
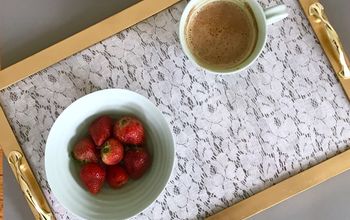
Here is the finished design the two different tiles worked great together.
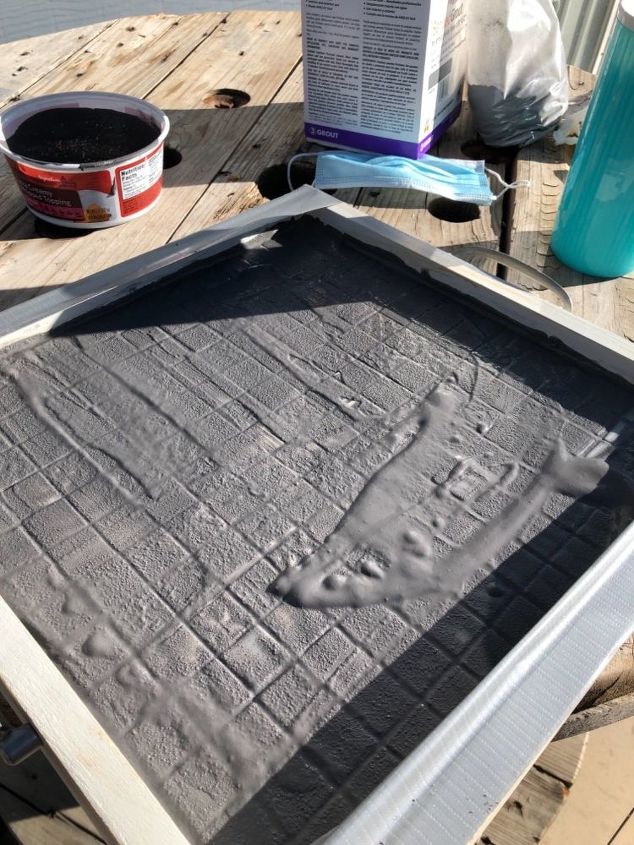
I used a pewter grout and made it super wet to get it into the small grout lines.
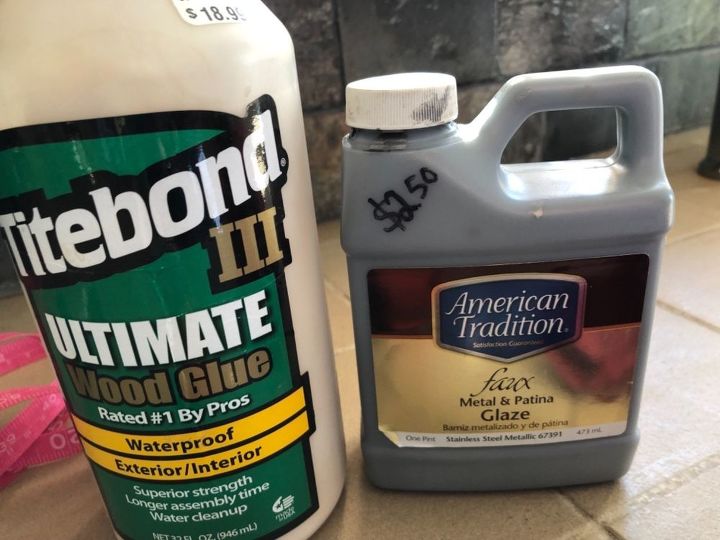
My wood glue and metal glaze I used over the spray painted brass handles

I had some vintage handles in my stock pile and spray painted them silver. Once I drilled the holes and added to tray they just were covered completely so I went over with metal glaze, mainly cause I didn’t want to remove them and repaint.
I let the watery grout sit until the moisture was gone. Taking a sponge to push into areas where there was a void. Finally wiping it all of it looks beautiful. But I ran into a problem with one of the side walls pulling away. So I went to find brackets.
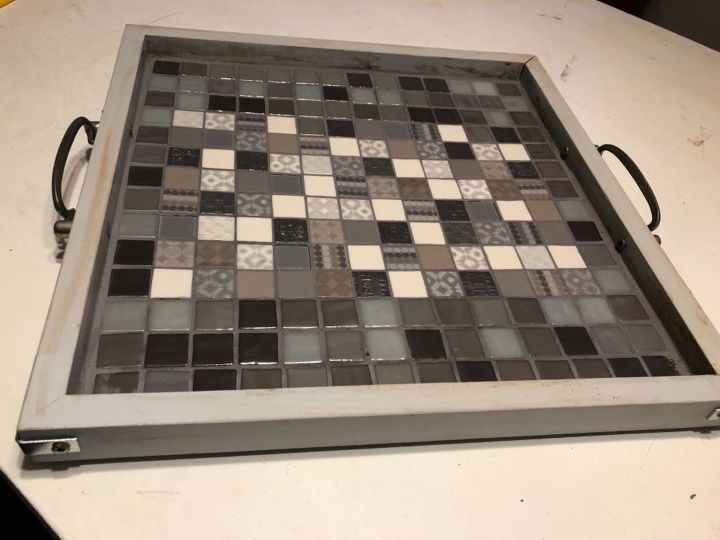
i used four small corner brackets and added them strength. I didn’t want it to fall apart first couple uses. I am so excited to wrap it up and give it to them. I spray the whole thing with a clear coat to protect.
Resources for this project:
See all materials


Comments
Join the conversation
-
Great tutorial and it looks beautiful. I'm planning to copy you after we get moved!
-
Thank you Rose


![Don't Throw Away Old Picture Frame[Turn Into Serving Tray] !](https://cdn-fastly.hometalk.com/media/2015/01/11/2054742/don-t-throw-away-old-picture-frame-turn-into-serving-tray.JPG?size=350x220)


Frequently asked questions
Have a question about this project?
Niiiice! How heavy did this turn out to be?
Are the handles fixed in the upright position? or do they swivel down also?