


Makeup Brush Roll
I mentioned in one of my previous tutorials that I recently dusted off a sewing machine my mom gave me for Christmas many years ago so that I could actually learn how to use it. I've been working with simple, introductory-level ideas, and have already seen a huge improvement in my abilities — which is incredibly exciting!
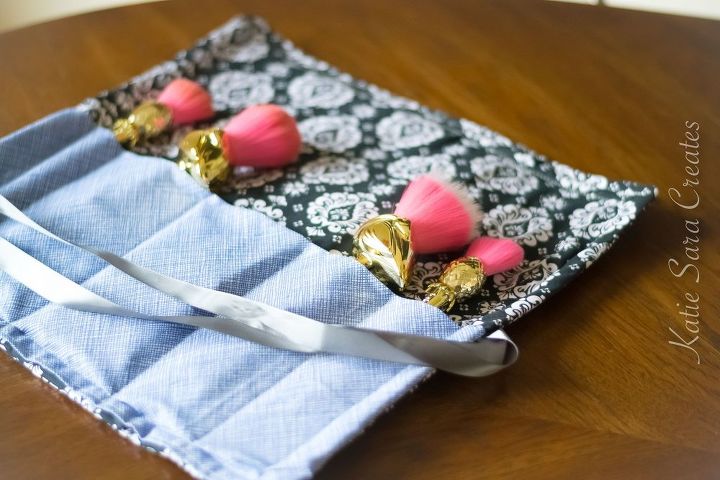
My most recent project was a storage roll for a pretty set of makeup brushes I got for my birthday, and after a couple of practice rounds, I decided to give my first video tutorial a shot.
Even though neither the roll nor the video are 100% perfect, I'm really happy with how they turned out, and I hope my drive to try new things will encourage others to do the same.
To make a storage roll for a set of brushes, you'll need three pieces of fabric, as well as a piece of fusible fleece.
Two pieces of fabric should be one colour or pattern, and the third should be something different. Together, these pieces will form the front, back, and pocket of your roll.
Once you've determined the size your fabric needs to be, you're going to take one of the pieces of matching fabric and fuse it with the fleece using your iron and ironing board. Set it aside.
Next, you need to use your iron, pins, and sewing machine to create the pocket panel with the third piece of fabric — the one that doesn't match the other two.
Fold it in half horizontally, press the fold, and then pin the top all the way across. Stitch across the top approximately one-quarter-of-an-inch down.
Open up each end and flatten everything so the stitched seam is sitting across the middle. Use the iron to press down the seam, as well as the top and bottom folds.
Place the pressed pocket piece on top of the sheet of fabric that isn't fused to the fleece. Pin them together and stitch down one side, across the bottom, and then up the other side. Leave the top section unstitched.
Lay out the sheet of fabric that's fused to the fleece and place the pocket sheet on top of it. Pull up the left side of the top piece, find the middle of the bottom sheet, and pin two strips of layered ribbon to the edge. To keep the ribbon out of the way while you stitch, roll it up and use a safety pin to keep it together. Put the left side of the top piece of fabric back down.
Pin around the edges and make a mental note to not stitch all the way across the top section.
With a quarter-of-an-inch seam allowance, stitch across the far right side of the top edge, continue down the right, move all the way along the bottom, back up the left, and then across the far left side of the top edge.
Grab a pair of scissors and cut off the four corners of your stitched rectangle.
Stick your hand through the unstitched opening and turn your piece right-side out.
Pin the opening shut and stitch a final border around your entire piece.
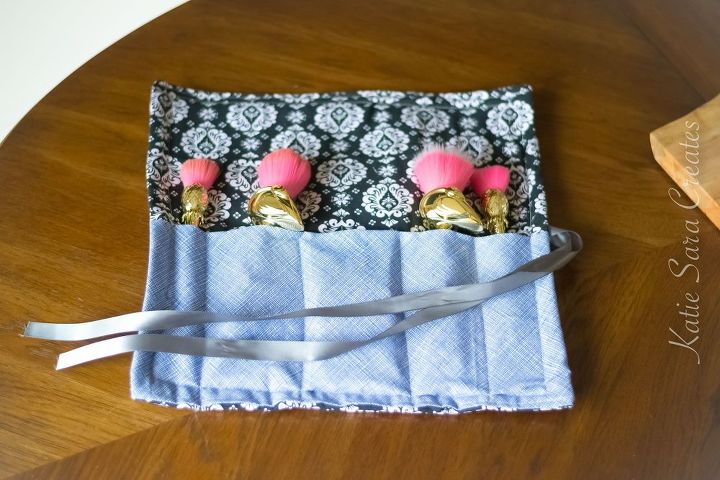
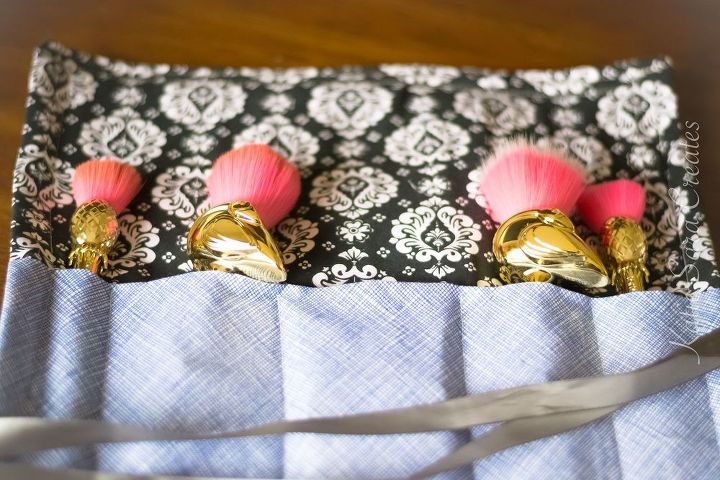
Lay your makeup brushes across the front pocket and use pins to mark each section. Bring the piece over to your sewing machine and create a seam for each mark.
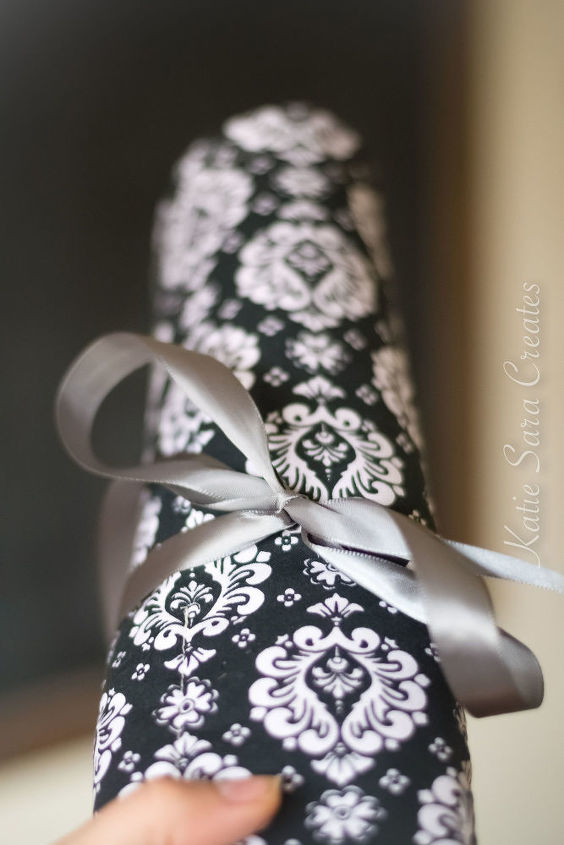
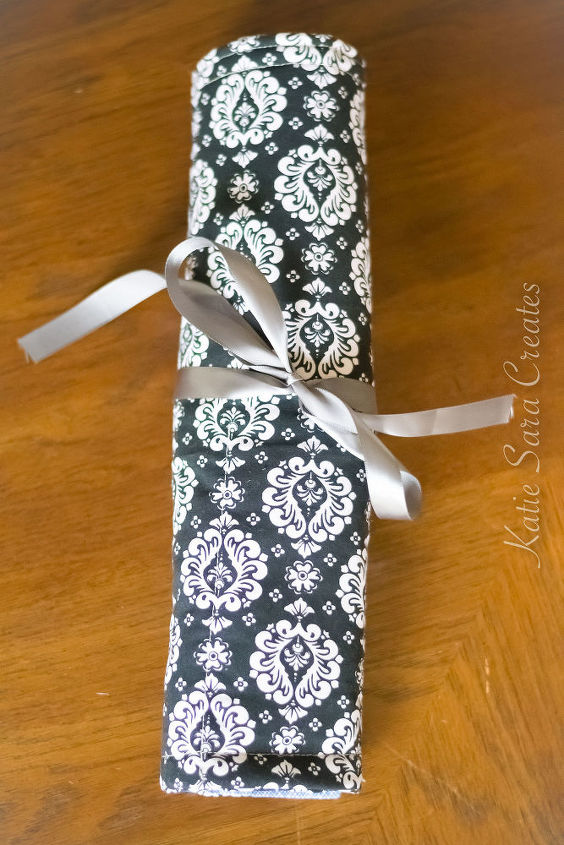
Trim any excess threads, put the brushes in the appropriate places, and roll them up before tying a bow with the two strips of ribbon.


Frequently asked questions
Have a question about this project?