


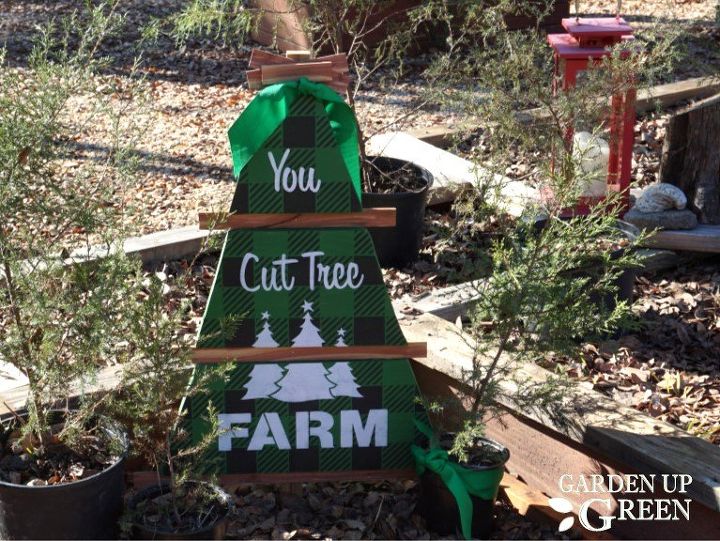
How to Make a Wooden Christmas Tree
Check out this fun tutorial by Garden Up Green! Decorating for Christmas and tiny living can sometimes be a challenge and that’s why I mostly focus on outdoor decorations.
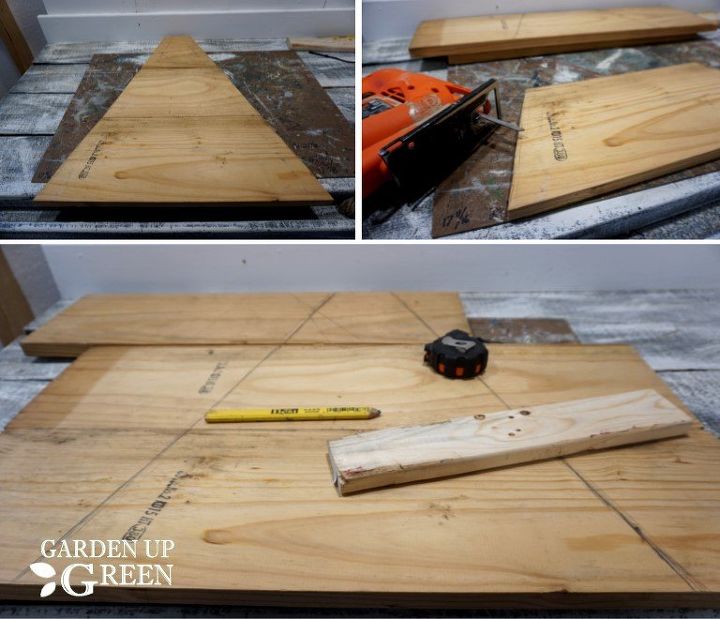
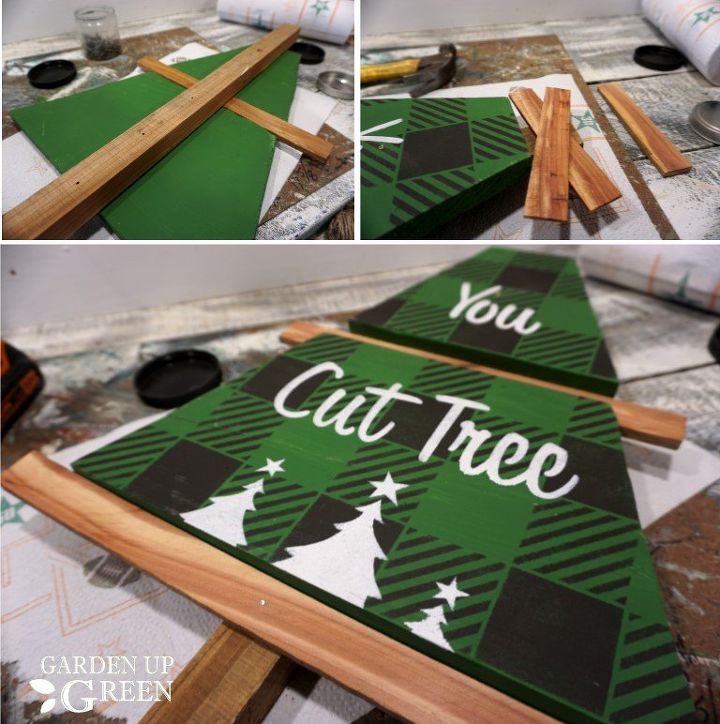
This project involved scrap wood and free hand drawing. I drew a triangle between three boards and skipped the tip at the top. Then I cut each piece of wood with a jig saw (a table saw could also work). Once I had all the shapes cut, each one was sanded prior to painting.
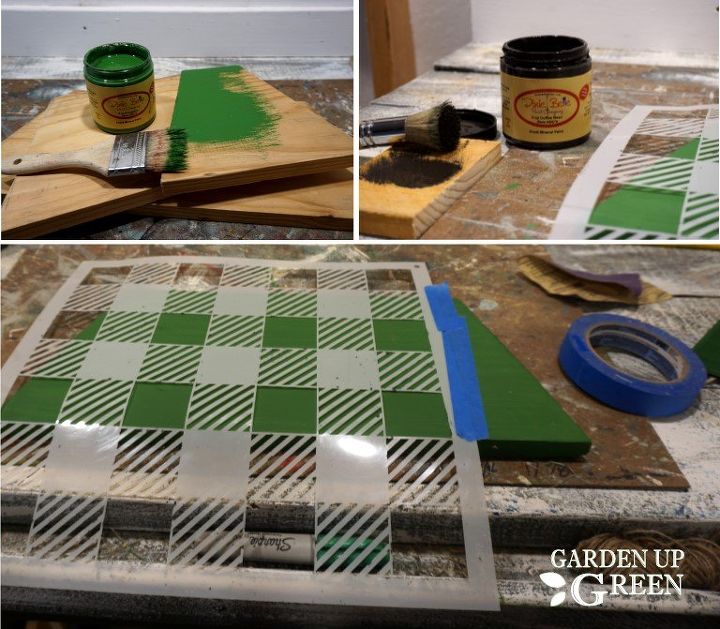
The colors used included Evergreen, Pink Champagne and Coffee Bean from Dixie Belle Paint. Each board was painted with one coat of Evergreen. I used a buffalo check stencil from Studio R12 and transferred to the front of each board using the color Coffee Bean. This was a bit time consuming so using a larger stencil brush will speed up the process.
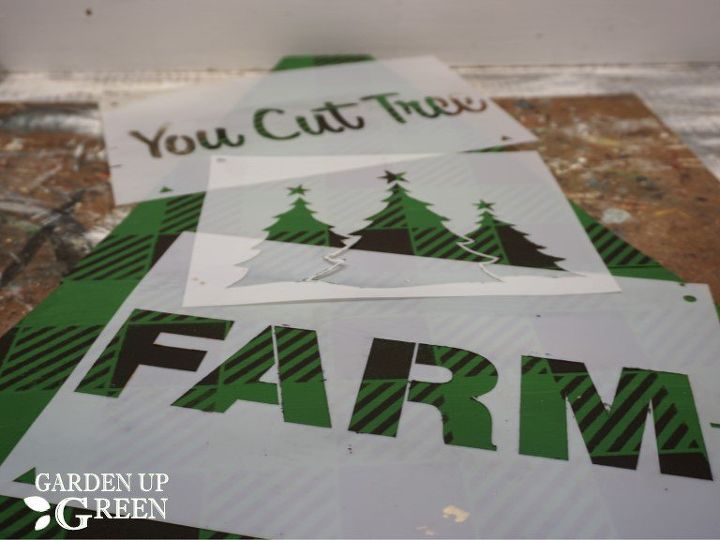
I purchased You Cut Tree Farm stencils from Funky Junk's Old Sign Stencils. I cut my transfer into pieces so they would be easier to use and store and I painted them with Pink Champagne.
I grabbed some leftover cedar from a previous project. I used the small strips to divide each board and then I added a crisscross at top for a star. Everything was attached to one post on the back and the thin cedar strips were attached from the front with a finishing nail.
What I love most about this tree was it was really simple and fun to make!


Frequently asked questions
Have a question about this project?