


Barn Wood Colonial Flag

by
Diane
We began with old barn wood! SO many things that can be created with wood, screws, sweat and paint!
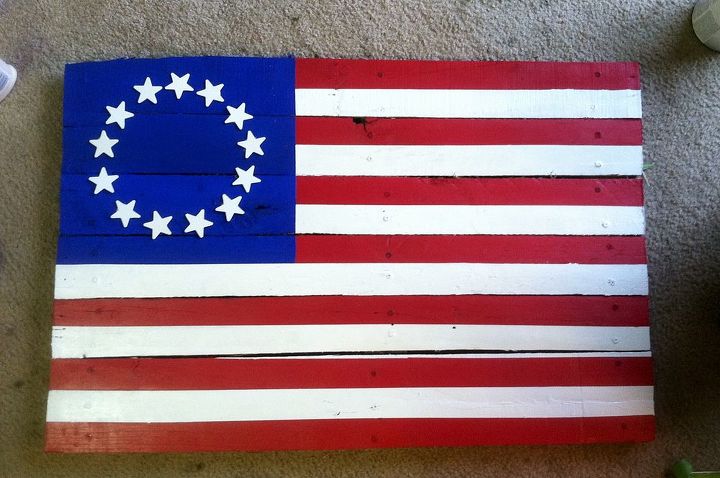
Finished Product!!
We took some old wood removed from a barn and cut the pieces in three feet lengths. (Any size will work). We then laid out enough boards to make a two foot width thus it became a 2' X 3' platform. We then screwed all the boards onto three support boards on the back to give it support and hold it together.
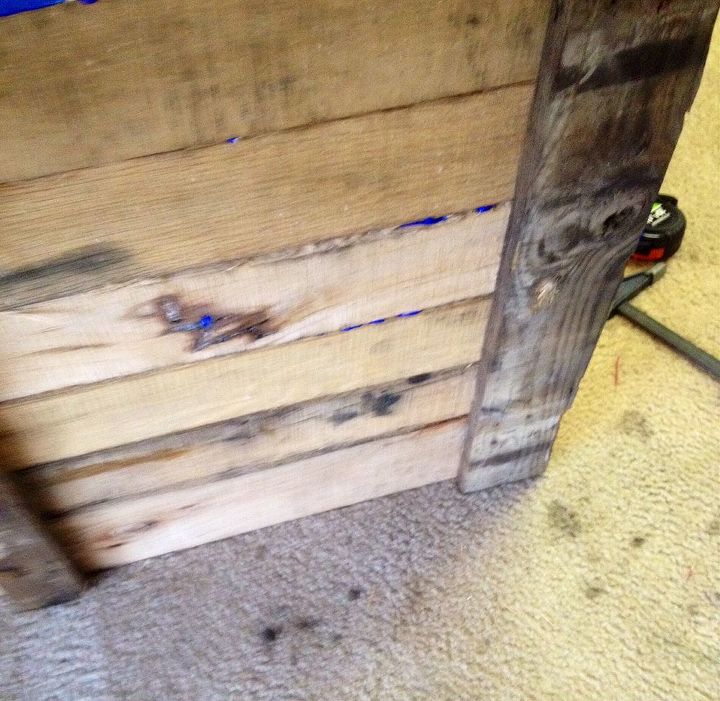
Support boards on back
Then I sanded an sanded! Lots of splinters from years in the weather!
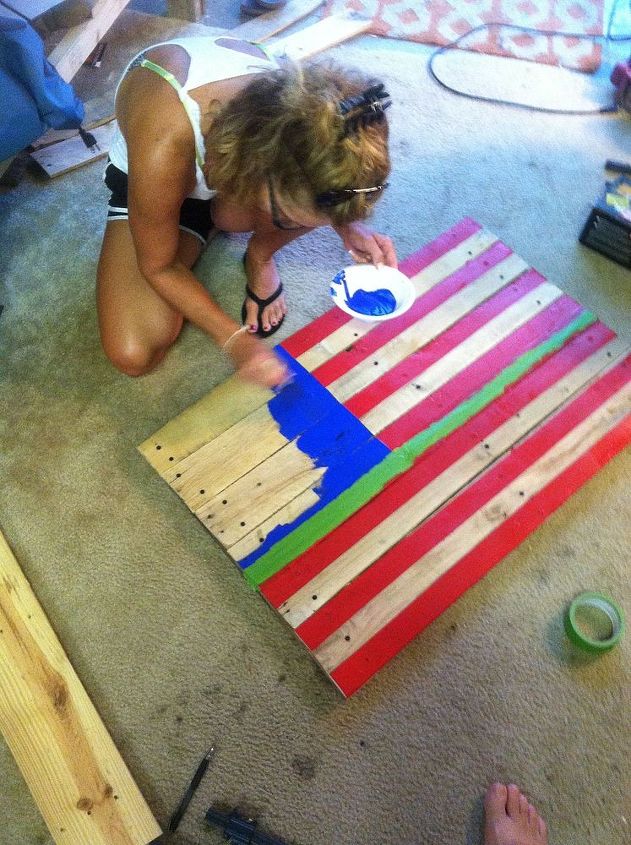
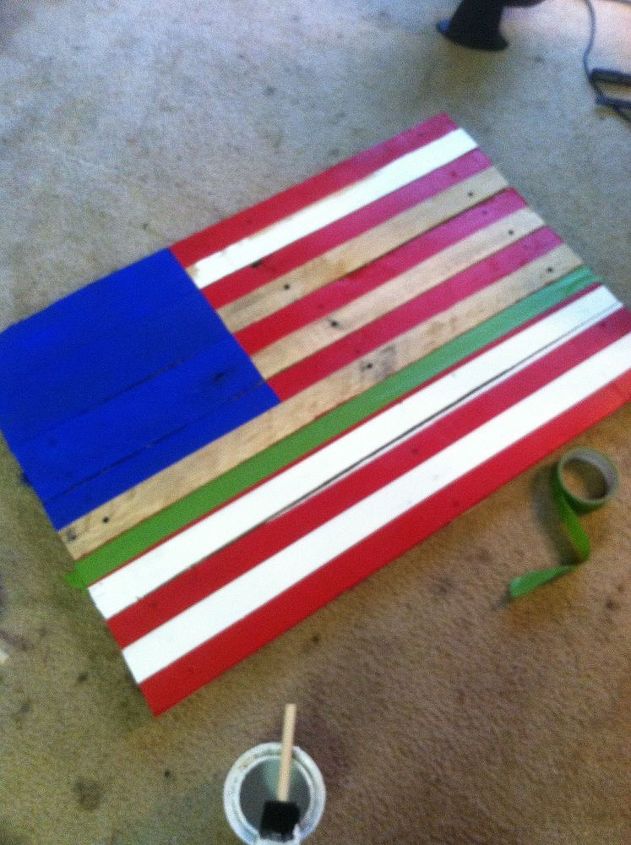
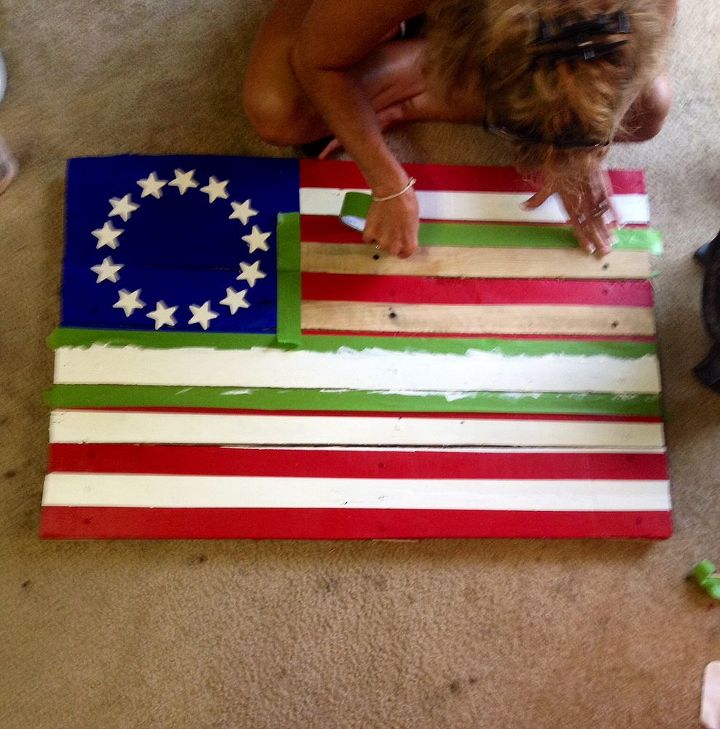
I used Frog Tape to mark my lines!
Basically, we evenly divided the boards to make 13 stripes and then drew the lines. I used frog tape and blocked off each area to paint!
White stripes!
The stars were another deal!! While at "Joanne's Fabric" store this past week, I came across some cute balsam wood stars in three different sizes! I had already thought painting stars would be difficult so, viola, dilemma solved!
Stars are glueing!!
I then just proceeded to tape and paint carefully until the flag was complete!

Comments
Join the conversation
2 comments
-
Cute!
-
Thanks Hannah- you are always so encouraging!! :)


Frequently asked questions
Have a question about this project?