


Light Fixture Update

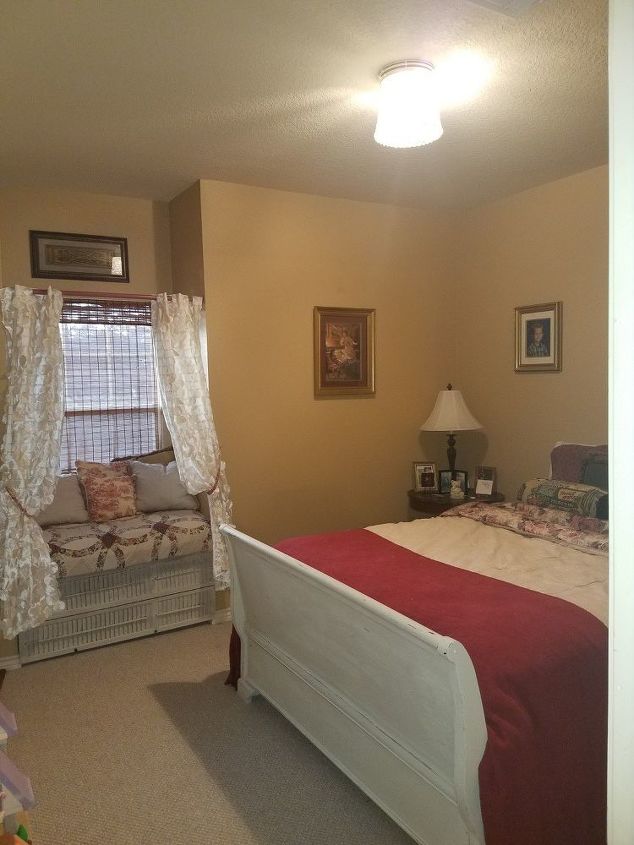
I needed to replace an ugly light fixture but that wasn't in the budget...what's a girl to do??
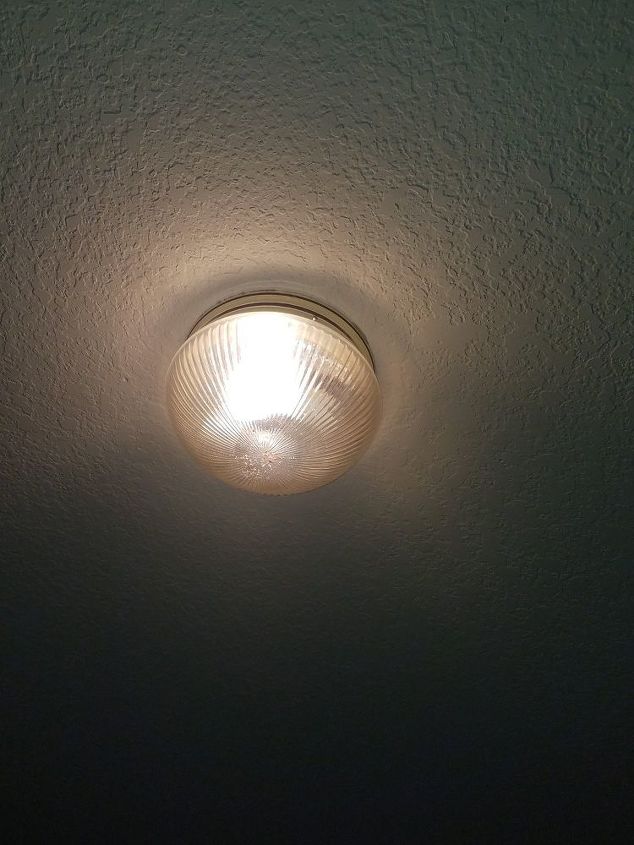
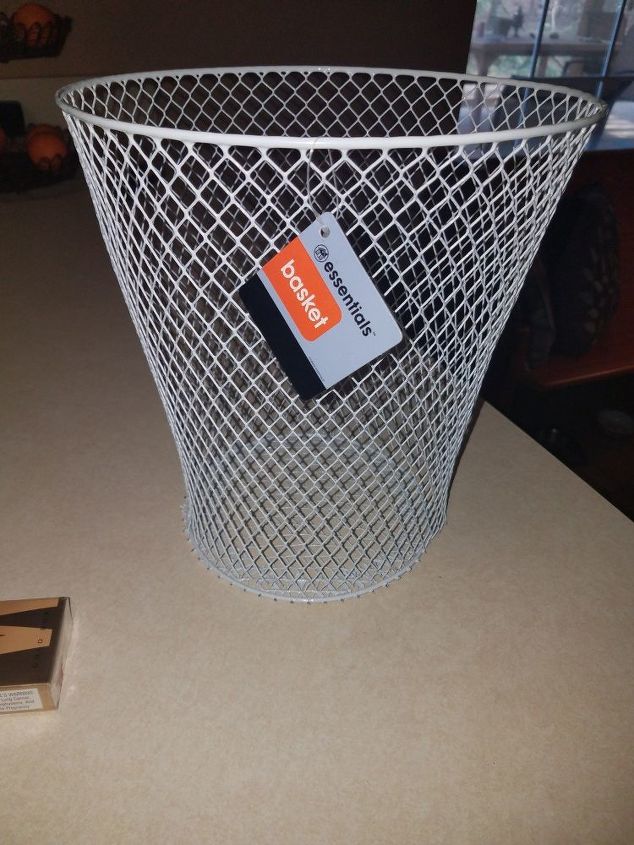
So..after I finished painting the bed in one of my guest rooms and building an amazing window seat (that I didnt take enough pictures of to post) I needed to do SOMETHING with that light. Being the mama I am, I decided to try my hand at making one. I hit the dollar tree and came up with one wastebasket and three bags of glass gems. And a really good idea!

To begin my project I kind of eyeballed the light itself after I removed the globe to figure out how much of the basket I needed to remove for the best fit.
I decided to remove the bottom two inches from the wastebasket with wire cutters.

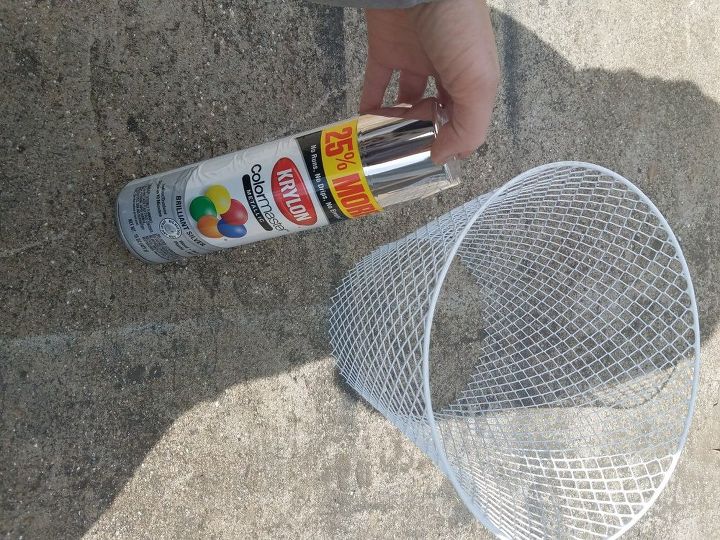
Then I spray painted it silver with leftover paint from my Christmas crafts.
Then the fun began... using a multipurpose glue (locktite) I had on hand and my trusty hot glue gun I began to glue the gems around and up the wastebasket. Ok...now I dont know how this method will hold up yet, as i have just finished the project, but I used the glue on the basket then hot glued the gem directly on. My thinking was that the glue takes hours to dry completely so I needed the hot glue to hold them in place while it dries...and if I only used hot glue I was afraid the gems would fall off when the glue was heated by the light. *Edit*** In comments on this project I learned some valuable information that I thought I should share here...if you replace the old light bulb with an LED bulb it shouldn't warm up enough to melt the hot glue. (Thanks Bush Linda) :)
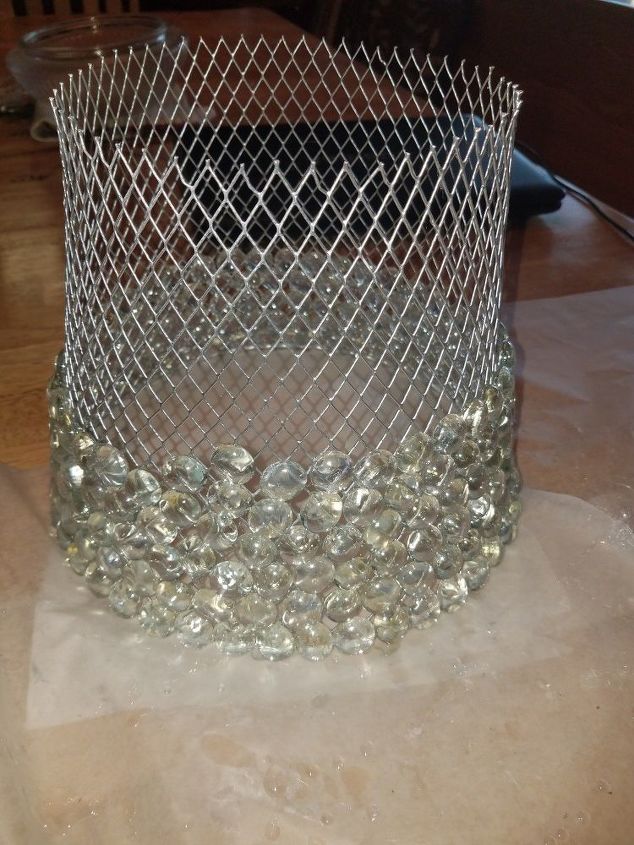
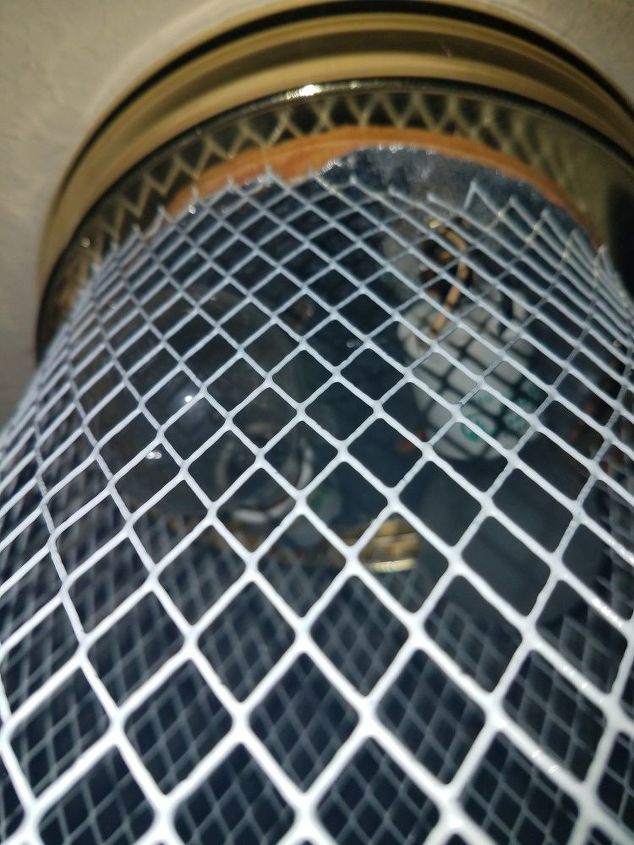
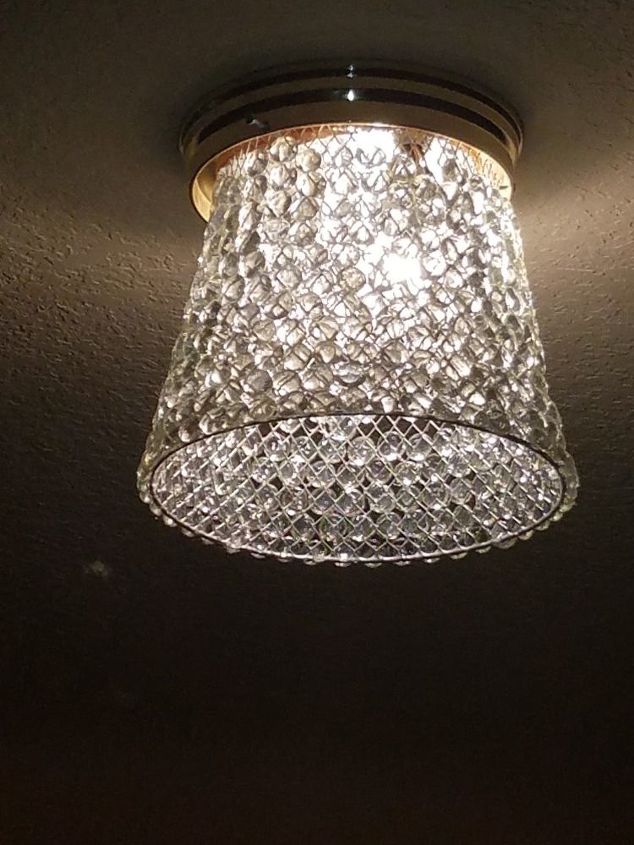
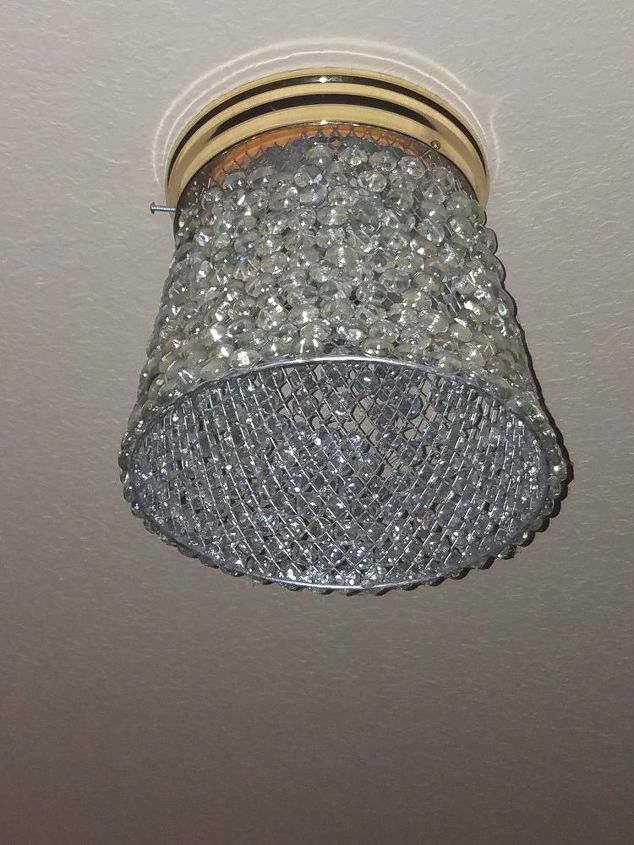
Also..i almost forgot...make sure you leave some space at the top to hook the shade onto the screws. Once I had all the gems glued in place I let it set while I inspected my screws in the light fixture itself. Missing one. Dang. Scoured all the junk drawers and came up with one to replace it. I went ahead and screwed them all in as far as they will go. Then brought the new shade upstairs and just hooked the screws through the wire at the top of the basket. It is hanging securely but I might go back and add some wire around the screws just to be sure. And now I have a light fit for a princess for 4 dollars.
....just had a thought... they also sell smaller versions of these ..more like little wire baskets..at Dollar Tree. The same basic idea could be used to make new covers for wall sconces! How pretty would those be?!? If anybody tries that please share the link with me as I dont have wall sconces to redo!
Resources for this project:
See all materials


Comments
Join the conversation
-
Light over the kitchen sink needs some glam! Thanks for the idea!
-
I really like this idea and would like to make one. I would like to add some crystals around the bottom to see how it looks.


Frequently asked questions
Have a question about this project?
wow so pretty.....but does the heat from the light bulb melt the glue?
Yes, I want to try it & actually need a new fixture over my dining room table!!! It's a small area. I also was wondering if the heat of the light mighy melt the glue???
Just wondering, why didn’t you also spray paint the gold base?