


How to Recondition a Wood Bowl or Cutting Board
In this episode of Workshop Wednesday, all three segments have something to offer our Hometalk readers! Take a minute to watch the video to learn more about a flexible paint brush that is perfect for hard to reach places, how to recondition a wood bowl or cutting board and a follow-up to one of our most popular posts here on Hometalk. You can see the original post here.
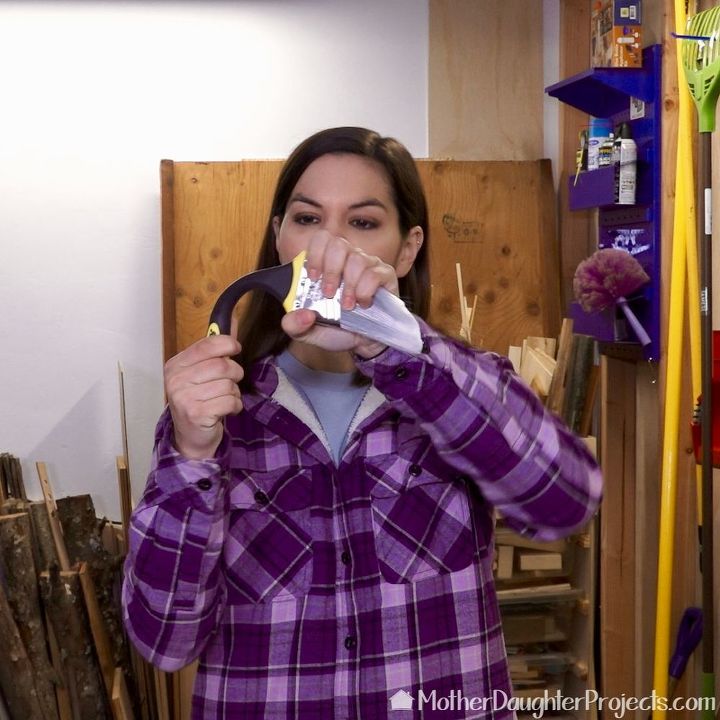
This is the flexible paintbrush we talked about in the video. It flexes and stays in place, plus, you can screw it onto a pole to reach hard to paint areas! In the video there is a before and after of the space where Steph used the brush.

In the Project Follow-up, we talked about this hardware we installed two years ago on Steph's garage. If you go to the original post, you can see there was much discussion about the hardware including the possibility that it might be taken since it was only attached by magnets. In the two years this has been on the garage we've had NO issues. We even forgot to take it off when hurricane Michael blew through our city in October. Even through the storm, the hardware stayed in place!
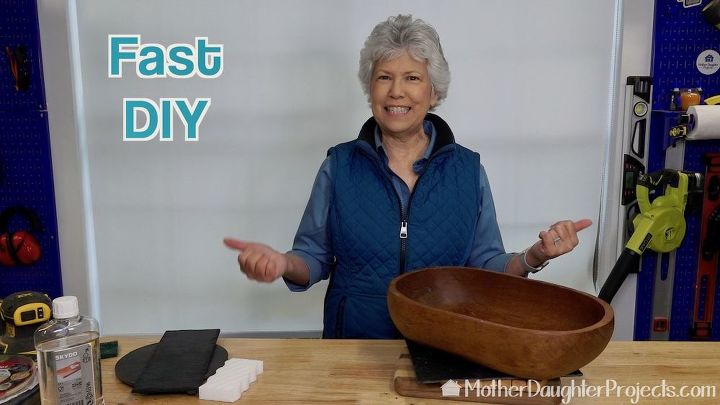
In this home maintenance Fast DIY, I share how to recondition a wood bowl. This same technique can also be used to recondition cutting boards that are still useful, but are not looking their best.
I keep veggies and fruit in this bowl. One evening I reached for an onion and discovered it was rotting leaving mold and gunk in the bowl! I cleaned everything up with a green scrubbing pad, but then realized the bowl really needed to be reconditioned!
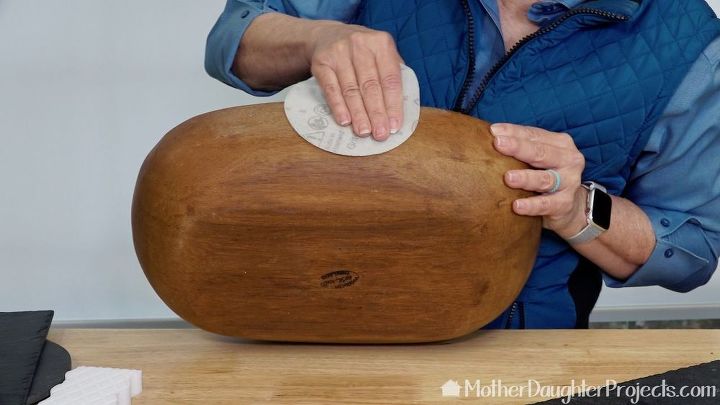
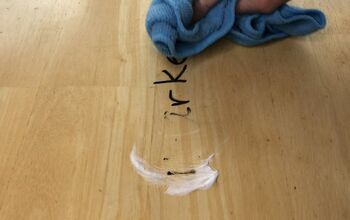
I'm using 320 grit sandpaper to lightly sand the bowl. I didn't want to aggressively sand it, but to only remove dirt and enough of the old finish so that it will absorb the fresh oil.
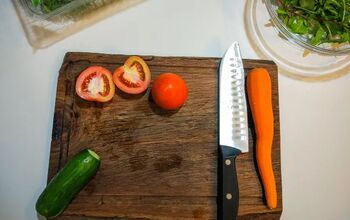
If you're doing this on an old cutting board with lots of marks, I would start with a lower grit sandpaper, like 80, and work back up to a finer grit like 220 or even 320.
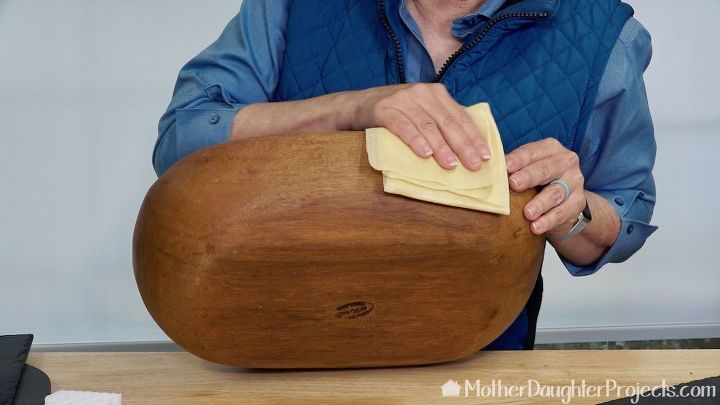
Remove the sanding dust with a tack cloth. It's important to remove all the dust before apply fresh oil.
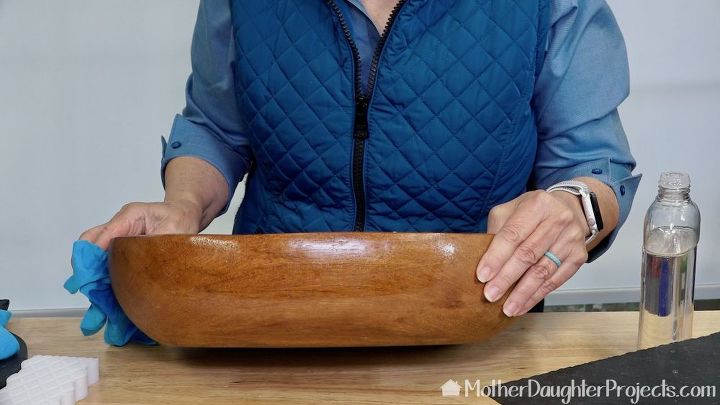
Apply food grade oil with a lint free cloth. Let it absorb for a bit and then wipe off any excess. There are many brands of oil. You can search for butcher block oil to see what is available.
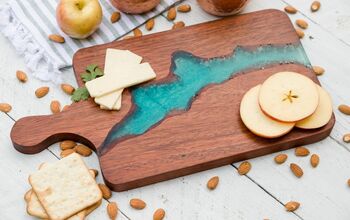
If doing a cutting board you would add oil in the same manner. Wipe off with a lint free cloth. I like to use old t-shirts.
You can find direct links to the products we used on our blog. Click the link below which will take you to our blog post.
Resources for this project:
See all materials


Frequently asked questions
Have a question about this project?