


HOW TO BUILD A LAUNDRY BASKET DRESSER

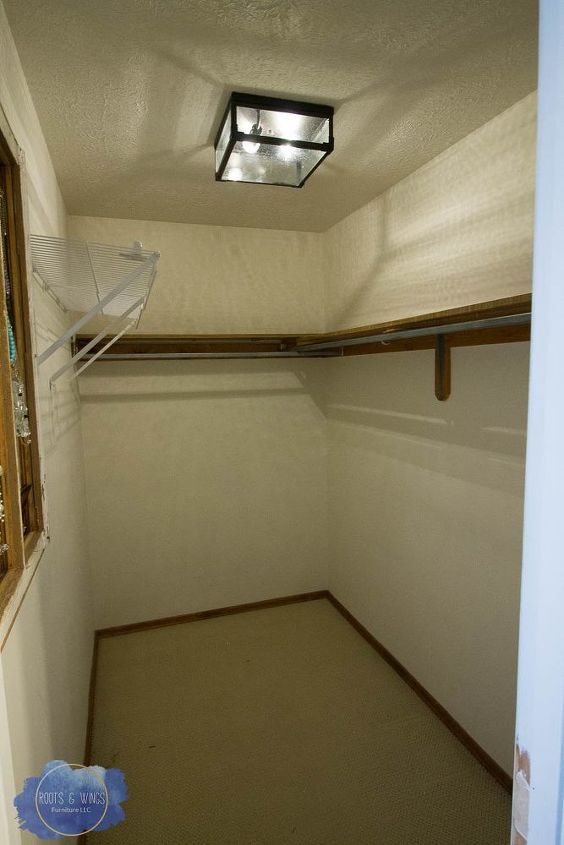
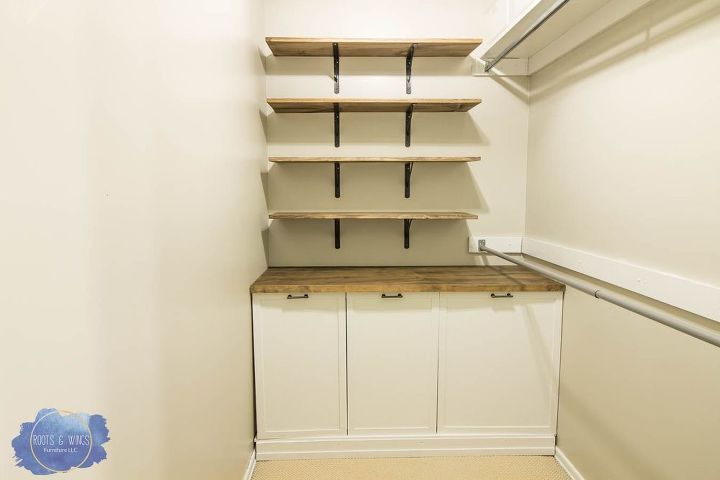
My master bedroom closet is getting a makeover!!! I found an idea online for a laundry basket dresser, which I thought was a brilliant way to hide dirty laundry! I wanted it built in at the back of the closet, somewhat hidden away.
Let's get started!
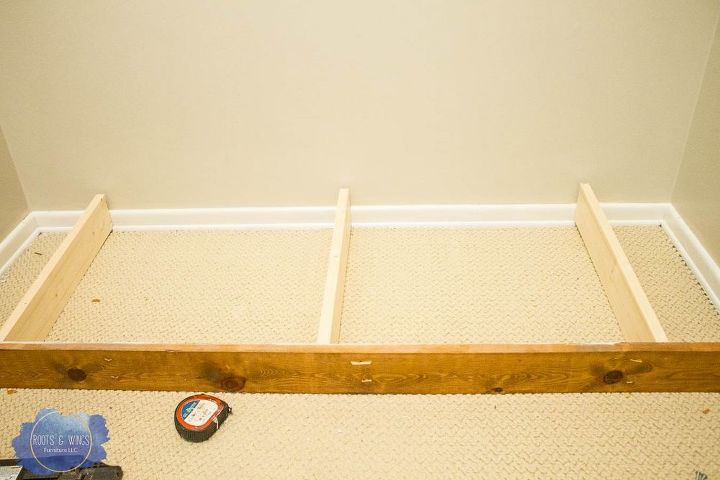
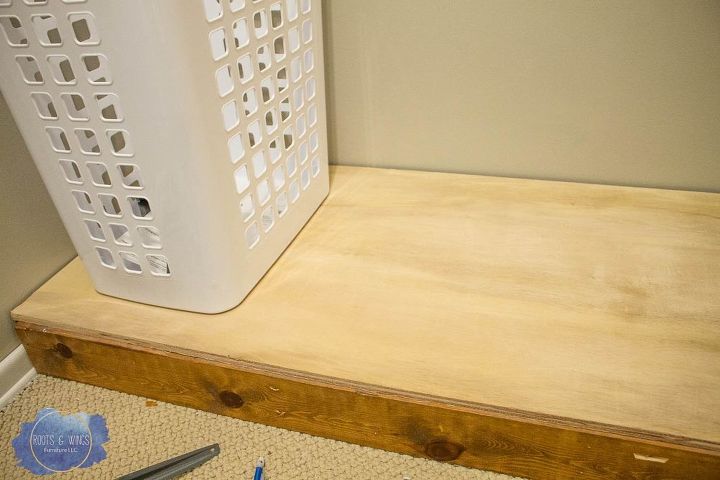
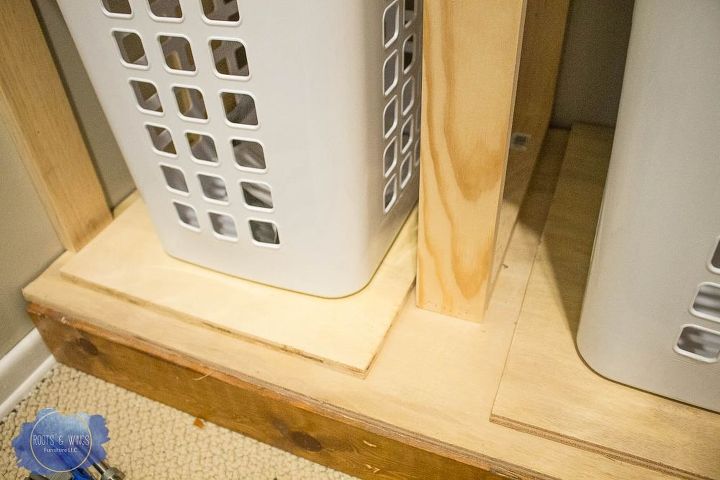
Cut a 1×4 to the width of the closet, and a few center supports going to the back wall. This base was not attached to the wall, just laid out as a foundation. Then cut a piece of plywood to make the bottom of the laundry basket dresser, I used 1/2″ plywood.
Place baskets where you want them.

To find the height of cabinet, place the laundry basket where you want it and tip it upward. Mark the highest place the basket will reach when tipped.
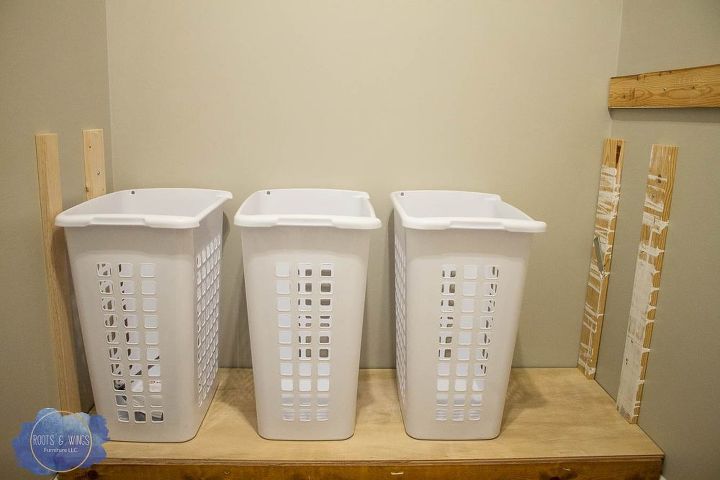
Height found, cut 2x4s to that length and attach to wall with 2.5″ screws.
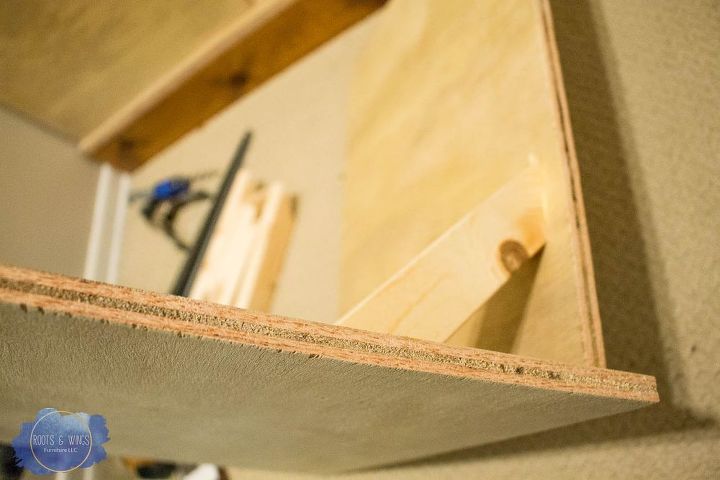
Cut a plywood top for the laundry basket dresser and attach to each of the braces sticking up and along the wall with brad nailer.
Build each “laundry basket cubbie” out of plywood to sit underneath the laundry basket and between each support. Don’t attach this to anything!
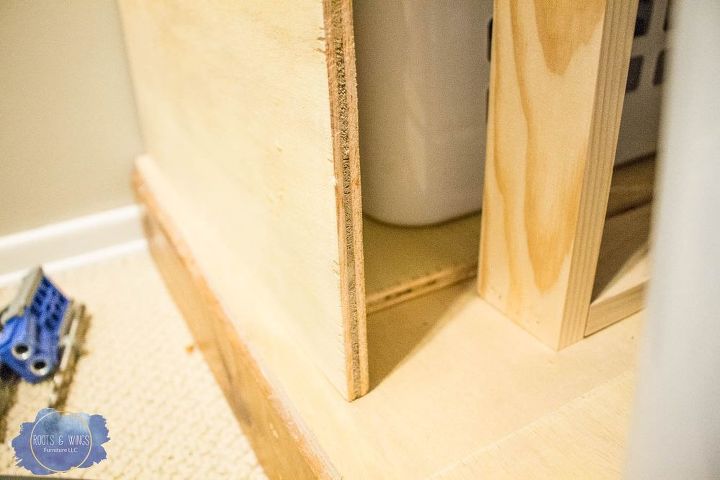
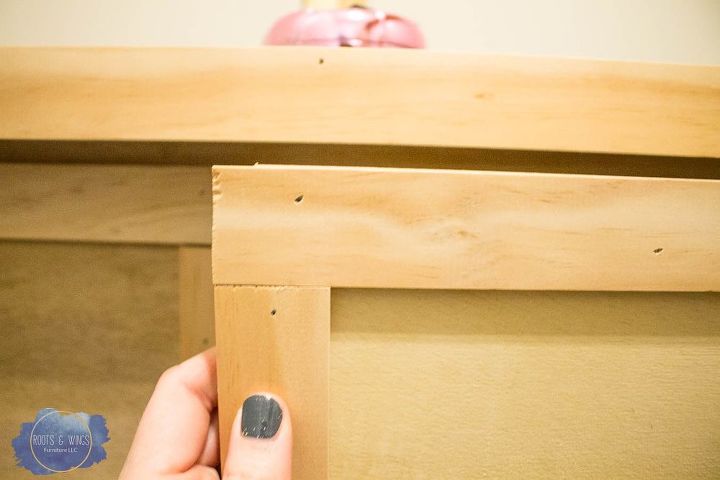
Cut cabinet fronts and attach to base “cubbie” piece with a bead of glue and nails. You want an “L” shape cabinet built around each laundry basket.
Cut a short piece of 1×2 with 45 degree angles and attach to each side with glue and nails.
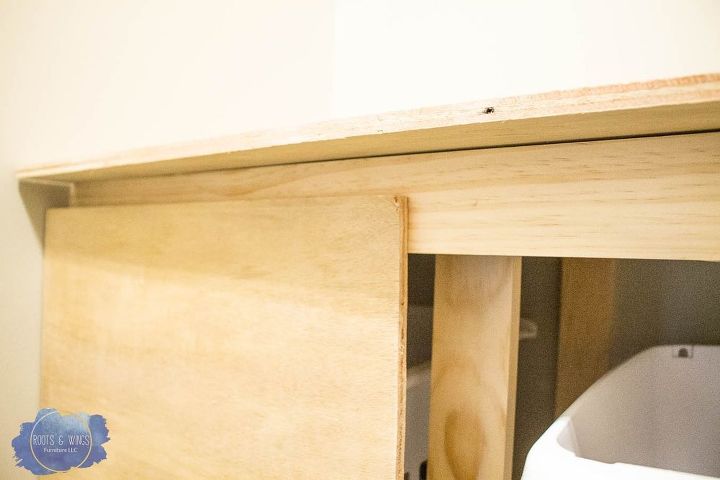
I added a brace piece underneath the top of the laundry basket dresser.
Cut and attach trim to front panels.
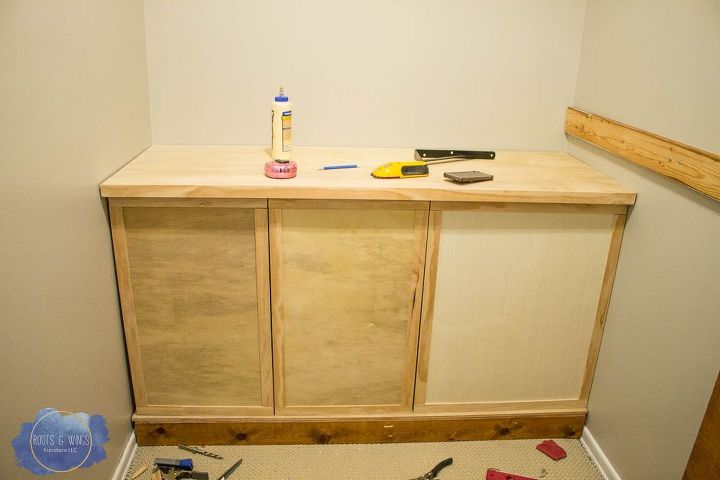
Ready for paint!!
Resources for this project:
See all materials


Comments
Join the conversation
-
Thank you for taking so much time to show how you did this. I think this is a great idea that could be used for many things. Since it is covered from dust, etc. it would be great to store your clean sheets, blankets, etc. It looks lovely. You could also store valuables because no one would think of looking there! Great job!
-
Our closets are so tiny that this kind of storage won't help us. But I save up the ideas for a future home that has closets bigger than a 4' square! Wonderful idea--thank you so much for sharing!!


Frequently asked questions
Have a question about this project?
You said these cans were for dirty laundry right? My question is how is that go to stop the clean clothes to not smell?
Where is the video?
I don't get this...how is it a dresser? Half the comments assume it's for dirty clothing, half assume it's for clean. Picture of it being used would be helpful.