


$12 Dresser Makeover

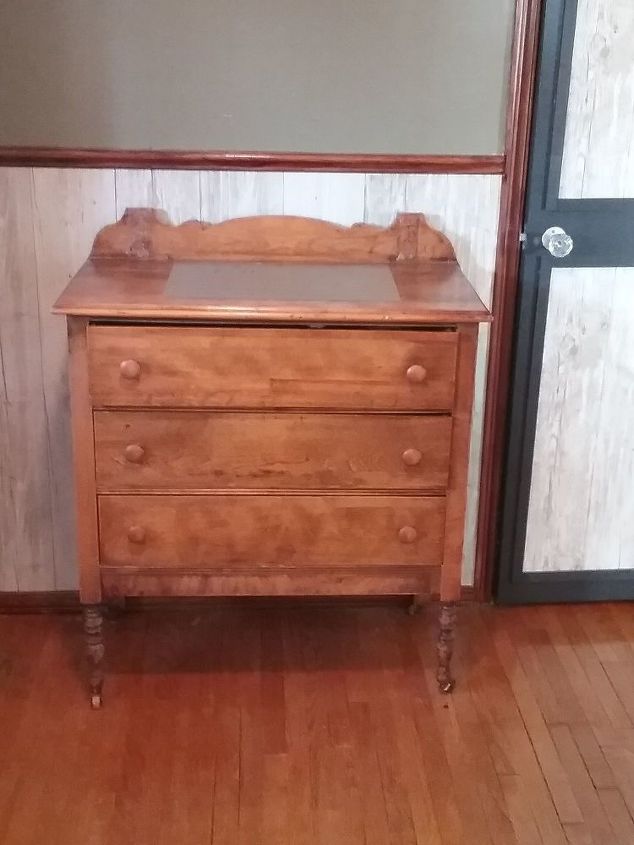
This little dresser has alot of history to it. It came from Whitefish Lodge which was open in the late 1930s located in Canada's oldest Provincial Park, known as Algonquin Park. I was fortunate to grow up in the small town located just minutes away from this breathtaking natural wonder and spent a lot of time there growing up and have been able to allow my son the same experiences. My grandmother bought this dresser when the lodge closed and it was the dresser I used as a child and brought with me when I left home. It now sits in my dining room. I am reluctant to paint it but wanted to update it. When in the Dollar store I spotted these Faux wood peel and stick planks and thought they would be perfect.
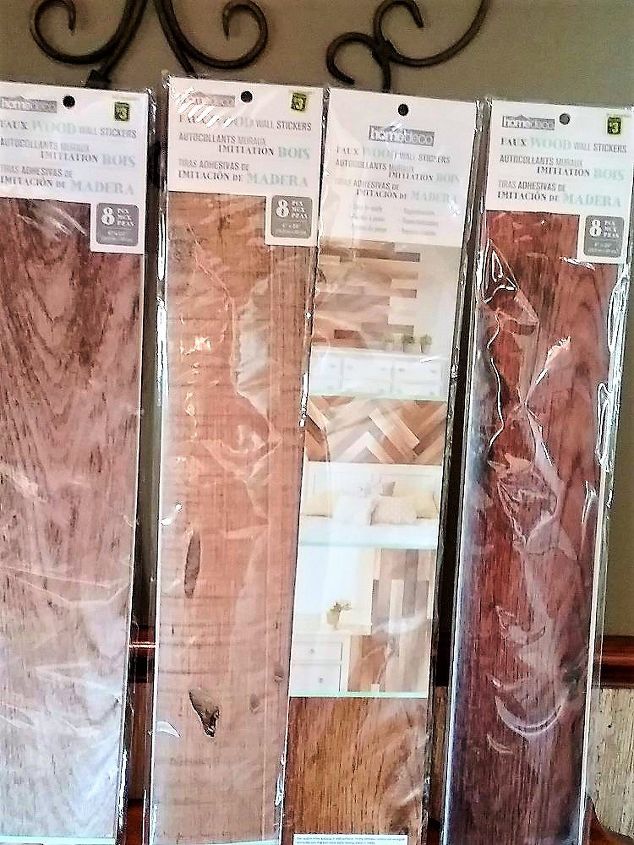
So my first step was to gather supplies. For this project all that is needed is a screwdriver , scissors, exacto blade, measuring tape and of course the Faux Wood peel and stick planks. These come in four different wood colors , eight in a package, and $3.00 a pkg.
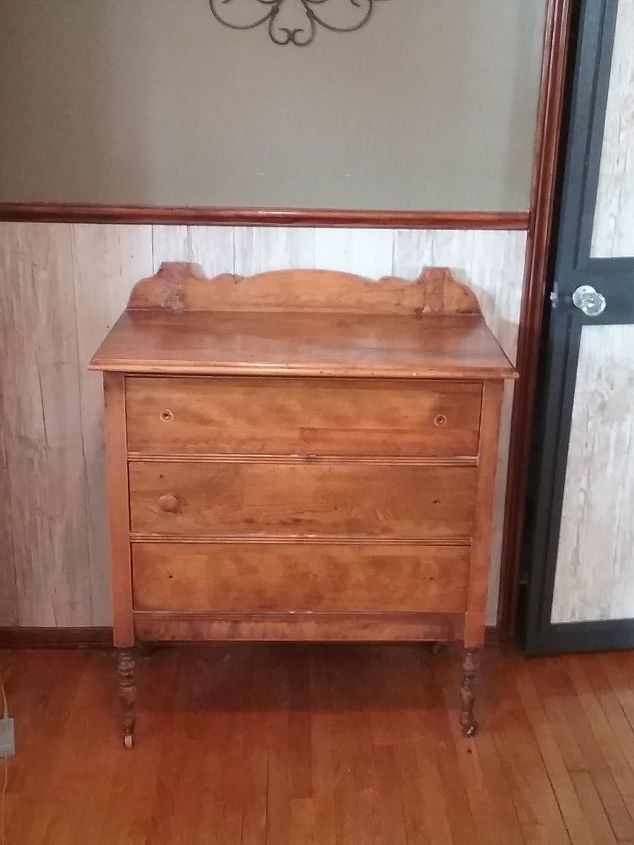
Next step is to remove knobs, one I was unable to remove no matter what I tried so I had to work around it. Then I washed it with soap and water to remove any dirt and grim.
So once it is dry, you are going to take a tape measure and measure the drawer from top to bottom. I will be using all four different wood colors and running them up and down.
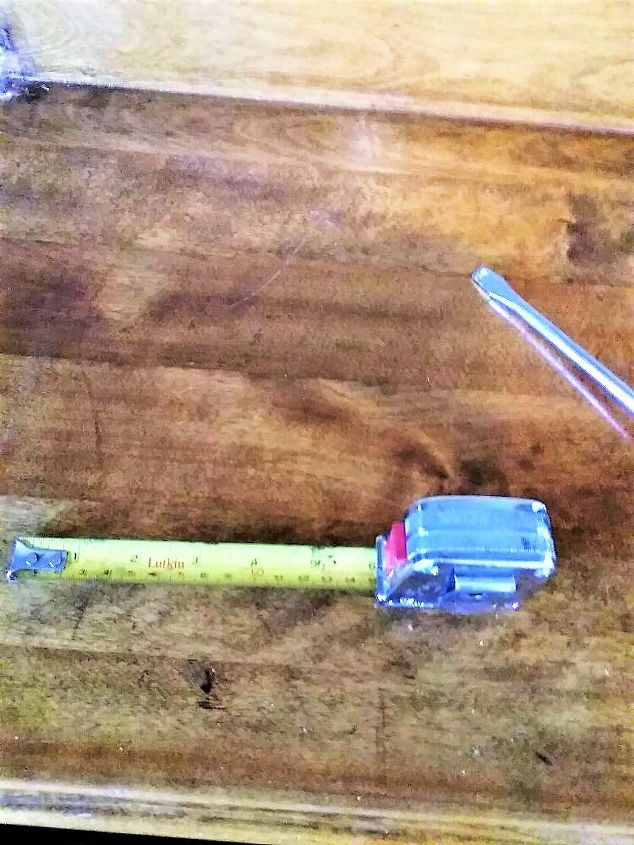
Measure and cut your pieces to desired length.
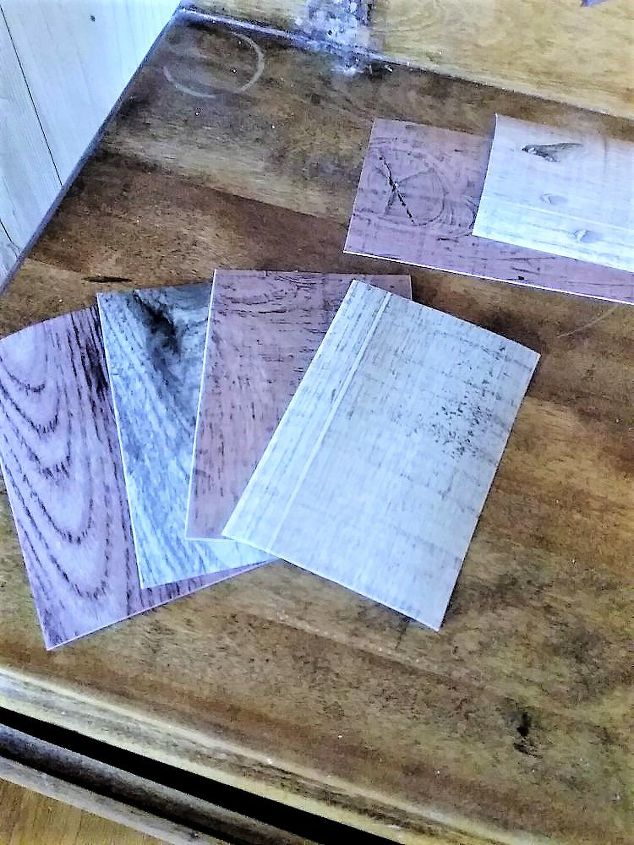
Here they are cut. Now it is time to remove backing and apply to dresser.
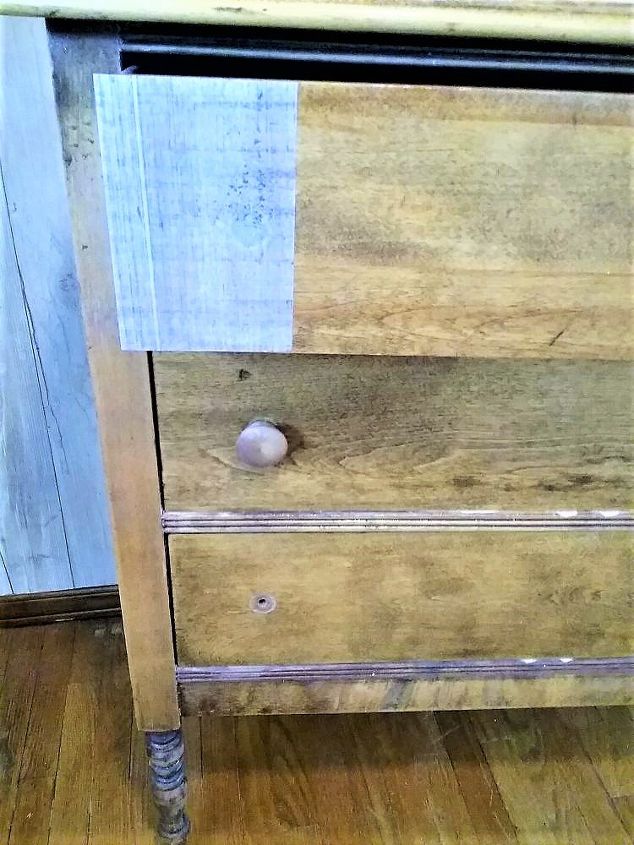
So start your first piece off and alternate between light and dark colors til you reach the other end.
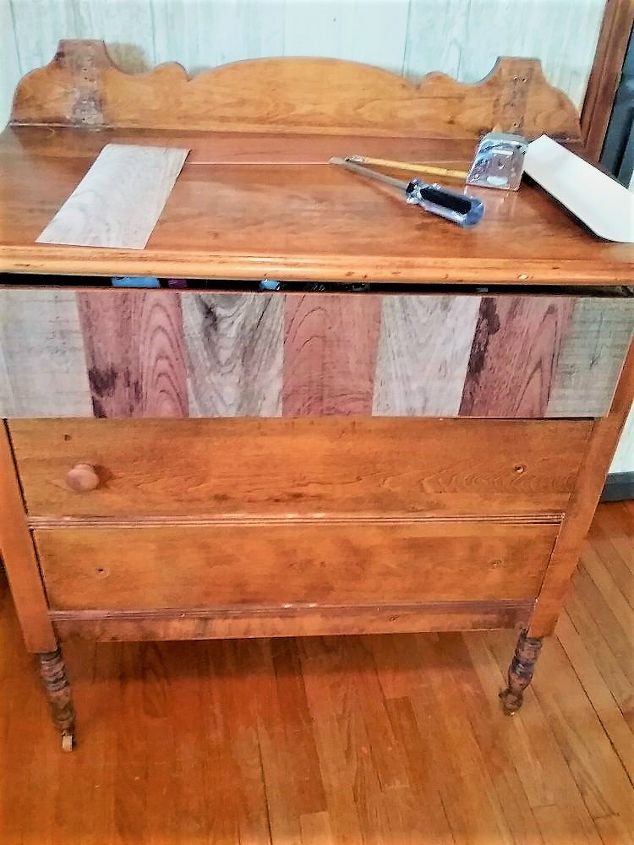
So here is one drawer finished. Continue this process with the other two drawers. For those of you noticing the difference in color in my pictures that is the sun coming in my windows and brightening up the space.
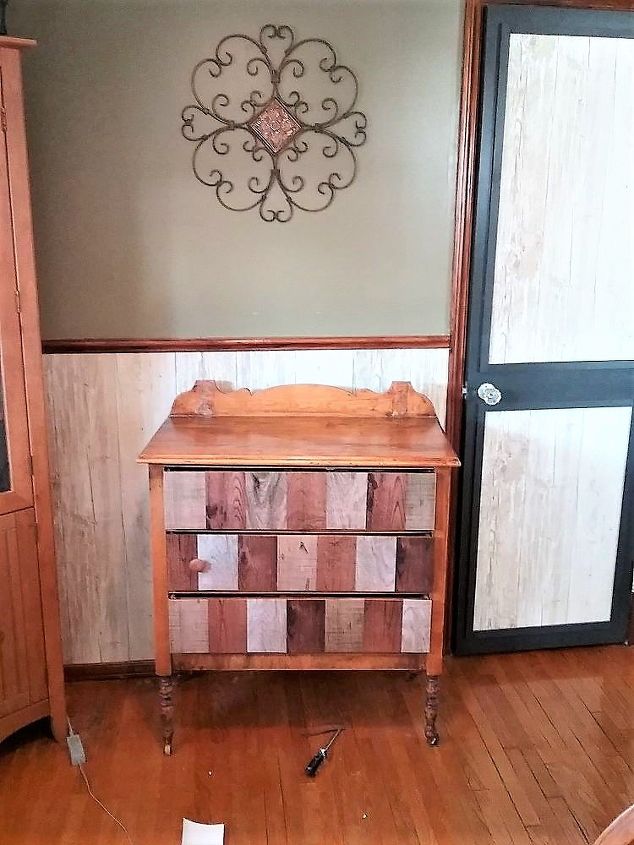
So here is all 3 drawers complete. At this point you can stop here, but because I use this in my dining room I opted to do the top also to save some wear and tear on the surface. I used the same pattern on the top. Once complete using an exacto blade pierce small holes where knobs will go, and reattach knobs.

So here it is finished.
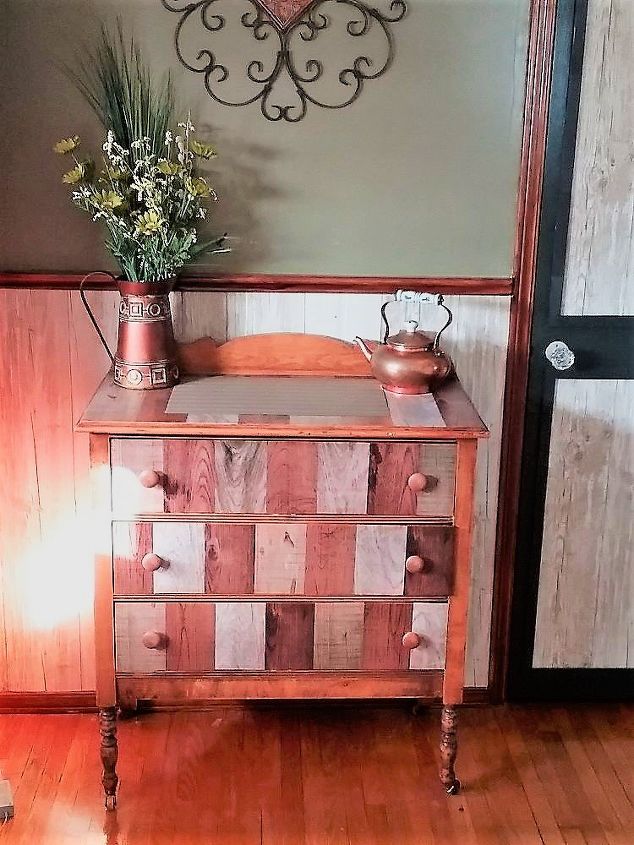
I love how this turned out. I managed to give it a mini update while maintaining the original finish to this dresser. This project was one of the easiest to do and only cost my $12.00 .
Resources for this project:
See all materials


Comments
Join the conversation
-
Really great idea. Looks amazing.

-
This beautiful dresser, is even more beautiful, with the TLC you gave it! It looks as though, it may have had an attached mirror at one point. Possibly before you owned it. Attaching a mirror 🪞 is definitely something to consider, or if not attaching one, maybe putting same style mirror close by.


Frequently asked questions
Have a question about this project?
nicely done! Who makes these faux planks? I don’t see them on the amazon link.
Where did u get the peel n stick for 3$ ?
Are the artificial 'wood' stick on pieces removable without damaging the original surface (in case I don't like my end result)?