


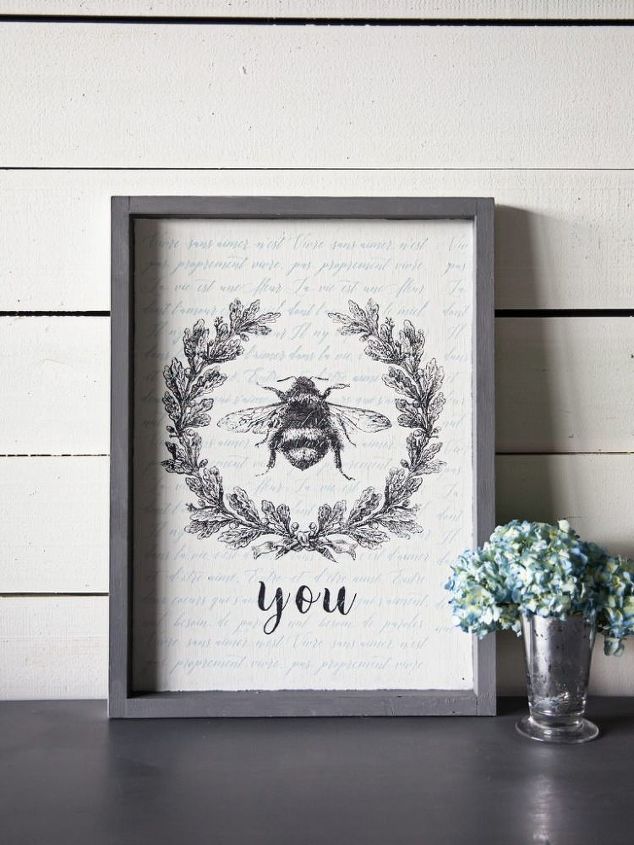
BEE You DIY Wall Art
Want a fun, simple craft project that reminds you of how great you truly are every time you see it? This DIY BEE You stencil project is something you can use on virtually any surface – from wood to canvas and even walls and furniture!
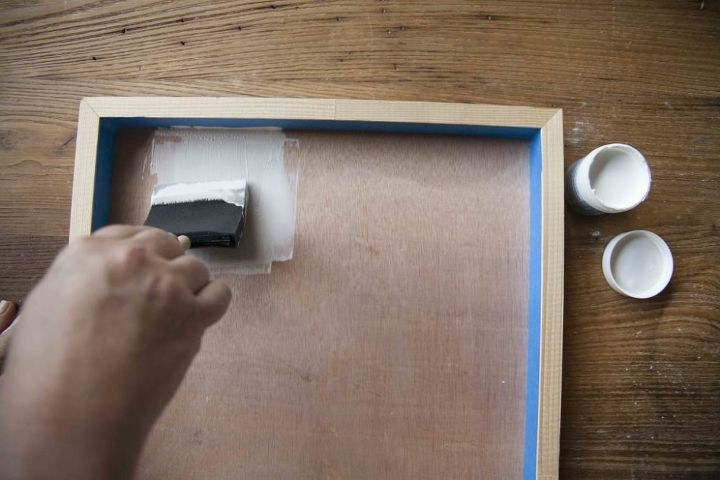
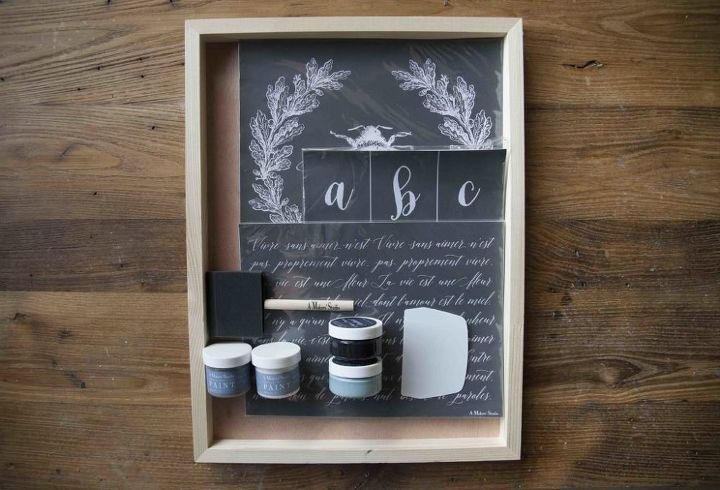
Paint the inside of your surface with Blessed Rescue Restore paint using a sponge brush. Make sure to apply it smoothly to avoid bubbles and sticky spots.
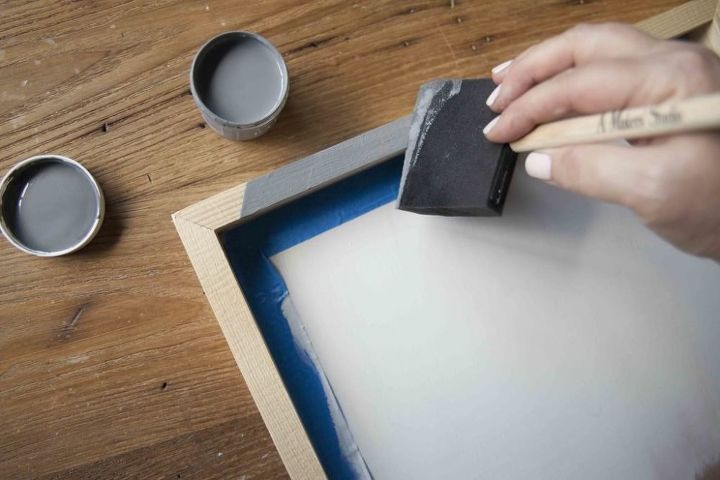
When the paint inside your surface is dry, tape off the inside of the surface and paint the top edge with Southern Gentleman Rescue Restore and the outside edge in Blessed. Wait until the paint has dried on the edges before you move on.
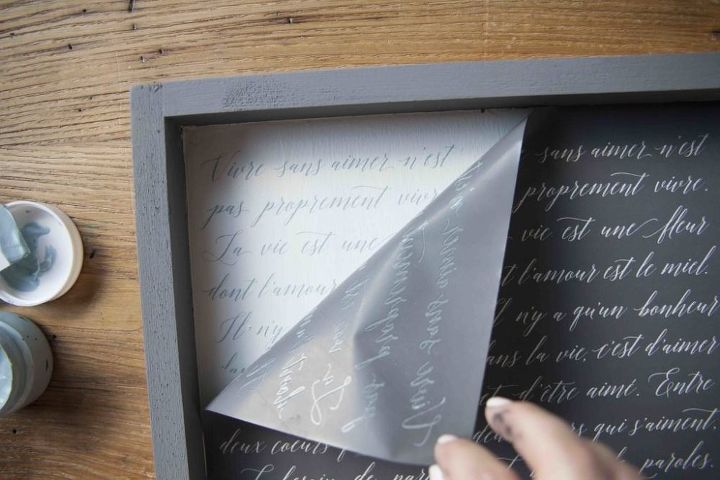
From there, you can apply the French Script stencil onto the surface painted in Blessed. Start on the left top corner using Cute as a Button ChalkArt™ and the ChalkArt™ spreader.
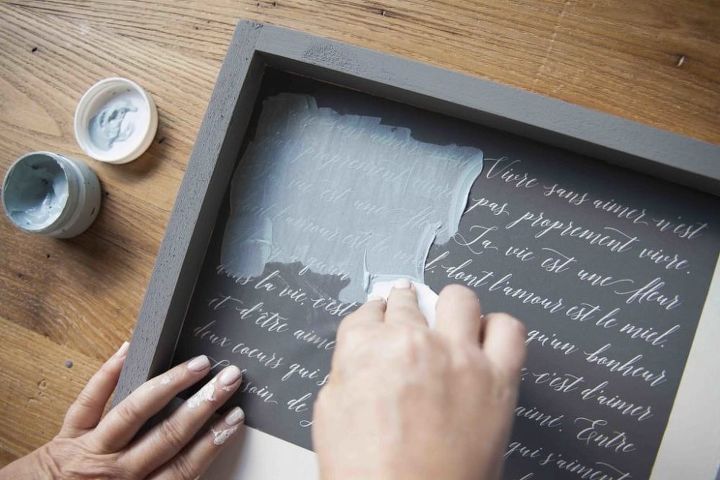
Once complete, remove the stencil, wash, and repeat until the entire surface is covered. Make sure to wipe the stencil dry between applications to avoid water damage. Once the surface is entirely covered, let the ChalkArt dry, wash your stencil, and set it all aside to dry.
Check your surface. Once you’re sure it’s dry, apply the Queen Bee stencil just above the center of your surface, leaving enough room for the word “YOU” that will be added later.
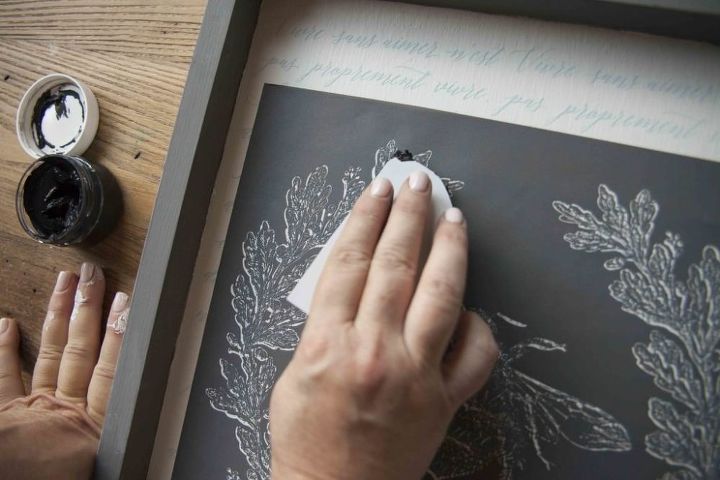
Then, apply Preaching to the Choir ChalkArt™ with the spreader. Set it aside to dry.

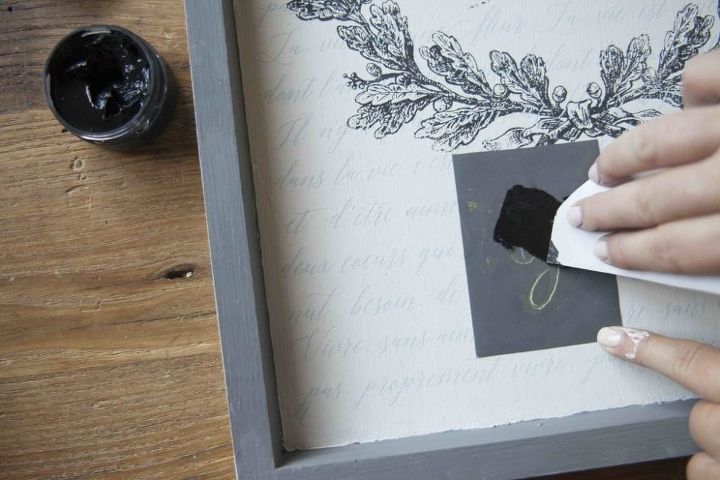
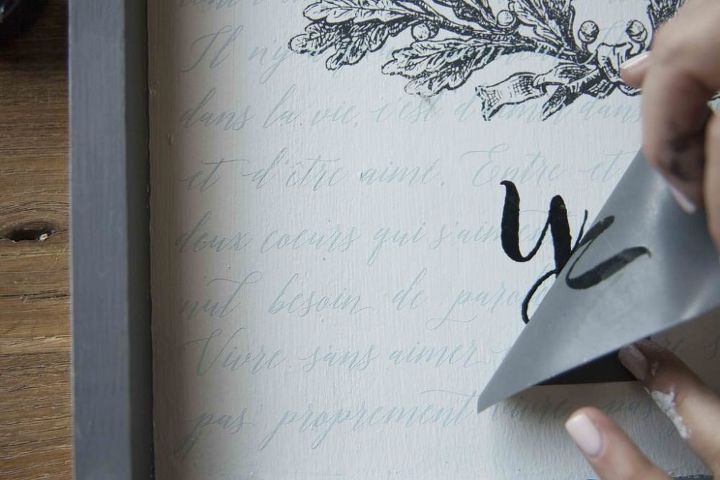
Once the Queen Bee stencil art is dry, apply the word “YOU” below the bee stencil using Preaching to the Choir ChalkArt™ with the Alphabet 2 stencil. Make sure to let each letter dry and wash the stencil between applications to avoid smudging paint!
Once all three letters have been painted, let your project dry.
Et voilà! Now you have a bee-utiful piece you can use anywhere in your home or office – or gift to someone who needs a little reminder to just BEE themselves.
Do you love your DIY BEE You project? We want to see it! Tag on Instagram and use to make sure we (and your community of fellow Makers) can see your beautiful work!
Paint the inside of your surface with Blessed Rescue Restore paint using a sponge brush. Make sure to apply it smoothly to avoid bubbles and sticky spots.


Frequently asked questions
Have a question about this project?