


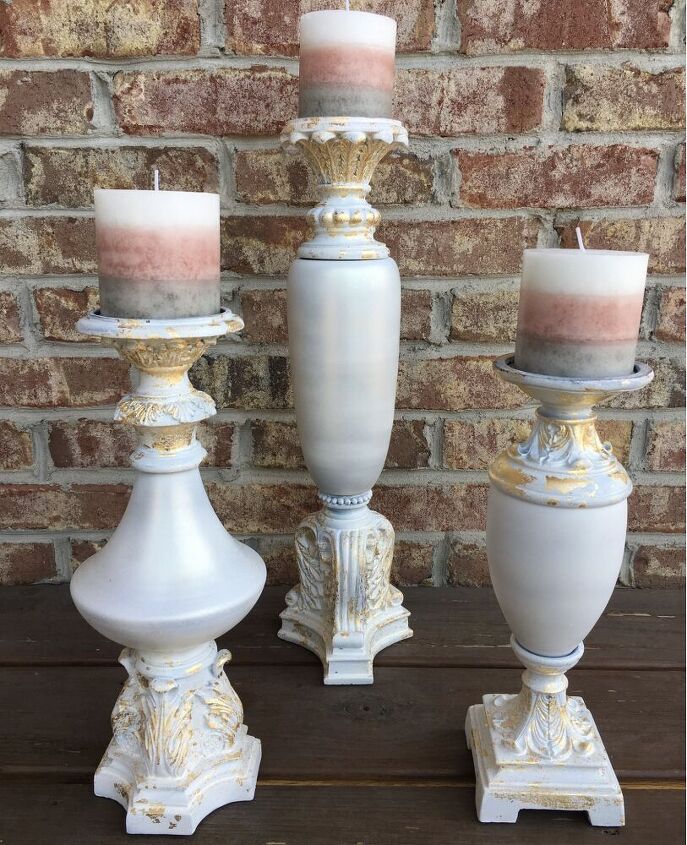
How to Update Outdated Candlesticks

Do you have some candlesticks that you used to love, but they no longer match your decor? I had these and I think the shapes are gorgeous, but the colors are very outdated. If found an easy way to update them so I could get even more use from them.
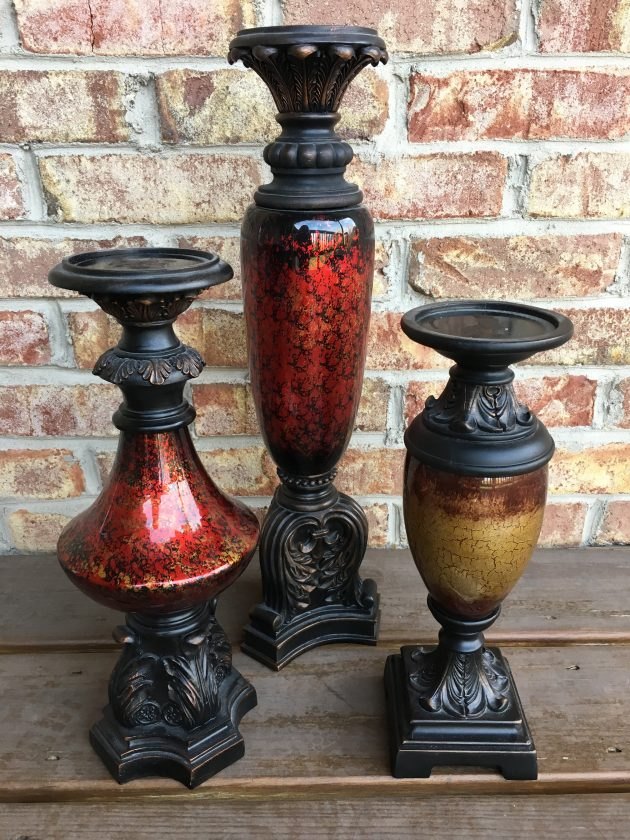
While I love the size and shape of these candlesticks, the colors are certainly not fitting with the current color trends. However, they are much to pretty to throw away. With a few easy steps, I transform these into lovely modern white and gold pieces that can be used year round.

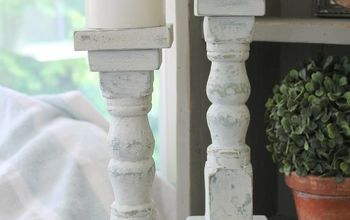
My candlesticks are part wood and part glass, so I disassembled them as I plan to use chalk spray paint on the glass pieces as shown here. I also coated the glass pieces with a very light coat of tint-In in gold.
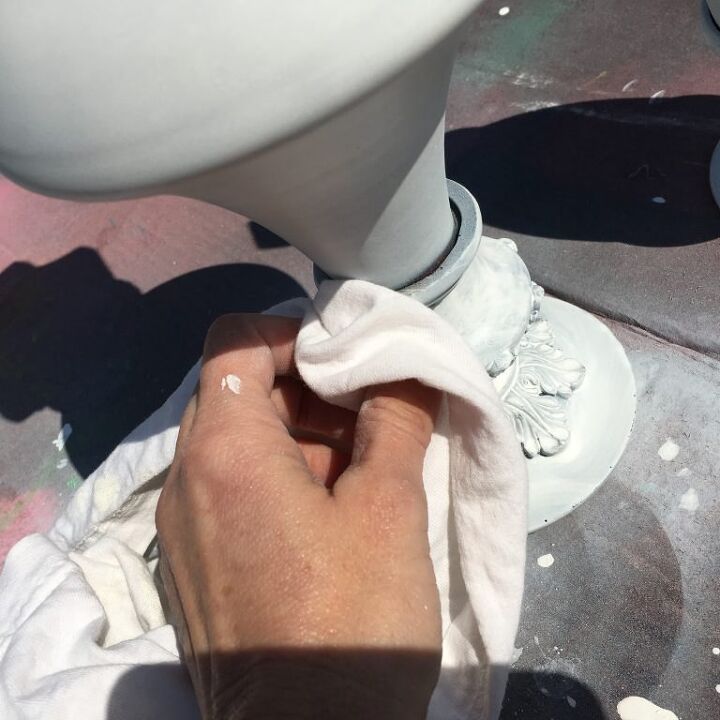
To keep the depth of the wood, I used a pickling wash on the wood pieces. I rubbed it on with a cloth to make sure there were no runs or drips. After this dried, I sprayed on a light coat of the same white chalk paint.
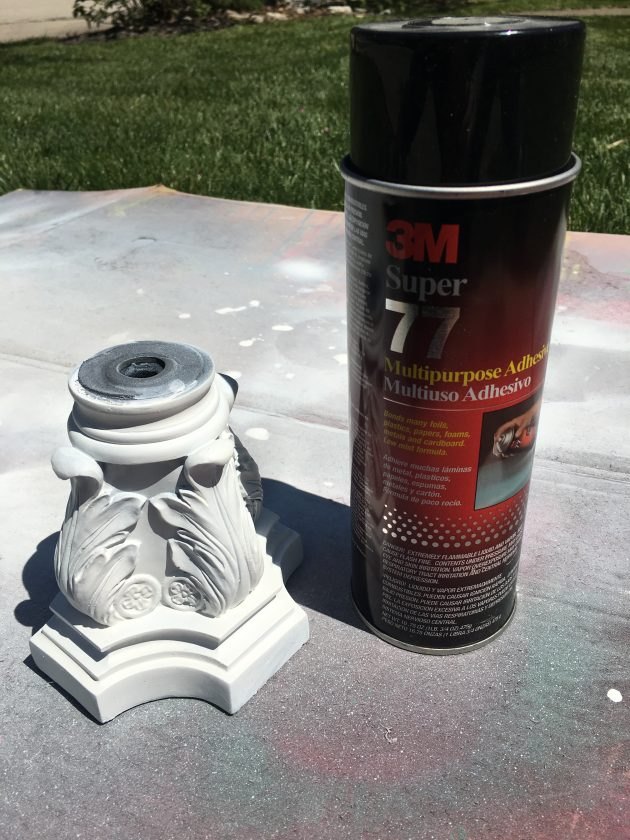
After all the paint was completely dry, I applied a light coat of spray adhesive to prepare the surface for the gold leaf.
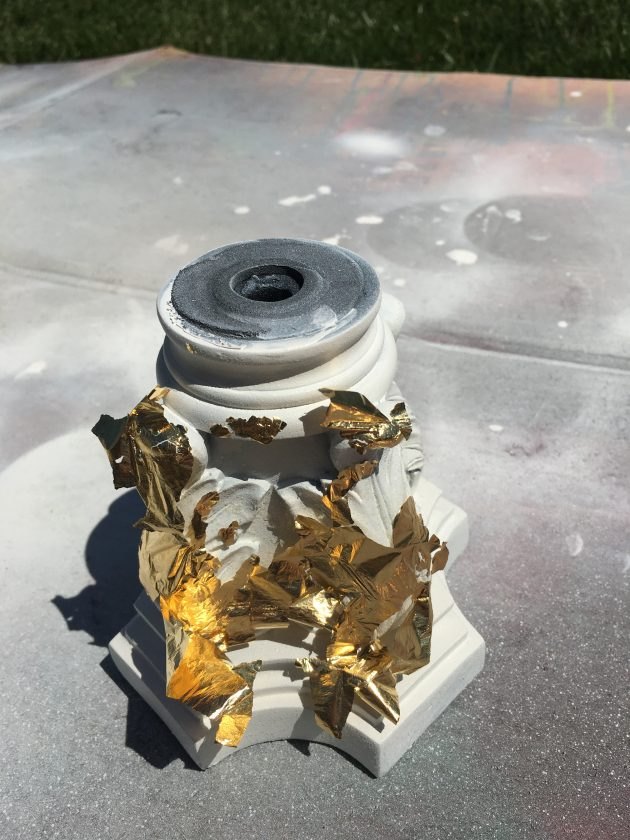
Quickly apply a sheet of gold leaf to the section where you sprayed the adhesive spray. You want to gold leaf to be applied loosely as in the photo above. The more you press down on the gold leaf sheet the more coverage you will get.
Next use a gilding brush to remove the extra gold leaf.
If more coverage is desired, you can repeat the process with another gold leaf sheet. If less coverage is desired, fine grit sandpaper can be used to very lightly remove some of the gold leaf.
Resources for this project:
See all materials


Comments
Join the conversation
-
Actually, the original is coming back. I have seen many "carnival" type painting techniques on here. Love the original.
I also love what you did to change them. They look beautiful now as well and I am sure they look lovely with your decor.
-
I love what you did - so pretty!


Frequently asked questions
Have a question about this project?
Turned out beautiful! I also like to use Rub & Buff. They have gold and several lovely metallic colors.