


How to Make a No Sew Rope Bowl
A rope bowl or basket is a lovely way to decorate your home, and can be a functional piece of decor too. Instead of buying one, learn how to make your own without any sewing required.

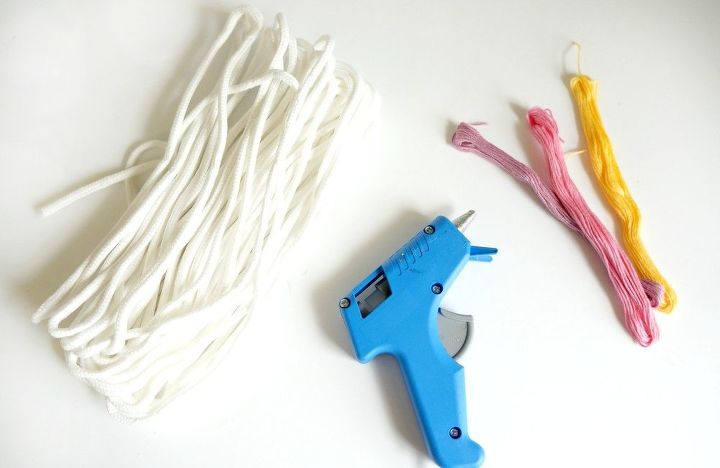
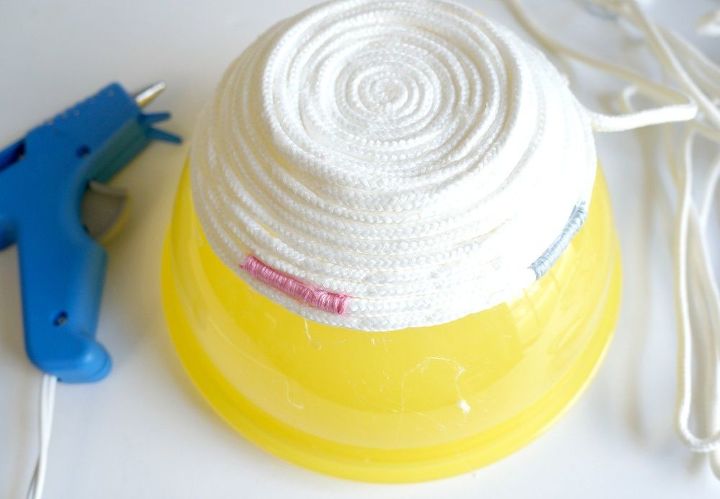
Start with hot glue, white clothes line and embroidery floss. You will also need a plastic bowl to help shape your rope bowl.
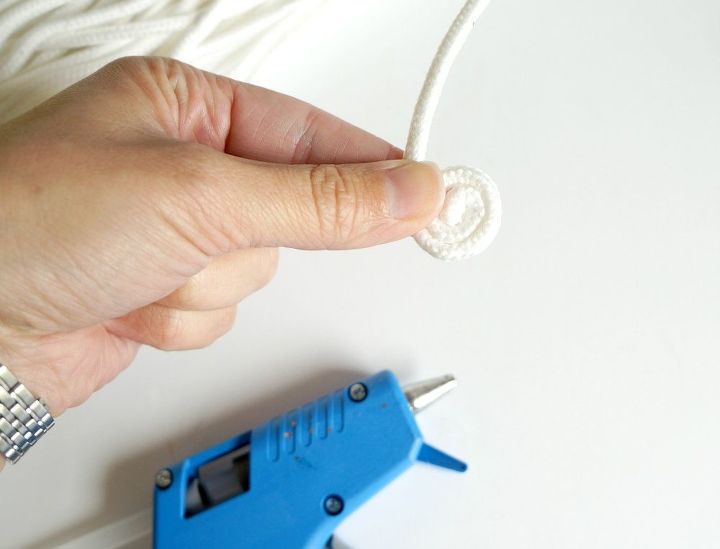
Start by making a small spiral of rope, using hot glue to hold it in place.
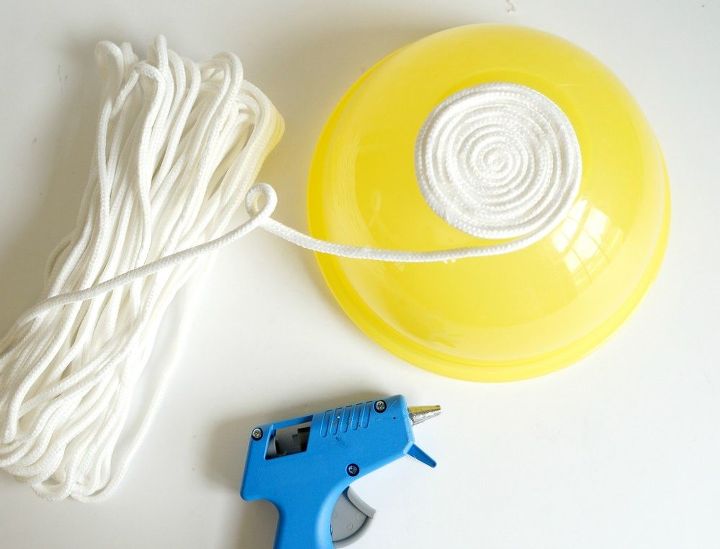
As your spiral gets larger, place it on a bowl to help shape the rope bowl. Continue using hot glue to secure your rope and follow the curve of the plastic bowl.
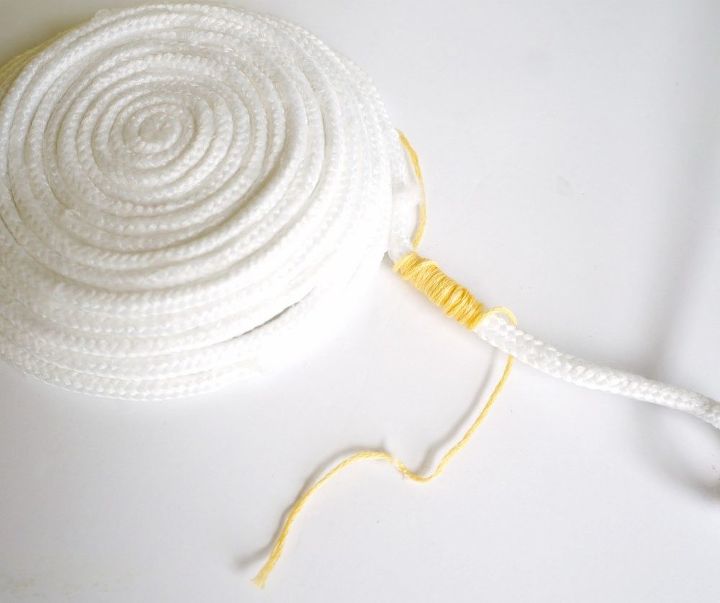
To add color, wrap a piece of embroidery floss around a section of the clothes line, then continue the making your rope bowl. Leave the floss ends loose, you can trim everything at the end.
When the rope bowl is finished, and the size you want, curve the end around to create a handle and secure it with hot glue.
Pull the rope bowl off the plastic bowl and trim any loose embroidery floss ends.
If there is excess hot glue strings, you can use a hair dryer to warm them and easily pull them off.
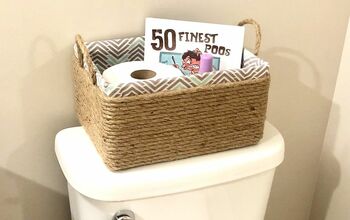
Use this rope bowl to collect keys or loose ends on your dresser. These make great gifts too!
Resources for this project:
See all materials


Comments
Join the conversation
-
Loved the idea
-
This is so creative! Adding the embroidery floss for a touch of color is ingenious! I am definitely going to do this one! Thanks 👍🏻


Frequently asked questions
Have a question about this project?
I wonder if you could dye the clothesline ? Maybe like tie dye or the ice cube thing ??
This may sound silly, but how do you keep your fingers from getting burned by the hot glue?
The first picture looks like the inside of the bowl was covered in rope too. Did you include instructions for that?