


Winter in the Garden – How-tos for Cool Weather Garden Plants

Winter is an unusual time to think of vegetable gardening, but don’t put away your shovel just yet! Did you know there are still lots of options for the home gardener? See our tips and how-tos for cool weather garden plants and cold-hardy veggies.
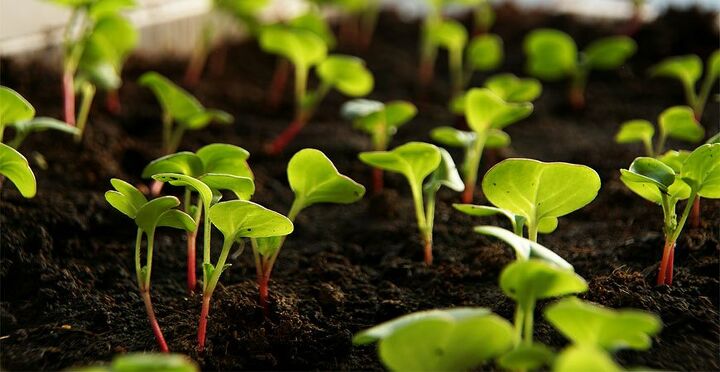
Winter signals a dramatic turn in the growing season. Plant growth suddenly ends, and vegetable plants wither with the first frost. But if you’re a gardener who grows winter crops, the new season just means a change in your daily gardening routine.

What kinds of vegetable plants can I grow in winter?
Choose cold-hardy crops that can tolerate sub-freezing weather:
- Spinach
- Carrots
- Scallions
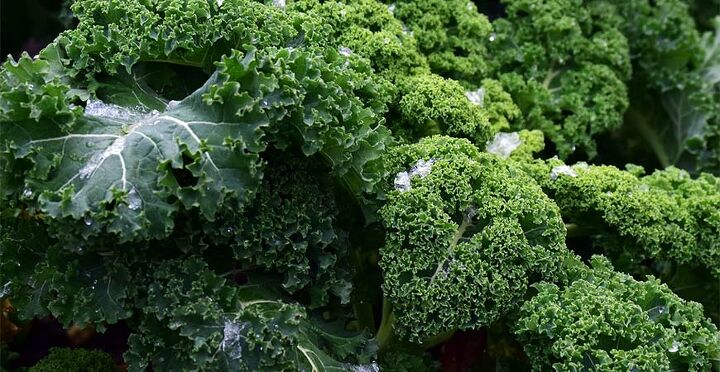
- Collards
- Radishes
- Mustard greens
- Pak Choi
- Other miscellaneous salad crops
Winter Gardening How-Tos
During the darkest days of winter, when the days shorten to 10 hours or less, plant growth will suddenly stop. Plant your vegetables earlier in the season, timing their growth so they’ll mature just before the shorter days set in. From then on, it’s just a matter of protection; keeping them alive, harvest, and enjoy.
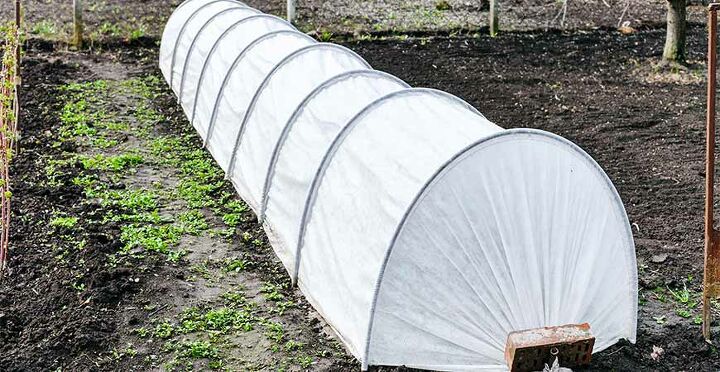
Once your plants are in the ground, the first step is to protect them from the cold. Grow your vegetables and keep them cozy in a high tunnel; sometimes called a hoop house. A hoop house is made of several curved plastic or steel frames with layer (or two) of clear plastic attached over the top. This makeshift greenhouse works well to keep vegetables above freezing all winter long. The clear plastic cover holds in sunlight keeping the interior warm. It may be below freezing outside, but it may be a balmy 70 degrees under the cover. Salad greens grown in a hoop house can withstand nighttime lows of 14 degrees F.
How to Harvest Cool Weather Garden Plants
- Harvest winter vegetables in the early evening, after four to six hours of sunlight has passed.
- If the soil or vegetables are frozen, wait until they thaw before you pick.
- For leafy greens, cut the leaves off the plant with scissors, just above the base, every 10 to 30 days for continued harvest.
- To harvest chard, spinach, kale, and collards, remove tender leaves by hand. Never clip more than 40% of the leaves to keep the vegetables vigorous and healthy.
- A newly planted row can be thinned by selecting the most mature plants for eating.
Hoop House How-tos
Regulate interior temperatures in a range of 65 to 80 degrees F during the day by opening sides and windows as needed. On sunny days, open the doors at 9:00 am and close them at 2:30 pm, or a few hours before dark. This will help to retain a portion of the warmth and provide the plants with fresh air.
Keep ventilation in mind. A sealed hoop house can quickly heat up on a sunny winter day. If not carefully watched, the heat can rise high enough to damage tender plants inside. Keeping a careful balance between cool nights and pleasant daytime conditions may take a bit of work, but the rewards are worth it!
Water your vegetables sparingly in winter, and on days when relatively mild nighttime temperatures are forecast. A drip irrigation system works well.
DIY Your Own Hoop House
A hoop house protects cool weather garden plants and tender vegetables from freezing temperatures. And provide you with fresh vegetables all winter long.
What You’ll Need
- Garden hose
- Outdoor thermometer
- Shovel
- Tape measure
- Pruners
- Plastic row cover
- PVC pipe
- Bricks or Large Stone
- Pipe clips
Choose a slightly sloped, well-draining location for your hoop house and position it near a water source. A good spot is in a raised garden bed. If you plan to place the structure over existing plants, trim back too-tall plants or move them to another area of the garden. Or, adjust the height and width of the enclosure as needed. Avoid a location that is shaded, windy, or flood prone.
Determine the Hoop House Length and Width
The length and number of 1/2″ PVC pipes you’ll need depends on the width and length of the enclosure. Determine the pipe length by doubling the width of the bed. Determine the number of pipes required – for every 3 to 4 feet of enclosure length, a support will be needed. A standard measurement for determining the number of pipes is: length of pipe = 2x the width of the planting bed. This allows for a curved pipe support placed every 3 to 4 feet.
Install the PVC Pipe
Start at one end, pushing both ends of the pipe into the ground so that it forms an arc. Push the ends in one foot deep or more to ensure the hoop stays in place. Check the pipe hoops with a level to make sure they are straight and stabilized. Repeat at the other end of the measured length. Insert the remaining pipes into the ground, spaced evenly for structural support.
Making it Square
Map out the structure before you build to make you’ll have square corners and straight baseboards. Square the corners of your hoop house and straighten the sides. Before you build your hoop house be sure you map out the structure so that corners are squared, and baseboards are straight and parallel. Check the hoops with a level to prevent tilting.
Covering the Structure
Place the plastic row cover over the curved PVC pipes and pull it snug. Keep it taut to prevent it from whipping in the wind and working loose. Ask a friend to help if needed. Snap plastic pipe clips over the plastic cover and the pipe to hold it in place.
Closing the Ends
Before you close the ends, water your cool weather garden plants. A drip irrigation system works well. Fold the ends of row cover under and weigh them down with a heavy rock or brick. Remember to provide ventilation during the day by opening the ends. Internal temperatures can build quickly on sunny days. Use a garden thermometer, or maximum-minimum thermometer to keep an eye on internal temperatures.
Did you know? Carrots and greens taste sweeter when cold weather arrives? The plants convert starches to sugar to protect themselves from the cold and to keep their cells from freezing.
With the above how-tos you’ll be able to serve your family a fresh salad from the garden as the snow flies.


Frequently asked questions
Have a question about this project?