


The Complete List Of DIY Hardwood Floor Installation Tips

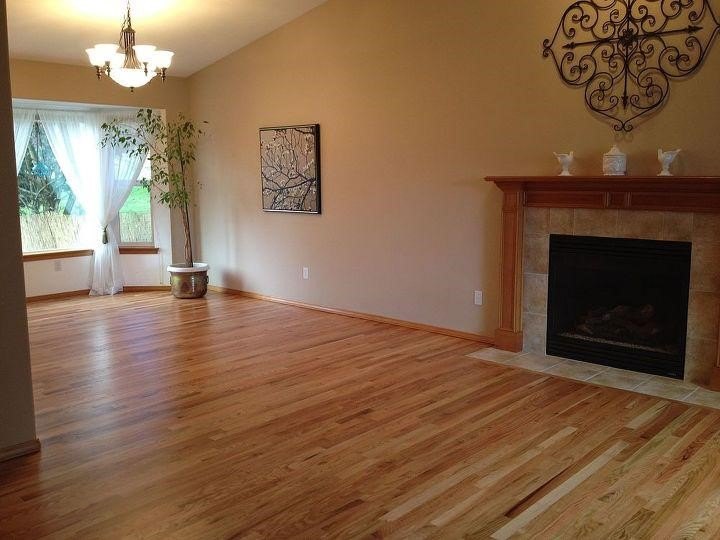
There’s nothing quite like hardwood floors to add charm, character, and warmth to a room. Kitchens, living rooms, bedrooms, and even bathrooms are all enhanced by their addition and they may even increase the value of your home. Perhaps you’re looking to upgrade and add hardwood floors to your own place. Well, then check out this complete list of DIY hardwood floor installation tips!
See post: Patricia Taylor|Hardwoods
1. Choose Your Style
The first step in the process is to narrow down what kind of look you want. Hardwood flooring comes in a variety of shapes and sizes. The styles, wood types and finishes available are endless. Are you looking for unfinished or will you be installing prefinished hardwood floors? Do you want wide or thin planks, walnut, oak, pine or bamboo?
Once you’ve picked, you’ll need to decide how you will lay the floor down. While most people choose a straight pattern, herringbone and diagonals are options and you’ll have to have a clear idea of your layout before you measure and order your boards.
See post: Noting Grace|How to Save $Thousands$ on Hardwoods
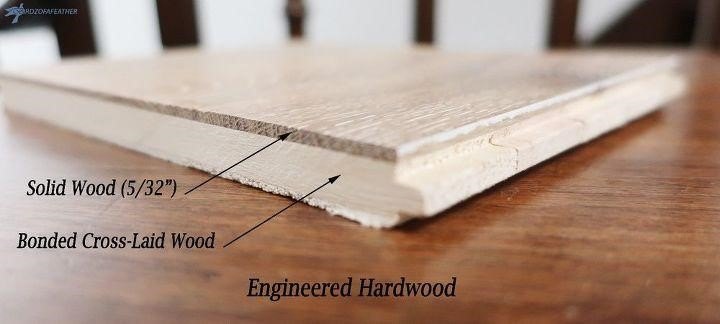
2. Solid Hardwood or Engineered Flooring
Next, you need to decide whether a solid hardwood floor or engineered version is best for your needs. There are pluses and minuses to each, including ease of installation, where they can be used and cost. Both are constructed from wood, not laminate, but solid hardwood flooring is just that, one piece of solid wood per board. Engineered wood is also made from real wood, but each board contains layers of wood. They’re also both available in unfinished and prefinished styles, however, there are a few important differences.
Solid hardwood flooring should be installed over a plywood subfloor and nailed down. It can also be sanded and refinished over and over again. In contrast, engineered hardwood flooring can be installed over many types of subflooring, including concrete and in below-grade rooms. In addition, it can be nailed down, glued together or even float. Of course, because of its layered construction sanding and refinishing, options may be limited.
And while you may think that solid hardwood is more expensive, that’s not always the case, so investigating your options is an important task.
See post: Birdz of a Feather|12 Tips to Shopping for Engineered Hardwood Floating Floors (Pt. 1)
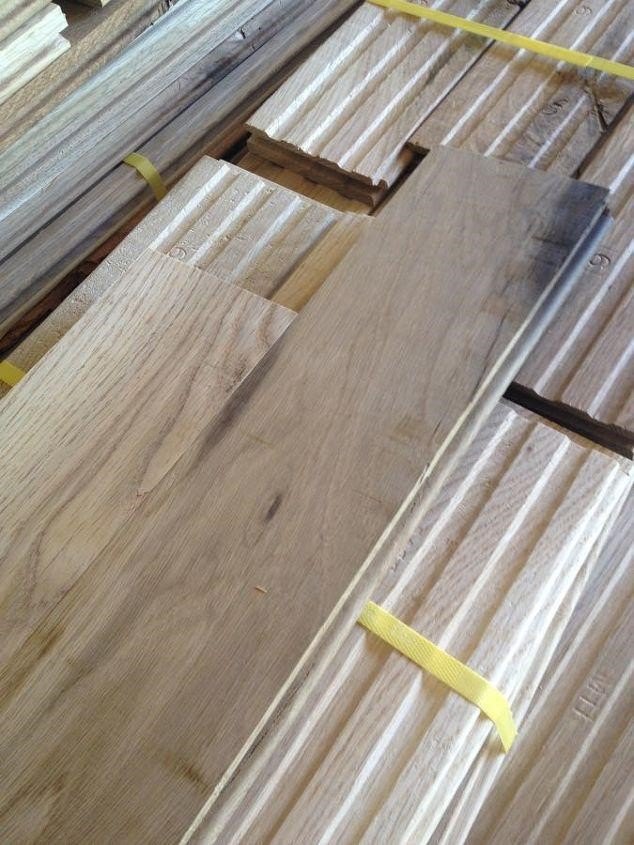
3. Let It Sit
No matter which type of hardwood flooring you settle on, once it’s been delivered, it should be allowed to acclimate to the room it will be installed in before it gets put down on the floor. As long as the room is clean and dry and ready for normal living, simply stack it in the space, either out of the boxes or in open boxes and let it rest for about a week to ten days. This gives the wood an opportunity to adjust to the room’s individual humidity and climate prior to installation.
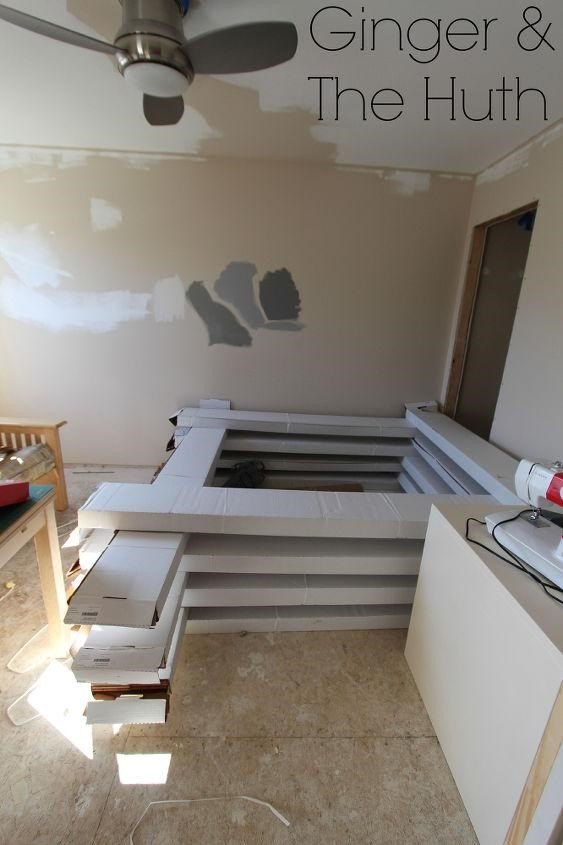
See post: Ginger & The Huth|DIY Wood Floor Installation
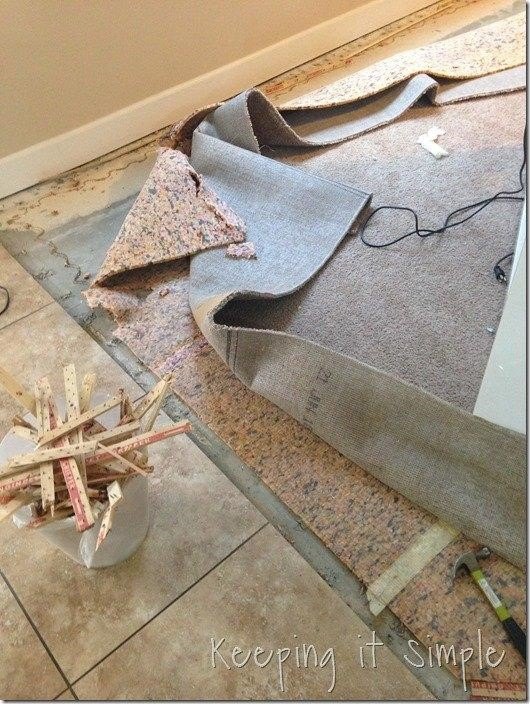
4. Evaluate And Prep The SubFloor
Depending on what was on your floor before, your prep may vary. If the floor was covered with ceramic or vinyl tile you may have to remove or smooth any rough spots, glue or cement on the surface that will cause the floor to be uneven. If you just pulled up a carpet, you will want to make sure you remove all of the tacks, nails, and scraps of padding that may remain. You want to start with a clean, level surface. As mentioned before, if you are installing a solid hardwood floor, you may need to add a plywood subfloor to your area, depending on the specific construction of your home.
See post: Kaysi Gardner|Tips on How to Install Hardwood Flooring DIY
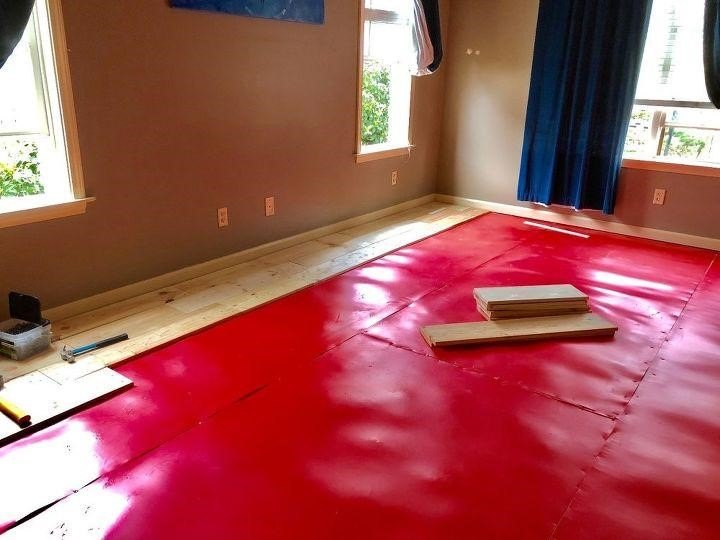
5. Add An Underlayment
Adding an underlayment between your subfloor and flooring is the next step in your hardwood installation. And underlayment will protect your floor from moisture, make it more comfortable and quieter to walk on and may provide a level of insulation at the same time. Just like the flooring itself, underlayments come in a wide variety of styles and materials and it’s important to choose one that’s appropriate for your particular floor. Some are made primarily to control moisture, some to prevent sounds and squeaks, still, others are made to increase comfort. Your subfloor will also determine what’s required. Owner’s manuals usually contain recommendations or you can consult your local flooring expert to pick one that right for your DIY.
See post: Magaly Darmati|Master Bedroom Floor
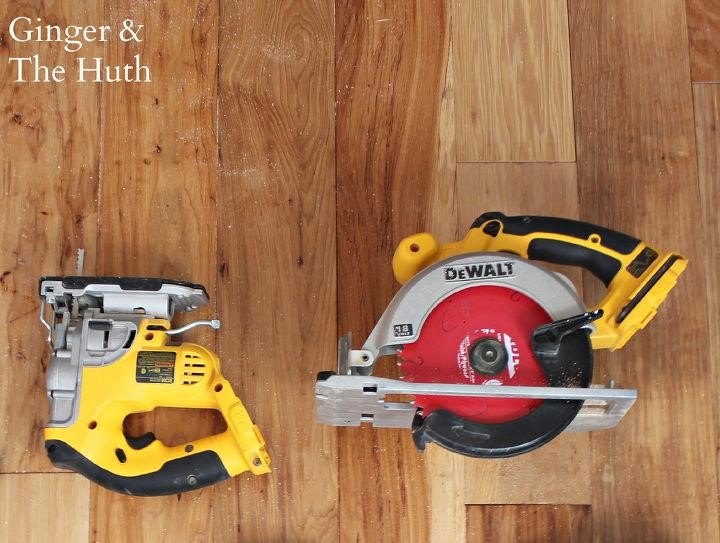
6. Measure Twice, Or Even Three Times, Cut Once
We’ve all heard the old adage, measure twice, cut once. Well, it holds up here, as well. Wood flooring can be an expensive investment and wasting supplies due to poor planning isn’t an economical move. Most boards will only need to be cut lengthwise, a simple straight cut with a miter saw or table saw. Cuts will be made according to your pattern and always while you are wearing protective eyewear and a dust mask.
Again, your style will determine your cuts but most hardwood floors are put down in a staggered fashion. Planks will be cut in varying lengths to avoid lining up seams. They should be offset and in a random order.
See post: Ginger & The Huth|DIY Wood Floor Installation
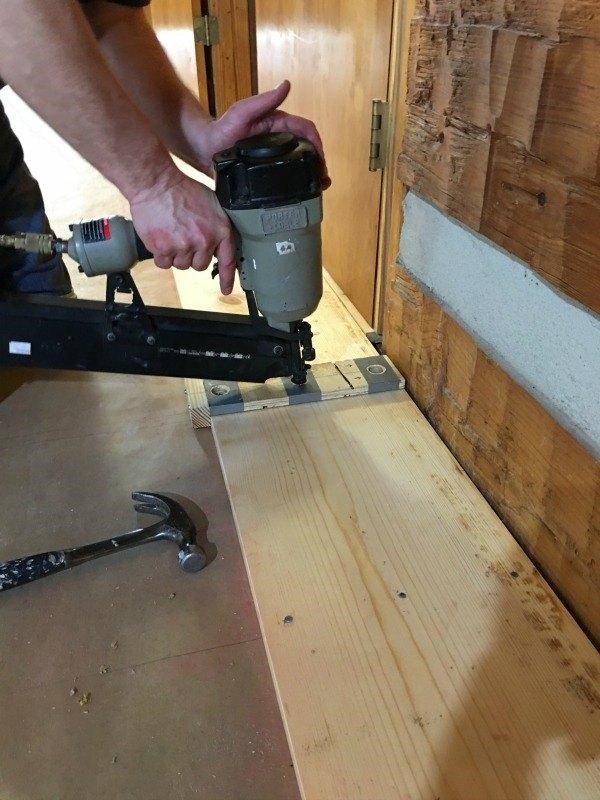
7. Nail It In Place
Once the floorboards are ready to go down, they’ll need to be secured. Based on the type of floor you’ve chosen, you’ll either nail the boards into place with a nail gun or glue them together as you go. The decision to hide nails or feature them for a more rustic look will depend on the style of the floor you’ve picked and the specific installation instructions included with your product. When using any hardwood floor installation tools, remember to wear your protective gear.
In general, the first floorboard will go in, set against the wall in the far end of the room, leaving a small gap between the board and wall for the floor to expand. No need to worry, molding added after installation will cover that gap. The wood will be tapped into place using a mallet and then secured. The process will be repeated until each board is set and you have worked your way out of the room.
See post: Dara @hoodcreeklogcabin|12" Wide Plank Pine Floor
If your flooring was prefinished, congratulations, the hard part is done. Now you all you have to do is grab a broom to sweep up any wood shavings or debris and enjoy the shine. However, if you’re wood was unfinished, you have a little more work to do.
7. Add A Stain
Staining and sealing unfinished wood is critical to keeping your floor looking good for years to come. The floor finish will not only protect the wood from water and wear it will also bring out its beauty and richness. After all, you just spent all that time on the installation, you want it to hold up by brushing on color and a protective sealer. Vacuum up any dust or debris before applying your stain and make sure to open the windows to ventilate the room. When the stain is dry, it’s time to add a few coats of polyurethane. You can determine its luster, matte, semi-gloss or gloss based on your preference. When the final coat dries, you are done.
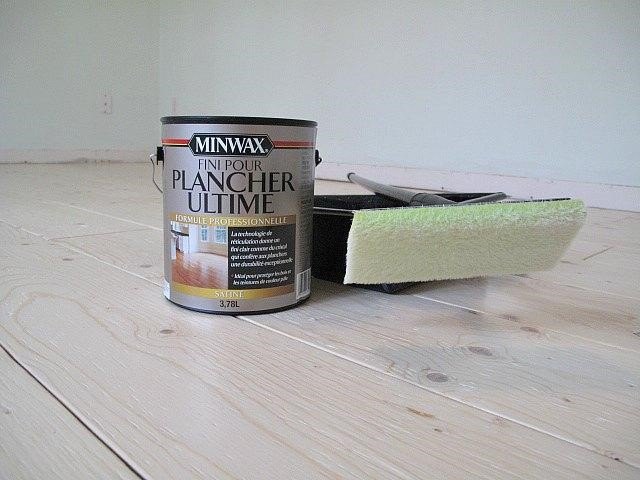
See post: Allison Young|Plywood Plank Flooring
Hardwood flooring is an excellent investment in your home and a beautiful design choice, no matter your style. With so many options on the market today, there truly is something for everyone and DIY hardwood floor installation is a great way to save money. Nail or glue applications are available and with just a few simple cuts you can update your room in no time at all.
Have you installed your own hardwood floor? We’d love to hear all about it. Come post about your experience on Hometalk or join our community and share your knowledge with fellow DIYers from around the globe!
Written for the Hometalk community by: Kim | Exquisitely Unremarkable


Frequently asked questions
Have a question about this project?
Could you use the pallets to make flooring