


DIY Ivy Topiary
When it is time for a change in decor at home for me, it is time for me to start getting crafty. I absolutely love ivy and thought I would try to make an ivy topiary. You can see more of my crafts and creations here.
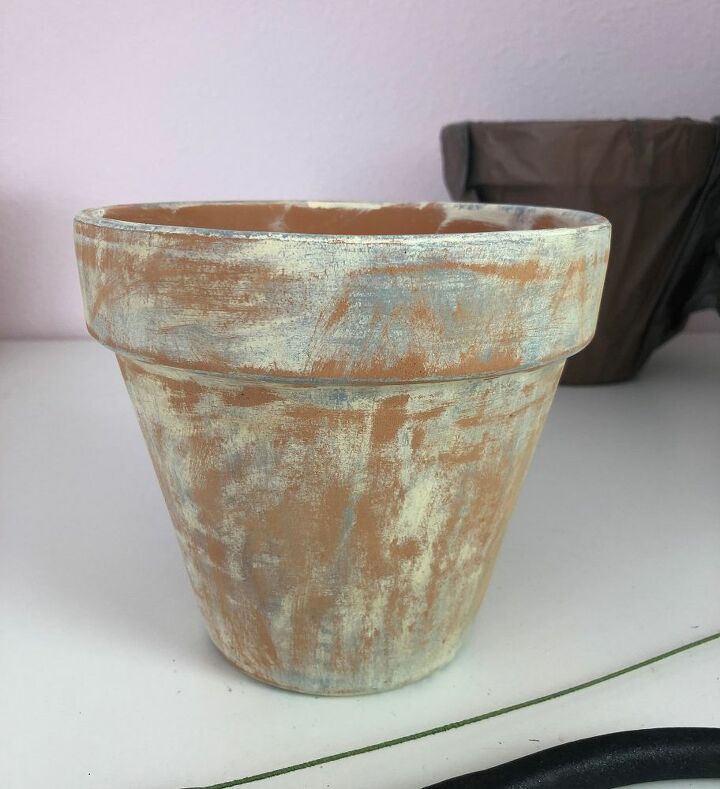
I began with one of my terra cotta pots that I had aged with paint.
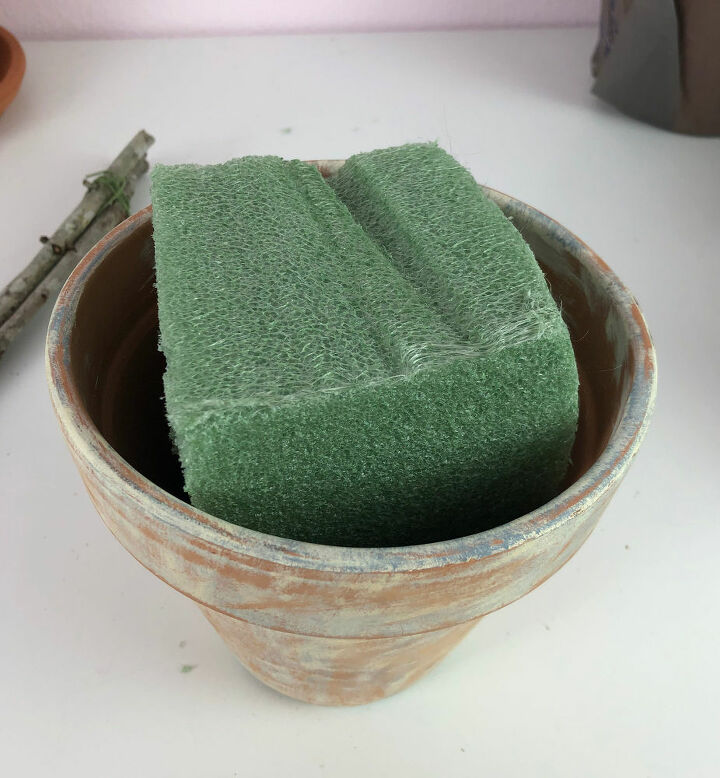
Wedge a piece of styrofoam tightly in the terra cotta pot for the base of the topiary.
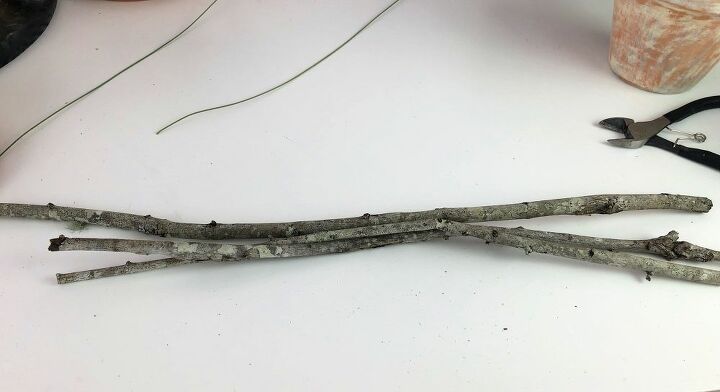
I picked up 3 branches in my yard, choosing as straight of pieces as I could find. Cutting the branches to the same length before I will secure them together.
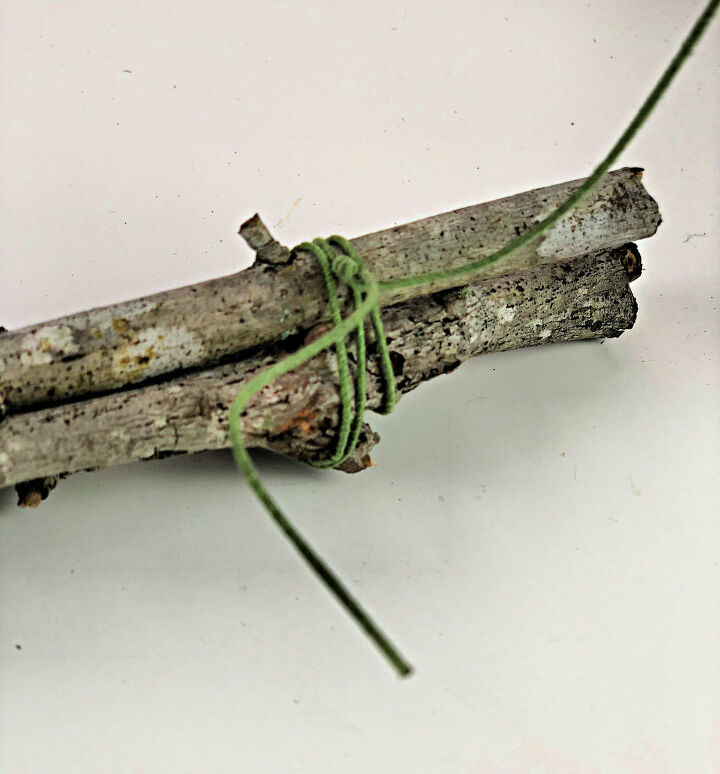
It was important to wire the branches as tightly together as I can to serve as my trunk for my topiary.
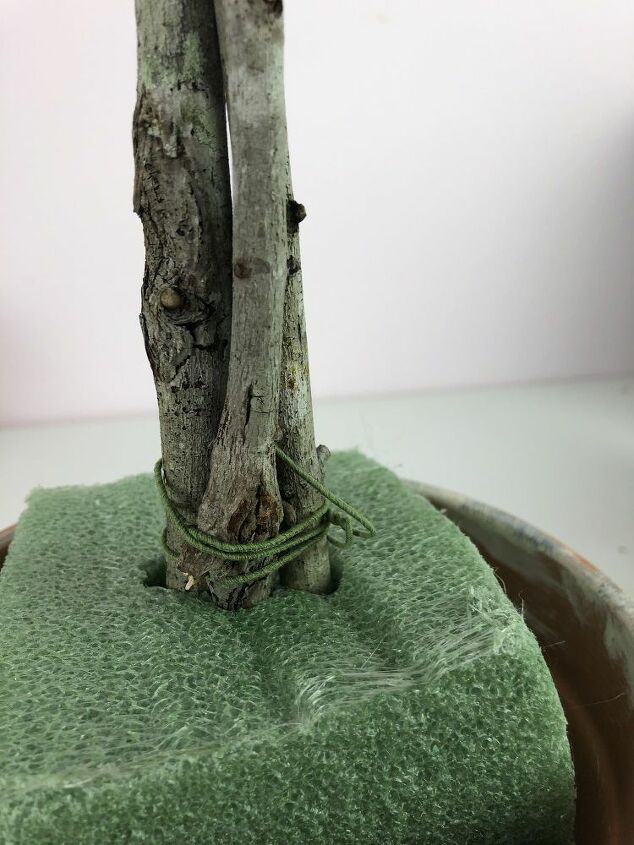
I pushed the end of the the bundled branches into the styrofoam in the flower pot.
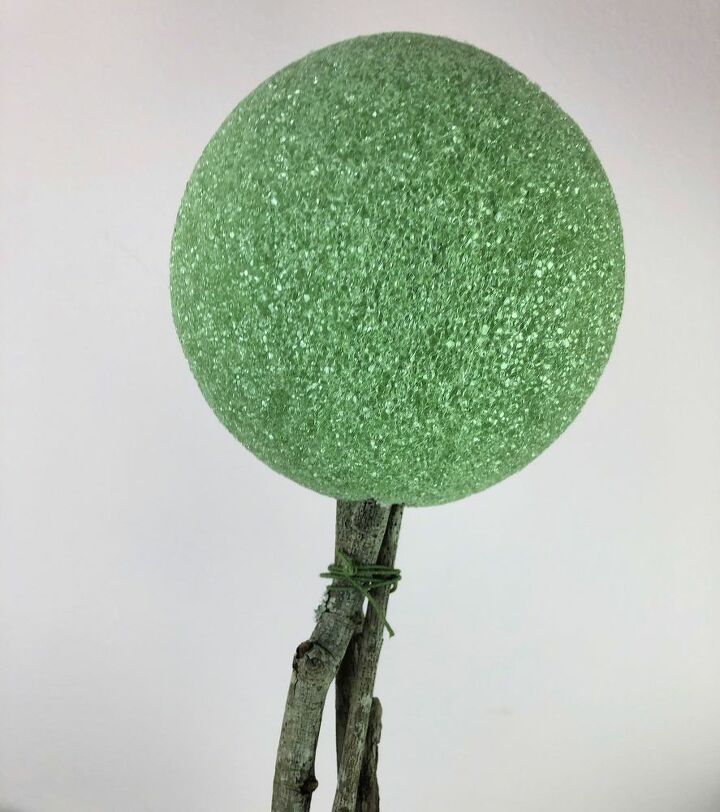
For the top of the topiary, I firmly secured a 6 inch styrofoam ball firmly onto the branches.
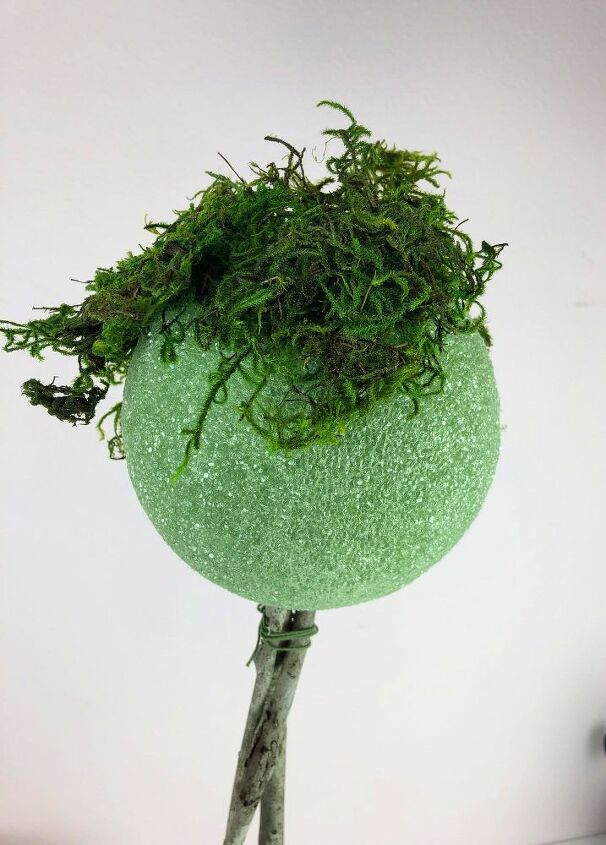
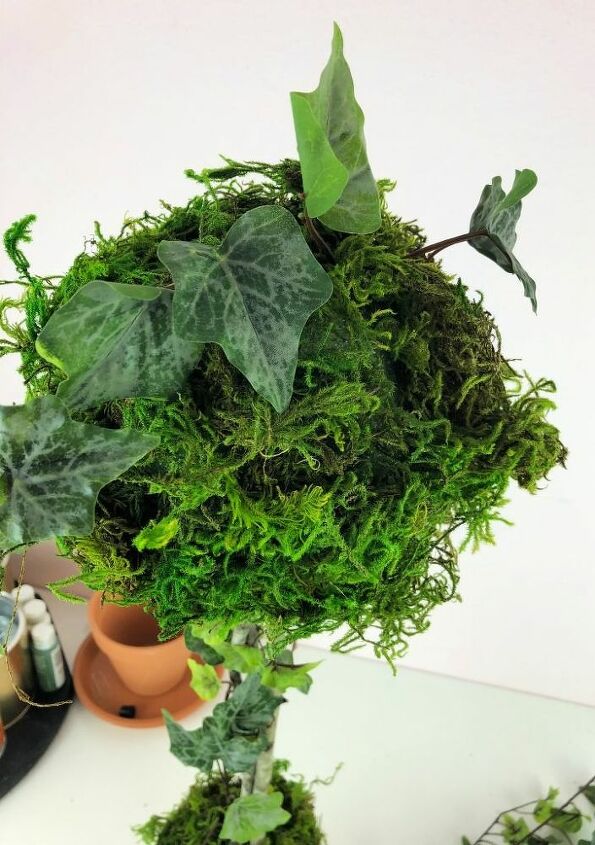
Using floral or "s" pins, I secured preserved moss onto the the ball.
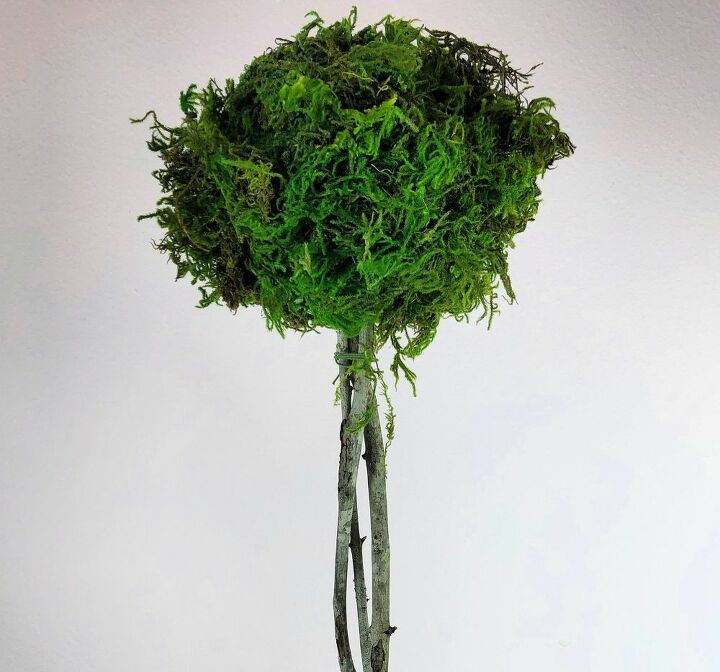
I continued pinning the moss onto the ball until it was completely covered. The same moss was used to cover the styrofoam at the base of the plant, also.
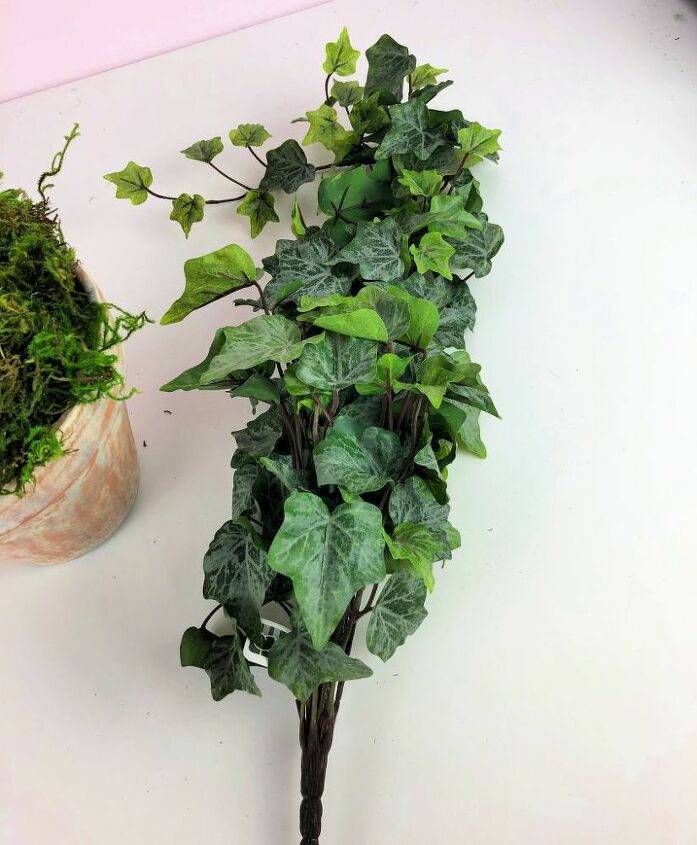
One full faux ivy plant would serve as my greenery for the topiary.

Using wire cutters, I cut each stem off of the plant.
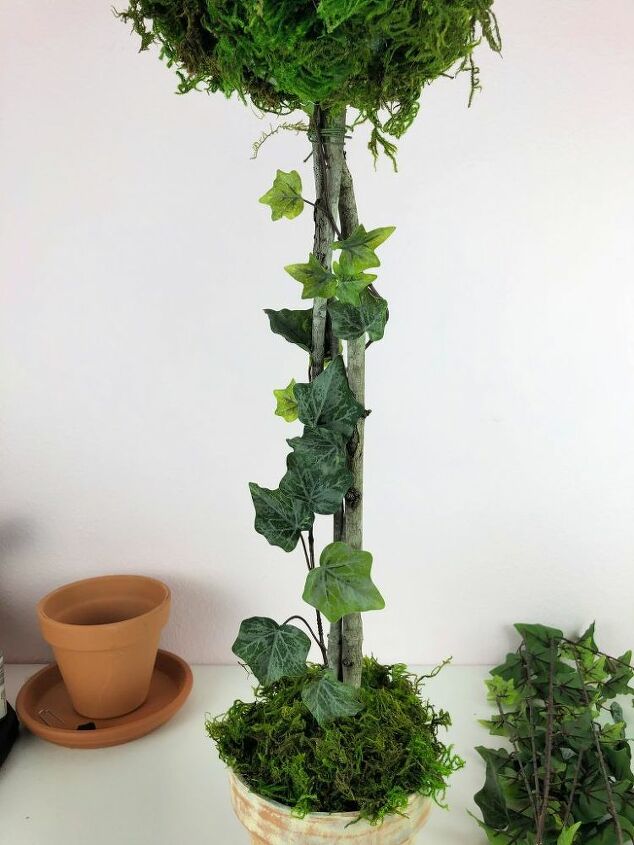
Beginning with the base, I stuck one long ivy stem into the base and wrapped it around the branches, securing the top end into the bottom of the styrofoam ball.
Time to turn it into a topiary! I began pinning each stem individually, wrapping them around the ball to cover the ball.
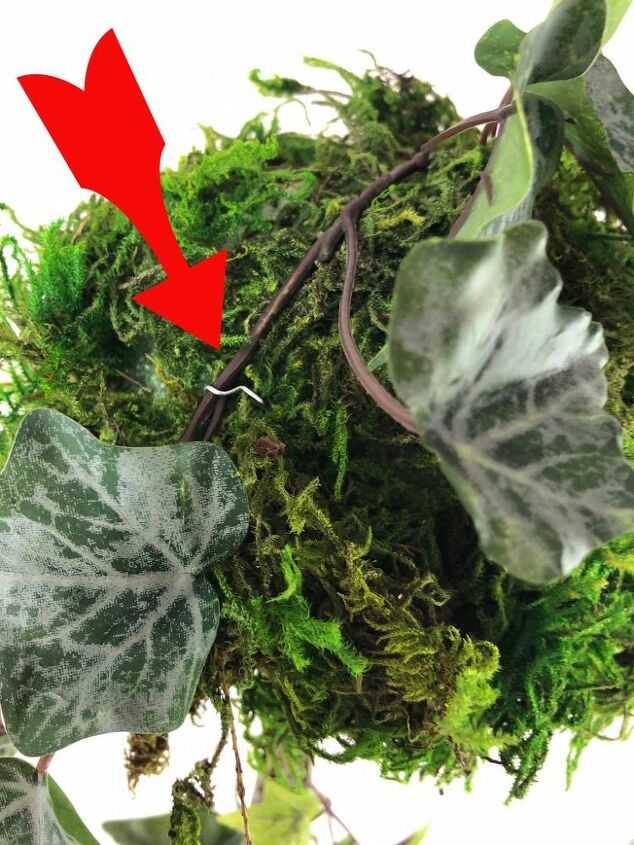
This photo shows the pins I used to secure the ivy. I had to make sure I used enough ivy to cover all of the pins, too.
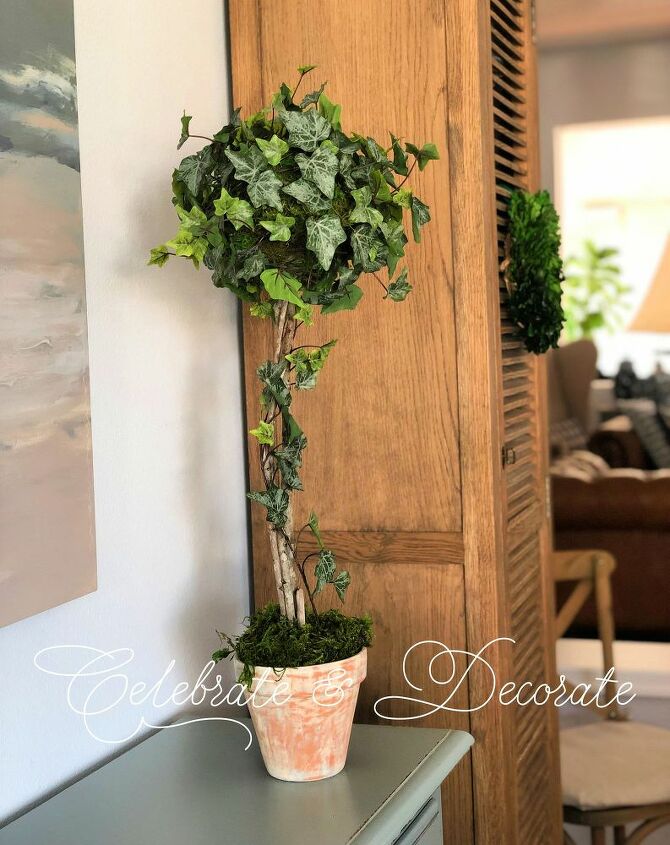
I have a beautiful new ivy topiary ready to display. I once read that every room should have one green plant and with my mediocre green thumb, that means some of them need to be artificial. I would love to have you stop by my blog, Celebrate & Decorate for the full tutorial as well as sign up for my latest creations, posts, recipes, exclusives, and more...
Resources for this project:
See all materials


Comments
Join the conversation
-
Nice job! Don't forget to disinfect and or bug proof you outdoors donations. I once got some tree cuttings for a store display and mayflies hatched in the indoor environment. My boss was not too pleased.
Anyway, this little guy can get a holiday feel with some battery power lites and a tidy red velvet bow!
-
No


Frequently asked questions
Have a question about this project?
ONE bundle of ivy did all this?? It's captivating!
Will the sticks stay secure in the bottom until you are ready to move onto the next season? Or will you consider this a permanent piece of art and move it to another room, or onto the patio?
If you had soaked the sticks in hot water, would they be pliable enough to twist into a braid? I've seen that before, too, and was intrigued.