


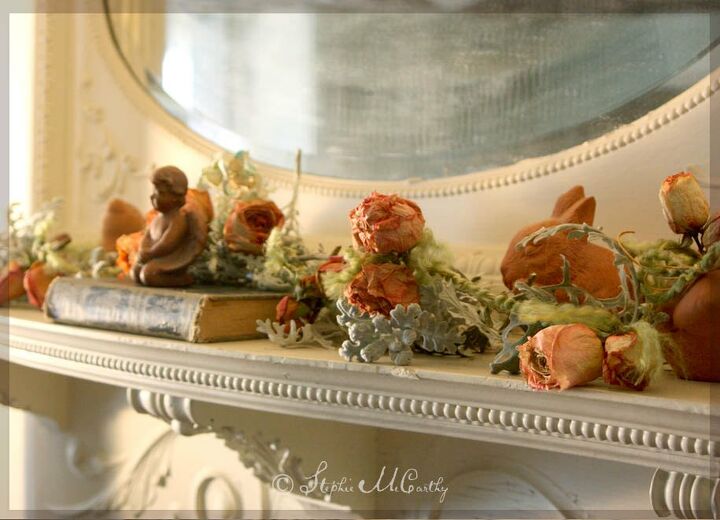
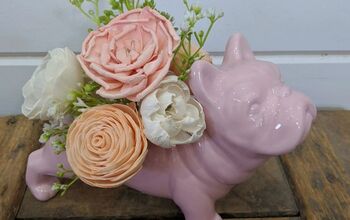
Tinting Dried Roses With Food Coloring and Furniture Wax
Timeless pink roses look sweet in today's cottage decorating, but dried at home the petals can lose their vibrancy. Here's a way to tint them using gel food coloring and Waverly Inspirations liquid wax which is sold for finishing chalk paint projects.
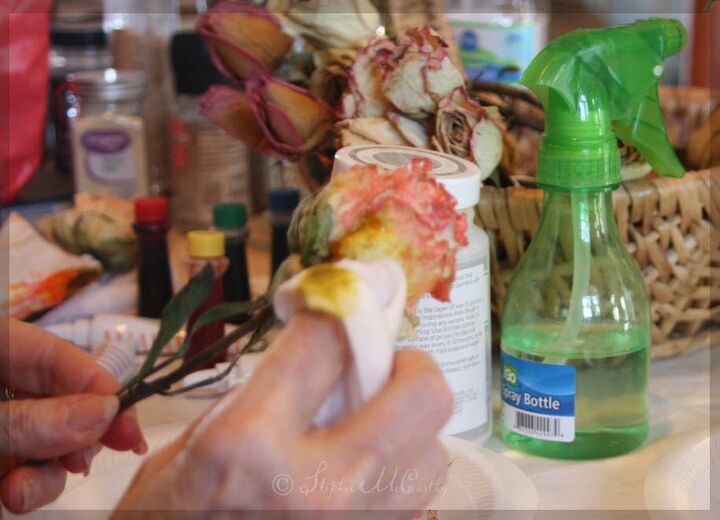
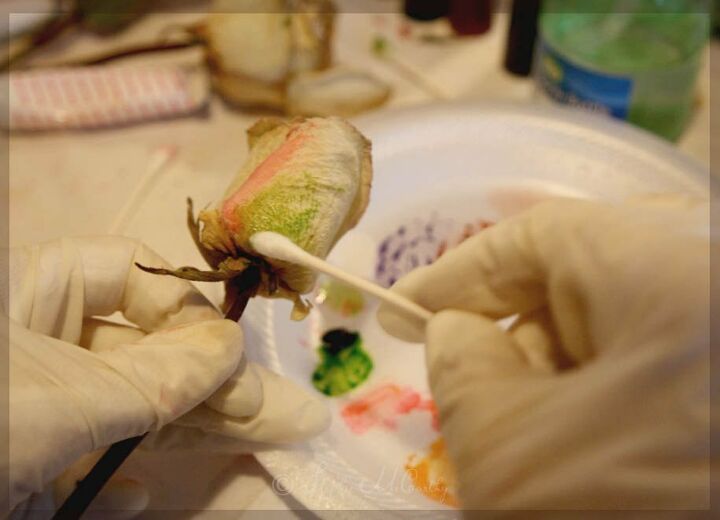
To color these dried roses, I rubbed gel food coloring mixed with clear wax onto them using a cotton swab. Here's how it's done …
To duplicate this craft, you'll need:
• Gel food coloring in neon pink, green, and yellow
(other colors will work as well)
• Waverly Inspirations Clear Wax
(this is easy to find and used for sealing chalk paint projects)
• Cotton Swabs
• Water
We'll give links to these craft supplies at the end of this post.

It's a good idea to have baby wipes, a spray bottle, paint brushes, gloves, a drop cloth, and a vase to hold the roses for drying. I used disposable plates while I experimented with the colors, water, and wax.
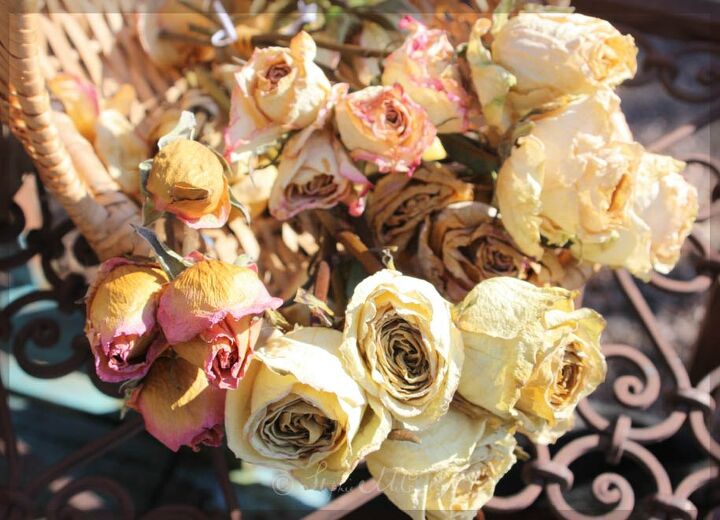
As you see, I started out with roses looking very faded. There was a bit of color here and there, but not nearly enough to stand out in the flower arrangements I had in mind.
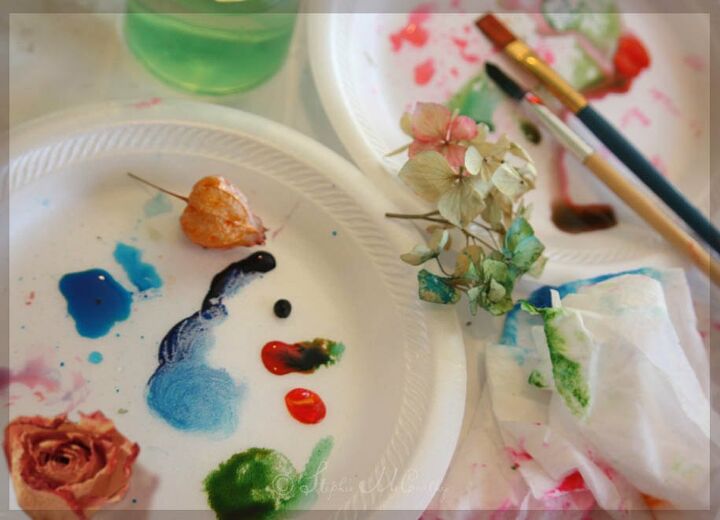
I tried lots of different colors on dried plants. I tried brushes. I tried water alone. What I learned is that dried plants are very water-resistant. Water will bead on the surface and will not penetrate easily.

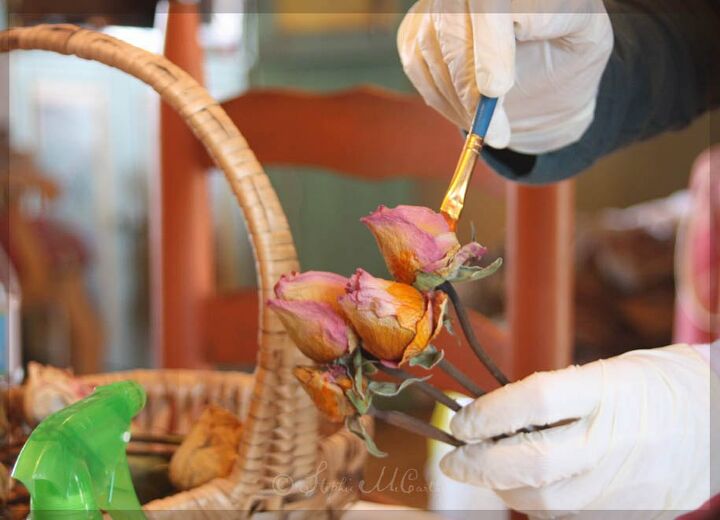
Then I made this discovery! By mixing gel coloring with a bit of clear wax from Waverly Inspirations, the stain bonded much better with the petals. I tried this outdoors in bright light to check my results. Wax helped the color bond to the waxy surface.

Now I could duplicate the results on ALL my dried roses. What I did was concentrate neon pink around the edges and tops of petals, and neon green around the stem and leaves. That hint of green around the base gave a lot of dimension to each rose. Leave just a trace of green.
I soon learned to wear gloves too, because my fingers had turned tutty-fruity in no time. When dried roses had a little color naturally, I boosted it with the food coloring wax.
I also found that too much color looked like melted crayons and not at all natural, so I wiped quite a lot of it away with baby wipes.
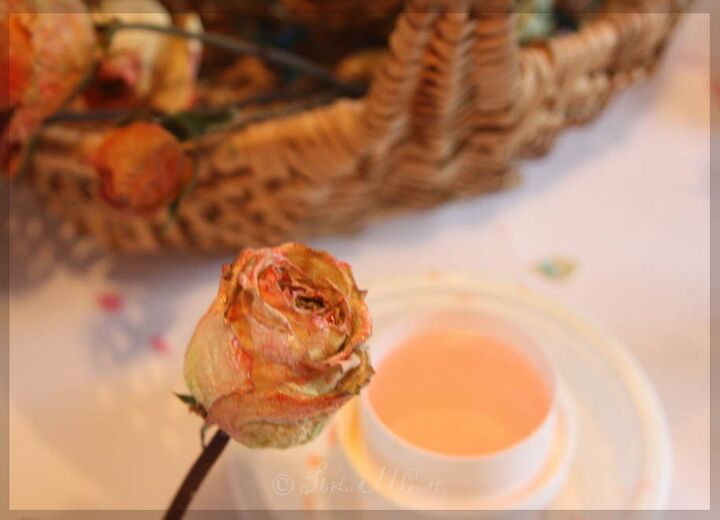
I also learned that I could remove a lot of the wax stain by dipping the colored rose in a small cup of hot water. This left a trace of color on the petal edges, which was much more natural looking.
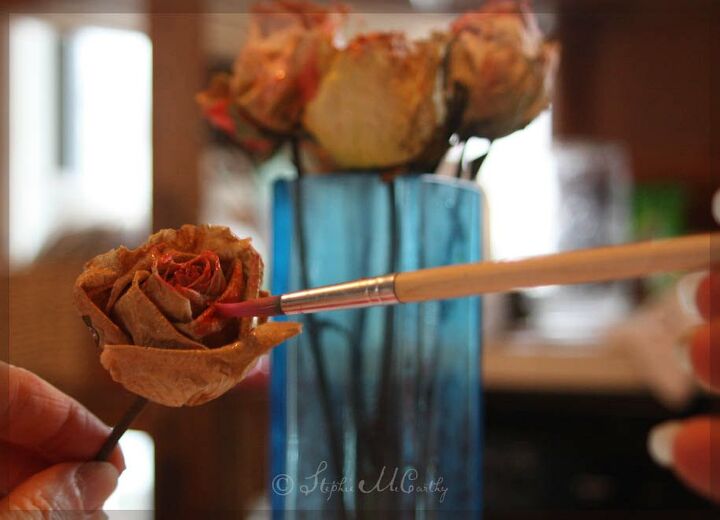
Through trial and error I learned that I could wet a rose and brush the food coloring straight on without wax. The color would bead but as the rose dried, the stain would spread and blend very naturally. I helped the process along with lots of brushing while the rose dried in a vase.
All in all, I think the cotton swab and wax helped the process go much faster. And that touch of green! Blended in at the bottom of a rose made the effect much more dimensional instead of flat. Flat color is not natural!
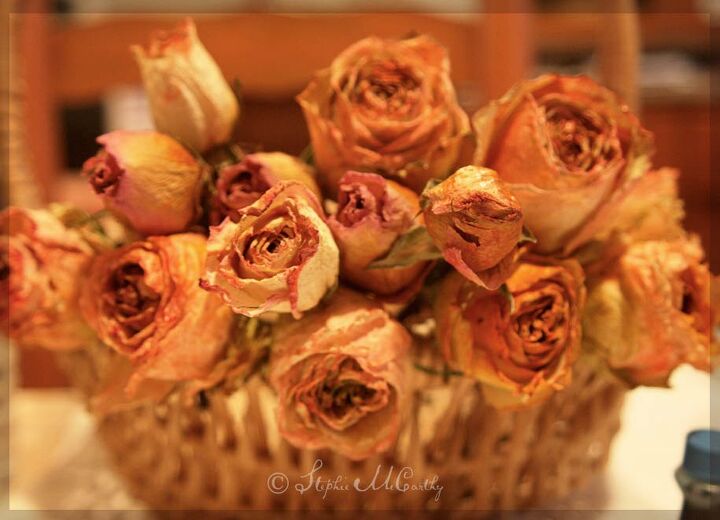
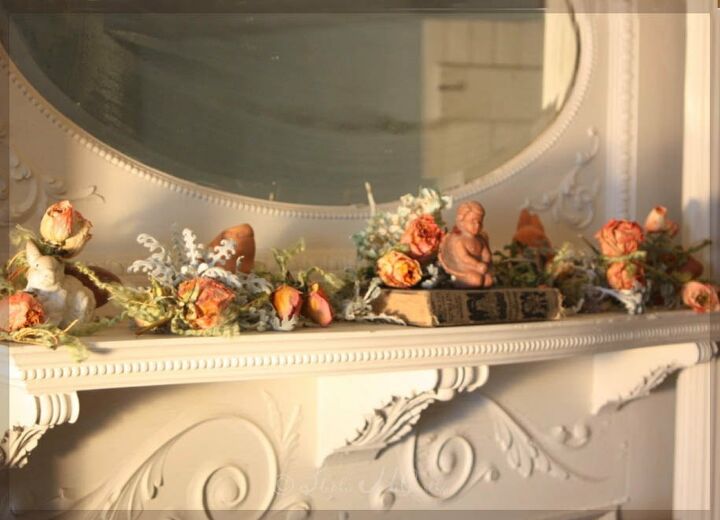
The next day I had a basket of colorful dried roses for decorating, and I can use these for years to come.

If you'd like more information about this craft, check out my website. You'll also see how I've been decorating our 200 year old house using tricks and tips I learned from working as an artist and on TV and movies: http://bit.ly/2N3CJLM
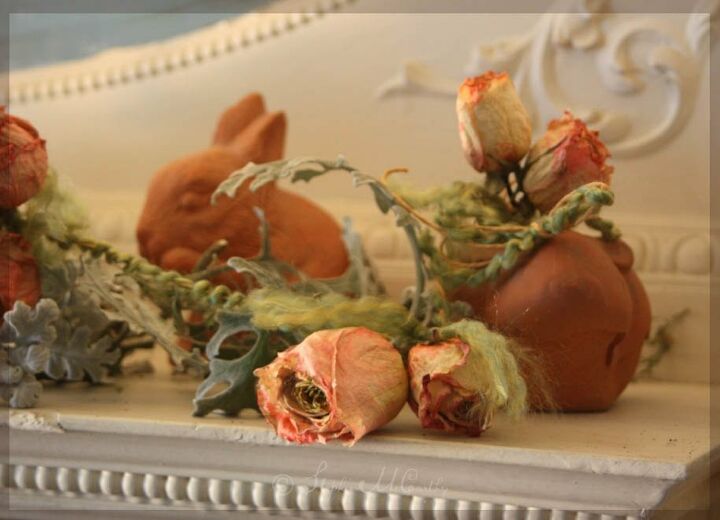
Like true love, these colors will last for a long time!
Resources for this project:
See all materials


Comments
Join the conversation
-
Beautiful!!! Great job!!!
-
I'm going to fo this...thank you👍


Frequently asked questions
Have a question about this project?
I love dried roses.. but I also love the muted color they will eventually turn to as they dry... how did you keep them from flaking and cracking as you brushed them? They really are beautiful and I may try this for sure !
wh Technique did you use to dry out the flowers?
Do you think this would work with hydrangeas? My ababsolute favorite flower!