


DIY Easy Photo Frame
I have been on the hunt for the perfect cow photo to hang over our dining room table. When I found this hairy highland heifer, that we fondly named Deb, it was love at first sight. I wanted to keep the cost to a minimum, and wasn't about to pay for a custom frame.
To stay budget friendly, I came up with an easy DIY photo frame solution.
Be sure to check out the full tutorial on my blog My Happy Simple Living!
https://myhappysimpleliving.com/diy-photo-frame/
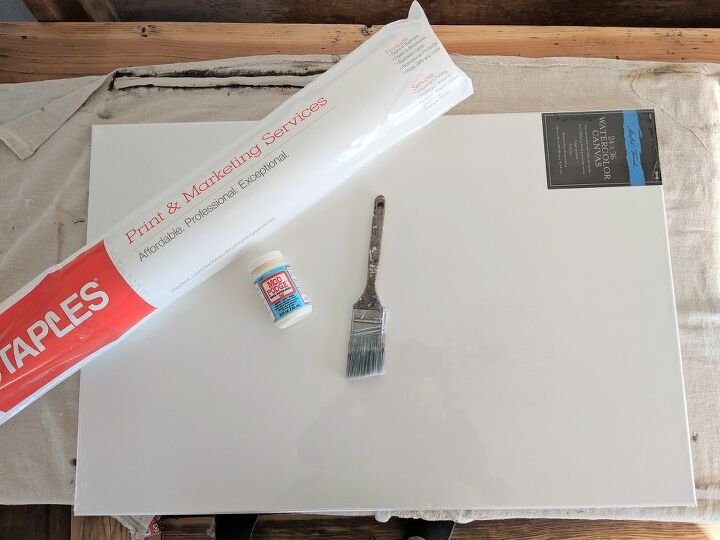
I found my Deb photo online and purchased it as a downloadable link. Before printing my photo, I picked up a large 24x36 inch canvas from Hobby Lobby. You can find these for cheaper on Amazon.
Also, I had my photo printed at Staples using their Engineer Print option, which saved me a few bucks.
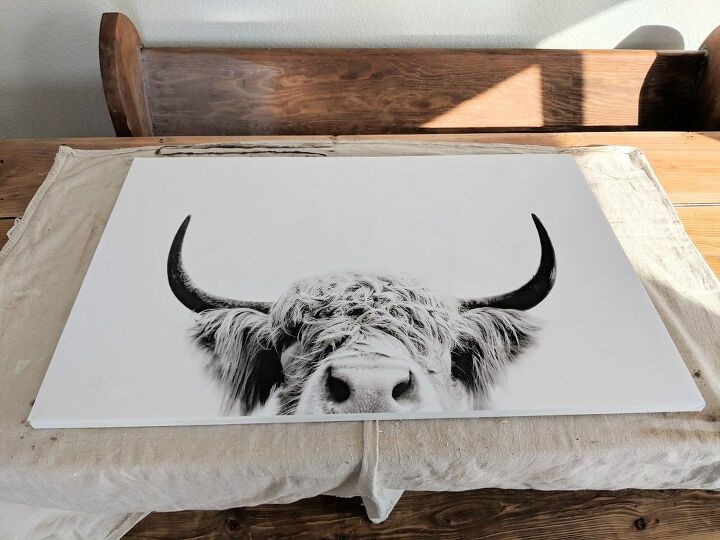
Once I gathered my supplies, I used Modge Podge to adhere my photo to the canvas. I was able to have my photo printed at the same dimensions as my canvas, but still had to do a tiny bit of trimming. If you have some overlap, use scissors or a sharp razor blade to cut your photo down.
I added a thin coat of Modge Podge over the top of my photo after the first middle layer dried. I did this to protect the picture as it will hang near the dinner table and I have four sticky kids. Doing this will leave faint brush strokes on the photo, so if that makes you queasy, forgo the topcoat.
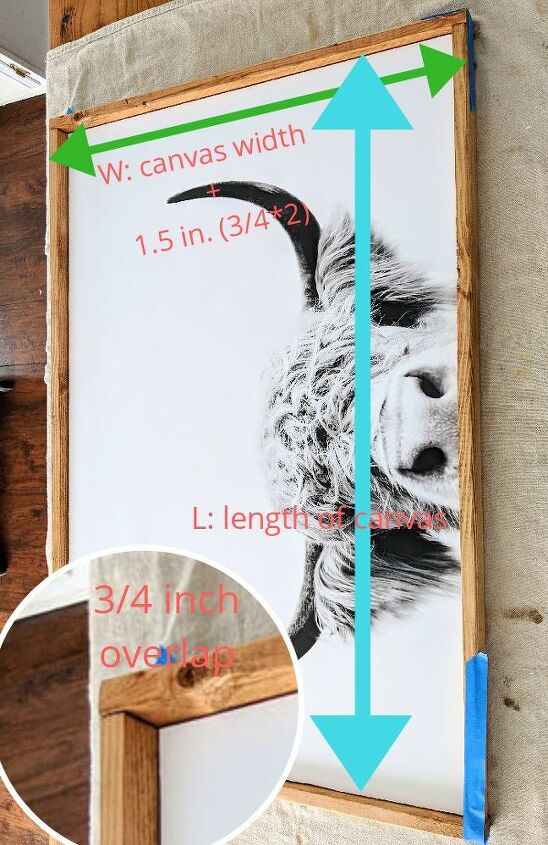
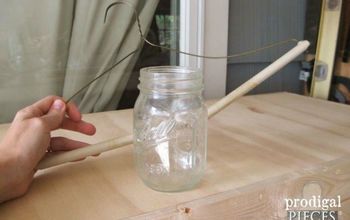
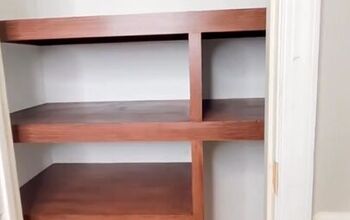
For the actual frame, I used 1x2 pine boards. You will need to cut, or have these cut, to fit your canvas. For the length, the boards were cut the same length as the canvas. For the width, I overlapped my "length" boards, so my cut needed to be the width of the canvas plus the width of my two "length" boards.
If this is as clear as mud , check out the little diagram above.
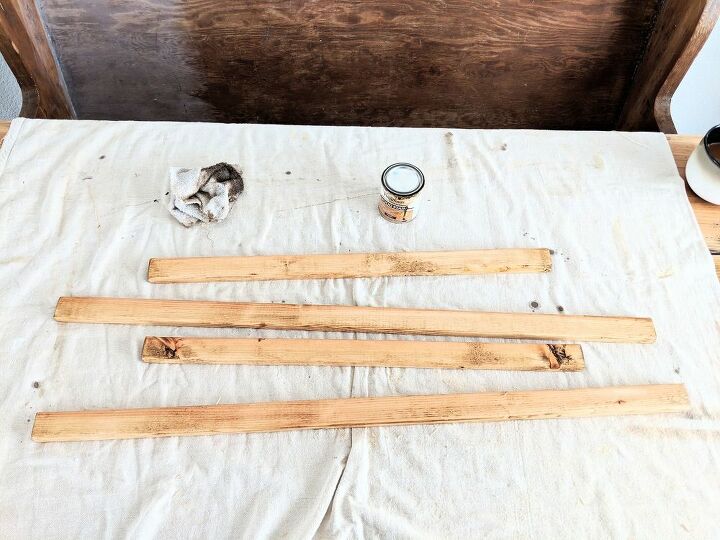
On to stain. . . Using Varathane's Golden Oak and a rag, I wiped stain on all sides and ends of my boards.

After patiently waiting for the stain to dry (five minutes, don't be like me) I glued my frame pieces to the canvas.
*You can also use hot glue to attach your frame pieces. I actually think this option would be easier, but I had the E6000 so I went with it.
If you are using a slower drying liquid glue, use painters tape to hold the frame together tightly while the glue cures.
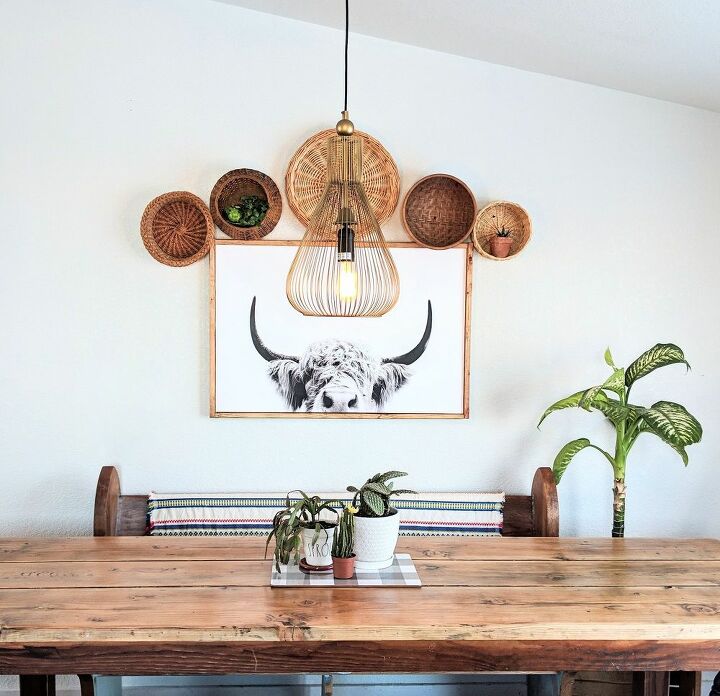
And then, Deb was ready to be crowned with some decorative baskets, and take her place as the guardian of the dining table. The whole family absolutely loves her, and there is talk of finder her a boyfriend in the near feature.
Enjoy!
Resources for this project:
See all materials


Comments
Join the conversation
-
L O V E it!!!!!!!!
-
COOL. (Love your pendant light!)


Frequently asked questions
Have a question about this project?
Any guilt on pot roast night, as Deb watches over y’all? Lol, sorry I couldn’t let that one go!😉
Super cute. I luv Deb.