


Rustic Swing Nightstands in 2 Hours!

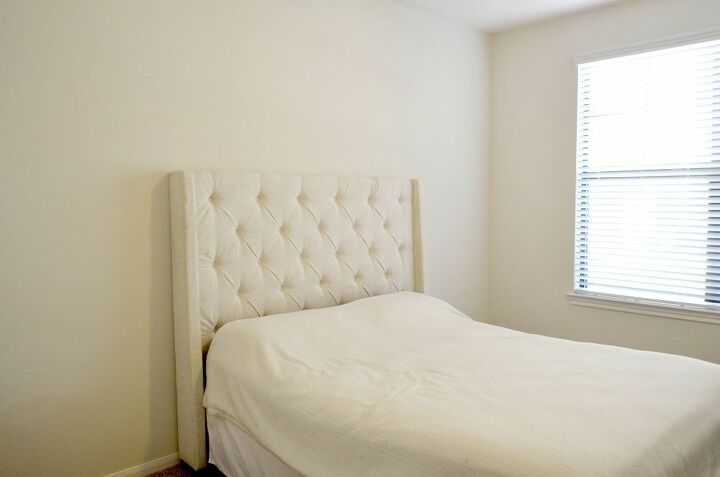
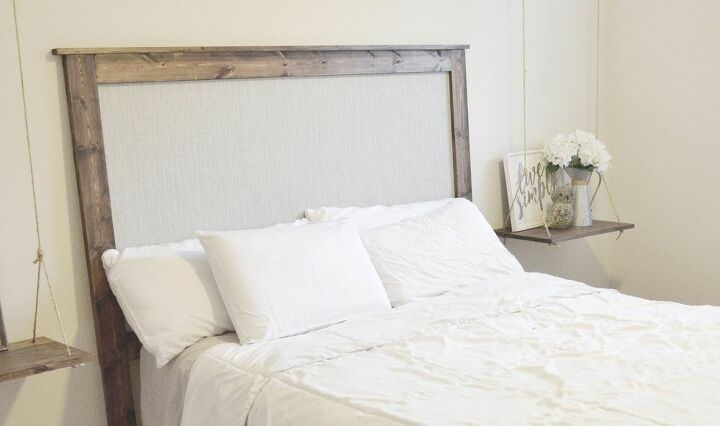
Hey everyone, it's Hayley! Today I am tackling my bedroom. As you can tell from the photo below... It's been neglected. Every other room in my house is full of DIY projects and decor, but the bedroom has fallen behind. So today I am correcting that (and I mean TODAY! I was able to finish this project in 2 hours -not including 3 more hours to make the headboard covered here!)
What you'll need:
- Two 1x12's cut to 24"
- Four 1x4's cut to 24"
- Scrap wood cut to appox. 12"
- Two ceiling hooks
- Rope
- Minwax Coffee Gel Stain
- 1/2" hole drill bit
- Drill & Saw
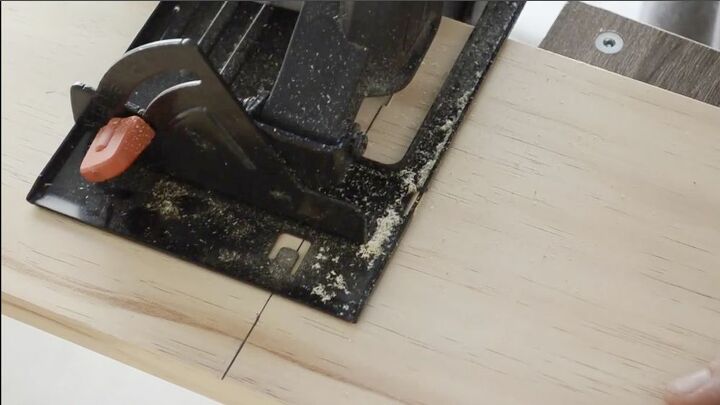
Step One:
Cut all of the wood to 24" long each. You could save some time by getting these cut at Lowe's or Home Depot.
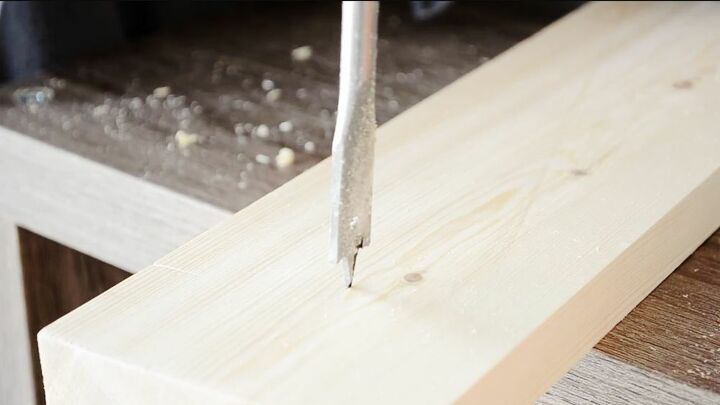

Step Two:
At the end of each of the 1x4's, drill a 1/2" hole. Spoiler: this will be where we thread the rope!
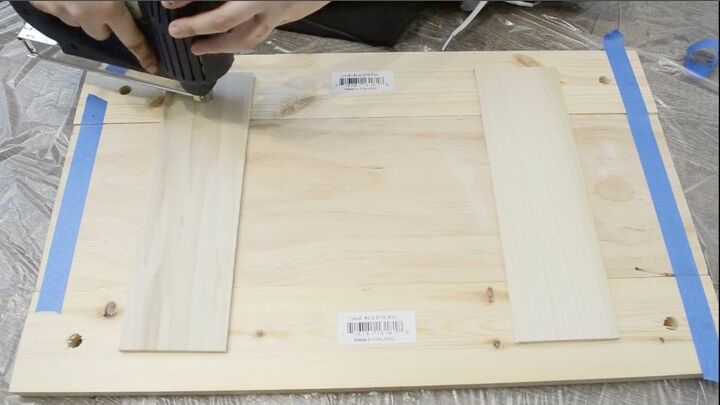
Step Three:
Time to assemble! Take your 1x12 in the center and a 1x4 on either side. Use some tape to stabilize everything. Put your scrap wood on the bottom, nailing into the this piece, making sure to nail at least once into each of the three pieces of wood.
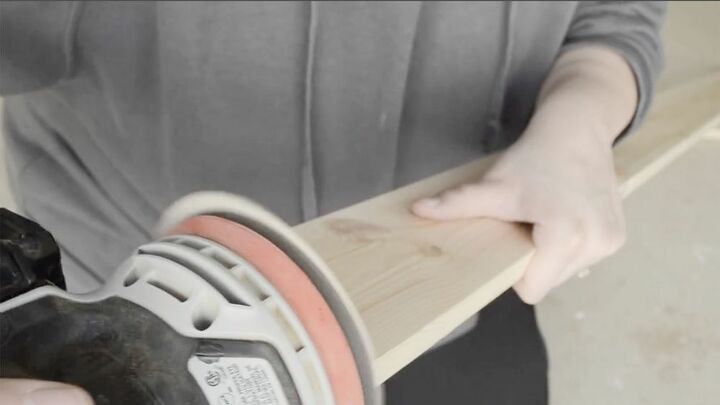
Step Four:
Sand! I used a rotary sander, you could use some sandpaper if you don't have one. But I highly recommend any DIYer invest in a good sander, it cuts down on elbow grease AND gives a more even finish.
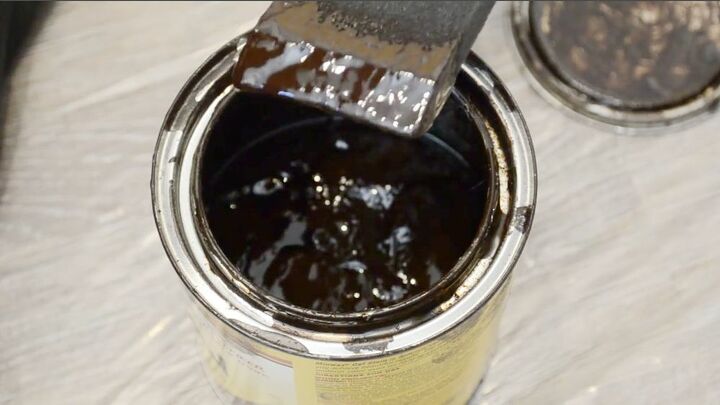
Minwax's Coffee Gel Stain is my absolute favorite. I highly recommend when purchasing your stain to go with the larger can. It might seem like a waste if you have a smaller project you're working on but I bought this $16 can around a year ago, have used it on sooo many projects and I never seem to need more!
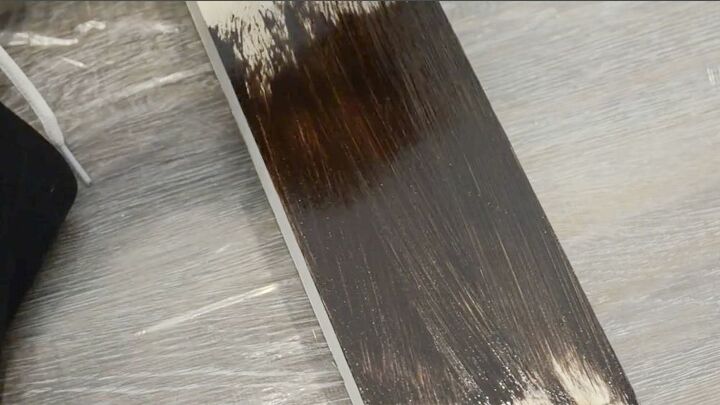
Step Four:
Paint on your stain thickly but not too 'globby'. I use a foam brush to brush on my stain as I find I have a lot of control that way. You could always use a rag, this is just my preference.
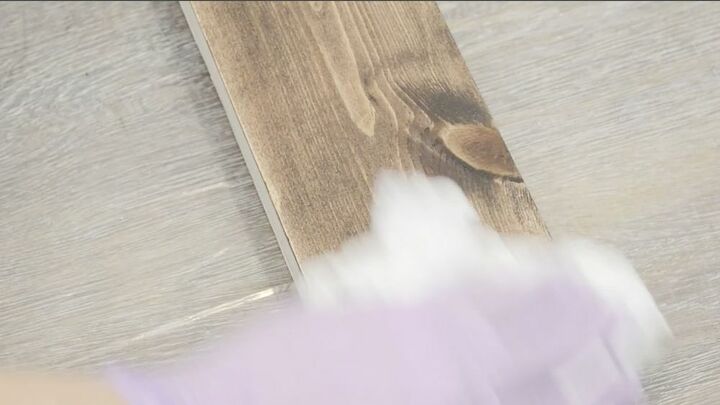
Give your stain a moment, and then wipe off the excess with a dry rag. You'll see this amazing warm rustic color in your wood come through. If you want it to be darker you can leave it for 30 minutes to dry and then come back with another layer. Repeat until you have the desired color. I loved the tone of the wood so I continued after one layer.
Step Five:
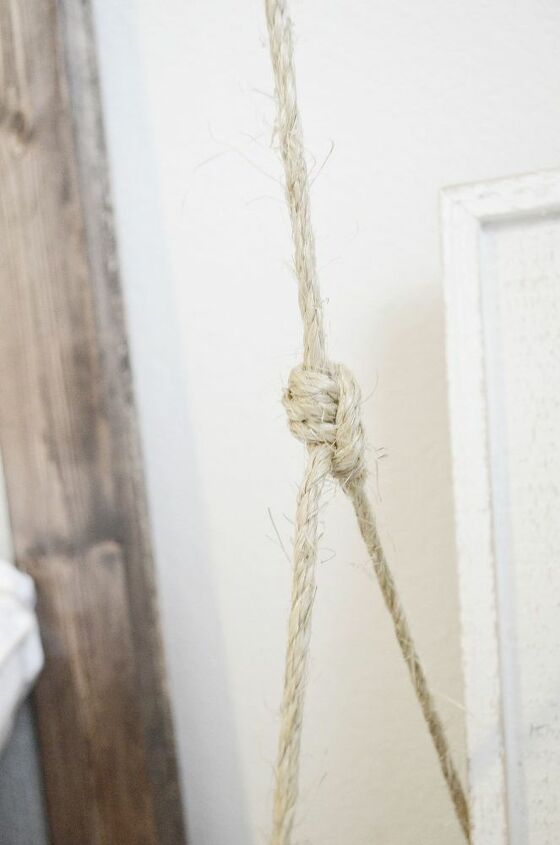
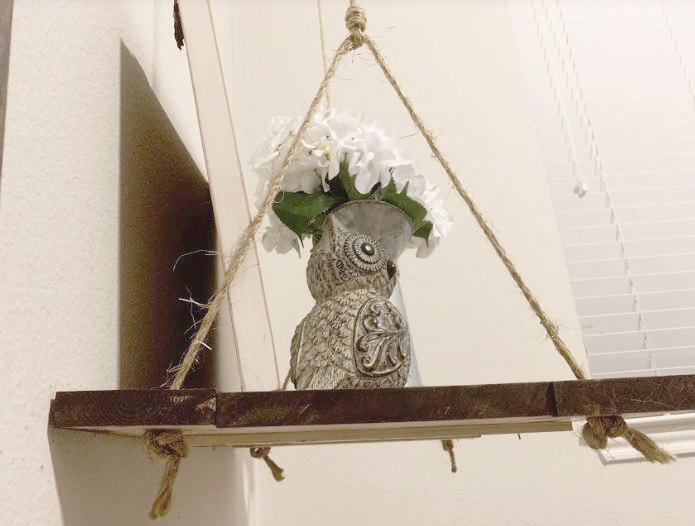
Thread the rope between the two holes and make a V shape on each end of the nightstand, adding a knot on the bottom. At the middle of the V, tie another length of rope using a strong knot.

Step Six:
Tie the other end of the rope that's been tied to the V, and tie it to two hooks in the ceiling. To get these hooks in the ceiling, I measured the distance between the holes and then measured that on the ceiling.
Stick a piece of command strip to the back of the nightstand and on to the wall to keep the nightstands from swaying. I learned this the hard way....
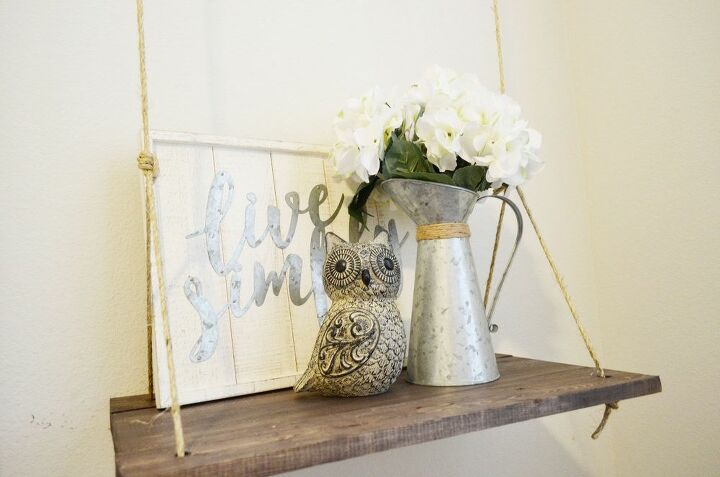
And you're done! I'm so happy with the way these turned out! I was honestly worried when I started the project, wondering if these very unconventional nightstands would look good or if they would look silly. But I was so pleasantly surprised!
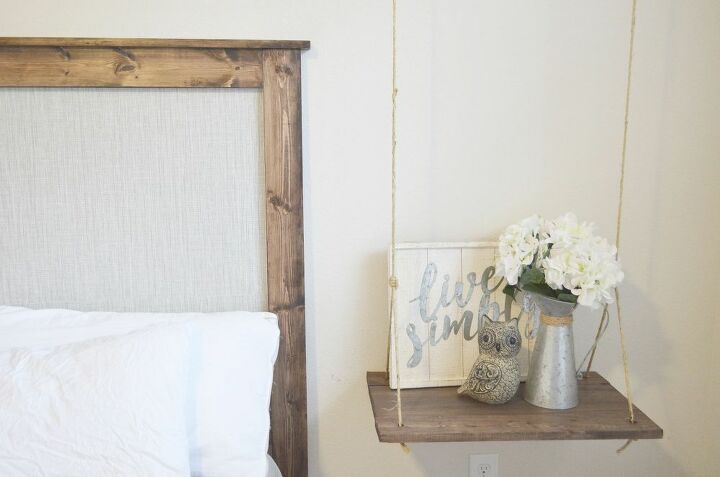
I mean WOW! I absolutely ADORE our bedroom now. It's cute and rustic and comfy and warm. Basically everything I wanted from a bedroom! And click here if you'd like to see how I built this headboard in only 3 hours!
Resources for this project:
See all materials


Comments
Join the conversation
-
I would love to try this but I have two kittens that believe shelves, tables and night stands are them to sit on. I would have to be able to fasten things to the stand.
-
Looks like a swing for the cats and ferrets, I think ill make a couple. Great idea thanks


Frequently asked questions
Have a question about this project?
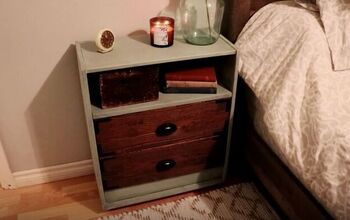
I love the owl. Where did you get the owl at? Your shelf is so cute.