


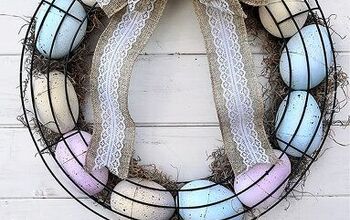
Colorful Marimekko Easter Egg Wreath
Did you know that chickens with brown feathers lay brown eggs, and chickens with white eggs lay white eggs? The reason I know this is that I was hunting for white eggs for this craft. In the UK most of our chicken eggs are brown were as in the states they are white. I could of course just painted the brown eggs white which is what I did with last years popular and stylish Easter egg decoration (see it here).
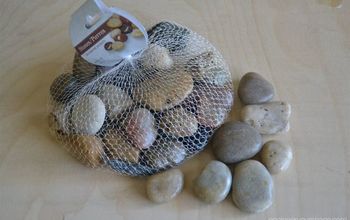
What I ended up doing was actually using duck eggs as they were large and white.
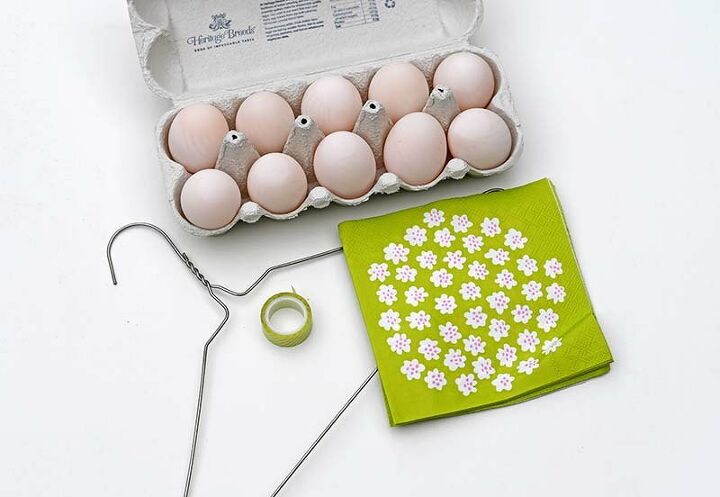
As well as seven duck eggs the other things need for this spring craft are:
Wire coat hanger
Washi tape or masking tape in green
Paper napkins - I used Marimekko Puketti in green (see here)
Mod Podge or similar decoupage glue
Pink ribbon
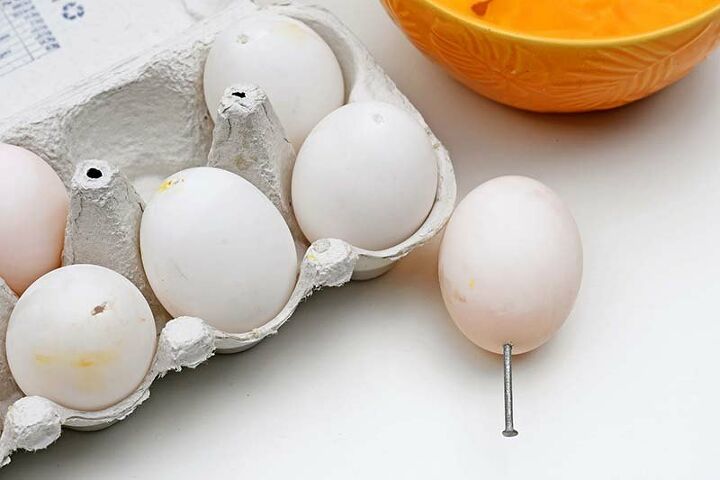
The first thing I did was blow the eggs. That is I made a hole in each end of the eggs using a nail. Make sure you pierce the membrane. You can either put your mouth over the hole or use a small straw, to blow out the contents of the egg into a bowl. Then place the egg shell under a running tap and rinse out the insides.
You can make a frittata or a large omelette with the egg mixture in the bowl.
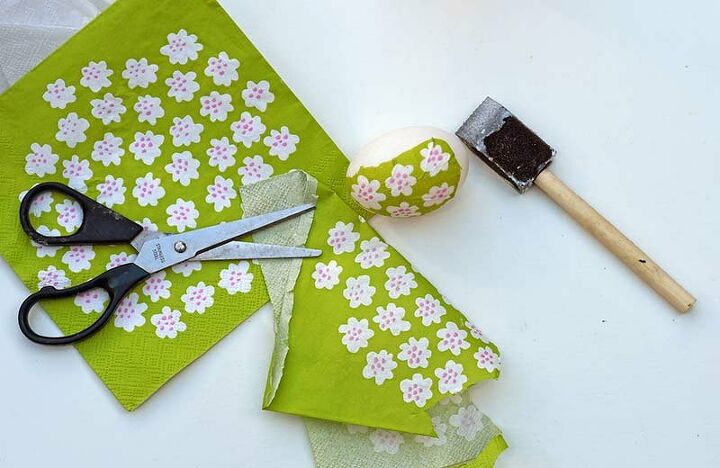
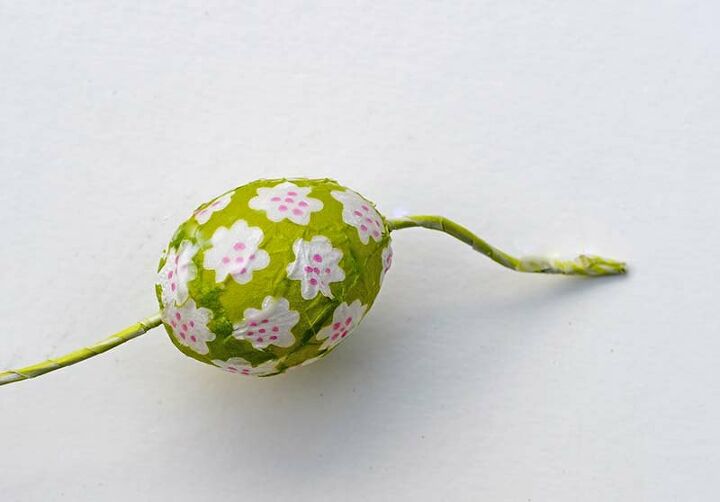
Next, separate out the paper napkins. Marimekko paper napkins are 3 ply but you only need the top printed ply for this craft. Tear up the paper napkins into small sections. Cover the egg with the glue and then stick the pieces of napkin onto the egg until the whole egg is covered. Repeat with the other eggs, I used seven eggs in total for this wreath.
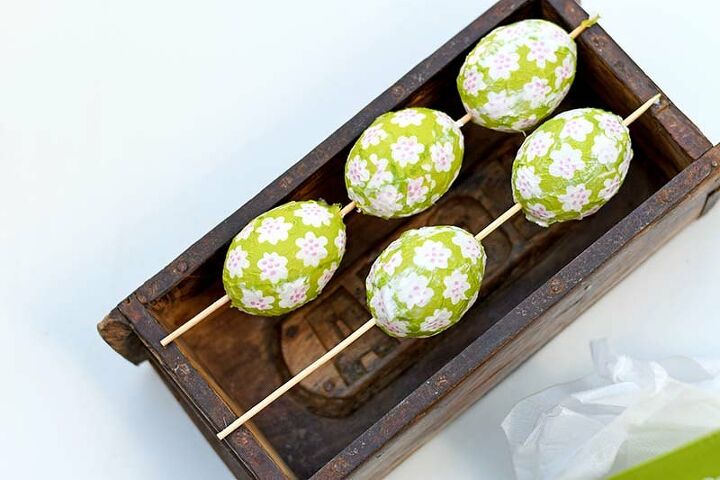
Use something like a long wooden skewer to rest the eggs so that they aren't touching anything. Then cover the outside of eggs with another layer of glue. This layer will act as a sealant and varnish. The combination of the paper napkins and glue layers makes the fragile egg shells much stronger.
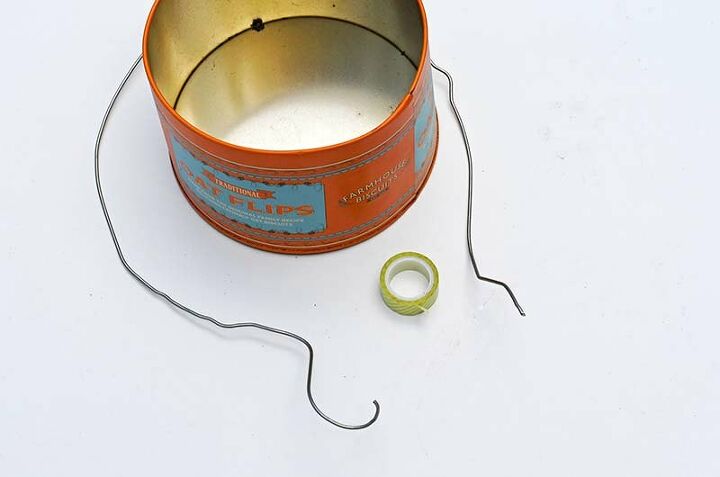
Next, cut open the wire coat hanger and then wrap it around a round object to create a wreath shape. Don't close the end of the wire up just yet.
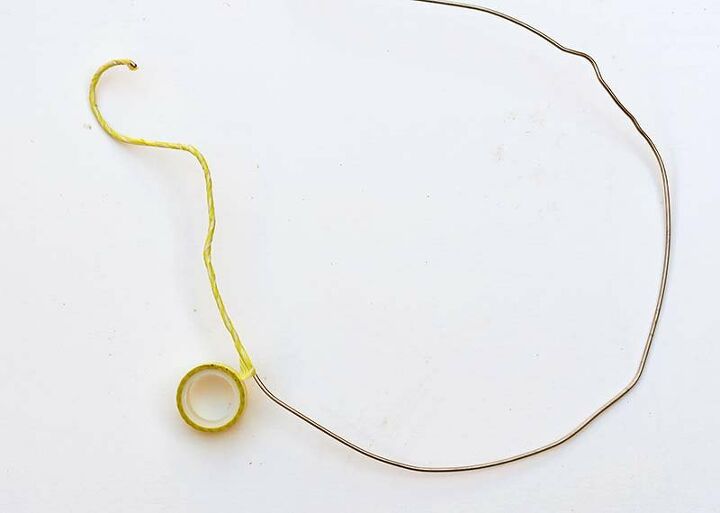
Cover the coat hanger wire green tape by wrapping it around it.
Once the glue on the eggs has dried thread them onto the wire one by one. Then close the loop by wrapping the wire around the hook.
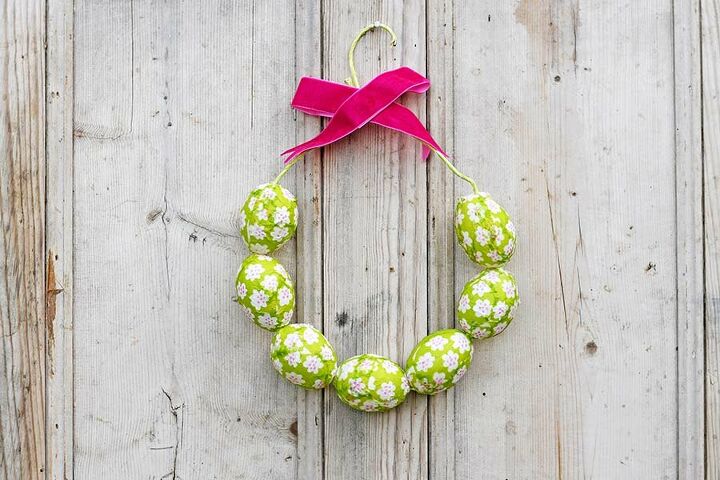
I finished off this spring wreath with a piece of ribbon to hide were the wires joined.
For more photos and Easter crafts visit my blog link at the end.
Resources for this project:
See all materials


Comments
Join the conversation
-
Simple and adorable!
-
The chickens with orange ears lay brown eggs. Chickens w white ears lay white eggs. Both kinds of eggs are the same nutritionally. In the 60s brown eggs became associated w organic chickens. It was a way to show case the differences of the eggs. Any eggs in compliance w the California Organic food act can be any color. Cali has the strictest organic laws, shows that they can get 1 thing right!
Egg color is not dependent on feather color, although they do correlate. All white chickens lay white eggs as they all have white ears.
- See 1 previous


Frequently asked questions
Have a question about this project?