


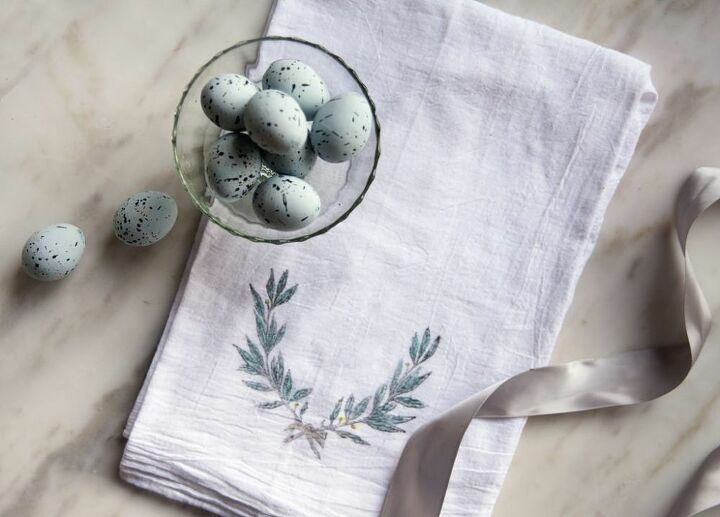
DIY Stamped Watercolor Tea Towel
Monogrammed and beautifully designed tea towels can cost a fortune — but they won't after you check out this free tutorial! After learning fun new crafting skills from a DIY and refinishing expert, you’ll have a brand tea towel to dress up your kitchen with that you made yourself.
Load your foam dome with the Can’t Never Could black Gel Art Ink and offload any excess onto a scrap piece of paper or cardboard.
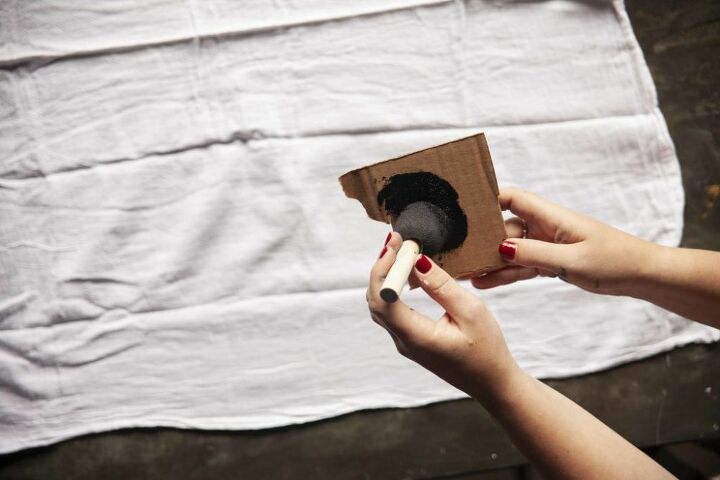
Using a pouncing motion, apply the black Gel Art Ink to your stamp.
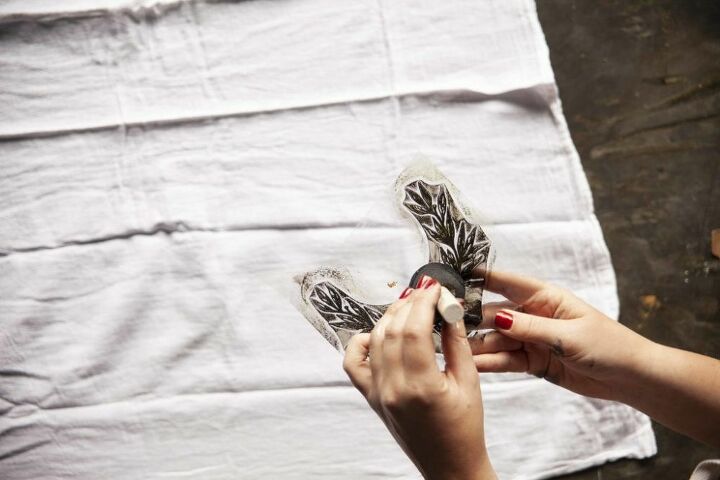
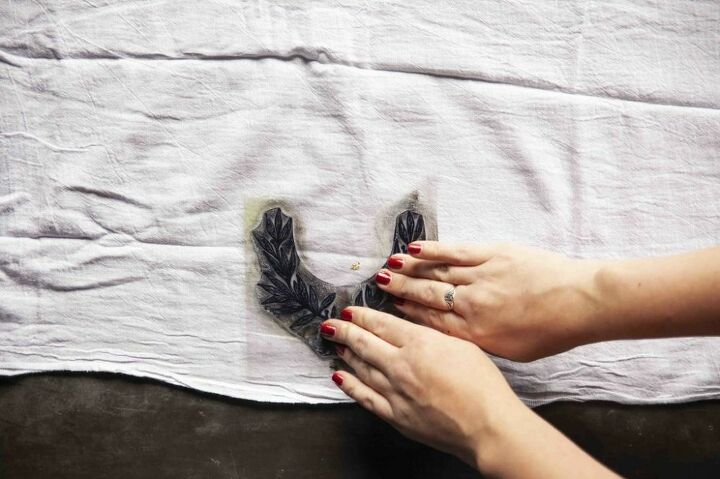
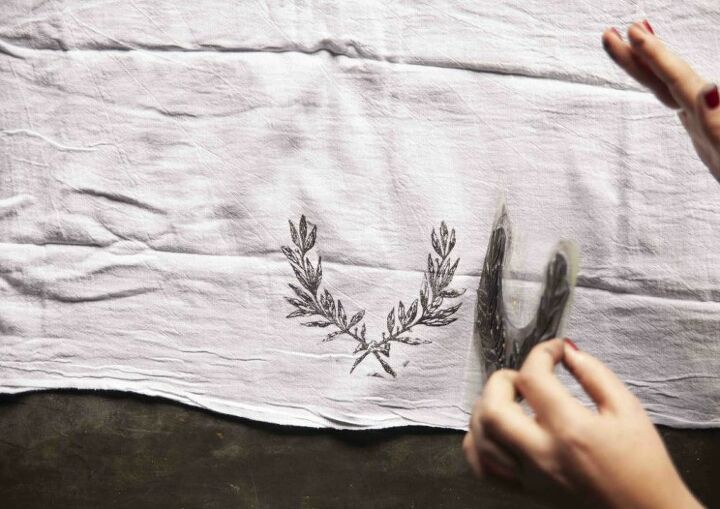
Apply the stamp onto your tea towel, centered at the bottom. Press down, then lift the stamp, wash it, and lay it out to dry.
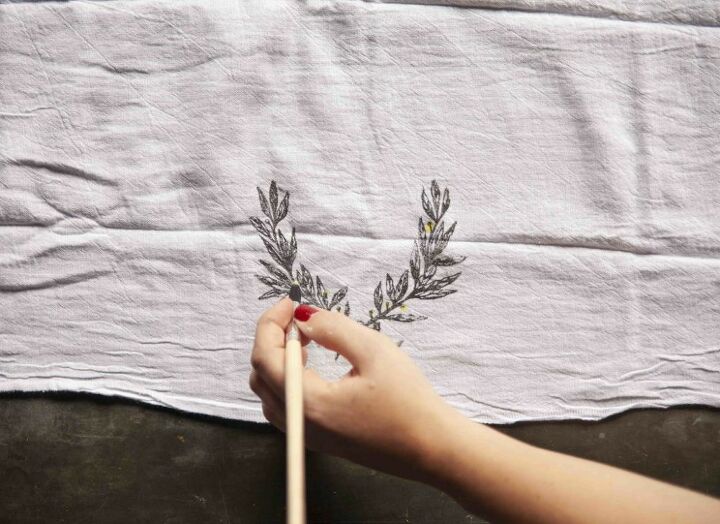
Place a small portion of Hey Y’all, Over Yonder, and Blowin Up a Storm inks on separate paper plates and thin with water. Mix until you have a slightly runnier texture but not too much standing water.
Using your artist brush, lightly highlight your stamped image by hand. Use Hey Y’all on the leaves, Over Yonder on the berries, and Blowin Up a Storm to the bow. Feel free to mix or switch colors that match your decor or color preferences!
Let your design dry for 2 to 3 hours. Then, lay a clean cloth over your design and use a warm iron to totally set the Gel Art Ink.
Optional: Add your initials to your tea towel for a beautiful monogrammed look! Check out all of the A Makers’ Studio Stencils to see which one you want for your project.
Resources for this project:
See all materials


Frequently asked questions
Have a question about this project?
Can this technique be used on pillow cases? and how long will the colors last?
Can each stamp be reused?