


DIY Desk For My Girlfriend's Birthday

You know that move guys do? The move where they forget their spouses birthday and in a last-ditch effort throw a gift together really quickly? Ya, this is nothing like that. I made this desk for my girlfriend’s 30th birthday and it was the result of a lot of planning and work in the months leading up to the big day. Don’t get me wrong, I’m totally the last minute gift type of guy. Just not this time.
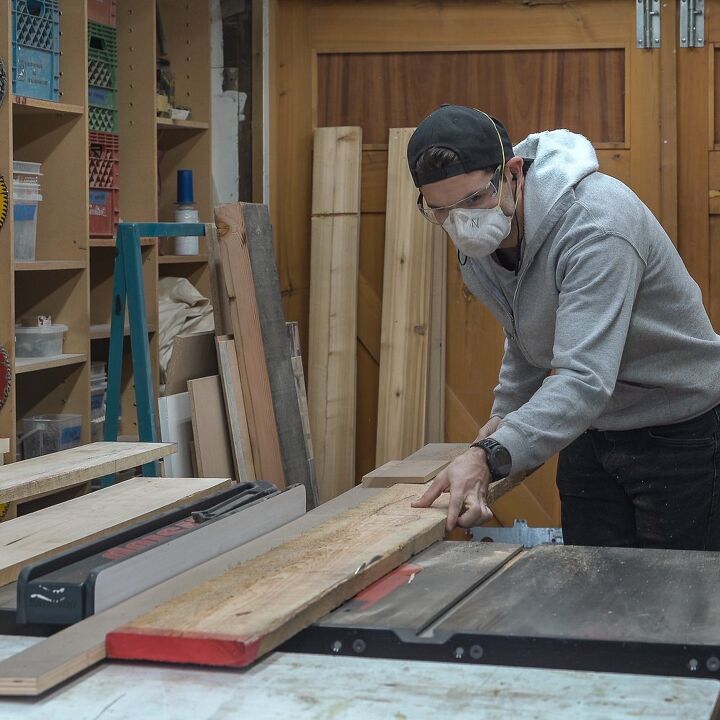
The first step of this project was ripping a bunch of maple and ash 4/4 wood into 1″ wide strips. I started with 6 or 7 pieces of maple and ash that varied in width from 6″ to 8″. They were all about 6′ long.
Once I was done on the table saw I had about 40 six foot sticks of 1″x 1″ maple and ash.
I was surprised, all of the wood for this project only cost me ~$80 Canadian. Maple isn’t cheap, but ash is a much more affordable hardwood. If you’re looking to get into woodworking and are scared off by the crazy costs of the more exotic woods, ash is a great alternative. It’s like the Hyundai of hardwoods haha.
I grabbed all of my maple and ash sticks and then headed over to the miter saw. I cut them into 6″, 12″, 18″ and 24″ pieces. After the pieces were cut I transferred them over to my work table.
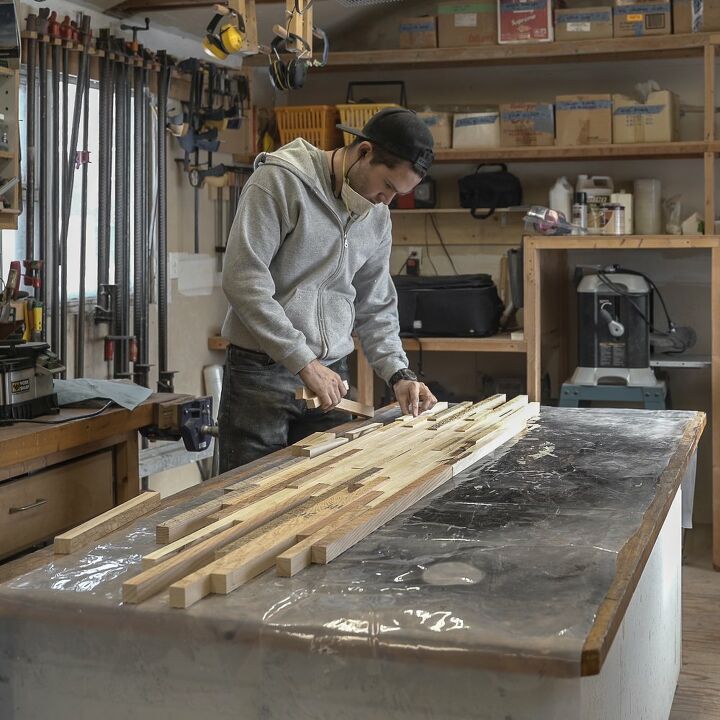
Figuring out the pattern is my favorite part of any mosaic project. I take all the pieces of wood, lay them out on a big table and arrange them into what I think is a cool looking pattern. Whether or not I was successful is open to interpretation, but, at least I like the pattern I chose.
This is a totally unscientific process. I’d love to pretend that I have a grand plan I’m working to, but in reality, I semi-randomly place pieces down and shuffle them around until I like what I see. The only “plan” I had was that I wanted the middle to be the maple, and the two sides to be ash.
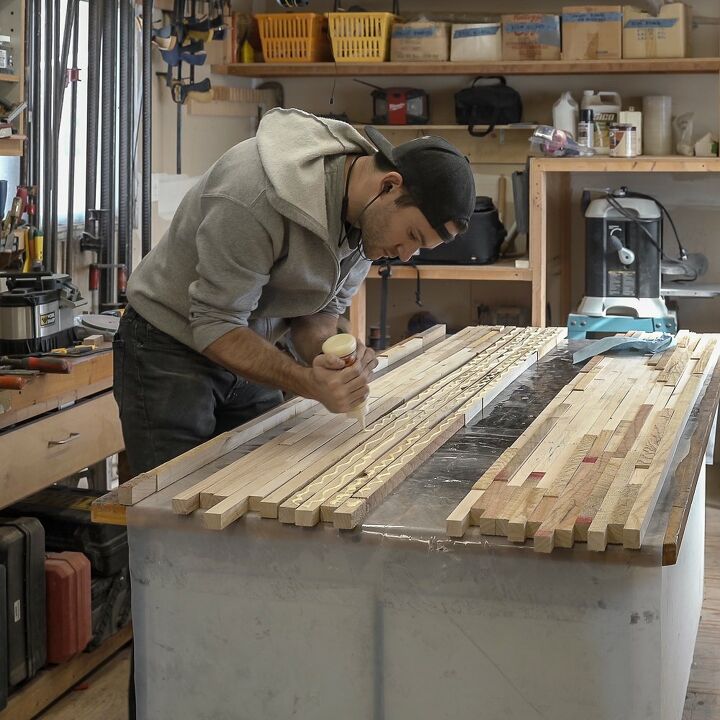
With my pattern locked in it was time to glue all those pieces together. This is my least favorite part of any mosaic project. Funny how my least favorite comes right after my favorite.
I’ve done projects similar to this in the past and forced myself to glue everything all at once in one big glue-up. It’s a stressful race against the clock, I have to apply glue to hundreds of pieces of wood, align them as perfectly as I can and then clamp everything together before the glue starts to dry (approximately 20 minutes).
For this project, I decided to change things up a bit. I was going to do my glue up in phases. People often ask me if this is possible because it would help to alleviate the time pressure. I’ve always answered that it would be, and it’s probably a smarter way to do it compared to my usual method. But I’ve never actually put it to the test. Until now.
I split the glue-up into three parts. Two halves of the desktop and one long skinny piece that would be the drawer fronts.
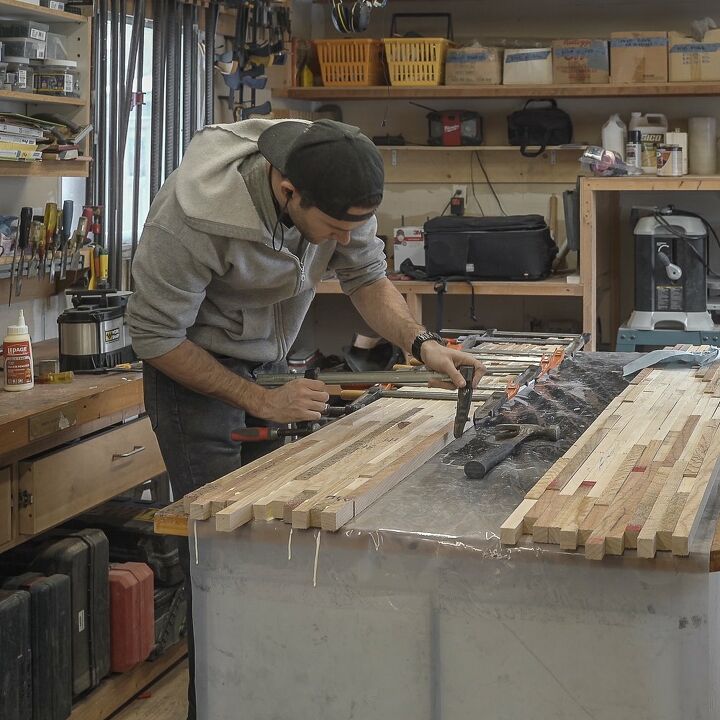
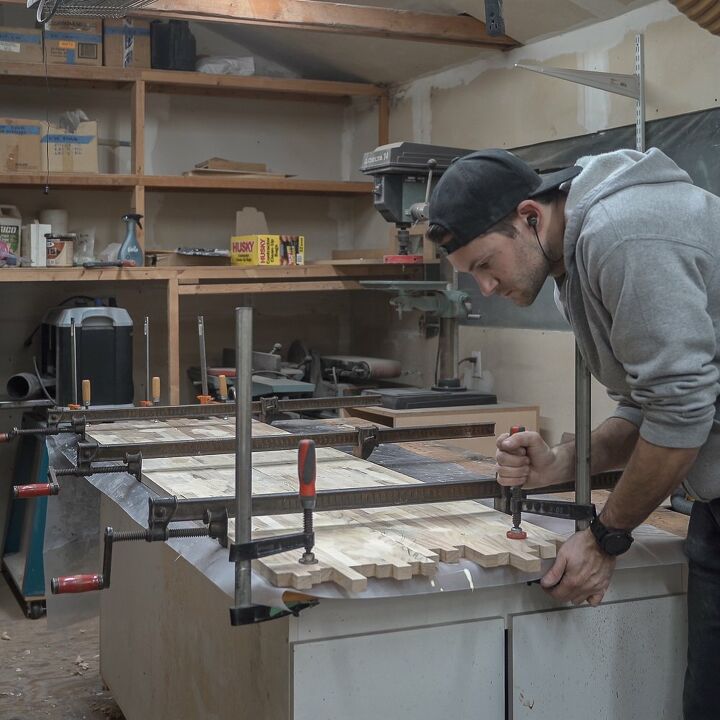
After applying half a bottle of carpenters glue to the first half of the desktop, I used a bunch of F-clamps to, well…. clamp everything together. Sorry guys, there are only so many woodworking verbs. Like I said before, usually, I push myself to do bigger glue-ups and I use big long bar clamps. Using these small F-clamps felt wrong in comparison.
Once the clamps were set on the first half I then repeated the gluing and clamping process for the other half and the drawer fronts. Easing the time constraint was really nice, I suspect I’ve probably added a few years back onto my life because of the reduced stress.
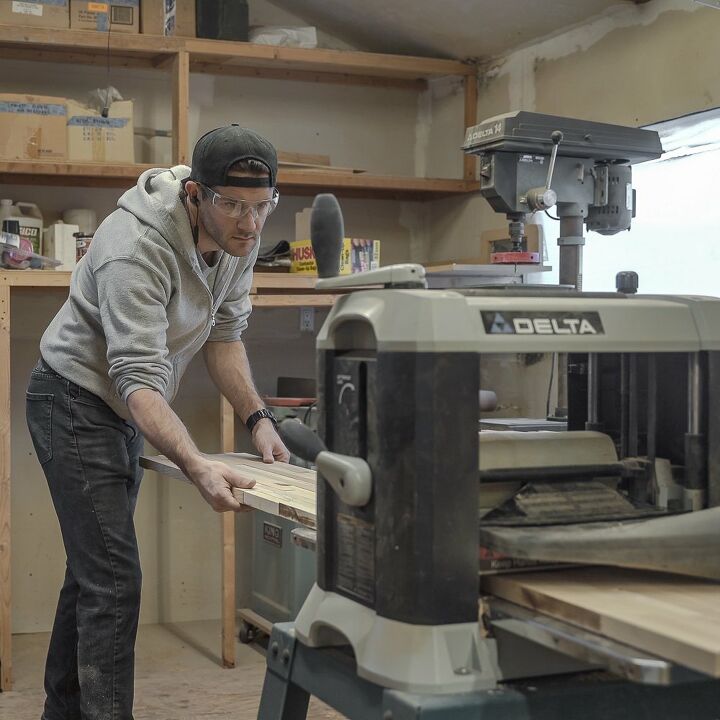
Despite my best efforts, there will always be some variation in the height of the individual pieces in a glue-up like this. Using my planer I was able to smooth out the halves of my desktop and the drawer fronts. The blades inside the planer remove thin layers from the highest points on whatever is fed through it. By repeatedly feeding wood through the planer and lowering the blades in small increments you can smooth out just about anything, 1/32 of an inch a time.
Another HUGE plus to doing my glue-up in multiple phases is that I could fit each of the intermediate pieces into my planer. My planer is 13″ wide, and the two halves of the desktop were 12″ wide, while the drawer fronts were only 8″ wide. They all fed through without issue. If I had done the desktop all as one piece I probably would’ve used a belt sander to remove all of the high points.
I’ve done it in the past, and it takes HOURS. Doing it this way was definitely a time saver.
After dozens of passes through the planer, I was ready to glue my two desktop halves together. The process here was basically the same as when it was hundreds of individual pieces, but now it’s just 2, much easier. I applied a thick bead of carpenters glue between the two pieces and clamped them together.
Once I had both pieces clamped together I also clamped the whole assembly down to my table. I know my work table is close to perfectly flat so it helps to prevent any bowing and warping that might occur to the desktop while the glue dries.
One of the best investments an amateur woodworker can make is simply a table that they know is nice and flat. It gives something you can clamp to, like I am here, that you know won’t warp, twist or bow whatever you are working on.
I also took a second here and used some maple coloured wood filler to fill any small gaps leftover after the glue-up process. I do my best to make sure all the joints are tight, but it’s inevitable that there will be some small gaps, especially around the butt joints where the end grains meet. Hehe butt joints…
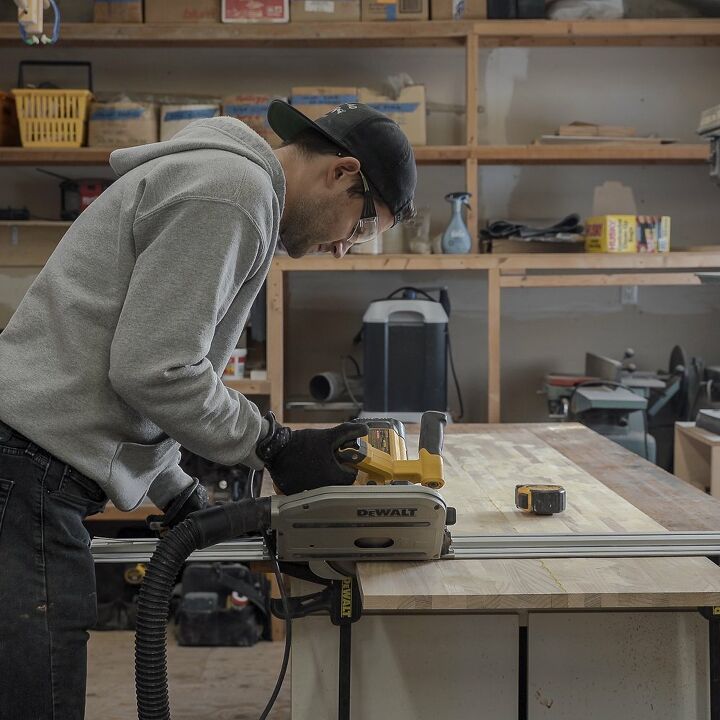
Shhh don’t tell my other tools, but my track saw is definitely my favorite tool. It’s a circular saw that’s guided by a track so you get perfectly straight cuts every time. It’s almost like a portable, inverted table saw. Amazing, I love it.
Using it, I squared up the ends of the desktop. I could try and do my glue-ups with perfectly square ends, but its a lot harder than you might think at first blush. I prefer to just make my glue-ups a little longer than they need to be and then cut them square afterward.
Not only does the track saw make straight cuts, but it can also make straight cuts at a 45-degree angle. Again, like I said, my favorite tool.
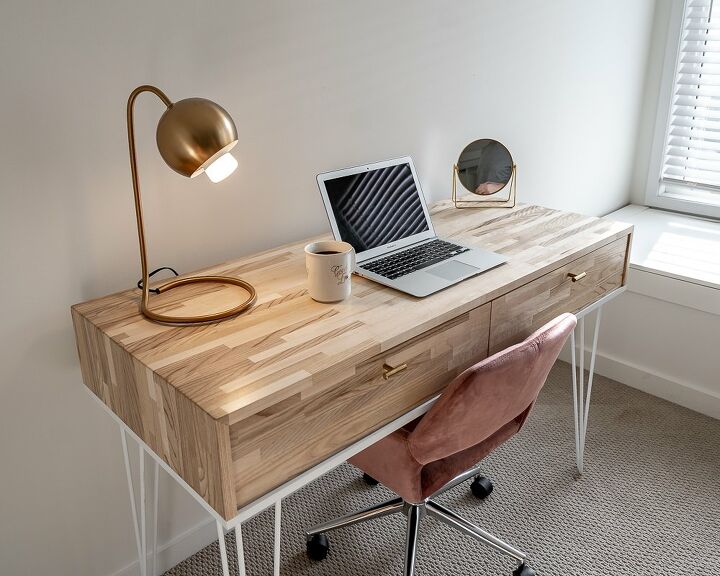
In the main photo for this post, you may have noticed that the grain on the top portion of the desk wrapped around and then down the sides of the desk. I like to call this a “waterfall” edge, though I’m sure there’s a more technical term out there for it. To achieve this look I had to “fold” the sides of the desktop down. That meant making two 45-degree cut across the width of the desk, cutting a triangular section out of the desktop.
To help secure my 90 degree, waterfall corners I used a biscuit joiner.
A biscuit joiner cuts small pockets in wood that are perfect size for wooden “biscuits” (essentially elongated wood discs). You cut half of a pocket into one side of the corner and then a matching half pocket into the opposite side of the corner. The biscuit, along with a bunch of glue, then serves as the bridge between the two pockets, locking together your corner.
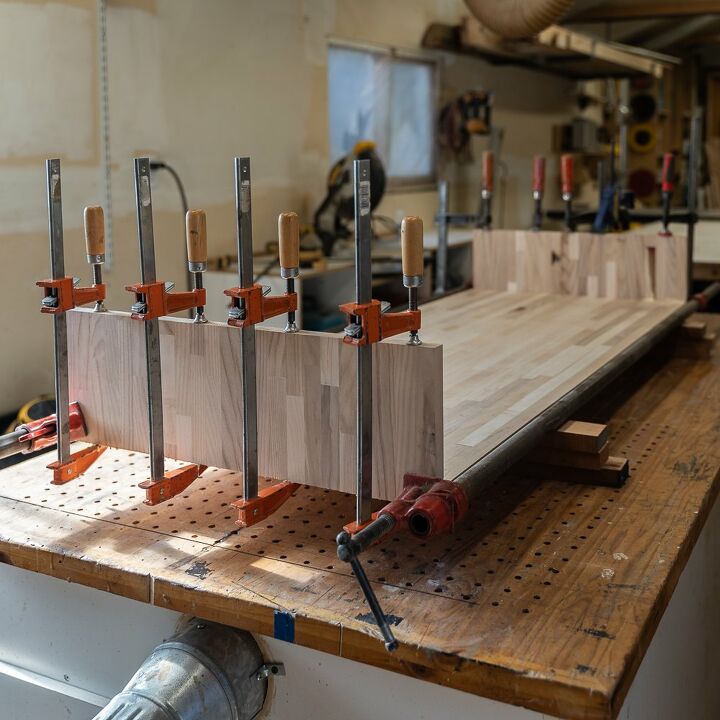
I rounded up all of my F-clamps and put them back to work. The clamps press the two sides of the corner together while the glue dries. I also added a couple of big long bar clamps to help stabilize the corner and keep everything square.
These waterfall corners always make me a bit nervous for some reason. I’ve done them a few times before, but I’m always worried something won’t fit, or line up, just right. So far, so good on this attempt though.
Once the clamps come off I’ll breathe a little easier.
I cut, primed and painted some pieces of MDF that would fill out the interior of the desk. To attach them to the desktop I used a series of pocket screws . Pocket screws are a great option for concealed fasteners. I used a pocket hole jig from Kreg to make all of the holes. It’s not strictly necessary, but its a basically foolproof way to make perfect pocket holes quickly.
All of the pocket screws are concealed on the inside of the desk, so from the outside, the desk will look nice and sleek.
I screwed the back in first and then installed the center drawer mount by screwing it to both the desktop and the back. Screwing all of the individual pieces together like this should help to keep the whole desk nice and solid.

Did you think I was doing to mount the bottom next? Not quite. I’ll leave that off until I finish the drawers for ease of access.
I have a confession: I find it very stressful to mount drawers. It should be easy, I mean it’s not exactly rocket science. The problem is, drawer slides require extremely tight tolerances. You basically have to line everything up perfectly, or the drawers won’t function smoothly.
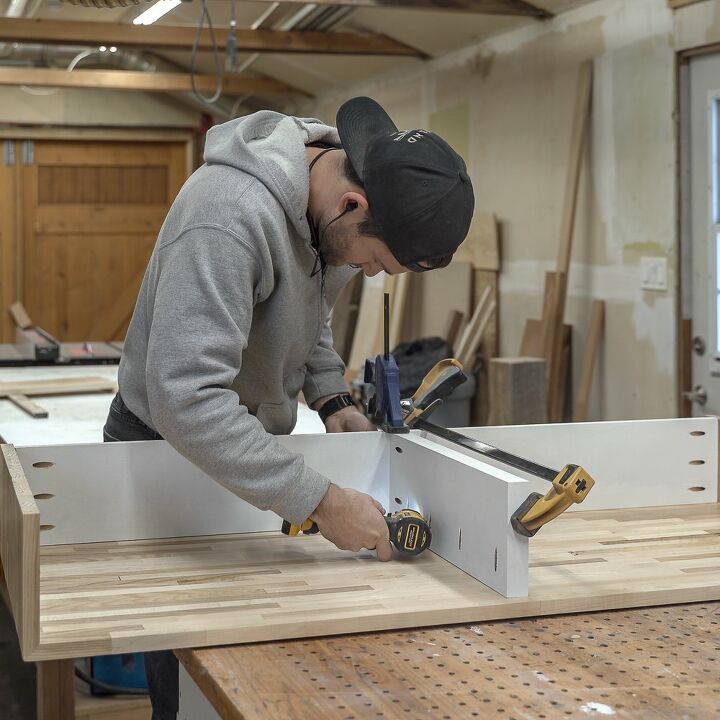
To ease my self into it, I started with the easiest part, mounting the drawer slides to the desk. You want to make sure the drawer slides are all mounted at the same height. A good foolproof way to do this is the cut a block, clamp it in position, place your drawer slides on top of the block and then screw it in place. Just like I’m doing in this photo.
I’m a big fan of “foolproof” methods of doing things. As a fool, it’s really the only way I can manage to get anything done
As I progressed through the drawers construction my stress levels started to rise in tandem with the level of precision necessary.
I started by cutting some ash down to 1″x4″ for use as the frame. I very carefully measured the distance between the pairs of drawers slides and set that as the width of my drawers. The level of precision necessary here is probably on the order of 1/32″. If your drawers are too big, or too small, there will be too much friction on the slides and they won’t close smoothly.
Once I was confident my measurements were correct I went ahead and screwed the frame together. 3 screws in each corner held everything together nicely. Remember to countersink your screws when you’re drilling near the end of a piece of wood, otherwise, you run the risk of splitting the wood. In fact, it’s a good practice to countersink any screw you’re putting into hardwood. If you don’t you might end up snapping the screw.
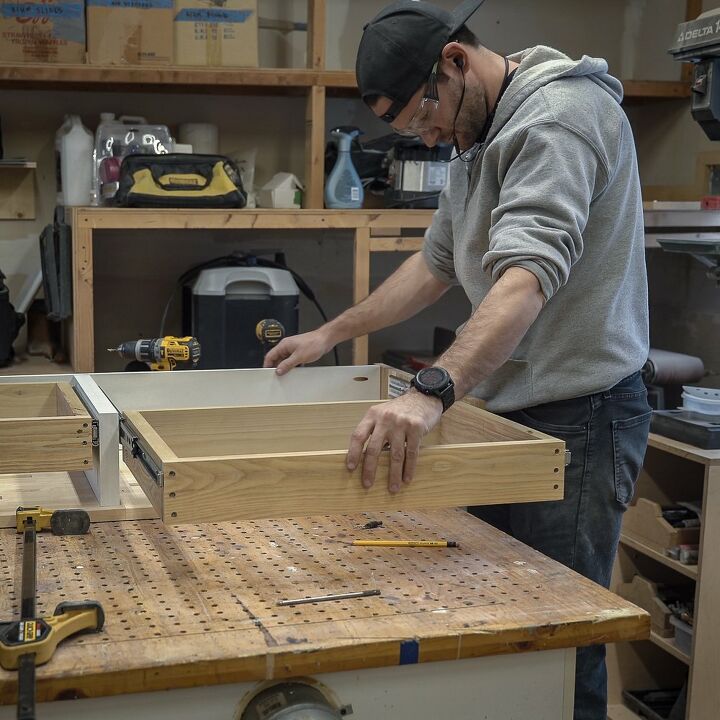
Test fitting the drawers was great, I didn’t swear at all haha.
This was the most painstaking part. I’d fit the drawers, feel how they slid, and then if it wasn’t right I’d take everything apart and either shave this or shim that.
Eventually, though I got everything sliding nicely. Fun fact, the right side drawer is actually 1/16″ bigger than it’s left side counterpart.
I installed the bottom on the desk using some 1 1/4" screws that I screwed in from below.
Once that was done it was time to install the drawer fronts. In the interest of brevity, I haven’t really shown much of the drawer fronts so far. I made, planed, sanded and clear coated them in parallel with the desktop. They’ve been behind the scenes for a while now, but it’s time for them to make their big debut!
Installing drawers fronts into a desk like this is a little bit tricky. You want to have even gaps the whole way around the desk, and figuring this out requires the drawers to be closed. But when the drawers are closed you’ve got no way to screw the drawer fronts to the drawers. It’s a catch 22.
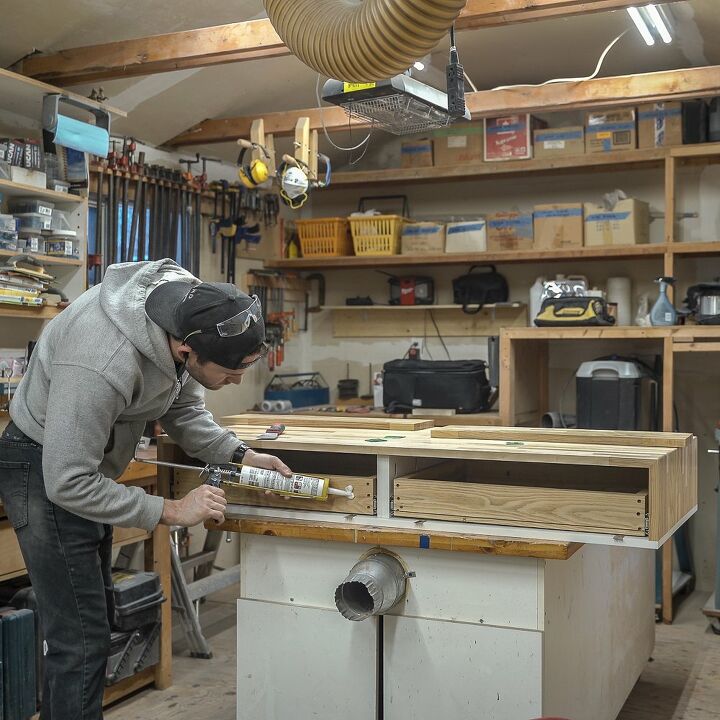
Enter a product called “no more nails”. It’s a rapid drying construction adhesive. I applied a couple of dollops to the front of each drawer, put my drawer fronts in place, adjusted them until I had an even gap the whole way around and then waited for the glue to dry.
I wish I could remember where I picked up this trick, but I can’t. I think I’ve seen it done with silicone too, but for my money, the no more nails dries faster and holds a bit better.
Once the glue sets, I’ll open the drawers and screw them to the drawer fronts to give a more permanent and secure connection.
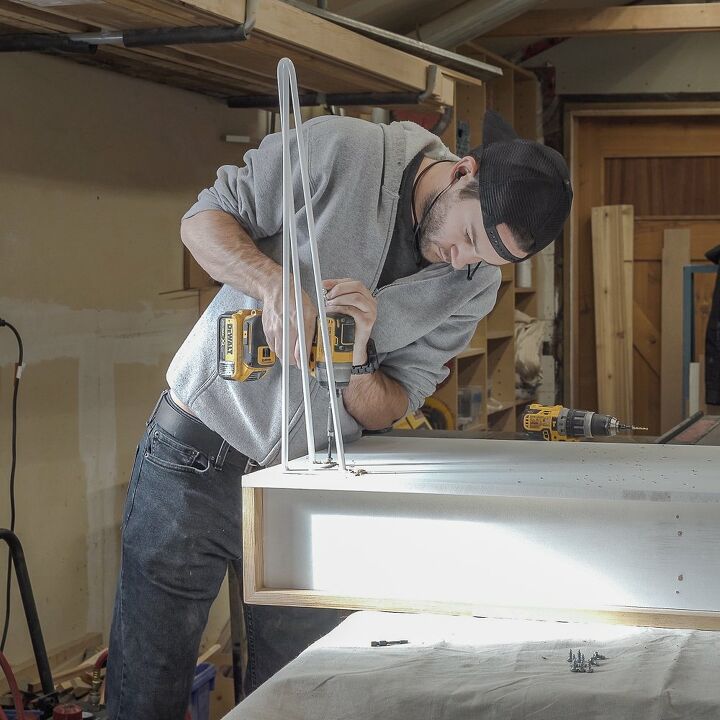
All that was left to do at was to install the hairpin legs. These legs were generously provided to me by The Hairpin Leg Shop. they wanted to be part of one of my builds and I was just thrilled to have a sponsor for a project!
No fancy mounting system here, I just screwed the legs directly to the bottom of the desk with some #10 3/4″ pan head screws. The hairpin legs came pre-drilled with a bunch of mounting holes.
After the legs were installed all that was left to do was load the desk up into my truck, take it home and get it all setup in time for my girlfriends birthday.
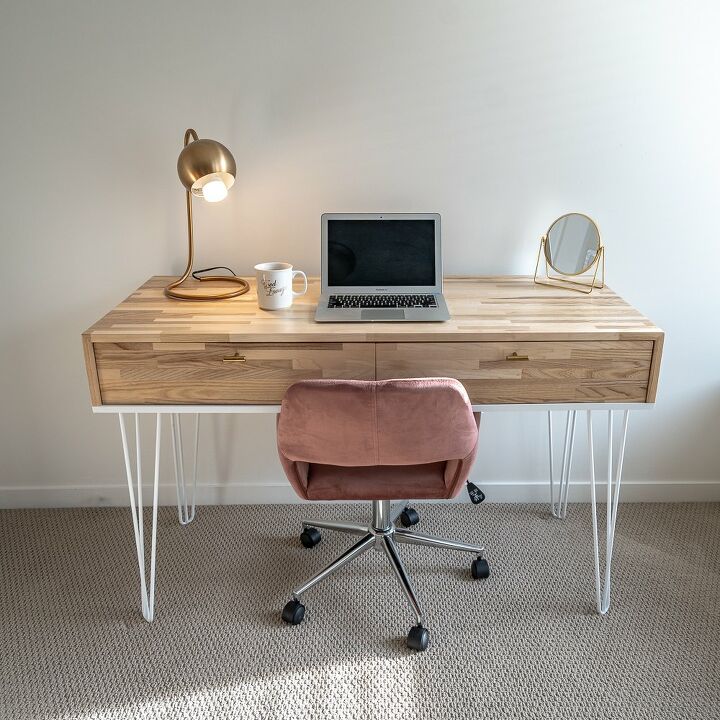
It’s a relatively simple design. A big flat work surface with a couple of large drawers for storage and organization. What it lacks in complexity, I hope it makes up for in style.
My girlfriend gave me a very short list of features she wanted. According to her, it had to have: storage, lighter wood tones, and hairpin legs. Outside of that, she left it almost entirely up to me.I'm happy to say I checked all of those boxes and she was very happy with the results!
That's it for this build! Thanks for checking it out. If you have any questions or comments let me know below and I'd be more than happy to answer them!
Also if you liked this post and you'd like to see more of my builds, please check me out on Instagram. My handle is @zacbuilds and the direct link is https://www.instagram.com/zacbuilds/
I post all of my projects on Instagram along with any tip and tricks I learn along the way while making them.
Resources for this project:
See all materials


Comments
Join the conversation
-
You've got the tools, you've got the space, you've got inspiration and taste. This desk looks like any high end expensive piece from a fancy retailer. In fact I like yours better. The squareness of the wood grain top parts is nicely offset by the white hairpin legs, which give it the necessary feminine touch. Great job.
-
What a beautiful piece of furniture. Really enjoyed your precise and detailed instructions. I learned many terms for methods of which I was familiar but didn't know what they were called. Liked your self-deprecating sense of humor and felt your stress! Lol


Frequently asked questions
Have a question about this project?