


How to Transform Kitchen Cabinets Without Replacing Them

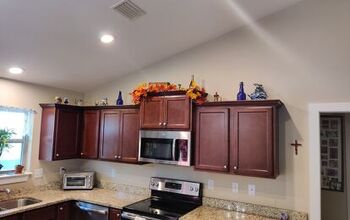
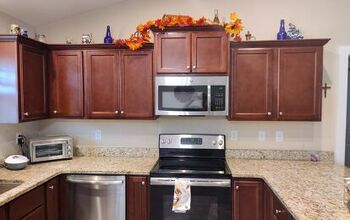
I'm a woman on a mission to de-oak my house, one set of cabinets at a time. I've tackled the guest bath and now onto the kitchen.
Have you heard the myth that you have to remove your cabinet doors in order to paint them and get a good finish? Bless those of you who do this with your post it notes and baggies trying to keep up with what door goes with what hinge and in what spot. The thought of that makes my head hurt and I just can't do it.
I'm going to paint kitchen cabinets with the doors on and get a gorgeous finish in no time. I'm sharing all of my best tips with you, right here!
Step 1: Choose your color
Choosing a color can be the hardest part. Look at the things in your kitchen that aren't changing. The biggest two are typically your countertops and your flooring. Choose a color that compliments those two.
Watch the video above to learn more about All-In-One Paint's 25 trending colors. Paula Blankenship, Creative Director at Heirloom Traditions, explains all 25 colors to help you make your color selection.
A bit about the paint I used:
I'm using All-In-One Paint by Heirloom Traditions, It has a velvety finish that is unlike anything I've used in the past. And best of all, it doesn't require any additional steps beyond clean and paint. That's right, NO Sanding! NO Sealing! If you've quoted having your kitchen cabinets painted lately, I know you're in sticker shock. It's expensive and your kitchen will be out of commission for a week minimum! I transformed these cabinets in under two hours (start to finish) with less than a quart of paint including the inside of the doors! 24 hours later, the knobs were on and we were back in business. I promise you with these products and a few easy tips, you can transform your kitchen even if you've never painted before. If you're thinking of painting your cabinets, I highly recommend you try the All-In-One Paint!
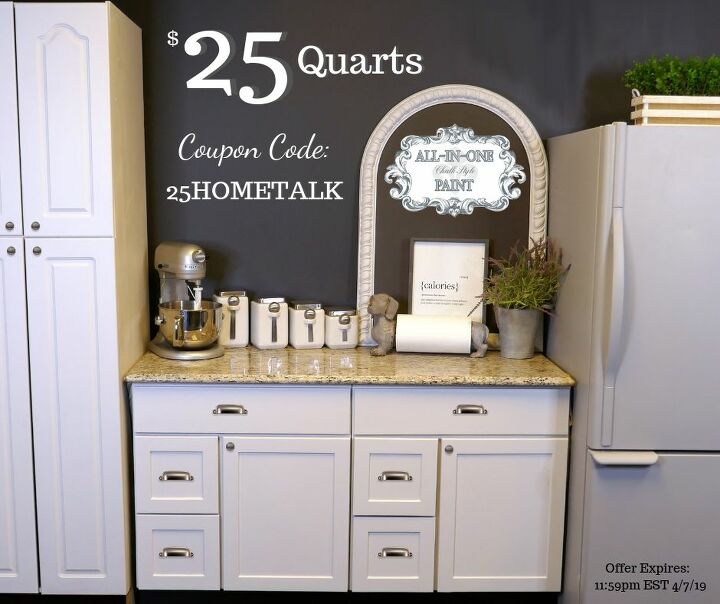
Heirloom Traditions is offering an exclusive offer for Hometalkers! You can get a quart of All-In-One Paint for just $25 (normally $38.99) when you use the coupon code 25HOMETALK on the link below. This offer expires at 11:59pm EST on 4/22/19. If you miss this deal, get on their email list on their website.
Step 2: Remove hardware.
I'm going to paint with the doors on so I'm not removing hinges or doors.
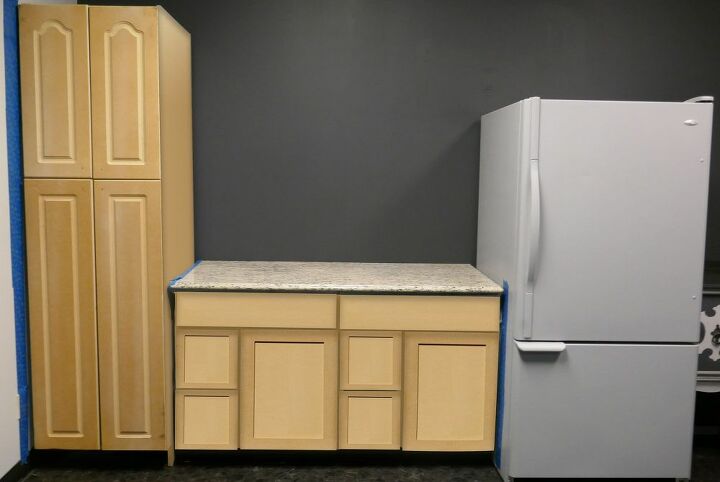
Step 3: Tape off the things you don't want to get paint on.
Notice I've tape off my countertop by the pantry and between the cabinets and fridge. I also taped off the wall by the pantry. Nobody wants to paint twice so a quick strip of blue painters tape saves the day.
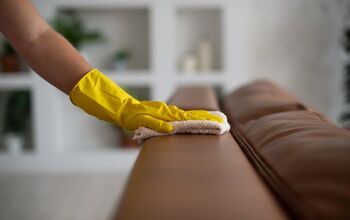
Step 4: Clean your surface.
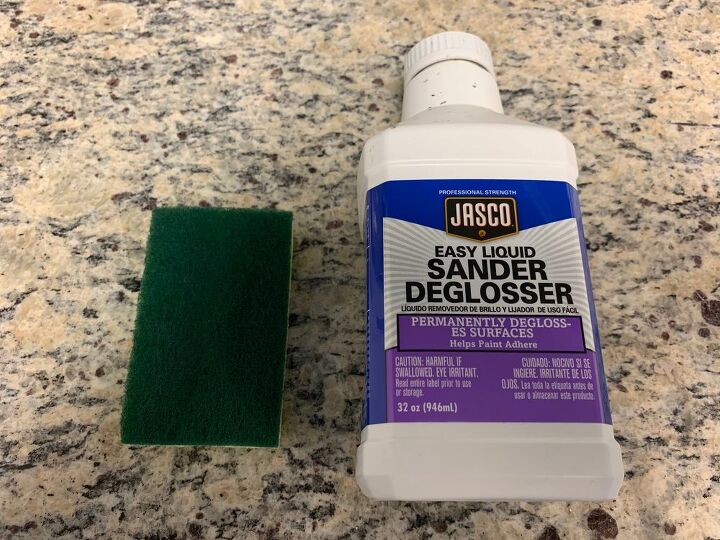
This is the hardest part, in my opinion, and it's not hard at all. You need to thoroughly remove the surface oils. I prefer to use an easy liquid sander deglosser. It sounds scary but its just a rub on product. You can also use any type of chemical degreaser like TSP, Simple Green, Krud Kutter, etc. The reason I like deglosser is that it does a lot of the scrubbing for me and it doesn't require a water rinse to deactivate it. That means less trips around these cabinets which saves me time and I'm all about that.
Scrub your degreaser of choice on with a green Scotch-Brite type pad. Pay extra attention to the cabinets around your stove as those are typically the dirtiest. Also make sure to give an extra scrub to the areas where the door knobs were.
Tip 1: Make sure you follow the instructions on the bottle of degreaser that you're using. Most require a water rinse to deactivate. If the bottle says to do it, please don't skip that step.
Tip 2: Dawn is not going to cut it as a degreaser for your cabinets. You're going to want something heavy duty like the ones suggested above. Also, anything that says "conditioning" or "oil" on the bottle is doing the opposite of removing surface oils so stay away from those.
Tip 3: Use the deglosser. It's the easiest. :) Drag your hand down your cabinet surface. You should feel some resistance or drag when its good and clean. That's how you know you got it. When it doubt, clean it a second time to be safe.
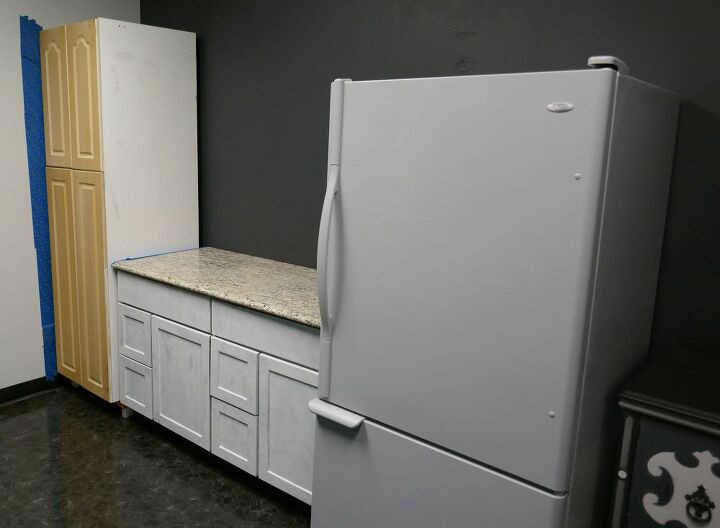
Step 5: Start painting
Get some paint on the cabinets. This is the scariest part but its so satisfying in the end. I'm using the color Colosseum, which is a beautiful off-white that doesn't have any yellow/creamy undertones to it.
I worked in small sections. I started with the faces of the doors and drawers. I applied a liberal amount of paint to one door face using a Syntec Chalk Brush (by Heirloom Traditions), getting it thoroughly coated. Don't worry about brush strokes, going with the grain, etc. Just get the paint on there.
Next I used my True Applicator (also by Heirloom Traditions) and "stippled" the wet paint. A stipple motion is just a light pouncing of the tool. I'll share a video below of this technique. Then comes the hard part. Leave it alone. Don't keep going back into your paint or you'll create unwanted texture.
I opened the doors to let them dry.
Next, I started on the inside cabinet faces. Use a small artist brush to get into tight spots that your Syntec Chalk Brush can't get into. Brush and Stipple here too.
Get a first coat on everything and allow it to thoroughly dry. This typically takes about 30 mins. If you're using a white like I am here, or you're going with a lighter color over a dark wood, this stage can look a little rough. I call it the "ugly phase" (we all had one growing up). Don't panic. Magic is going to happen on coat 2.
Step 6: Repeat step 5 for coat 2. Second verse, same as the first.
Tip: When I'm painting with whites, I keep my True Applicator lightly damp. For each door, I give the True Applicator a quick mist of water before I stipple. I keep it dry for all other colors.
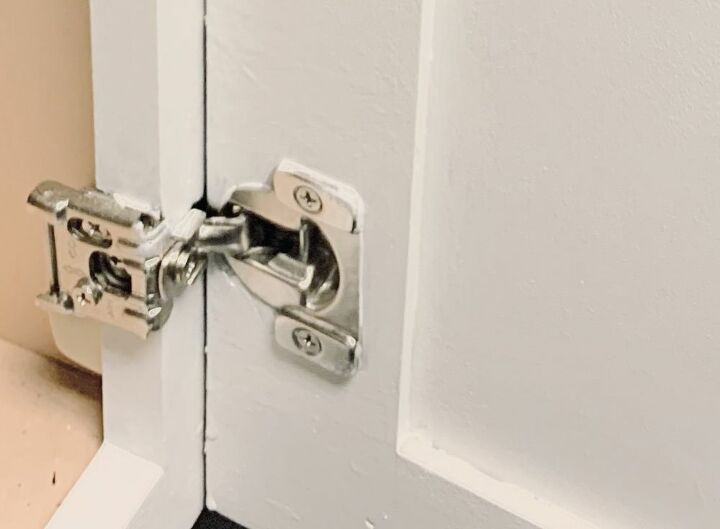
I used an artist brush to trim around the hinges. I got a little paint on them that I can remove with some cleaner and a q-tip but it sure beats taking the doors off.
if your hinges are on the outside of the door, you can do the same thing. Trim them out with an artist brush.
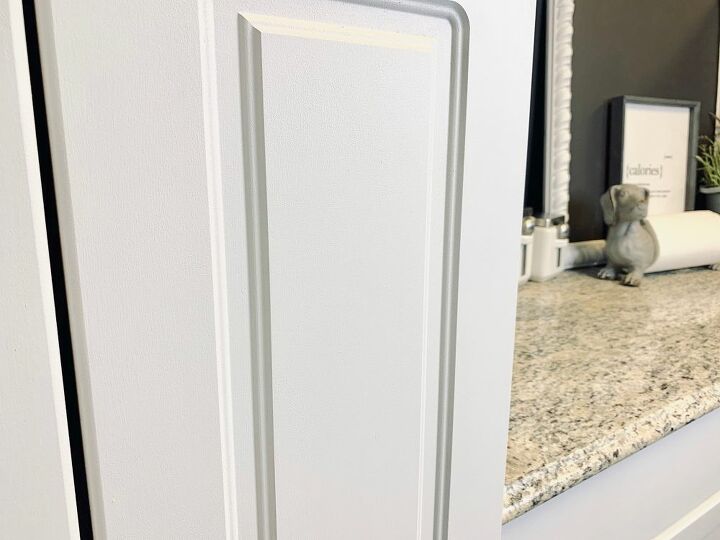
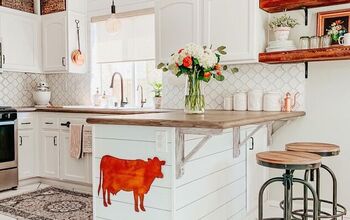
Look at that finish after two coats! Not a brush stroke in sight! I've used this paint a lot and it still amazes me. I walk away thinking, I'm so good, I could paint cabinets for a living. Meanwhile, I can't roll paint on a wall to save my life. This finish inspires me to paint everything in my house!
By the way, did I mention that I'm done at this point? No sealing required. If you've ever topcoated white paint and had it yellow, I feel for you. It's the worst feeling. But if your paint is super durable without a topcoat, you never have to experience that feeling of dread again. Allow everything to dry for 24-48 hours and then you can put your knobs back on and go back to using your kitchen.
Tip 1: If painting over a darker color with a light color, you may need two coats and a few touch-up spots or even 3 coats. Most colors are achievable in two coats.
Tip 2: Like most paints, this paint takes 30 days to reach its maximum hardness. That doesn't mean you can't use your kitchen for 30 days. After 24-48 hours, resume normal use. Just don't scrub it or put it to a scratch test for 30 days to be safe.
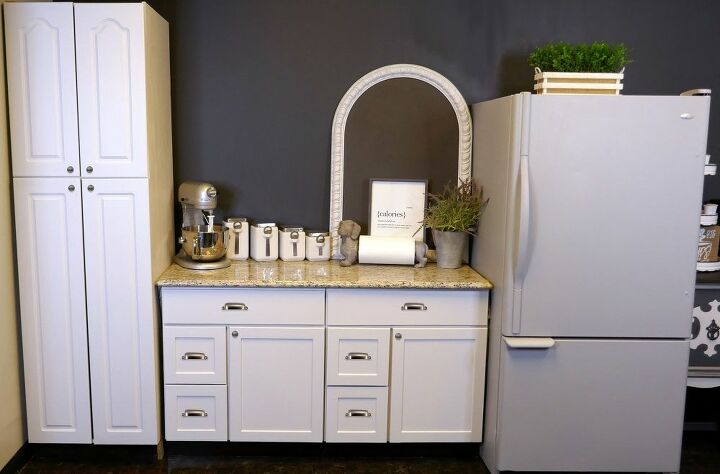
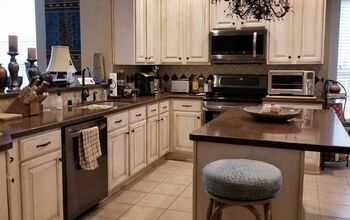
Here she is! All finished with her brass "jewelry" on. I'm loving the new lighter and brighter feel of this kitchen now.
Wondering how much paint you need? A quart will typically do 140 sq ft of painting surface which is a small kitchen's worth of cabinets. If you have larger kitchen you might need two quarts. That means, you can transform your kitchen for $50 with this deal!
Check out my farmhousey chalkboard to the left of the fridge. As a bonus, All-In-One-Paint makes a clean wipe chalkboard with no ghosting or chalky residue. That is an old picture frame with the glass made into a chalkboard. What's for dinner tonight? The menu is on the chalkboard kids.
Here's the technique I used to paint the cabinets.
Resources for this project:
See all materials


Comments
Join the conversation
-
Thanks for sharing...I'm inclined to try this soon.
-
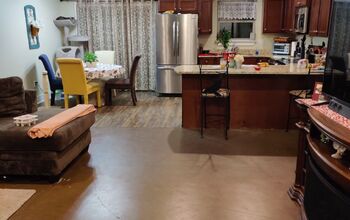
Can that paint be used on just about any type of cabinets? Bought the house in 2017 brand new. it's a pretty basic house so the cabinets are whatever cheap builders would put in. I think it's that mix of wood and laminate...I really have to paint them to lighten up the room! I would love to do the bottom a different color than the top..just not sure how to pick the colors! Any advice on that would be greatly appreciated! the kitchen and living room are all one room divided by the lower cabinets on the right.


Frequently asked questions
Have a question about this project?
I have a small kitchen can't wait to try this. When the weather warms up that is. Oh yeah how much of an oder is there.
Beautiful!! Want to try this but will it work on laminate cabinets? Any special prep needed for that?
Forgive me if I missed it, but did you paint your refrigerator?