


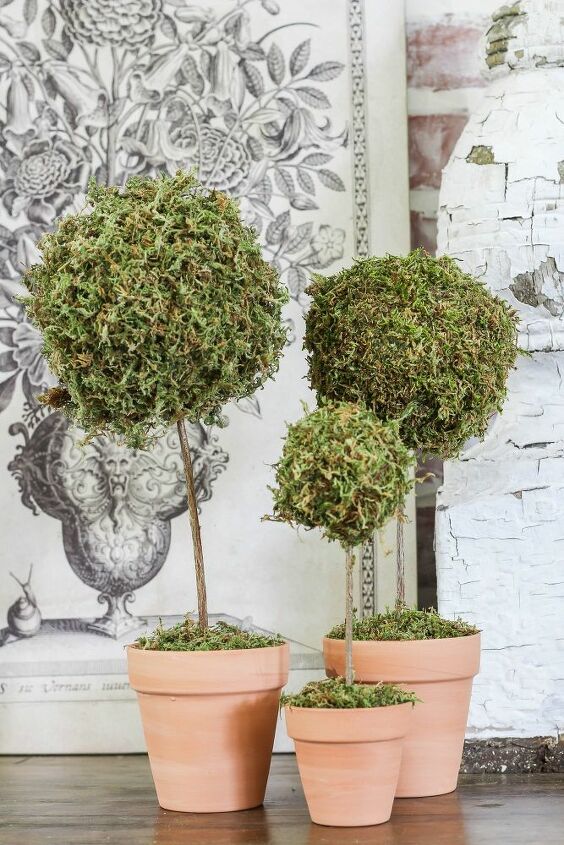
Mini Moss Ball Topiary DIY
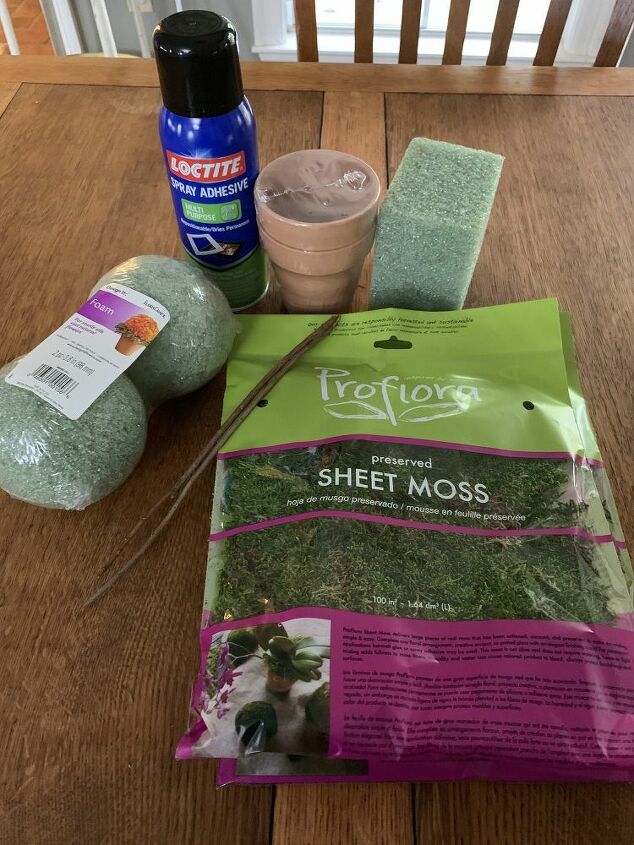
Hi friends! Spring is officially here and I couldn’t be more excited!!! Most of you know that I love making DIYs for my seasonal decor. It’s much more cost-effecting and I love the originality of something made. Today, I’ll be sharing how to make a moss ball topiary, which is perfect for spring decor. These are so easy-peasy to make and only take about 10 minutes!
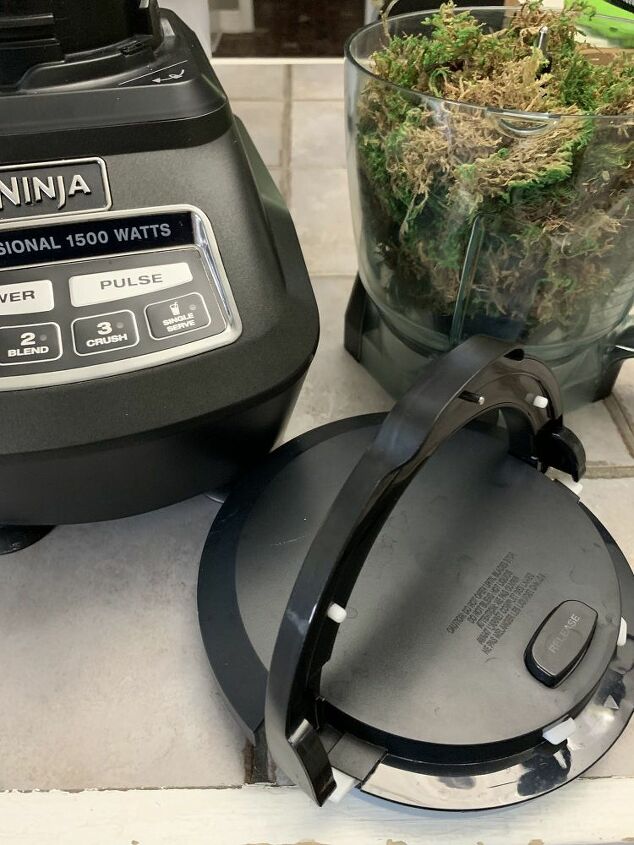
The first thing I did was put the moss into a blender and shred it. Yes, I realize this sounds a bit cray, but it works! At first, I tried to pull the moss apart with my hands, but it just wasn’t happening. I couldn’t break it down enough into the small pieces that I wanted. So into the blender it went.
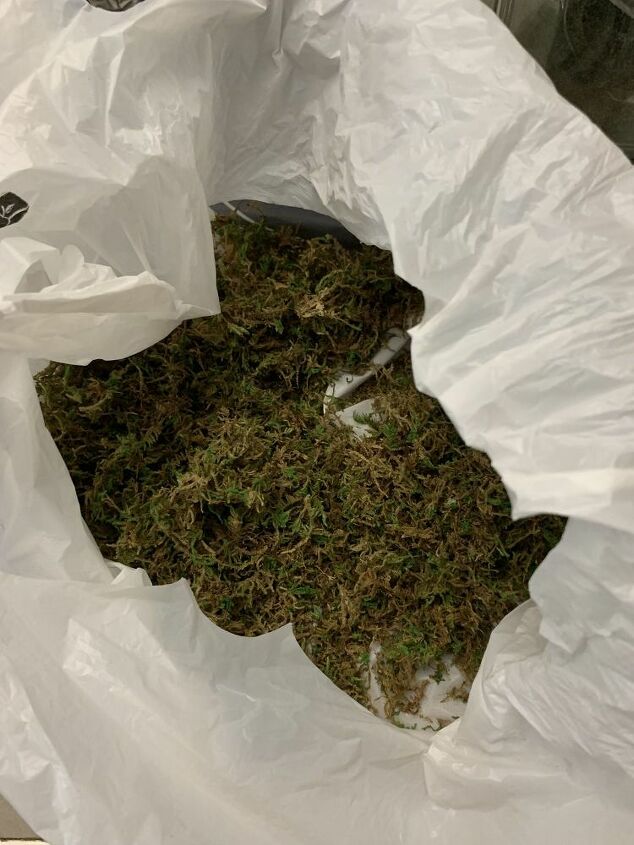
You may be able to find some pre-shredded moss that you can use. But at my small-town Walmart, my choices were limited. After the moss was shredded, I dumped it into a plastic bag and set it aside while I prepared my styrofoam ball.
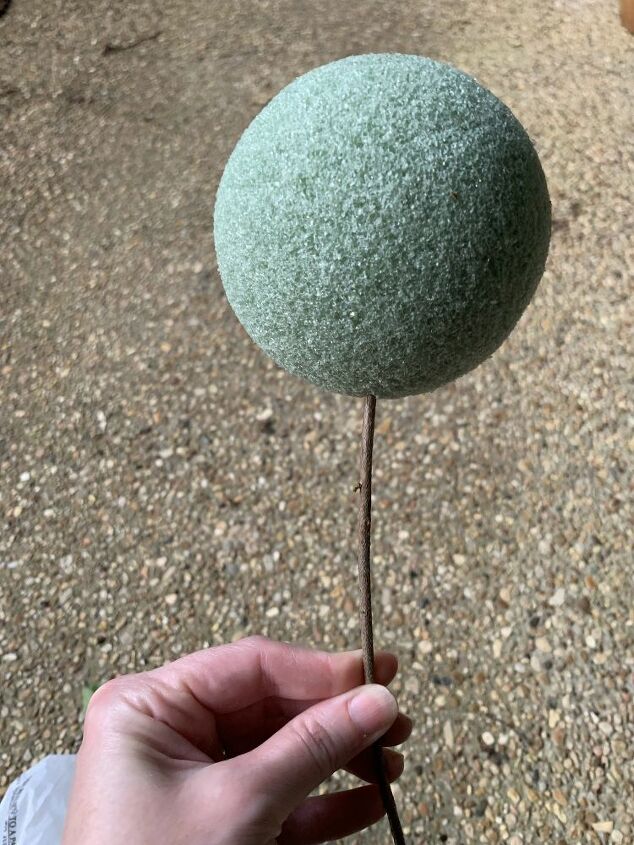
Next, I used a small twig that I found outside and inserted it into the styrofoam ball to be used as my stem. Push the twig about half way through your styrofoam ball so that it will be good and sturdy. Optional: apply hot glue to the end of the twig before you push it though the styrofoam.
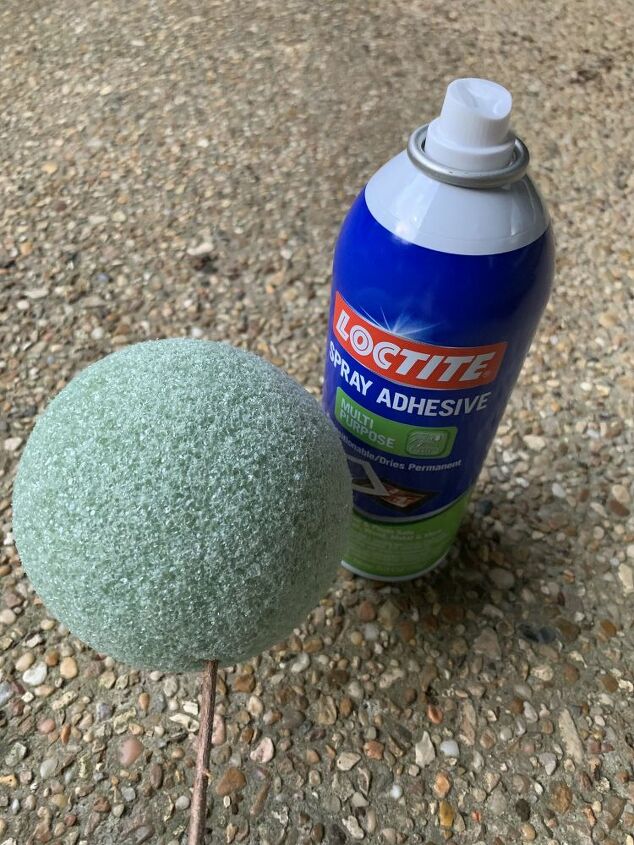
Once I had the stem in place, I held the stem and sprayed the entire styrofoam ball with adhesive spray. I would suggest doing this outside.
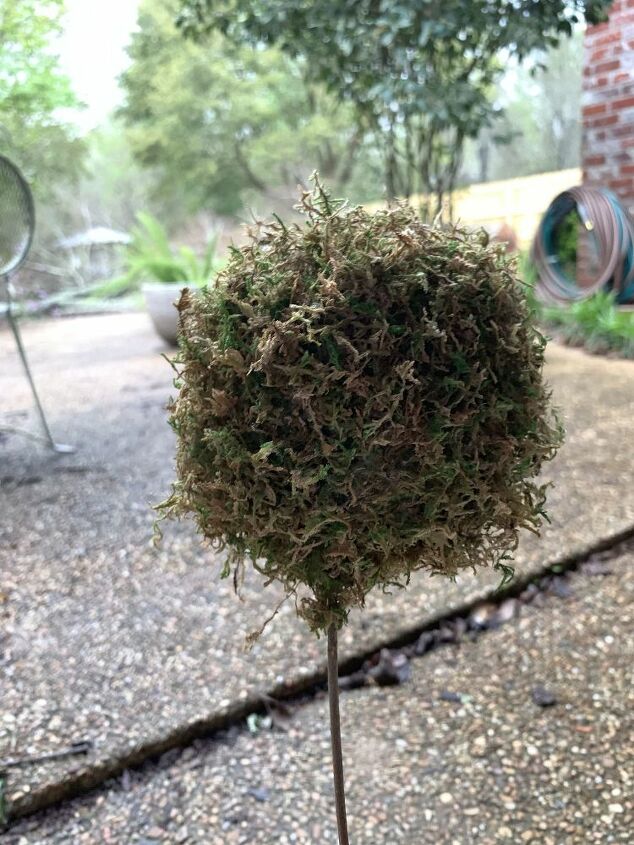
After spraying the styrofoam ball with the adhesive, I rolled the ball around in the plastic bag filled with the shredded moss. It will likely not cover your entire ball the first time you do this. After covering as much of the ball as you can, pull it back out of the bag and give it a good spray again, then roll it around in the moss again. Do this as many times as you need to get your topiary ball as full as you’d like.
Once your topiary is full, give it one final spray with the adhesive to hold everything in place.
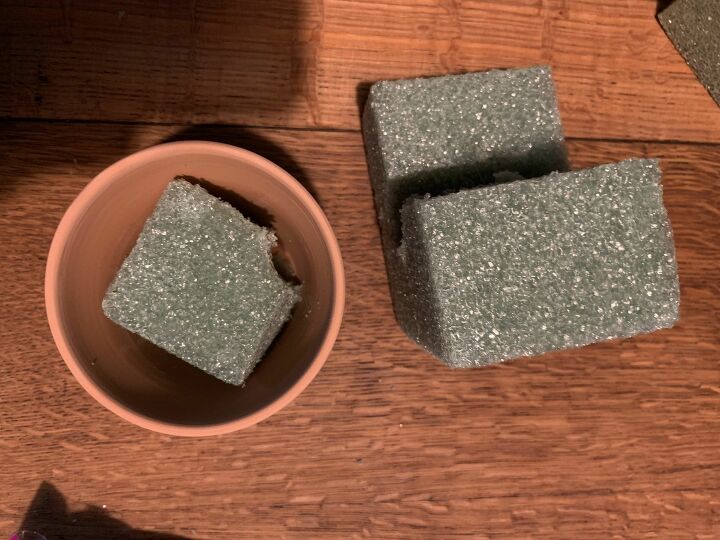
Now you are ready to place your topiary ball in your pot. I used mini clay pots, but you can use whatever you’d like. Put a piece of styrofoam at the bottom of your pot to hold your stem. Optional: hot glue the styrofoam to the bottom of the pot to keep it in place.
Once your styrofoam is in place, stick your twig in the center. Spray the adhesive spray around the top of your styrofoam in the pot and place some of the moss around the top. Spray a little more adhesive on top to keep everything in place.
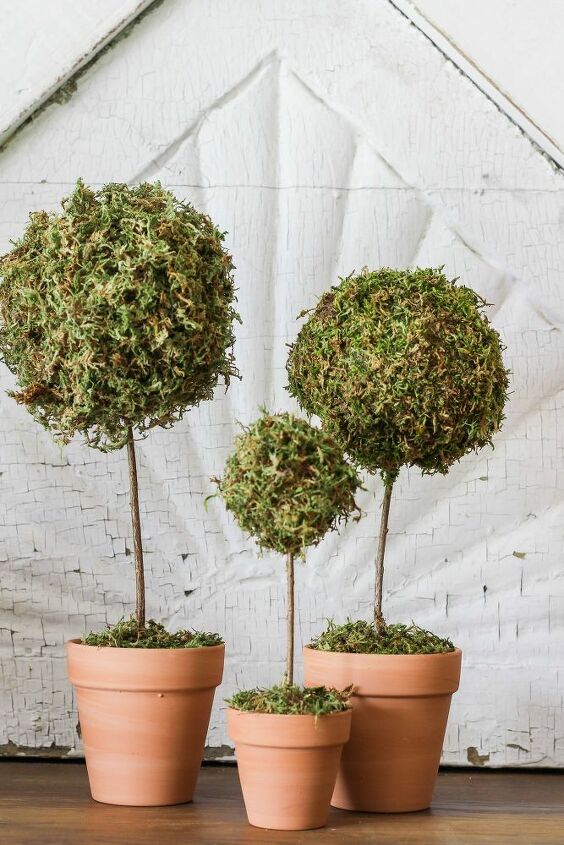
That’s it, friends! I hope this has given you some inspiration for your spring decor and that you are able to give this a try. I’ve shared a video of this tutorial in my Instagram Story that may help explain the steps a little more.
Resources for this project:
See all materials


Comments
Join the conversation
-
Totally LOVE your idea - beautiful and so creative!!!!!!
-
Simple and cute!


Frequently asked questions
Have a question about this project?