


DIY Plank Wall

by
Emily Eisert
The hubby and I tackled a HUGE bathroom makeover....like, HUGE! We decided the main focal point would be a beautiful multi-colored plank wall! We took all of those sites and all of our inspiration we'd found online and decided on the best plan for our space, and more importantly, our BUDGET! Let me start by saying, we aren't new to the whole pallet thing. Our laundry room is an awesome pallet wall work of art (thanks, Charlie). It was also his least favorite project.
Have you ever taken apart pallets? One pallet - not so bad. A zillion pallets in order to cover the bottom half of a good sized laundry room? Not fun. Especially not fun in the heat of the summer. It's safe to say that using the most budget friendly option, pallets, was out of the question!
Have you ever taken apart pallets? One pallet - not so bad. A zillion pallets in order to cover the bottom half of a good sized laundry room? Not fun. Especially not fun in the heat of the summer. It's safe to say that using the most budget friendly option, pallets, was out of the question!
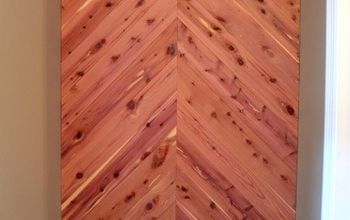
We also couldn't afford to use actual wood planks for this project. And, we also knew we wanted our wood to look old, knotty, imperfect and rustic. So, we went with Jen's idea from Life, Crafts & Whatever and we used 4' x 8', 1/2" thick sheets of plywood.

You got that?
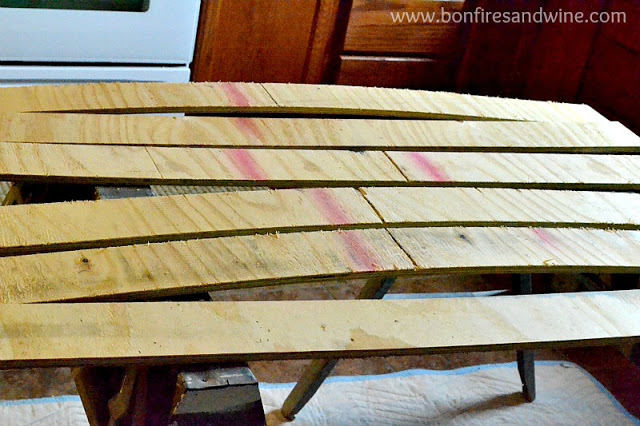
We sanded down the edges just a bit to take off the rough splinters. We didn't mind the red lines. We wanted the knotty, distressed, reclaimed look.
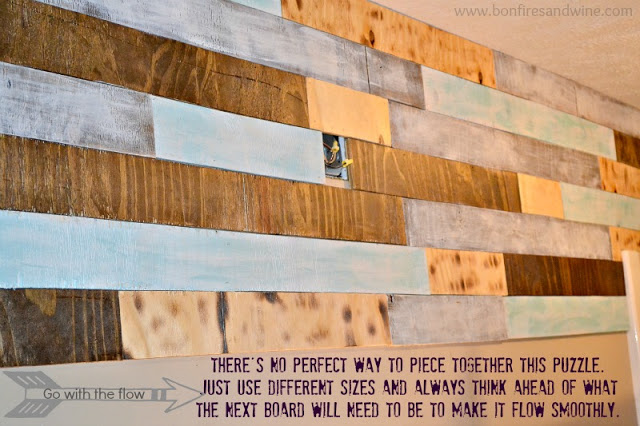
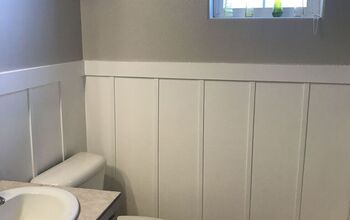
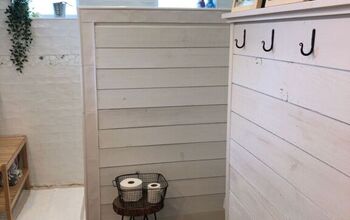
Start in the top corner and work your way across. Use a level every once in awhile and make sure you aren't way off. No house is totally square and chances are your ceiling isn't really the best leveling device. You may have to cheat a board up or down a bit, just to make it level.
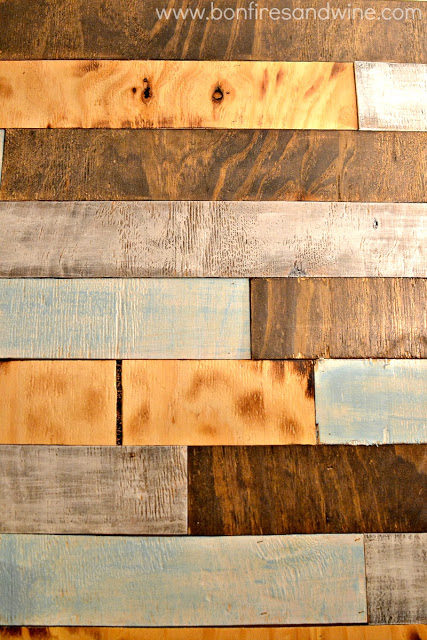
This was a very budget friendly, fairly easy, way to completely transform the look of this room! We love it and are very happy with how it turned out!
Want more details about this and other DIY projects? Check out my blog post!
Comments
Join the conversation
3 of 8 comments
-
Beautiful. Love it.
-
I don't see the link at the bottom where it says "check out...transformation here"


Frequently asked questions
Have a question about this project?