


Vintage Cheese Label Lazy Susan (cheese Board).
I have a big collection of vintage images, prints, maps and labels. A few weeks ago I made some rustic planters with the vintage seed packets I had (see it here). This time I wanted to use the vintage cheese labels I had in my collection. These old cheese labels are round so I thought it would be fun to use them on something round. I have an IKEA Lazy Susan that I use as a cheese board and I thought this would be perfect for the cheese labels.
This time as I wanted a vintage look for my cheese board I printed the labels onto the Lazy Susan rather than using decoupage.
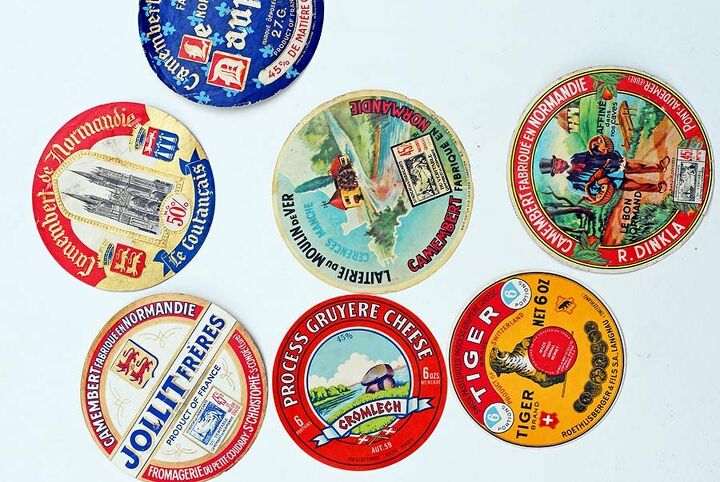
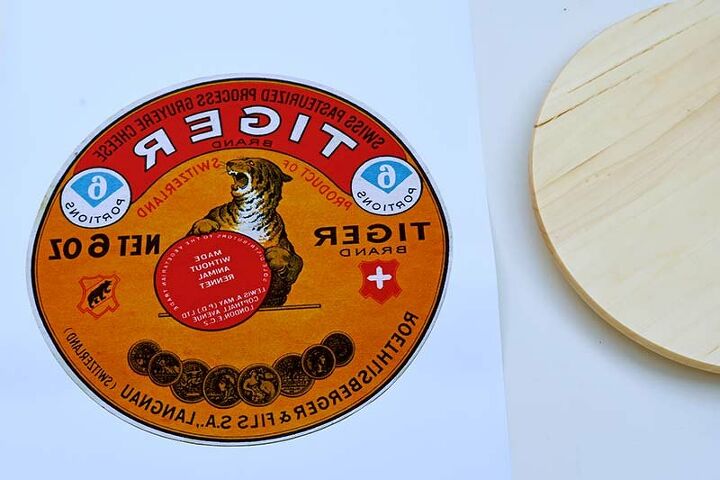
This is my collection of old cheese labels. You can download high resolution images of them on my blog (link at the end) for free.
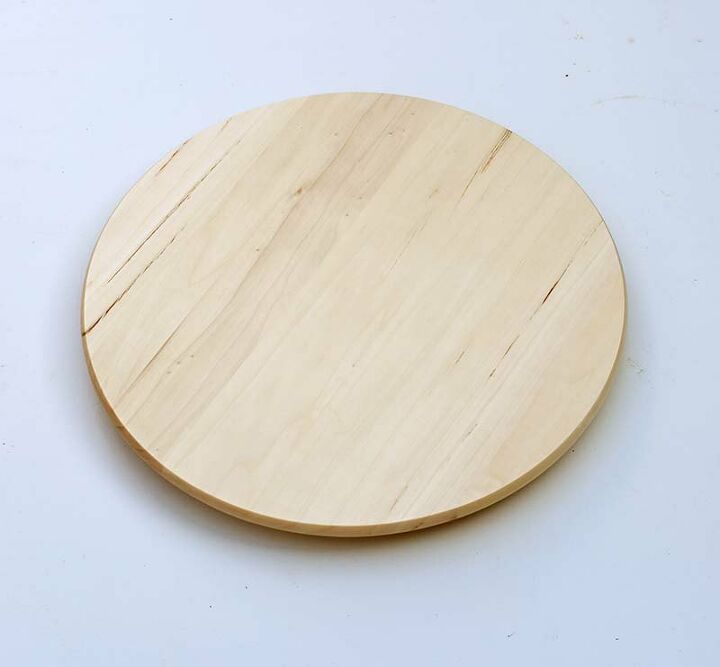
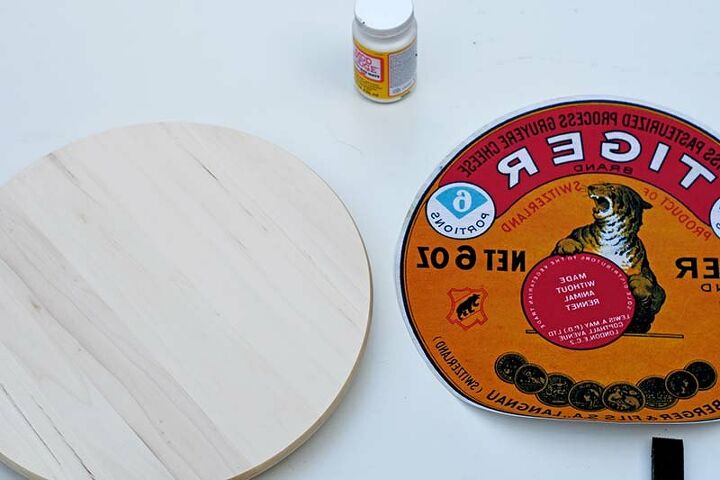
This is the IKEA Lazy Susan I used but you can print on any round wooden board.
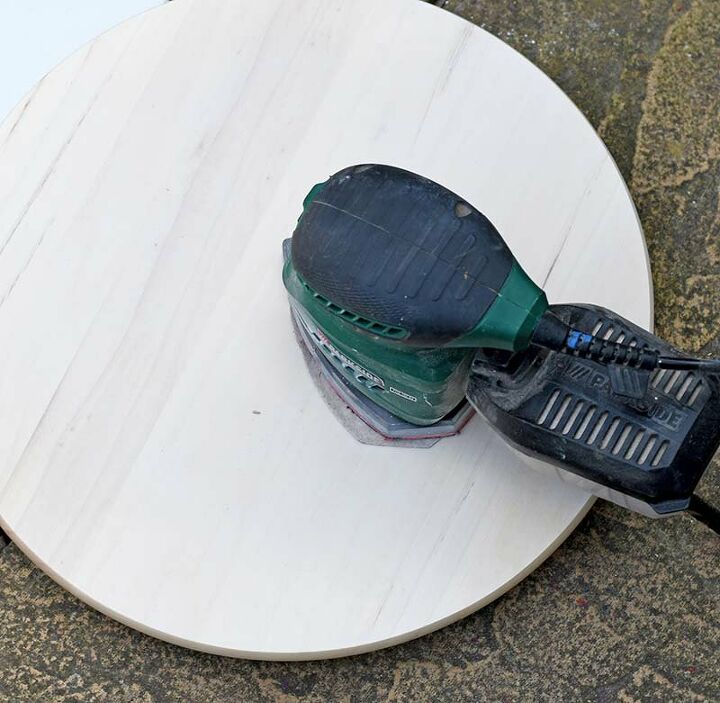
Before starting with the printing, you will need to sand off all the varnish from the top of the wooden board.
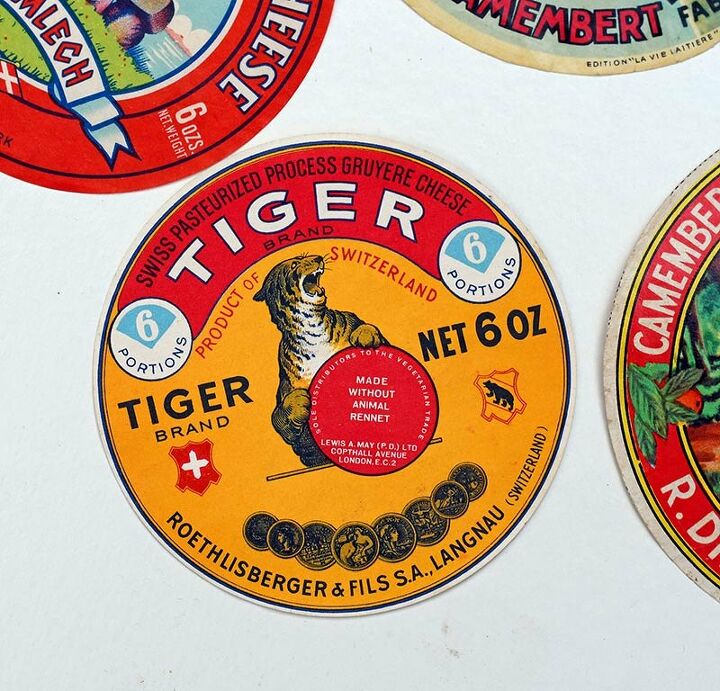
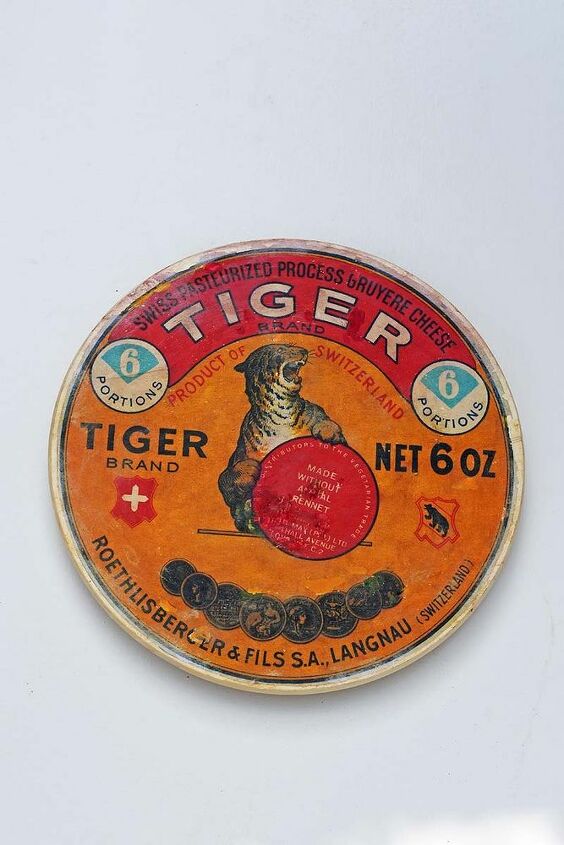
Just because I like the tiger on this Tiger Label I decided to use this one.
The board I was going to print on was 39cm in diameter. A sheet of A2 paper is 42 cm in width. So I downloaded the high res print of the Tiger label onto my computer (see blog link at end). In Photoshop I placed my cheese label on a canvas A2 size and enlarged it to fit the canvas with a margin of 1.5cm on the edge. If you don't have Photoshop, there are lots of free image manipulation sites you can use on line to do this, such as CANVA and PicMonkey.
In Photoshop I flipped my image horizontally to make a mirror image of the label. If you can't do this just ask your local print shop to print a mirror image of your picture. I used a print shop to print my label as I don't have an A2 printer at home and also the picture to be transferred needs to be printed by a laser printer.
Next, I cut the round label out. I then covered the whole board with a thin layer of Mod Podge. I also pasted a layer of Mod Podge on the printed label.
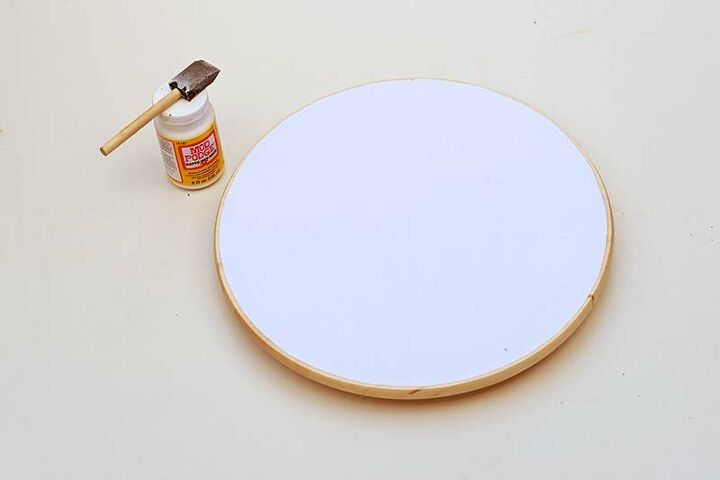
Next, stick the label face down onto the board. Use a ruler or a credit card to squeeze out any air bubbles. Leave it for several hours for the Mod Podge glue to dry fully.
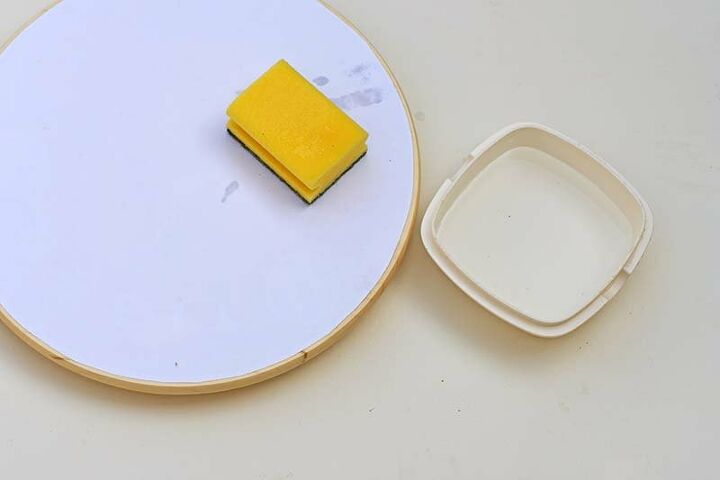
Next, using a sponge and water wet the back of the label.
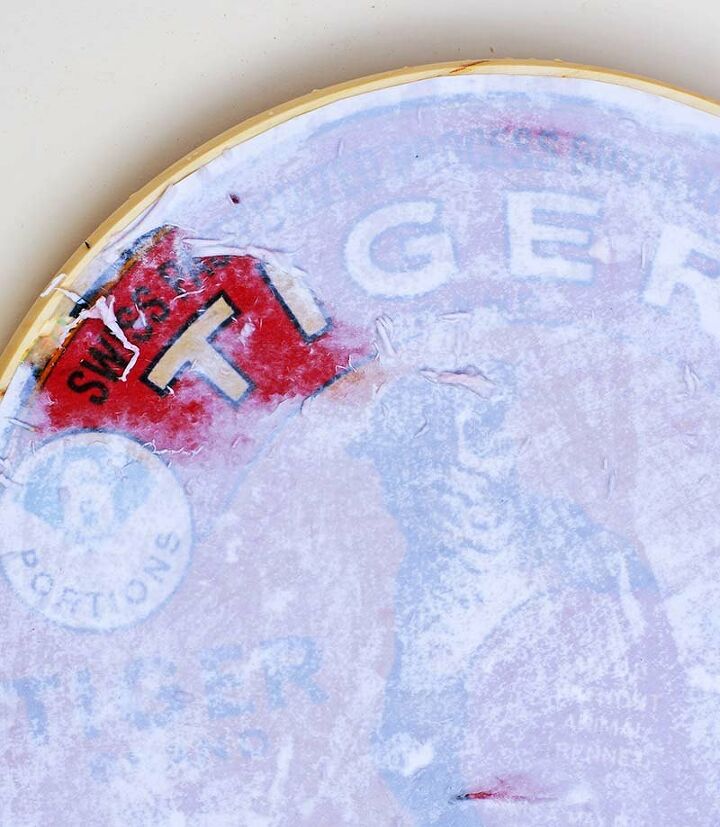
This is where the magic happens. As you rub the wet paper it will roll away reviling the print underneath.
You need to be firm and gentle at the same time
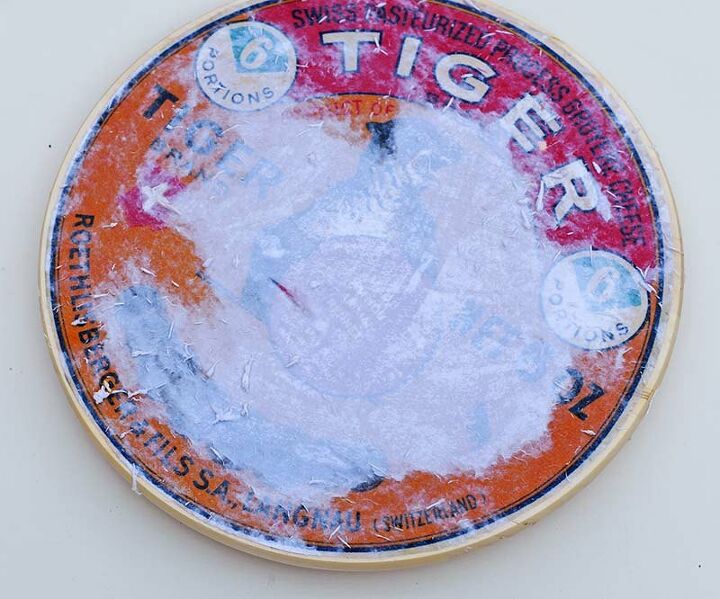
Rubbing the paper off takes a little time. Just keep on wetting it and rubbing it with your fingers until it's all removed.
Occasionally a small bit of print may come away, especially where you've missed a bit while sanding. Don't worry this will just add to the vintage charm of the printed wooden board. Also, you can cover up any mistakes at the end with coloured sharpies or acrylic paints.
Once all the paper has been removed you will need to seal the board. You can use either a varnish or wax for this. If it is for food use just make sure it's food safe.
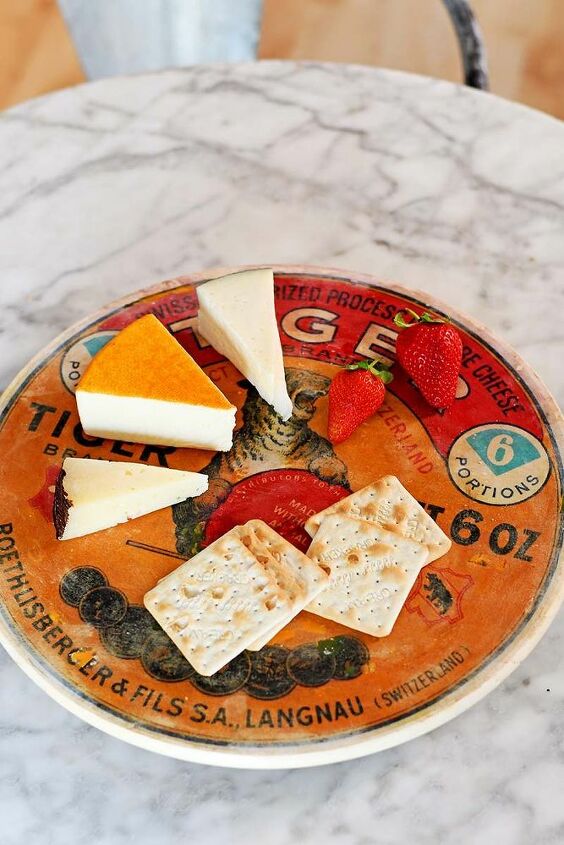
I use my Lazy Susan as a cheese board. Sometimes I use it for fruit on the middle of table. There are some fabulous vintage botanical fruit images here that I think would look fabulous printed on to a wooden board.
Resources for this project:
See all materials


Comments
Join the conversation
-
Very nice project

-
Wow, you've made me look at my Suzan in a whole new light !


Frequently asked questions
Have a question about this project?
I can’t get the cheese labels to download. Where can I get a 39cm one?
Super creation! How about adding 3 or 4 feet from wood knobs to elevate your showpiece! Love it!
This is great. Can you cut on it though? Is there a better sealer that won't scratch?