


DIY Painted Rug Inspired by West Elm

by
Katie Nathey
5 Materials
$20
I don’t know about you, but I LOVE area rugs! They instantly change the way a space looks, and are an easy {and temporary} way to add color or pattern to a room.
However, if you are on a tight budget {like us} then you may quickly realize that the area rug you want is out of your price range, boooooo. But then that’s the beauty of DIY, am I right? You can find a style you like and then re-create it in a way that reflects your personality, without spending a ton of money.
One day while browsing the West Elm website I came across the Phoenix Wool Dhurrie rug and instantly fell in love. The geometric/navajo pattern was fun, simple, classic and modern all rolled into one. It seemed perfect for our dining room!
Of course the price tag was a bit steep for us so I decided to create my own version using it as my inspiration. The total cost of my rug? Just $20!
You can view the full post and photos on my blog.
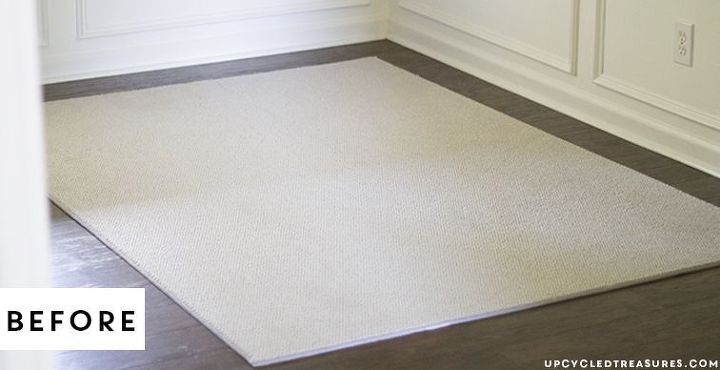
DIY Painted Rug: Before photo: I purchased a plain 5x7 remnant area rug for $20 at Home Depot {You can also find them at Lowes}. These rugs can be random in color and sizes available, but can generally be found near the decorative area rugs - maybe 1 or 2 aisles over. They are already bound but are labeled as remnant rugs :)
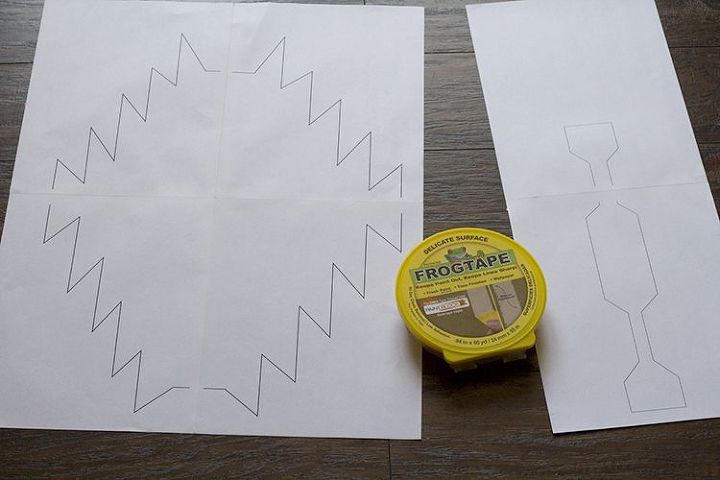
I created the shape templates I wanted to use and printed them out on cardstock paper. Each shape took up a few sheets of paper each since I had enlarged them.
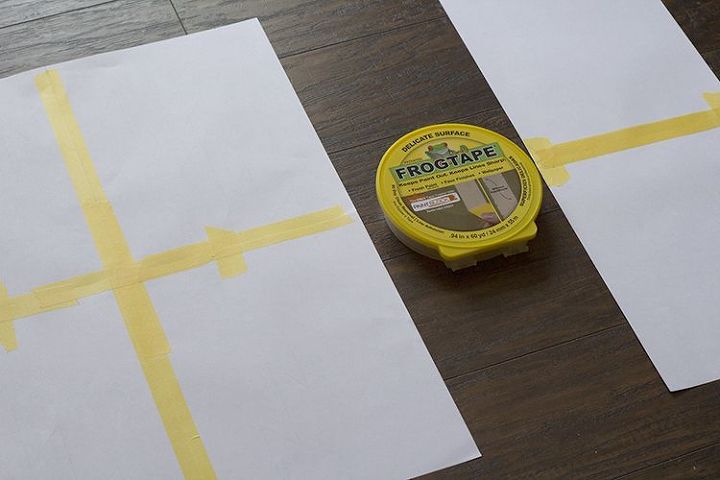
I taped the sheets of paper together so that I could cut them out as one large shape.
Here is my paper template cut out.
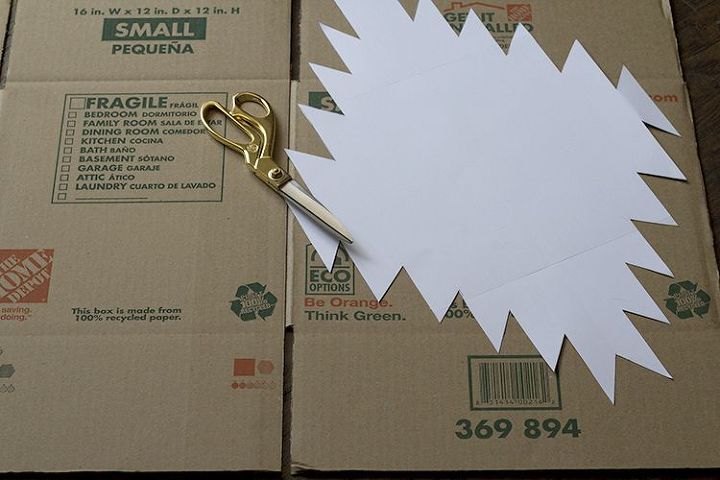
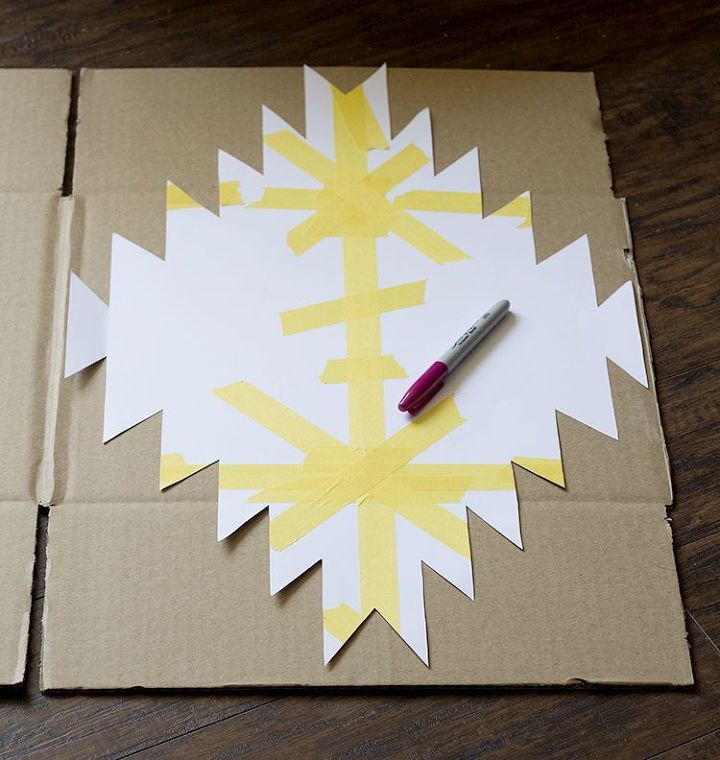
Afterwards I traced the paper template onto cardboard and then cut that out, this way I would have a more sturdy template to use and trace around.
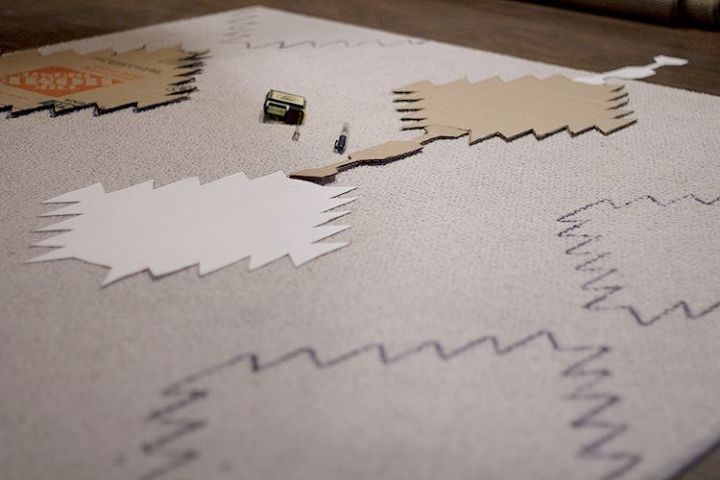
I measured out where I wanted the pattern to go and began tracing around the templates with a sharpie.
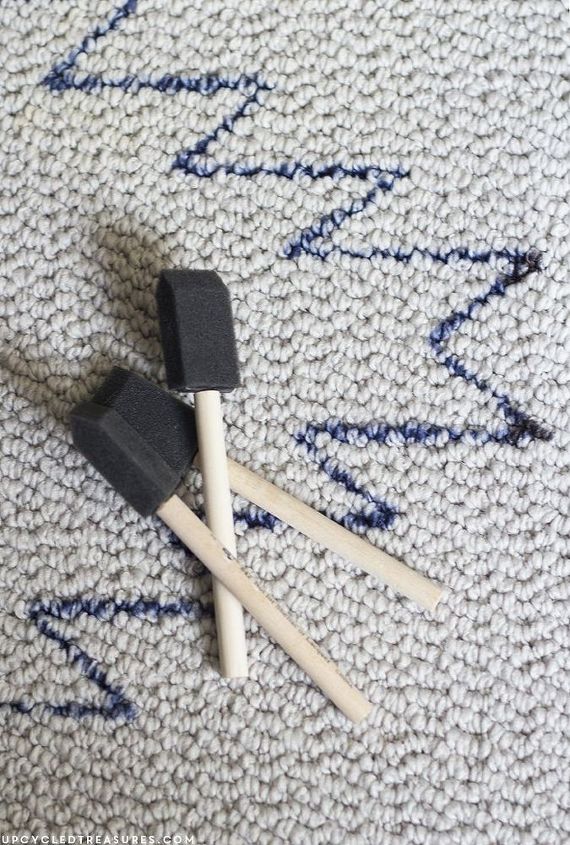
I then painted in the shapes with some custom mixed navy paint using foam brushes. I had mixed fabric medium into the paint as well. I put an old tablecloth underneath the rug to make sure none of the paint seeped through.
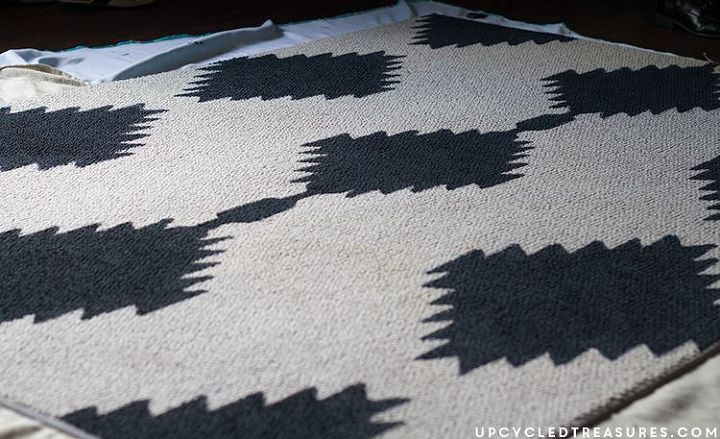
Here is the rug with all of the shapes painted in. I had actually gone over the shapes a second time once it had dried.
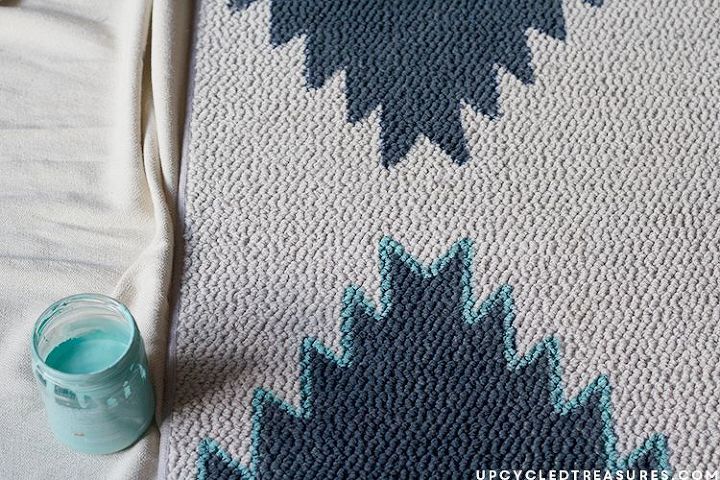
Once the paint was dry I then went back over the edges of the shapes with some custom mixed turquoise paint.
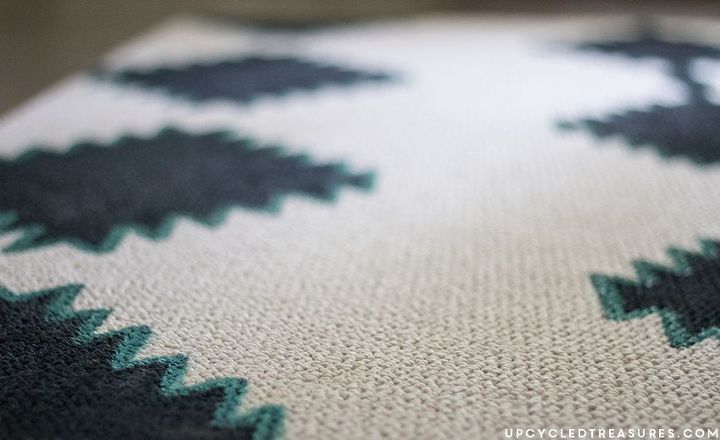
Afterwards you will want to spray your rug with fabric protector. Here is a close up of my finished rug.
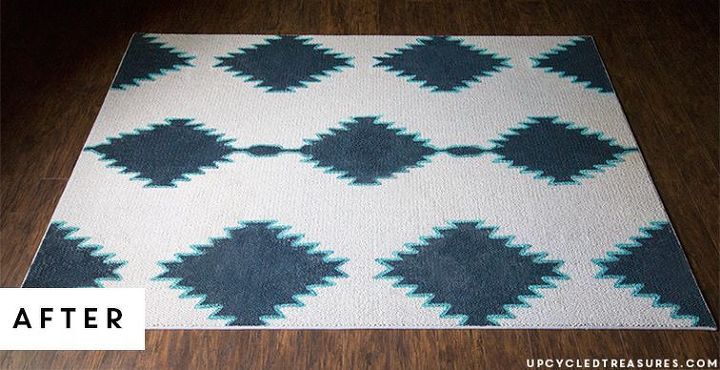
Here is my painted rug all finished!
Want more details about this and other DIY projects? Check out my blog post!
Comments
Join the conversation
2 of 127 comments
-
You went above and beyond on this one honey!!!
-
Awesome creativity, so proud of you & thanks for sharing that because I'm moving in my new condo soon and will be using that same idea.


Frequently asked questions
Have a question about this project?
what kind of paint did you use.would you use a seal on it at all.
Love it! Want to do mine. Where did you get fabric medium and can you purchase large amounts of it?
Did rug come from Home Depot or Rugshop? Thanks