


How To Make A Ceramic Tile Planter
Square pots made from ceramic tiles are perfect for displaying mini cactus and succulents. In this tutorial, we show you how to make a stylish window sill planter to display your miniature plants.
What we used to make our ceramic square pots planter
12 Square Ceramic tiles.
1 Rectangular base tile.
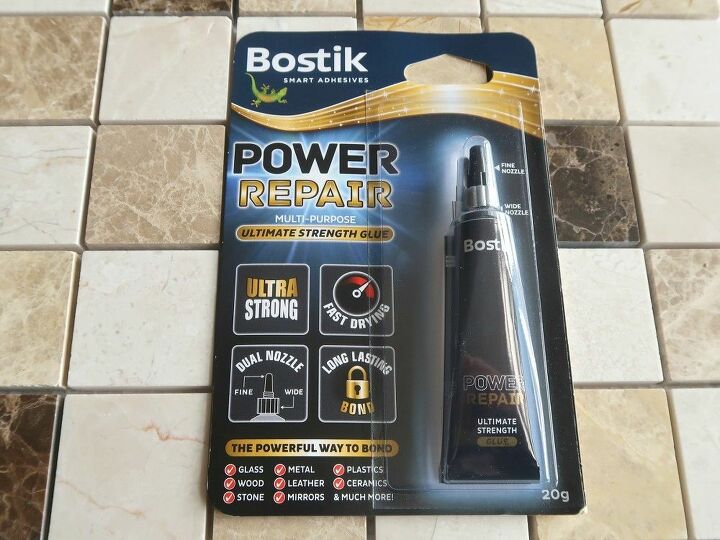
Strong Waterproof glue (I used Bostik Power Repair Ultimate Strength Glue)
How to make a window sill planter from ceramic tiles
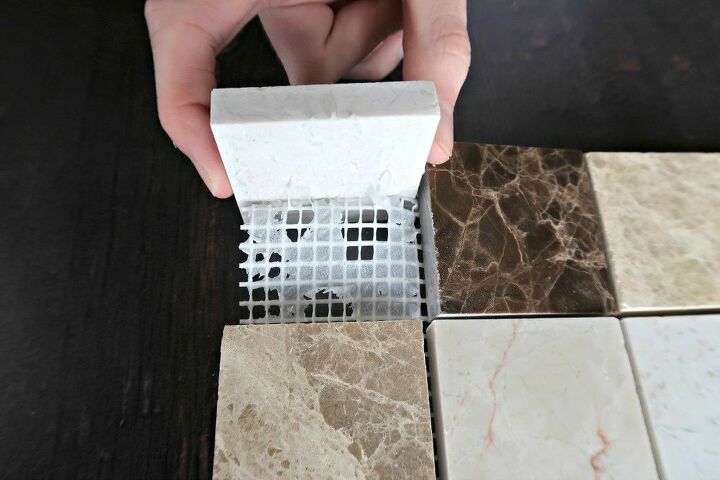
My tiles came as a sheet, so I started by removing them from the backing. They pulled off easily, and the residue glue left washed off in warm water.
The tiles I chose to make my square pots were 5cm square and 1cm thick. They are lovely little tiles made from marble. I was able to buy an individual sheet of square tiles and the single base tile for just a few pounds, so if you don’t have any leftover from another project, they are cheap to buy.
TIP: If you are looking to buy a sheet of tiles for crafts it is always worth asking if they have any broken ones that they can do a deal on, as they often do.
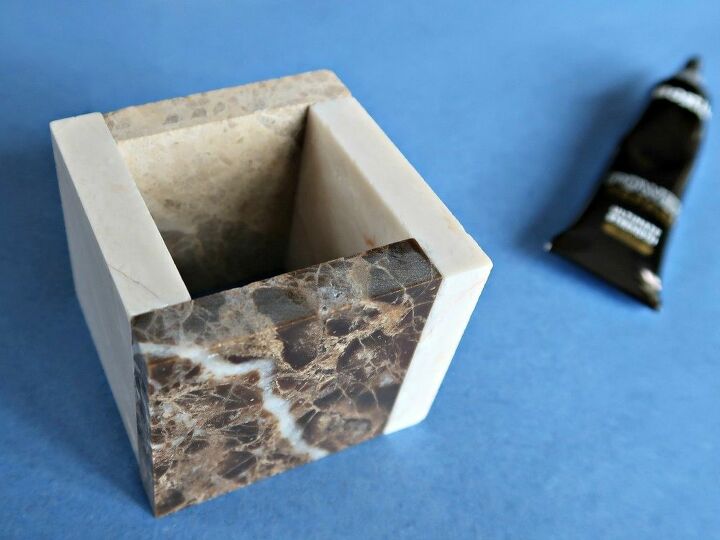
I used four tiles to create each cube, and left them to dry.
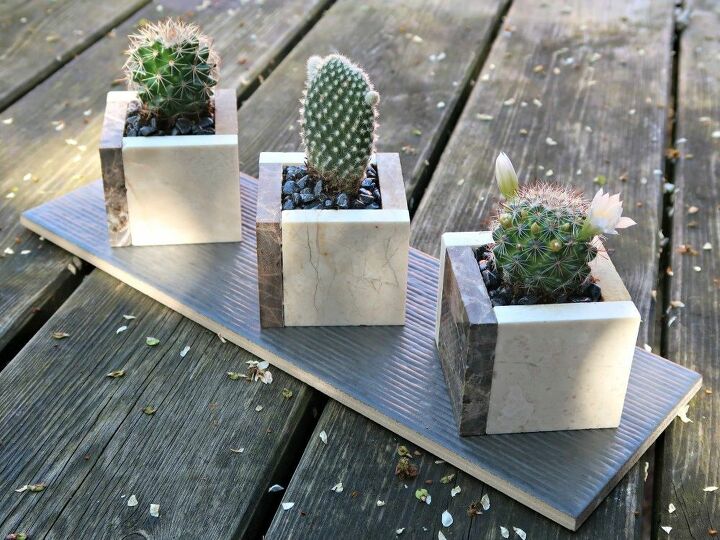
If you look at the cubes, you can see that they end up larger than the individual tiles. This means that you can't just use a fifth one to make a base and turn it into a little pot. My solution was to stick my square planters onto a base tile to create a window sill planter.
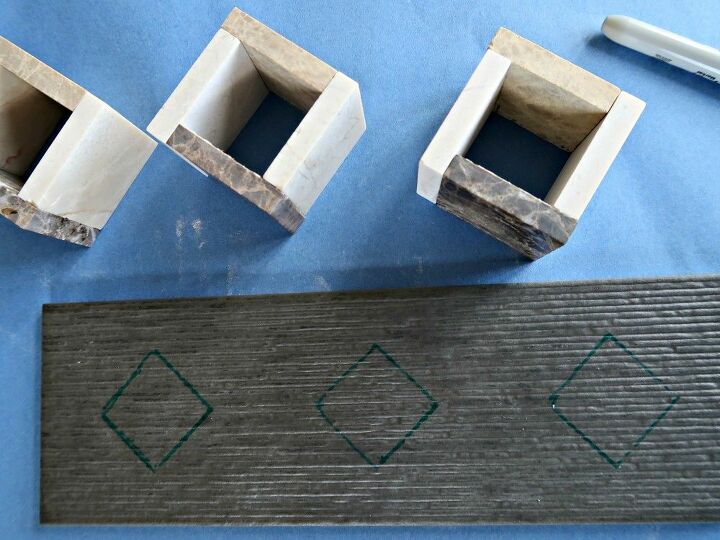
I positioned the three square pots on the base tile by eye. Once I was happy with the spacing I used a sharpie to mark out the inside of each cube to use as a guide when I stuck each one down.
How I planted my cute square pots with mini cactus plants.
Before planting my mini cactus plants, I gave them a good drink of water. This helps soften the compost around the roots making it easy to insert them into the square pots.
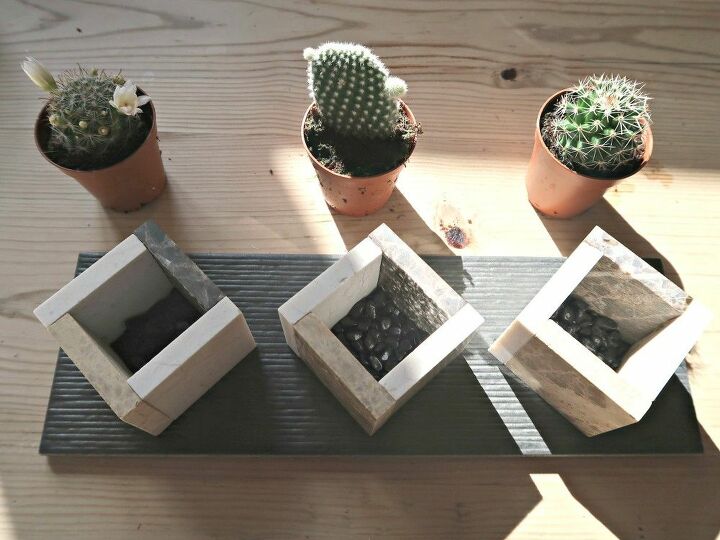
It is always advisable to use some gravel in the bottom of pots when planting succulents and is essential when the containers are as small as they are here. Succulents hate sitting in water and always appreciate good drainage.
Due to the texture of the bottom tile which is grooved, any excess water will escape when my miniature plants are watered. The gravel will also help stop any soil washing out and making a mess on the base.
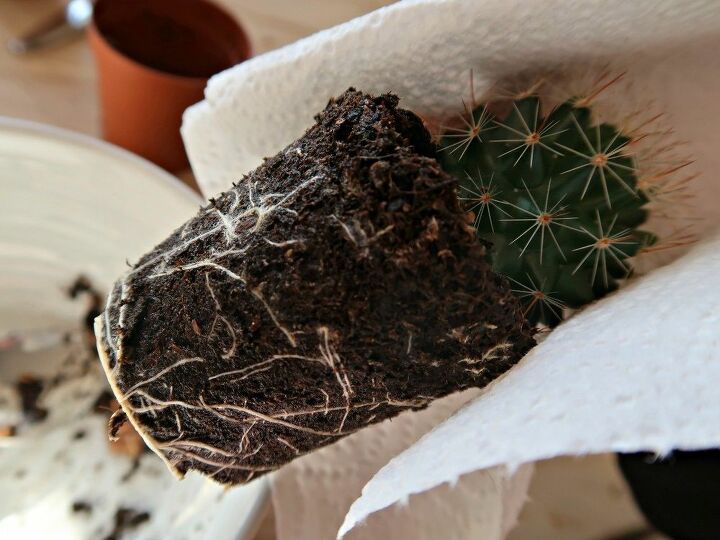
The spikes on cactus plants can be very unpleasant, so to avoid being pricked I tipped the plants out onto a thick piece of kitchen towel to protect my fingers. I then squeezed the compost into a cube shape before placing them into their new square pots.
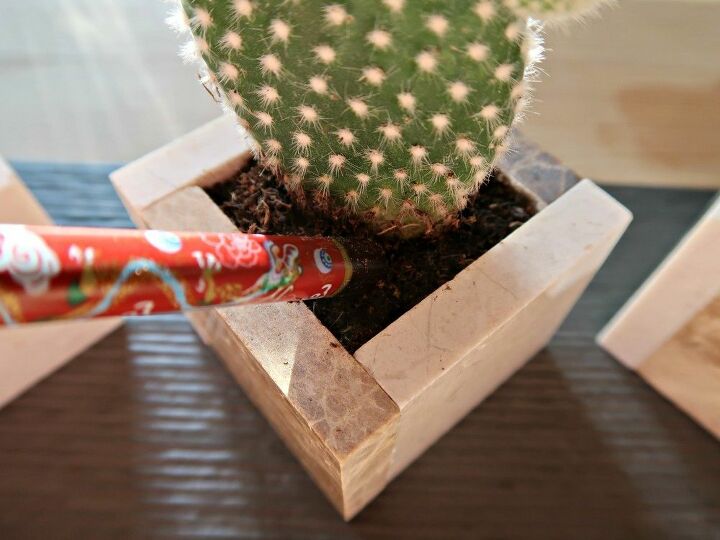
A chopstick proved useful to push the plants down into place and to firm the soil around them. I added a layer of decorative gravel on top as a finishing touch.
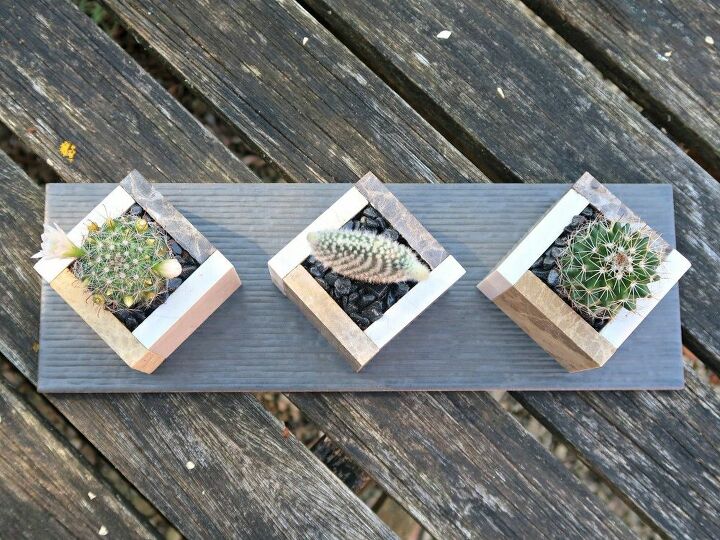
Our mini cactus planter looks really stylish planted up and fits perfectly on our window sills. All succulents love lots of light so they should thrive positioned in a window. And due to the weight of the tiles, even our mischievous cat won't be able to knock our tile planter off.
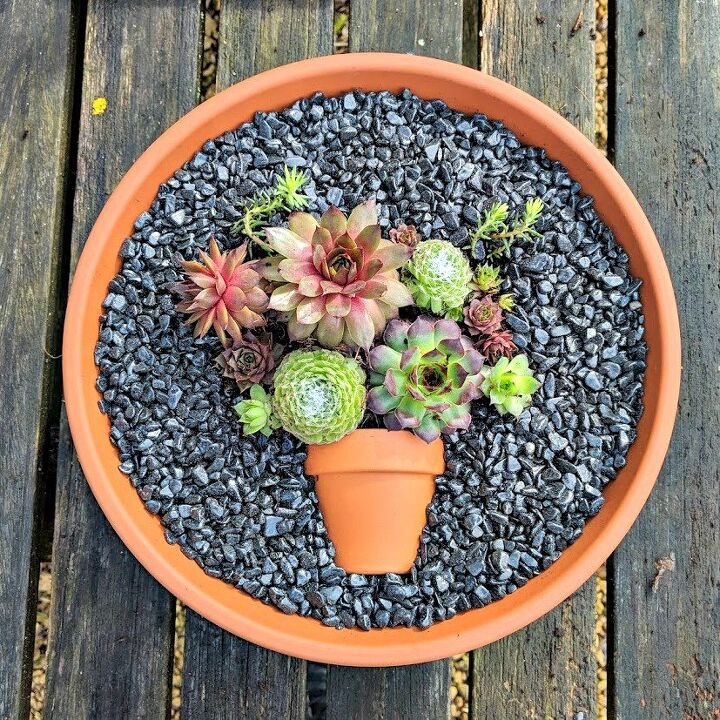
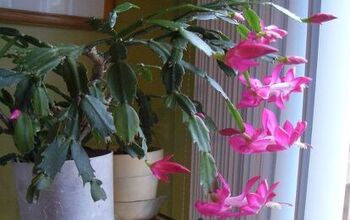
You can finds lots more imaginative ways to display your house and garden plants over on our blog. Below are two of my favourites.

Resources for this project:


Comments
Join the conversation
-
I bought artificial succulents and they look real. People are shocked when I tell them.
-
Such beautiful ideas😻


Frequently asked questions
Have a question about this project?
Doesn't the water that drains out of the soil harm the wooden stand?