


DIY Stencilled Rug
In this post, learn how to make your own DIY stencilled rug to add pattern and interest to any space without breaking your budget!
We’ve really been enjoying our New Mud Room ever since we finished that project this spring. It’s beautiful and functional and it really is everything I’ve ever wanted in a mud room. Somehow though, despite the exposed brick wall, the fun green painted French door, and the beautiful grey cabinetry, I still felt like the room looked a little plain when I saw it in photos. It needed a little pattern and I though a rug or two would be the perfect addition(s) to the room. That’s how this DIY stencilled rug project was born!
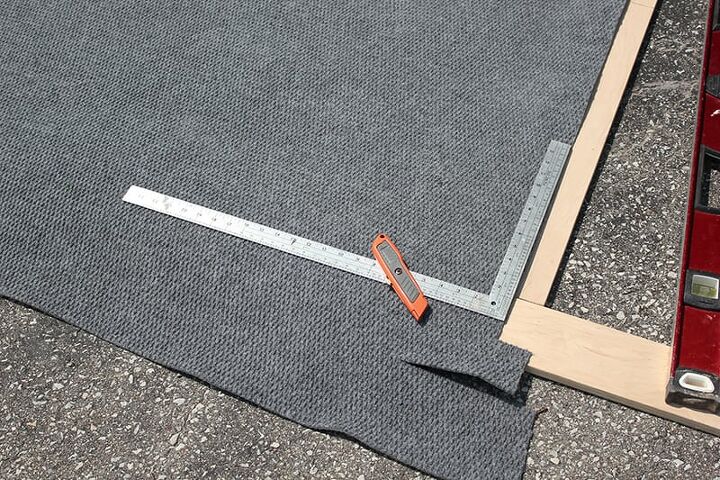
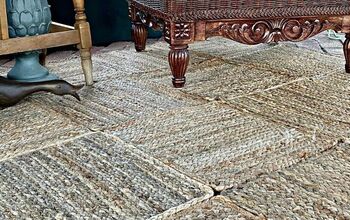
If you can find a plain utility-type of rug in a size and color that works for your space, perfect. We weren’t able to, so we ended up going to the section of our local Home Depot where they have all the different types of carpeting and vinyl flooring on big rolls. We were able to find a grey color of indoor/outdoor rug that worked perfectly for this project, that we just cut to our own custom size. When you’re looking for a rug, you want something with a relatively flat weave so it’s easy to stencil your pattern on to.
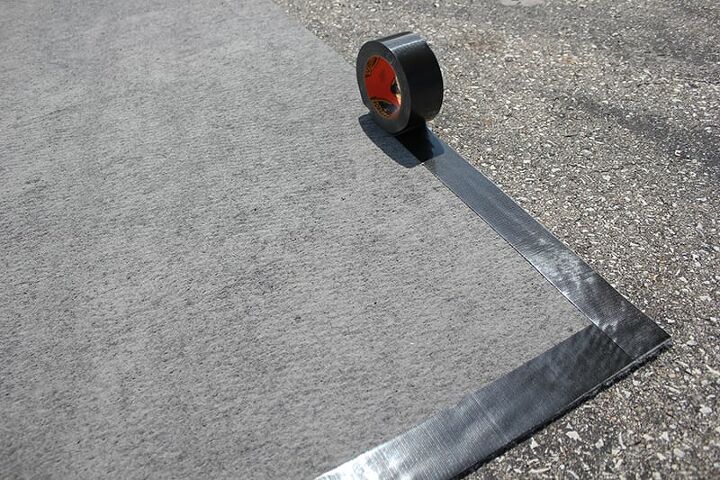
We used Gorilla Tape on the back of the rugs around their perimeter to help them lay flat and also to keep the edges from fraying.
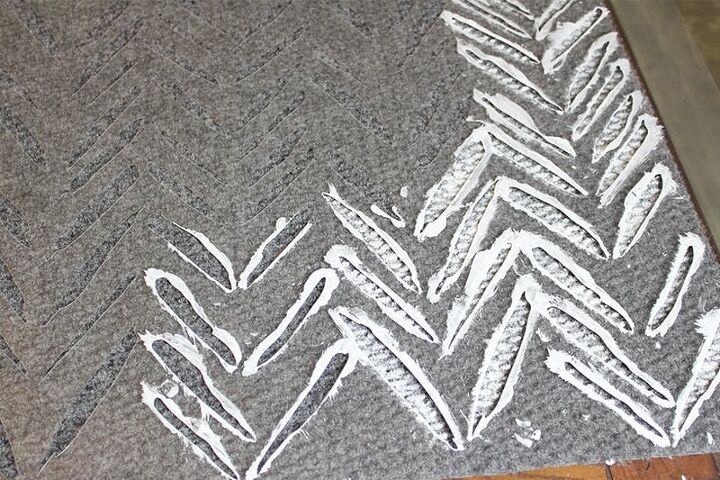
For my rug, I used a little extra piece that we cut off as a “tester” and once I was fairly comfortable with the technique, I just went to town! If you don’t have any extra pieces, some cardboard will work just fine.
[Looking for another stencilling project to try?! Check out this, Stencilled Pallet Wood Wall Art!]
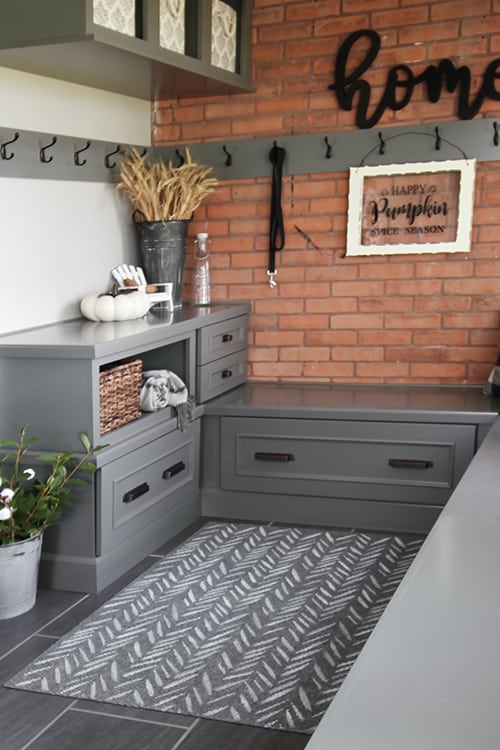
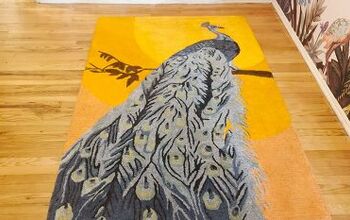
Here’s how the new rugs look in the mud room! They were exactly what I was hoping for. If I ever want to add a little pattern to my life in the form of a rug, I would definitely do this stencilling thing again in a heartbeat!
Resources for this project:
See all materials


Comments
Join the conversation
-
Looking so.good
-
The room looks awesome. The pattern definitely lifted it to the next level.


Frequently asked questions
Have a question about this project?
I also want to know how this will wash and to do so won’t you have to remove the tape and then retape after washing ?
Great project!
How about the paint t is it hard, stiff or rough to walk on?
I love this it’s beautiful as is the room you put it in! Did you take the tape off after it was done ? It doesn’t look like it’s there from the final picture, and what type of paint was used?