


Easy Planter From Cedar Fence Pickets

Had this idea rolling around in my head for a while. The fence pickets are cheap lumber for experimenting, and they look good too.
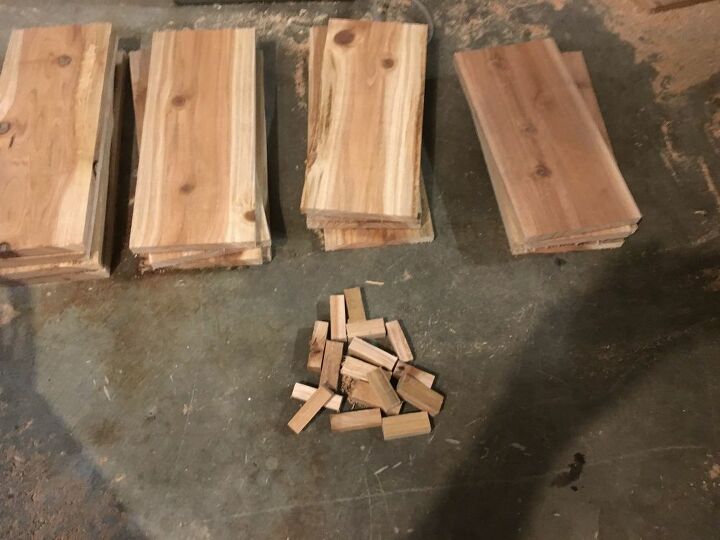
I had this idea for a planter I had been thinking about for a while. For the first step I cut four boards each 15", 14", 13", and 12". I cut up some scraps into 1/2"x1/2"x2" pieces for spacers. The spacer size wasn't critical, I simply wanted a consistent thickness. BE CAREFUL when sawing up these little pieces, they have a habit of flying out of the miter saw
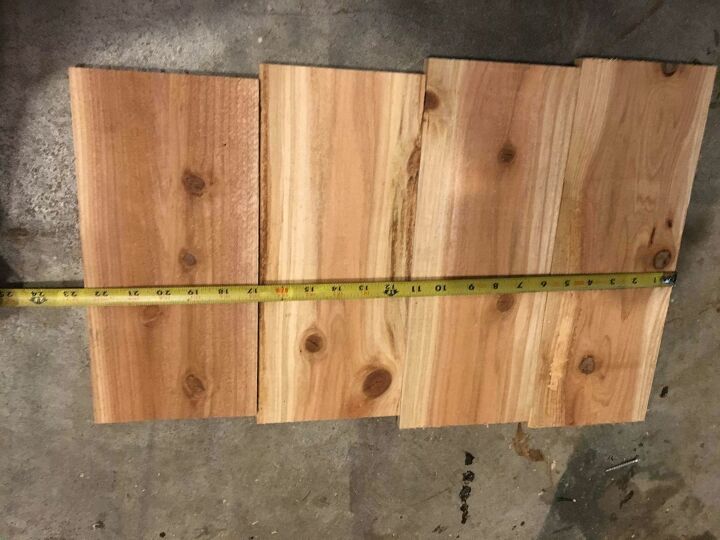
I lined up four boards, one each 15, 14, 13, and 12 (shown right to left in this pic) and measured the total height. This came out 22 1/2".
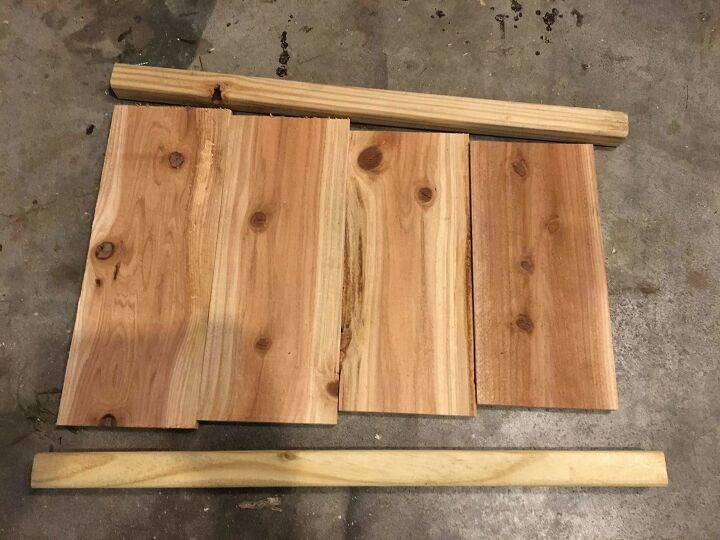
I added 1.5" to the height measurement, and cut two deck balusters to 24".
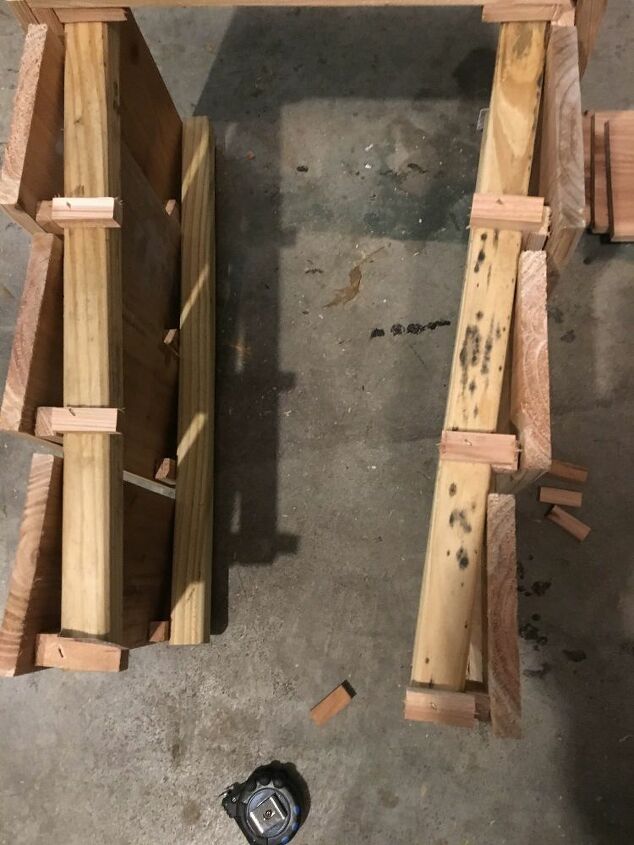
Here is a physical mock-up of the first side. My plan was to make two sides, and then attach them together. The spacing is for looks, and also much easier than trying to get a tight fit with cheap lumber ;). I'm not wanting a 'precision' look with this, more of a simple/rustic style.
The TOP Of the board will get attached to the vertical baluster, the bottom will get attached to a spacer.
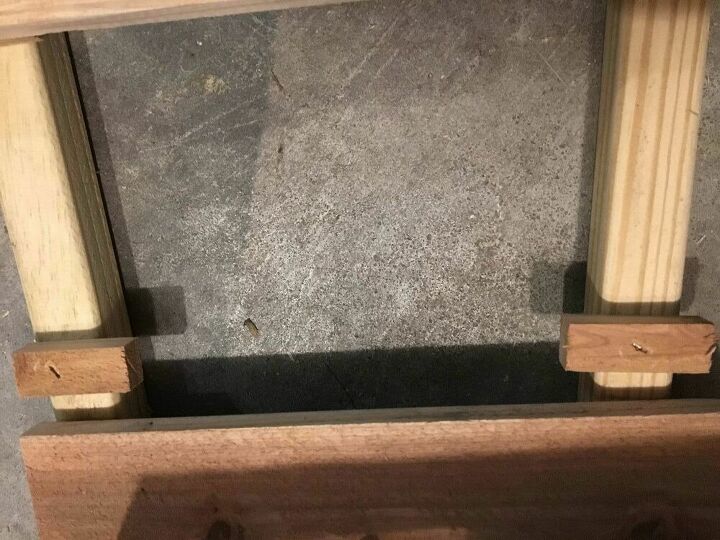
Here's a couple of spacers attached/stapled to the verticals, just above one of the side boards.
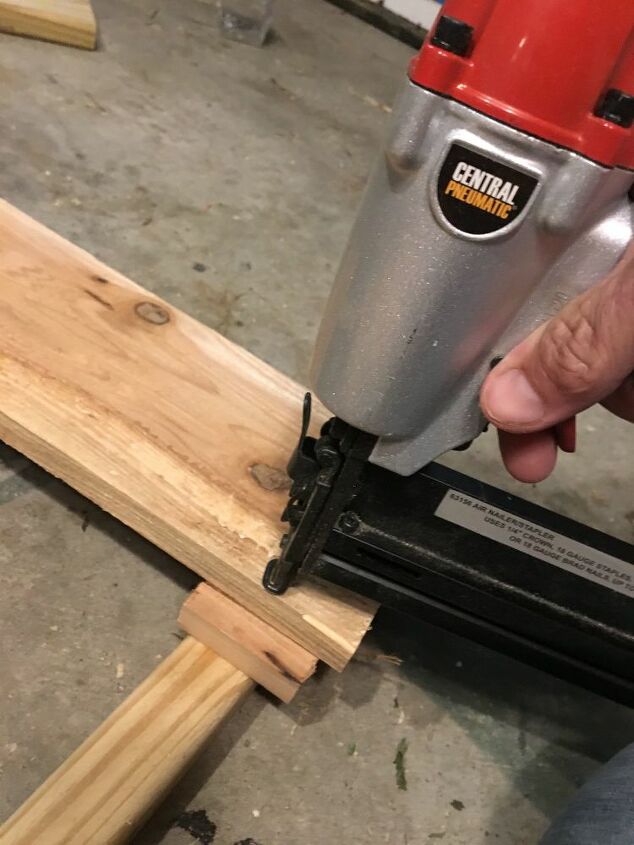
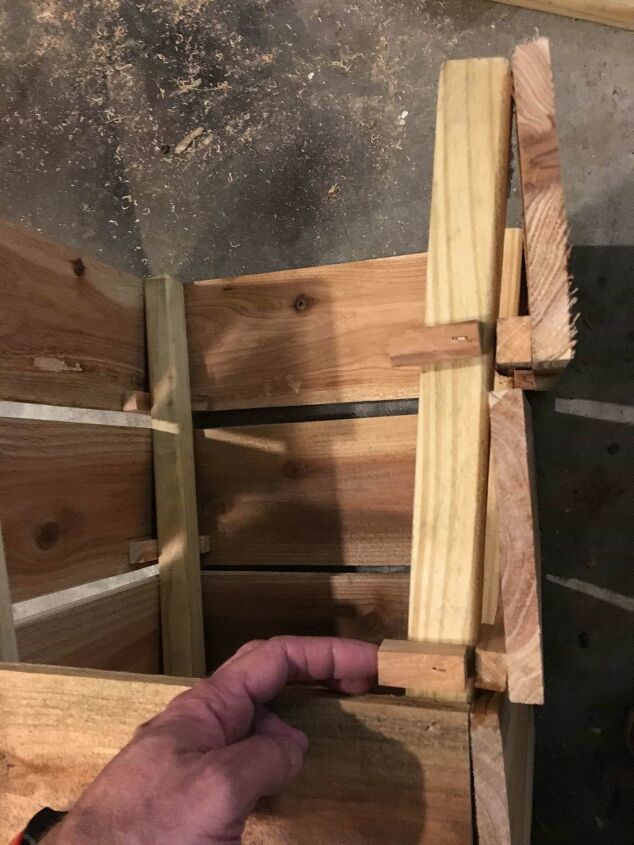
A better view of a side board being attached to a spacer
Another view, sorry this one is blurry
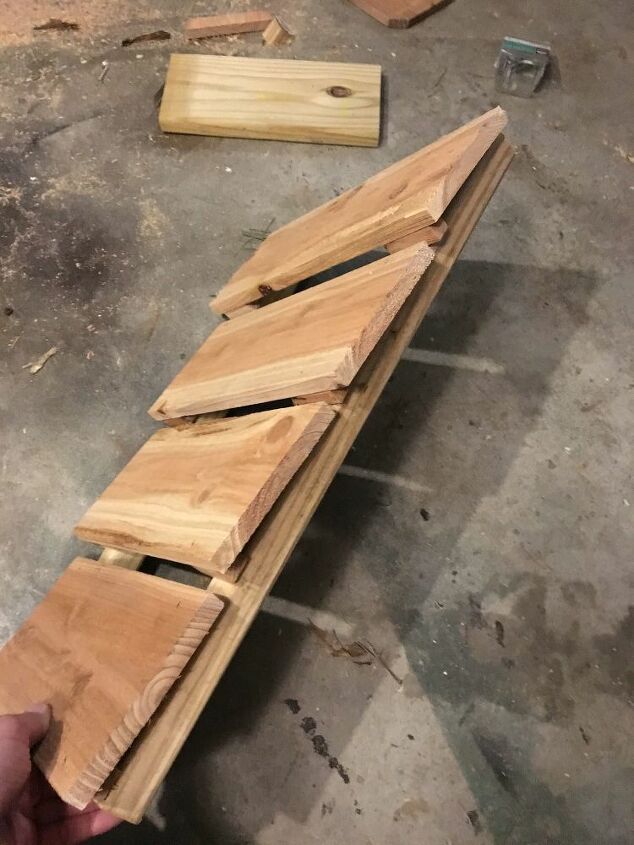
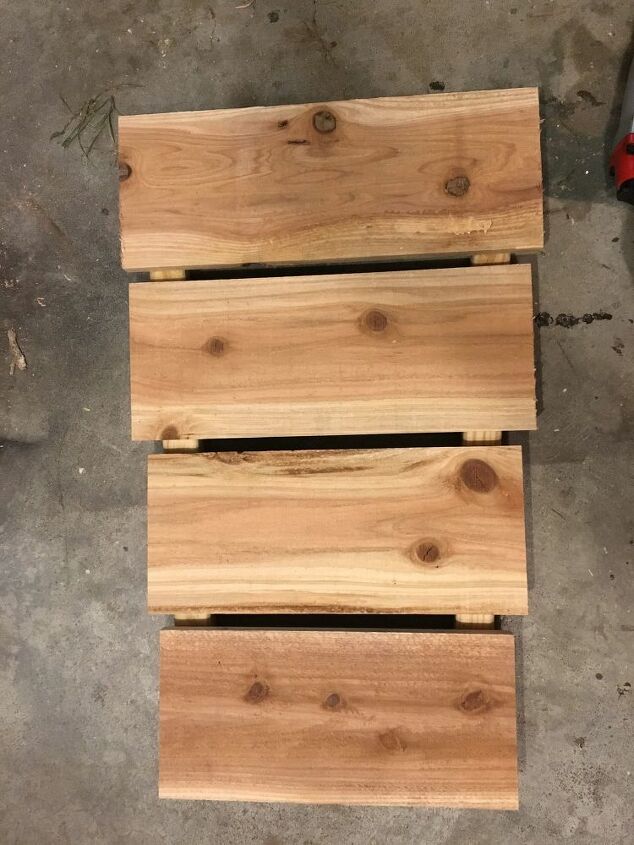
Here is a finished side. The spacers went on first, then the top edge of each board, then the bottom edge attached to the spacers. I could have done this with outdoor wood screws, the staples were simple and much faster
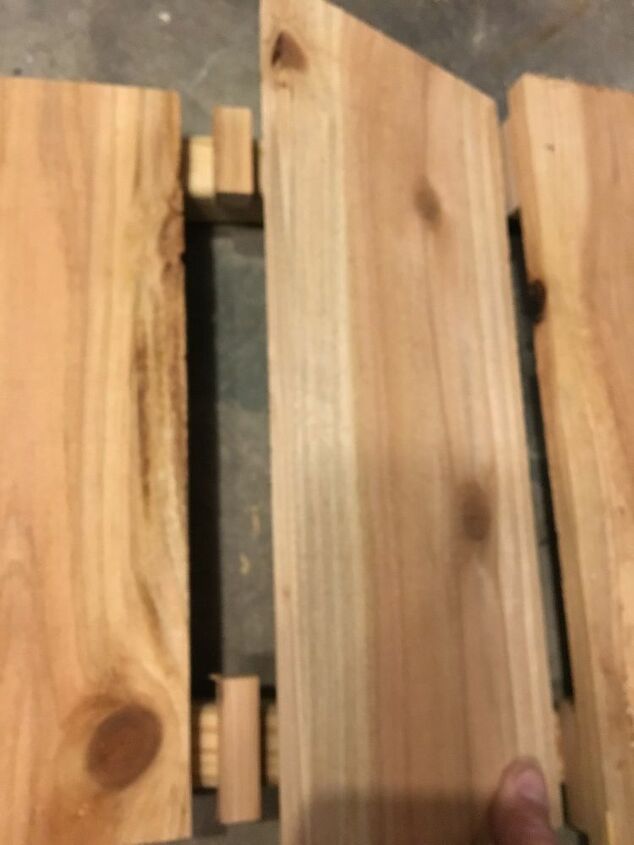
Here are two completed sides. Now I add spacers to the "side of the sides" This will make sense in the next pic
Here you can see I have joined my two original sides with boards, shown here on the floor of my garage. You can see better detail of the spacers here. These new spacers are where the bottom of the remaining side boards will go.
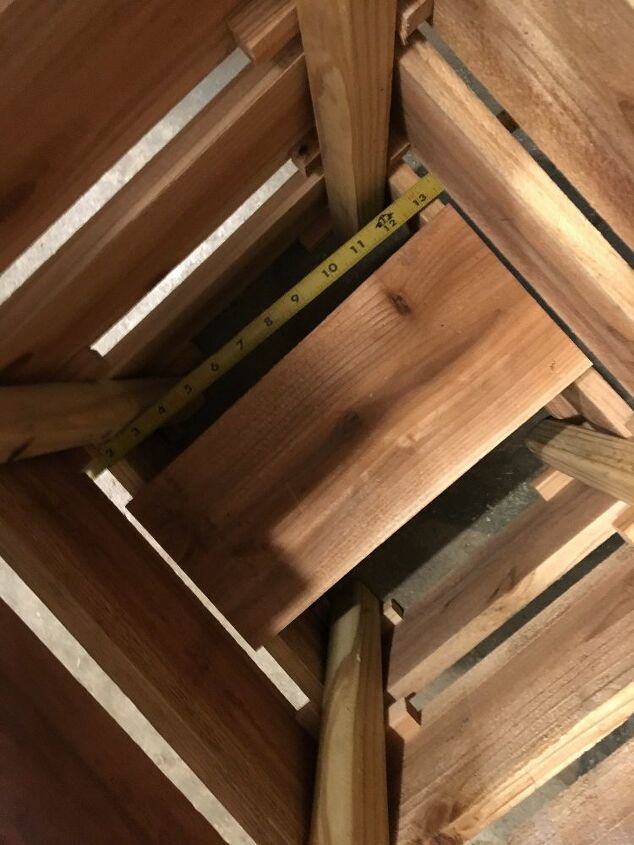
After the four sides are joined, I check for level across the bottom and sanded any high spots with a belt sander until the planter sat up and down without rocking. I then measured across the top of the very bottom boards and made a shelf. This will hold a brick or something similar to make it more stable in the wind.
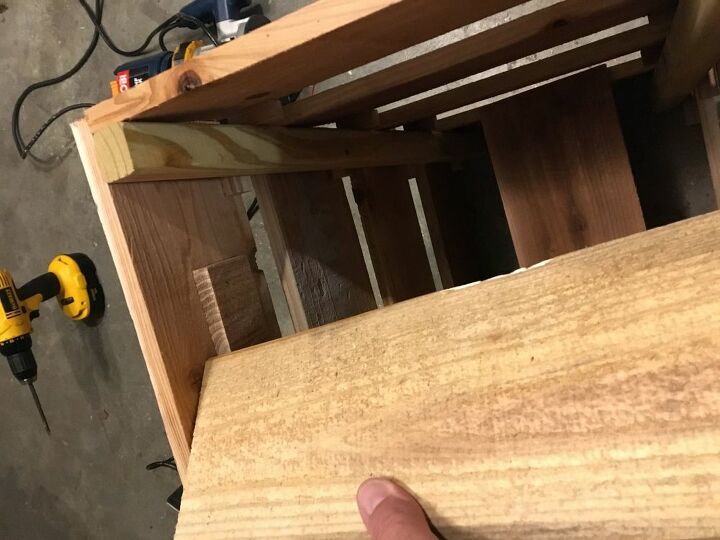
Next I measured across the top of the second set of boards and made another shelf. I went a step further and stapled two scraps inside 2" down from the top. Now I have an adjustable shelf depending on the pot I use.
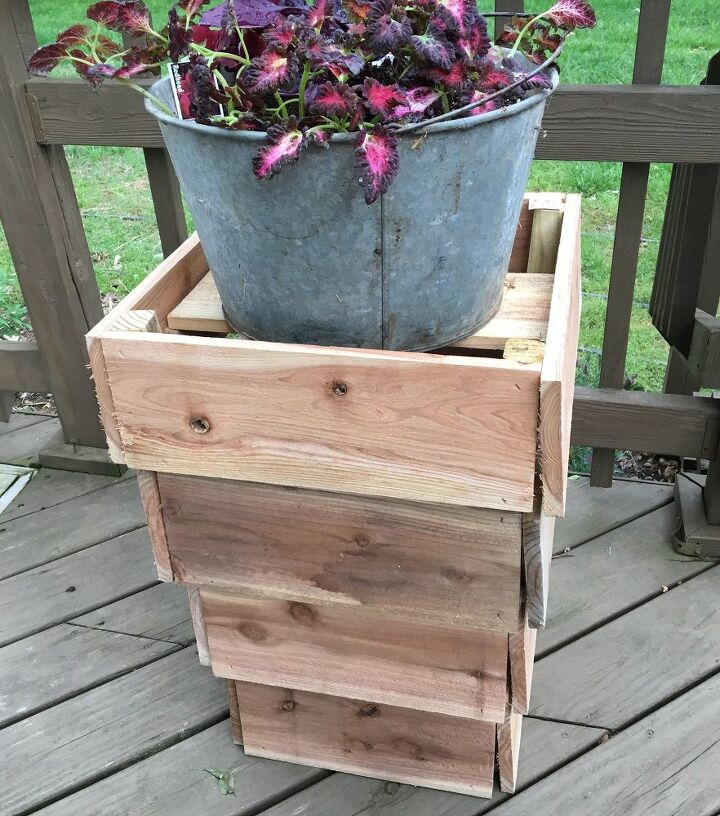
Here's the finished planter. The top shelf can be lowered if needed. I wanted this old washtub to show a bit because the plants will grow down and cover it, so I used the shelf up higher.
Comment if you have ideas to make the next one better.
Resources for this project:


Comments
Join the conversation
-
I like this idea, think it would look nice almost anywhere. Thanks for sharing.
-
It it very nice and a nice thought for your wifey......how sweet!!


Frequently asked questions
Have a question about this project?
Could it be made with the broader top at the bottom, reverse of what you have? With pets they sometimes get to playing and run into things. I'm concerned it would tip over??