


Wood Planter Hanger

I have seen many planters like this, and I wanted to try making one myself. This is a great addition for your summer porch! Here's how I made it.

Here is my cut list:
2x4” 2@ 36” sides
2x4 2@ 22” top and bottom frame
2x10” 1@ 26” very bottom
1x8 2@ 24” bottom and finishing top
1x8” 19.5” cut last
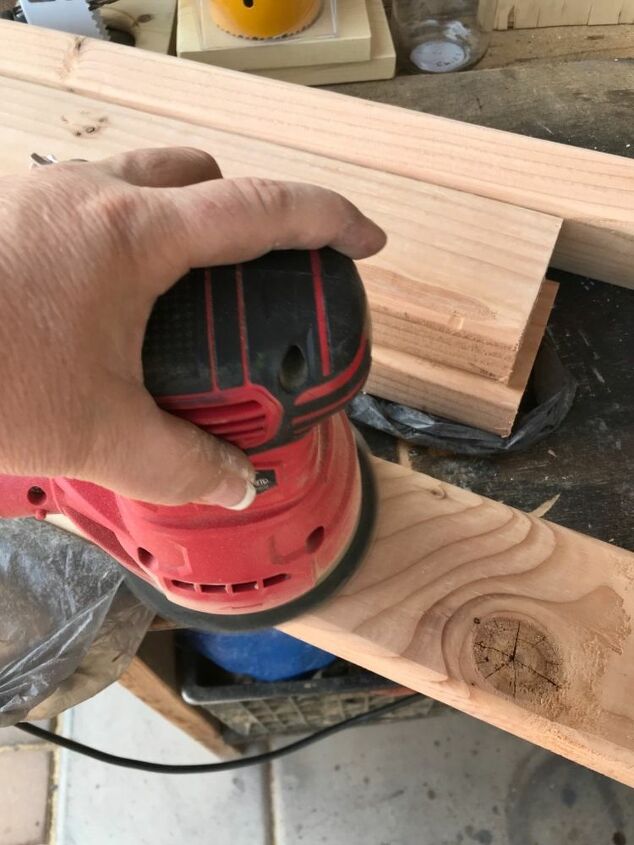
First cut all of the boards you'll need. Once cut, sand all of them down.
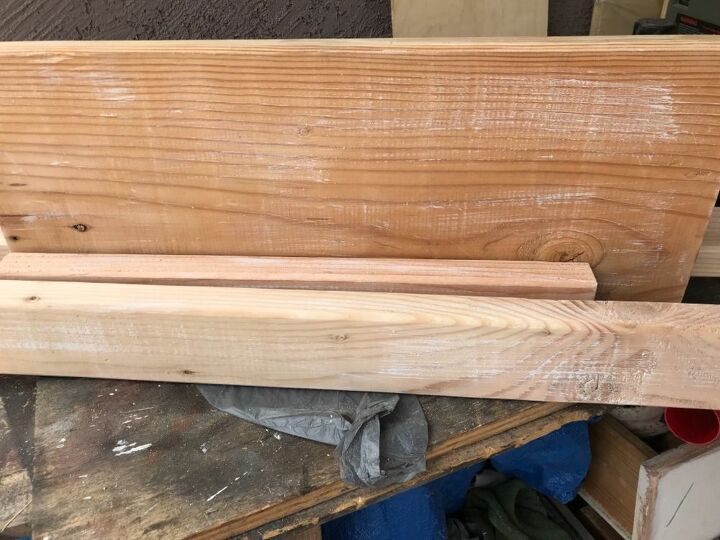
Next, lightly dry brush some white paint on all sides of the boards.
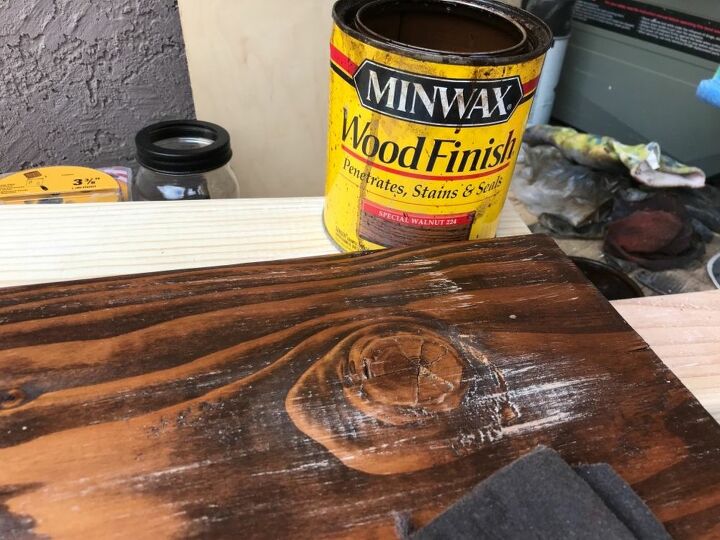
Next, paint some wood stain over the paint- this will give it a distressed look.
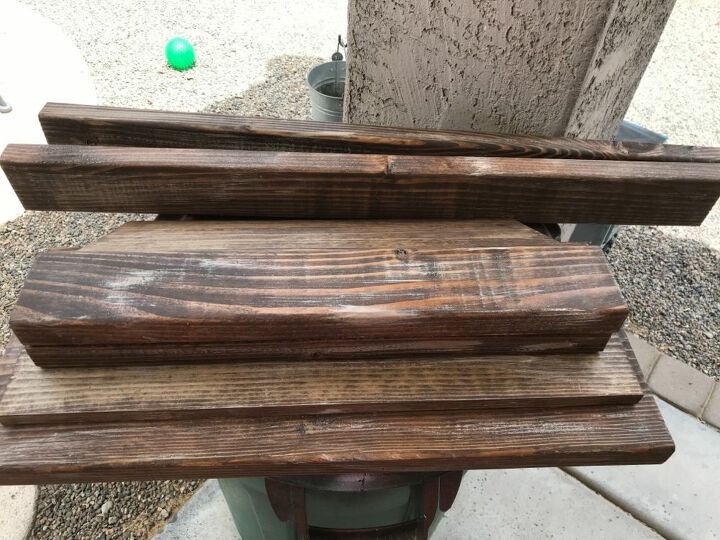
Once all of the boards are painted, and stained, let them fully dried.
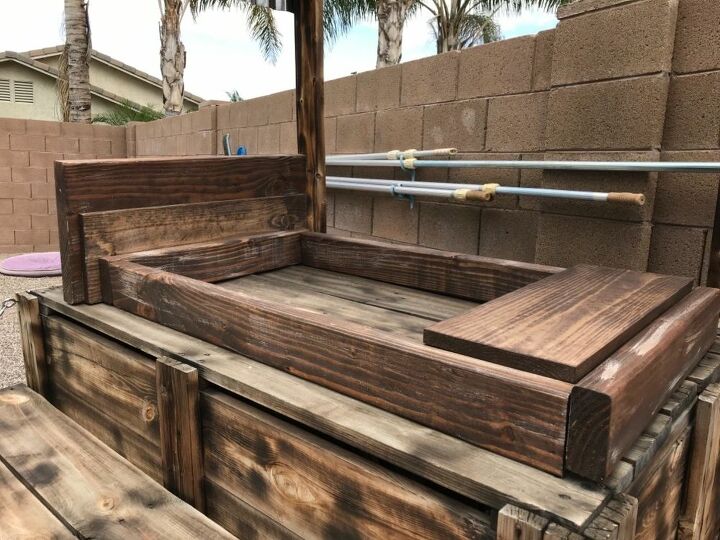
I then laid them all out on a flat surface, exactly how I'd like them to be put together.
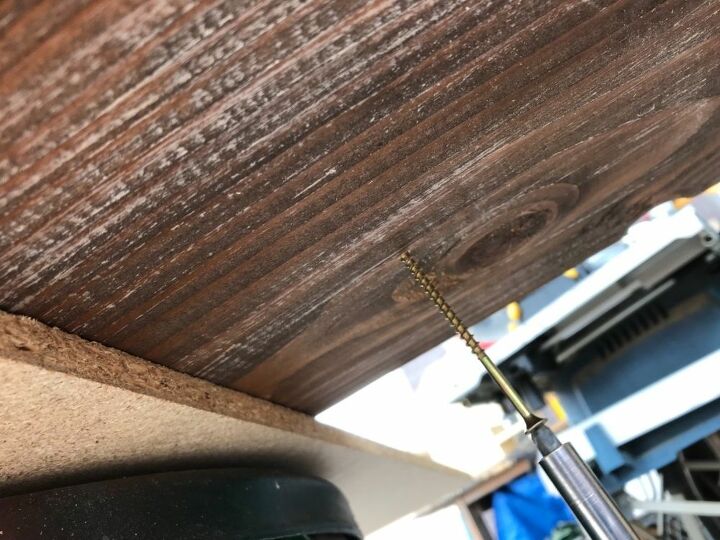
Then, I pre-drilled the holes, and I began screwing the boards together.
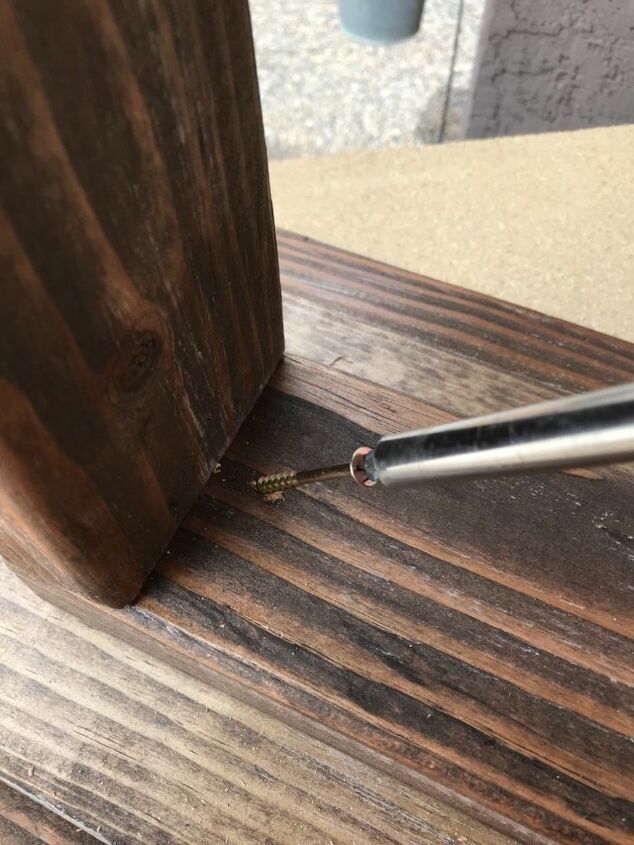
I also screwed the corners in, to secure the angles.
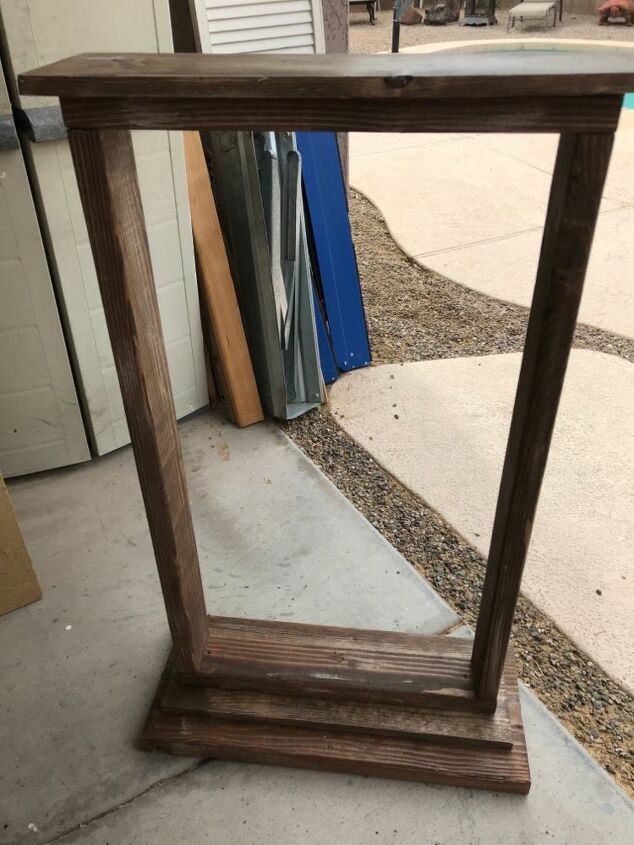
This how it should look!
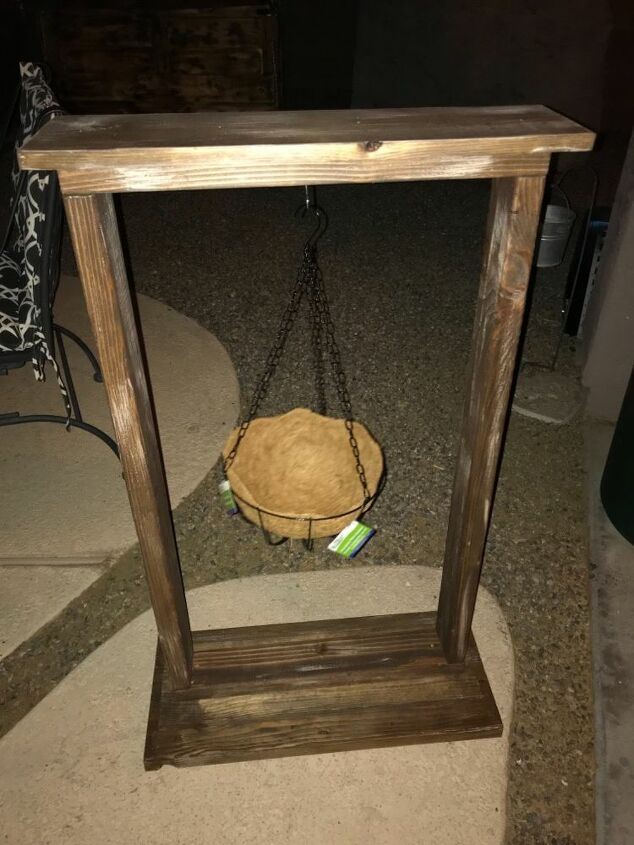
I then screwed in a hook and eye in the center of the top, so it can be used to hang a planter.
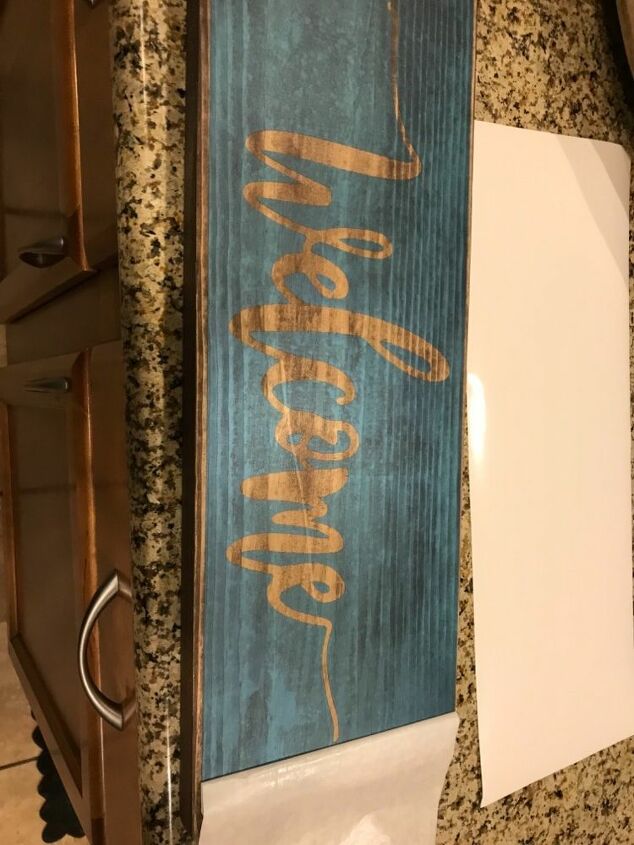
Then I made my "Welcome" stencil. (17”x6.5”)
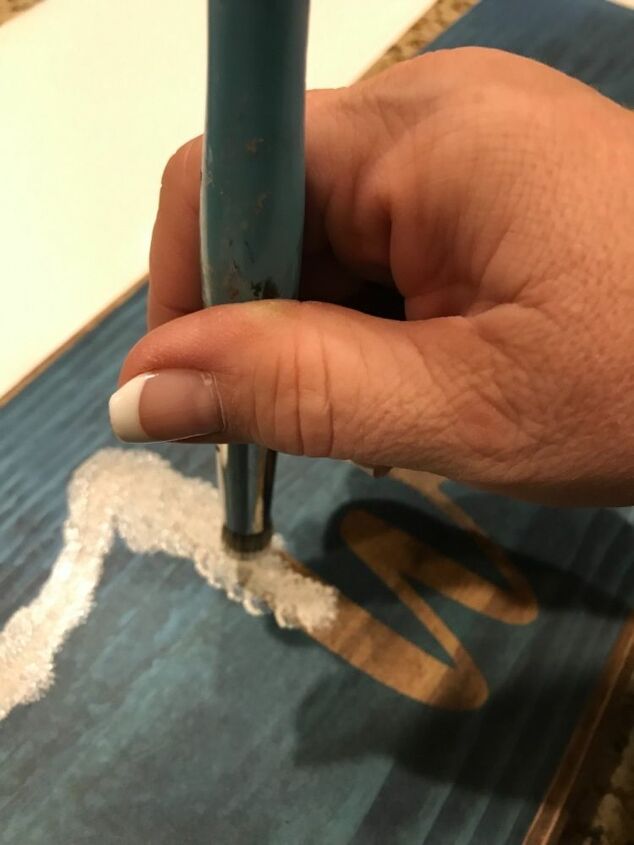
And i painted it on using some white paint.
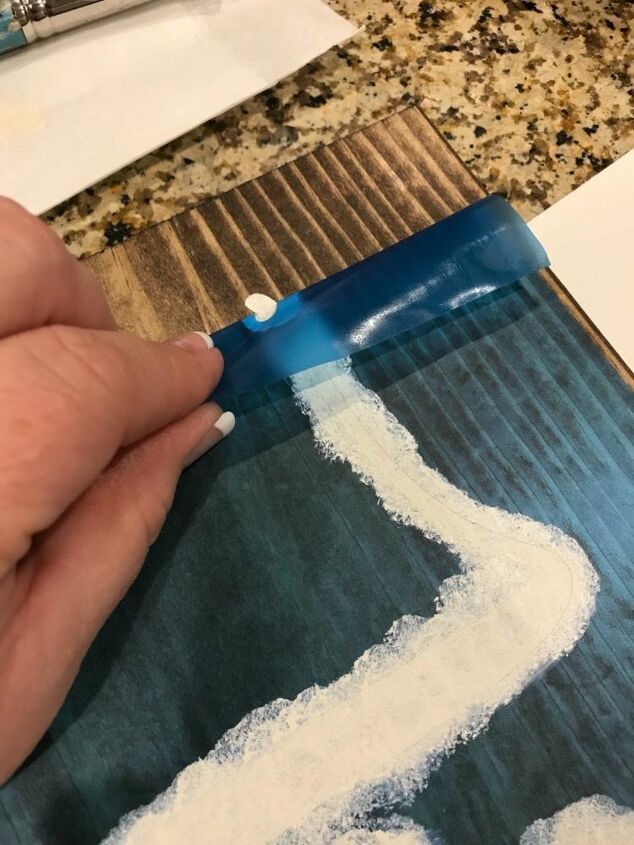
I removed the stencil...
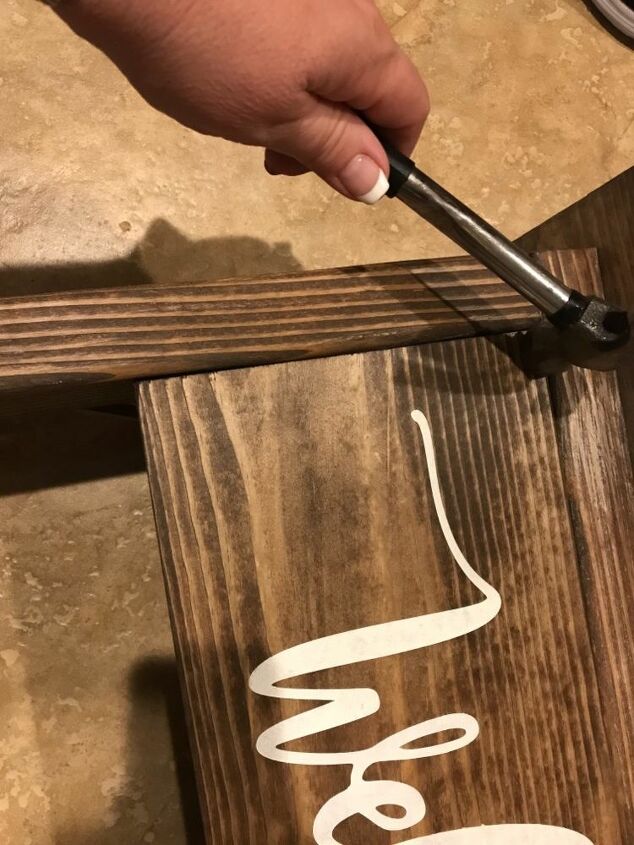
I nailed in the the welcome sign.

Here is the finished product. Check out more on my Facebook page, Gilbert Marketplace.
Resources for this project:
See all materials


Comments
Join the conversation
-
Loveit. You did a great job.
-
Great job!


Frequently asked questions
Have a question about this project?
I'm confused! Where does the large base at the bottom come in?
This may sound silly, but I’m confused on where the welcome sign is nailed into?
Which piece do you stencil on, is it the 19.5 piece? I’m trying to make this right now.