


Easy Fix for Ugly Drawers

I purchased a vintage dresser at a local thrift store. The exterior was in OK shape with some minor flaws, but the interiors of all the drawers were in rough shape. Luckily there is an easy fix which I will share with you today.
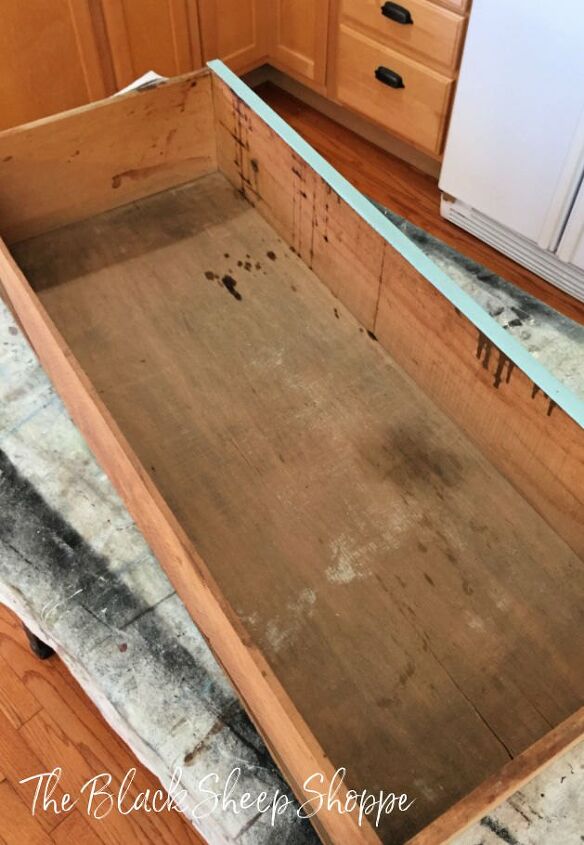
This is one of the drawer interiors AFTER I cleaned it up. All the drawers are in similar or worse shape. It's not something I would want to put my clothes in! My plan is to line the drawer bottoms with a pretty fabric, but first I need a clean surface to work with.
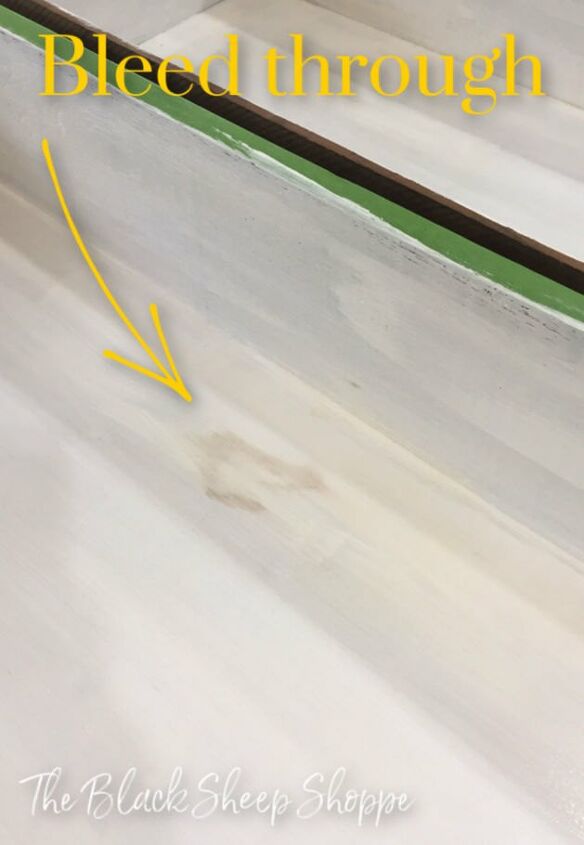
I applied two coats of a stain blocking primer. Unfortunately, some of the stains were persistent and bled through the primer. I was worried that the stains might also later bleed through my fabric, so I touched up the stained areas with two additional coats of clear shellac. That did the trick! Next I applied two coats of white paint to the drawer interiors.
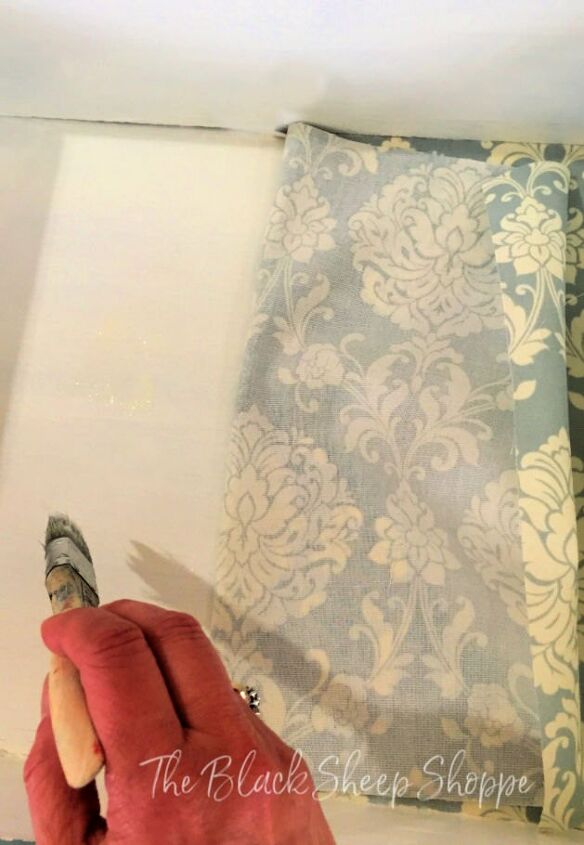
After measuring the drawers, I cut the fabric and then set it in place. (I've summarized the process here, but please visit my blog post for more tips on getting a professional result!) Next I carefully lifted and folded half the fabric over and applied Mod Podge (affiliate link) evenly over the surface. I smoothed the fabric back into place and then repeated the process for the other half.
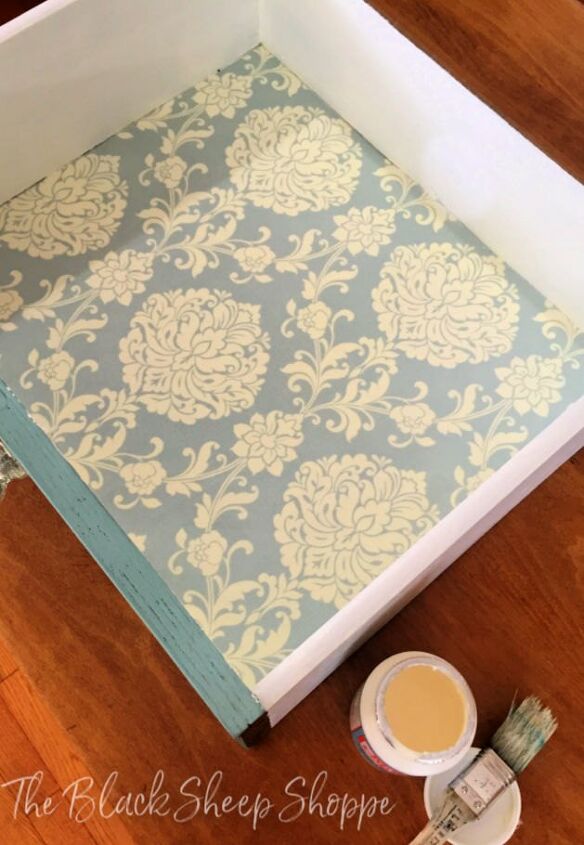
Even if careful measurements are taken, not every drawer is perfectly square. So make sure the fabric in the front is lined up as precisely as possible and let any imperfections in the alignment happen in the back of the drawer which is never really seen.
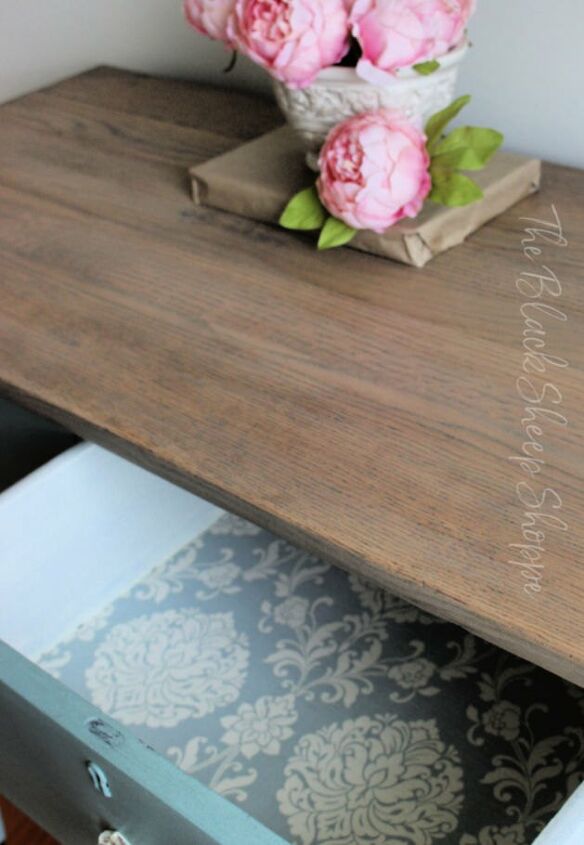
Now the drawers are not only clean and fresh but beautiful, too! I don't have a link for the actual fabric, but the brand is Waverly.
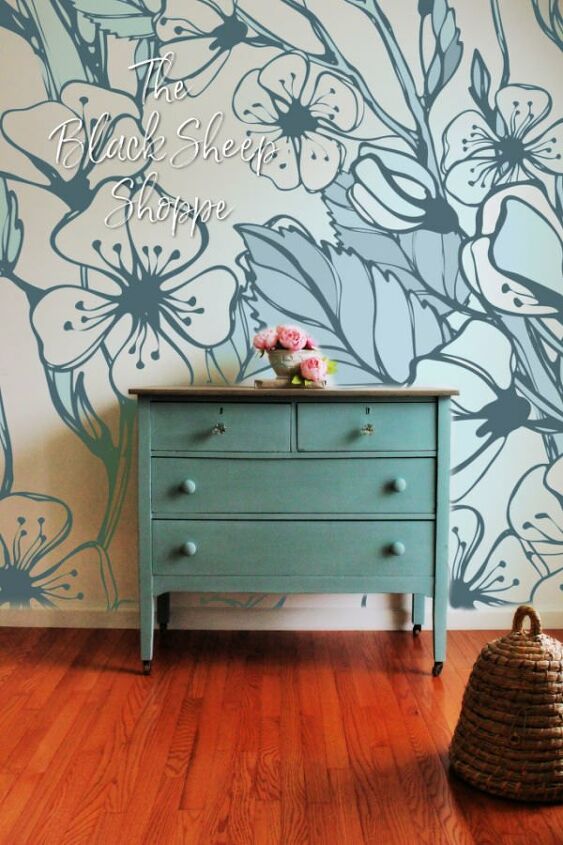
Refurbishing the drawers was the key element of this project. But the rest of the dresser received a makeover, too. If you're interested in learning more I would like to invite you to stop by my blog to see the full project.
(A note regarding the price estimate: I purchased the fabric for less than $10. The other materials were items I had on hand, but I think you could definitely complete this project for less than $50. The time estimate is just that -- an estimate. It does not include dry time.)
Resources for this project:
See all materials


Comments
Join the conversation
-
Beautiful job on this dresser. Love the color and your wallpaper is gorgeous.
-
Turned out nice! I did something like that with an old wash stand from my grandmothers home but I used contact paper in place of the fabric. It comes in many designs and can be cut to fit. Even has a grid pattern on the back so you can
make accurate cuts.


Frequently asked questions
Have a question about this project?
Can you paint over the shellac? I have cabinets that have bleeding marks on the face. I have used several layers of stain block but the bleed keeps coming through.
The only problem I have is the the things I put in the drawer smell like whatever I coated/painted them with. How do I fix that?
Hi Patricia. You did a very nice job on the dresser and drawers. Gave me advice on bleed through issues. Appreciate that. The dresser goes beautifully with that stunning wallpaper. Would you please tell me where I could find that wallpaper??? Would love to put it in my bedroom in our Florida house. Thanks.