


DIY Board and Batten

Initially I wanted to add shiplap to our bedroom but then I decided to go with something a little easier and less time consuming since the wall is so big, so I decided on a board and batten wall!
It's an inexpensive and easy way to add an accent wall anywhere!
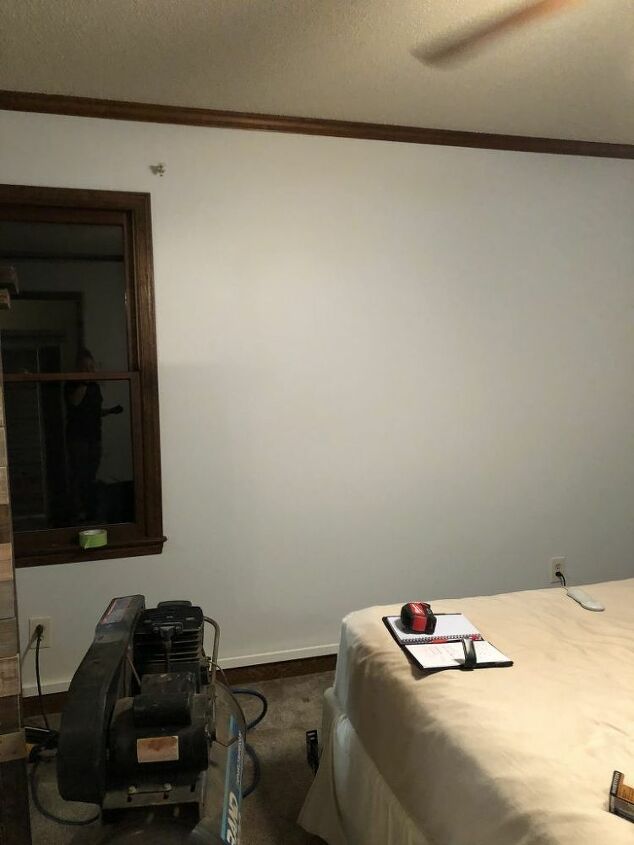
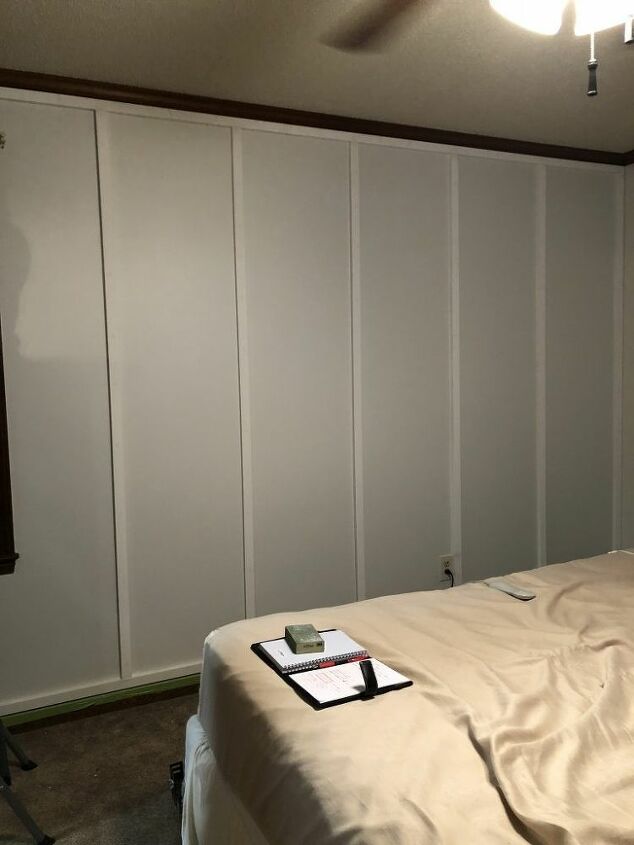
Here is what our room looked like at first. The walls were an ugly beige color so I decided to also tackle painting them while adding the board and batten wall!
Here is the color of the wall after I painted it. I went with Sherwin Williams Reserved White. It turned out to be a little blue, gray but I like it because I painted the rest of the house gray!
Step 1: Measure your wall and draw it out on a piece of paper. You’ll put a trim piece on the top, bottom, left, and right sides of the wall to create a border. You will want to keep the spacing between the battens the same. So remember a 1x2in board is actually 3/4×1.5in – this is important for your measurements!!!!
There are multiple websites that can assist you in figuring out the correct spacing like this one:
https://www.inchcalculator.com/wainscoting-layout-calculator/
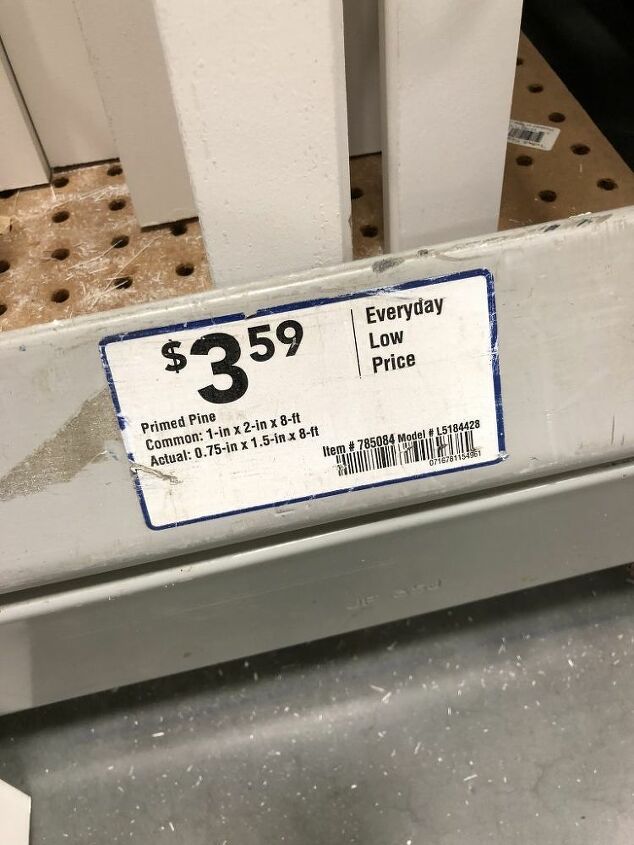
We went to Lowe's to buy the wood and this is the kind we used.
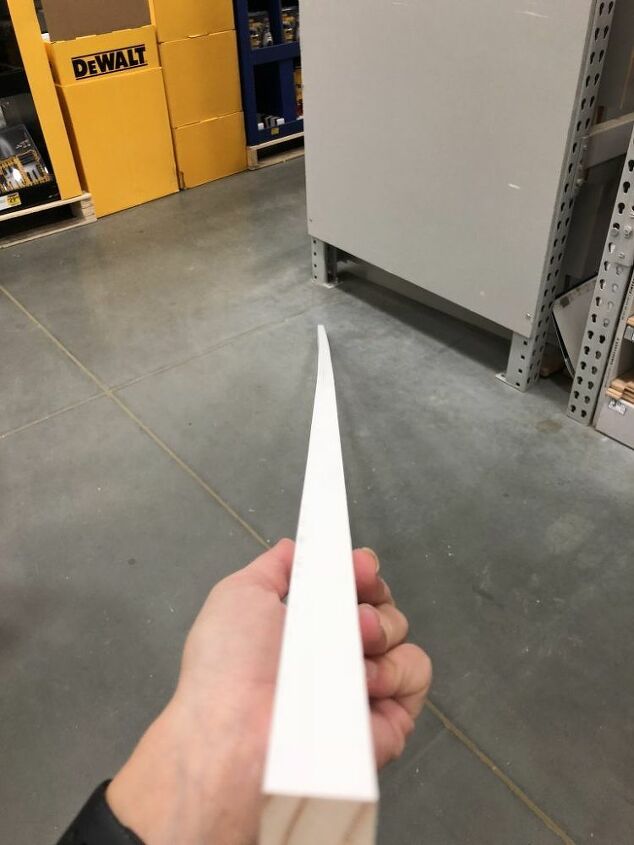
It’s super important to make sure to check that the boards aren’t bowed! I checked all of ours and we still ended up with a few pieces that were slightly bowed. Nothing some muscle can’t fix but it’s still annoying!
Look down the board like this to see if it’s curved a little.
Step 2:
Once you’ve bought your materials you will start with the framing pieces on the top, bottom, left, and right. It’s important to make sure they are level! Then you can nail them into the wall.
Step 3:
Now you can add the vertical battens. We marked off each spot with tape so that we knew where each piece had to go. You will also need to measure and cut each board one at a time because your ceiling and floor might not be level across the board.
Step 4:
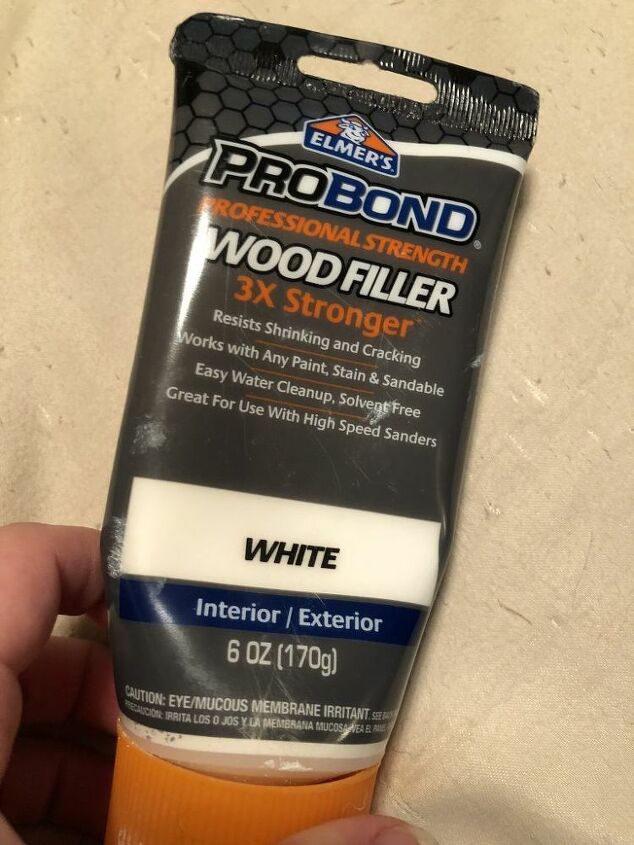
Fill all of the nail holes with wood filler. Once the filler dries you’ll need to go back and sand it smooth.
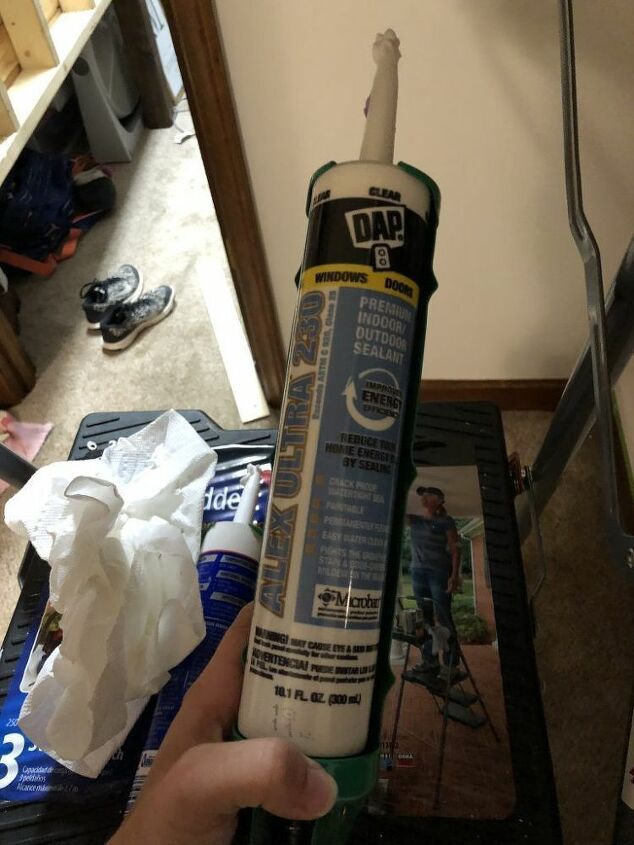
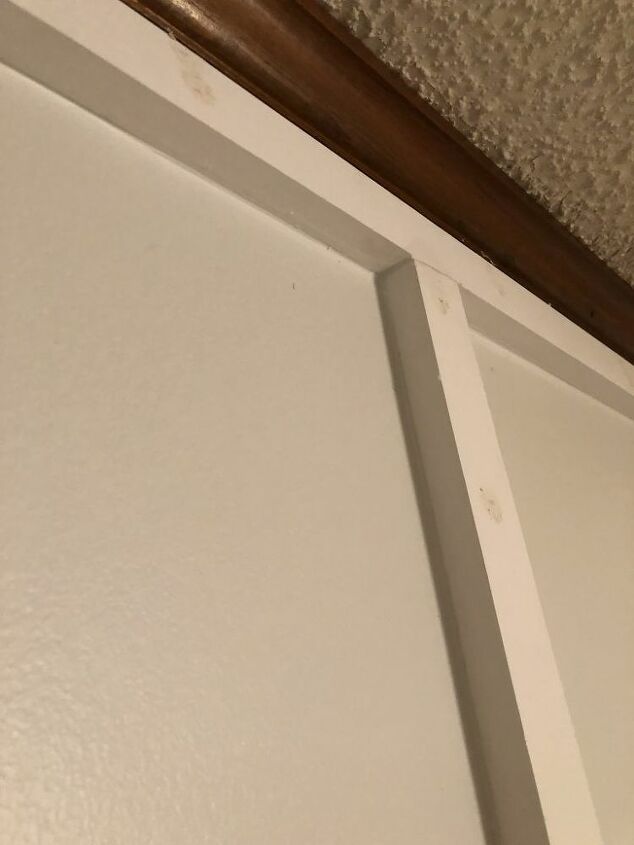
Then you’ll need to also caulk all of the edges and seems. To caulk the seems you’ll run the caulk down where the trim meets the wall and then you’ll take your finger and smooth the caulk into the cracks. Keep a paper towel or wet rag to help keep it clean!
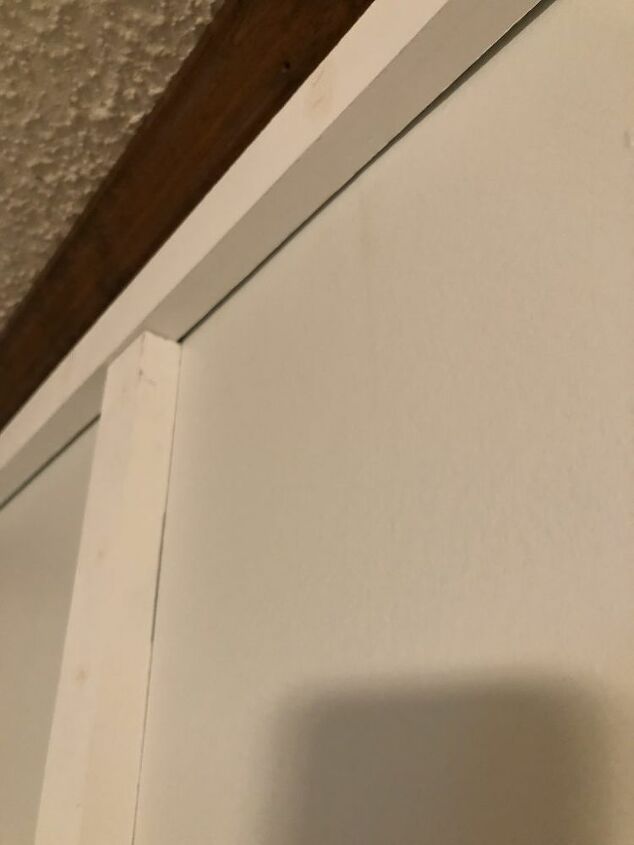
This is before caulking:
This is after caulking:
Step 5: PAINT!!!
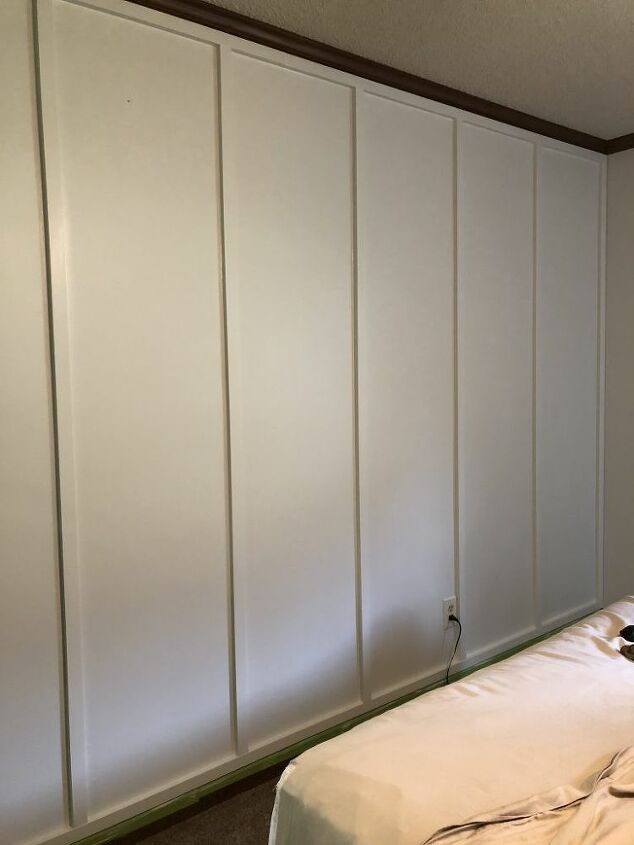
You'll paint over the pieces of wood to have them match the wall color. If you wanted you could have the board and batten go up half of the wall and then paint it white or another color, but because our headboard is so tall I decided to just make it cover the whole wall and be the same color.
Step 6:
Clean up and you’re done!!! Now you have a board and batten wall!!! It’s so fun and not as time consuming or expensive as shiplap! We spent around $50 on the wood materials and already had the paint and other tools. So if you had to buy the paint and other tools it'd be a little more!
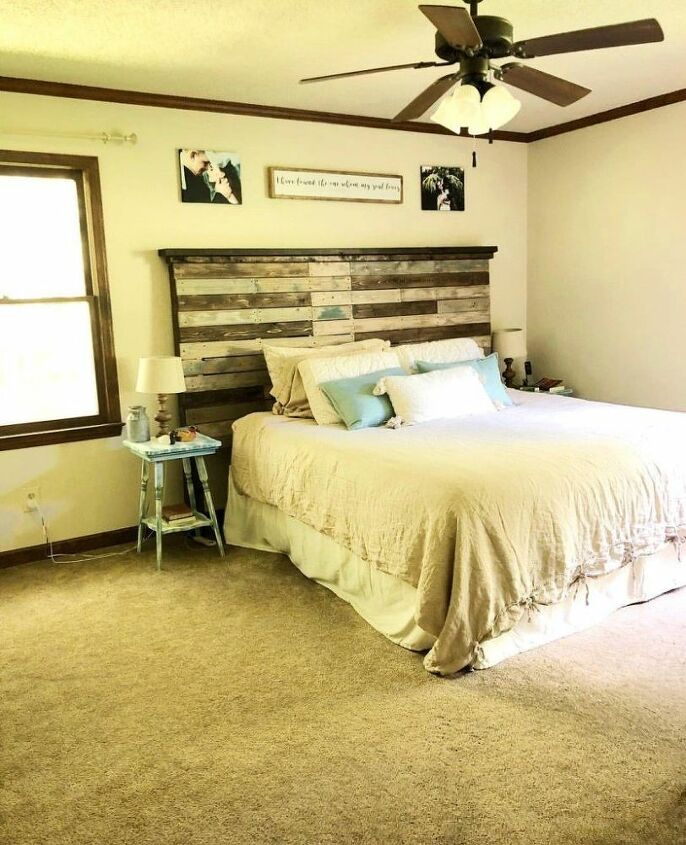
Here is the finished look:
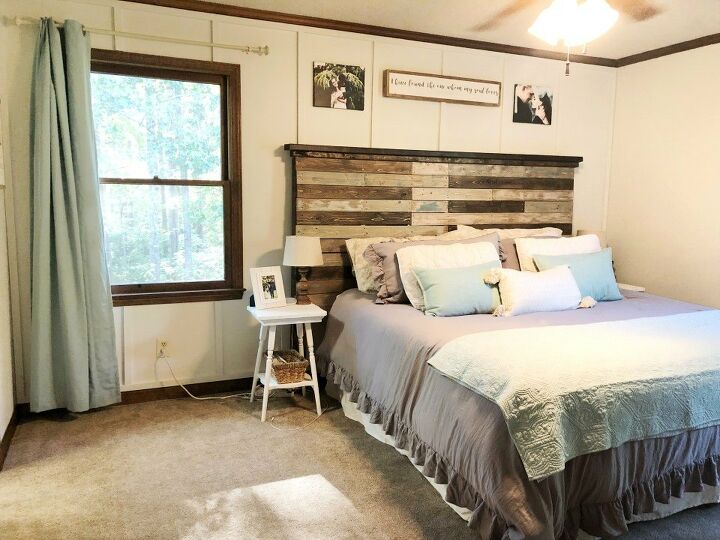
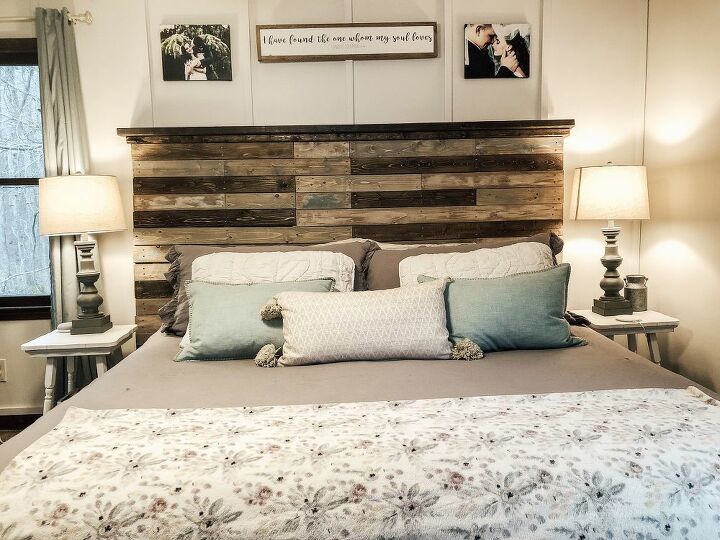
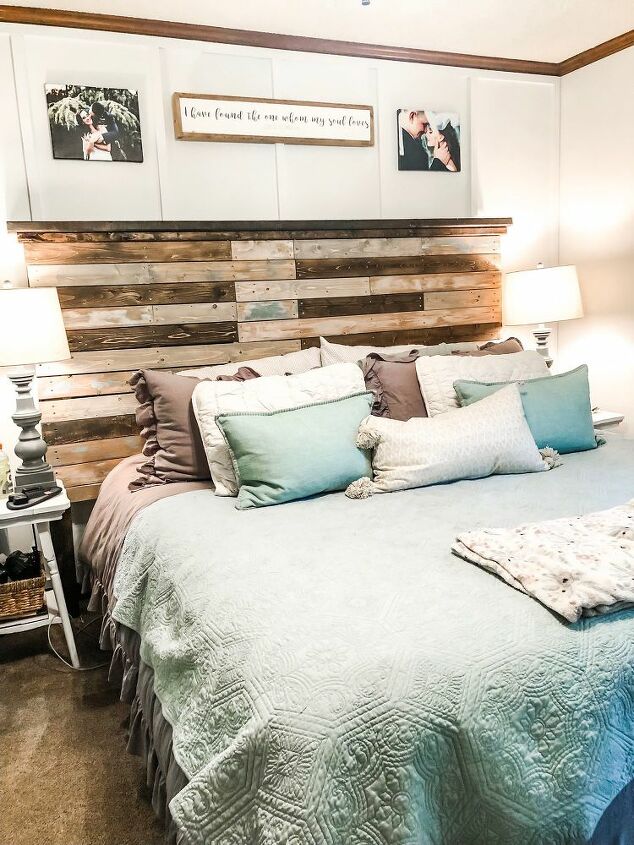
I'm happy with how it turned out! It just gives a nice accent to the room and changes it from the rest of the house. It's a pretty easy project to tackle and can easily be done in a day!
Resources for this project:
See all materials


Comments
Join the conversation
-
very cool bedroom...
-
Lovely


Frequently asked questions
Have a question about this project?
How did you incorporate your existing baseboard trim into the board 'n batten design?
I'm guessing you had to find the studs and then place the vertical boards on them??? If not, then how did you attached the vertical boards? Looks great by the way !
I love it!!! Beautiful job! 👍👍👍👍❤️