


DIY Traditional Chair Rail & Picture Frame Wainscoting
I'm a huge fan of molding, finish carpentry, and wall treatments, guys. I hate a boring wall. You can find more of my DIY wall and ceiling projects on my YouTube Channel or on my blog. And, there will be many more coming up soon.
This update was part of the full remodel I've been doing on our Master Bathroom. I wanted to get rid of that boring, drab look our water closet had before the remodel. Is that what you call it? IDK, I usually call it the toilet room. ;)
Our Dining Room and Office already had this exact style of moulding, so I wanted to stick with that style.
You can get a better look at the moulding I used and tips for where to find it in the video.
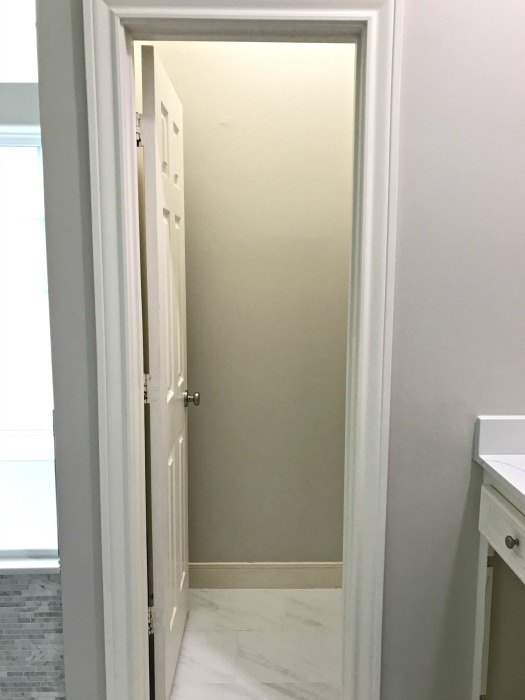
Here's a look at the boring before photo. There's nothing really wrong with it. But, it always felt like it needed some style.
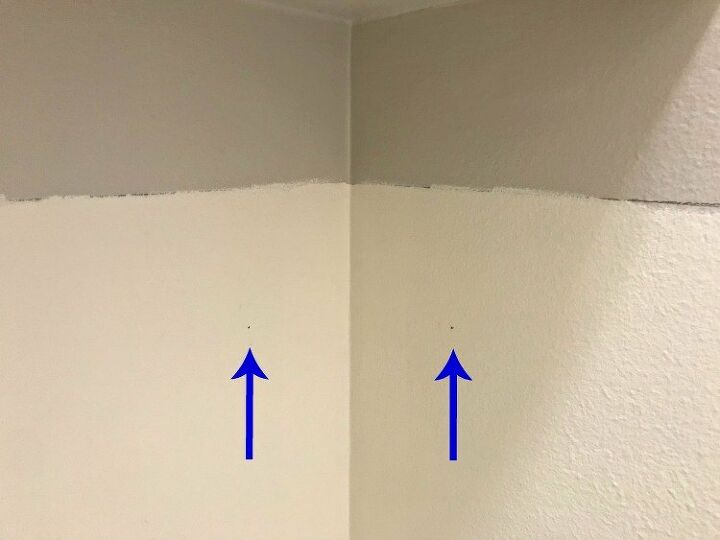
After deciding how high to take the moulding, I drew a straight and level line across all 4 walls. Then painted the trim color before starting, because it's easier that way.
The 2 pencil dots mark where I will put the corners of the picture frames. I placed mine about 6" away from the end and bottom of walls and 6" from the chair rail along the top of the wainscoting.
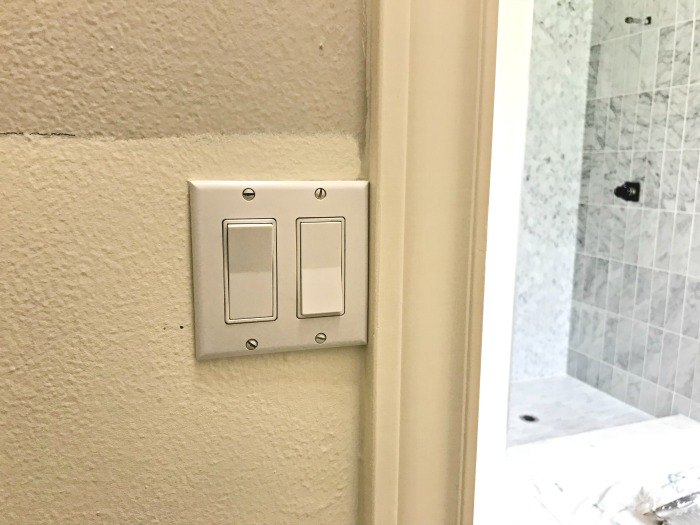
Plan ahead before starting to try to avoid outlets, light switches, vents, etc...when possible. I made sure that my wainscoting chair rail was just above this light switch and that the picture frame moulding was below the toilet plumbing.
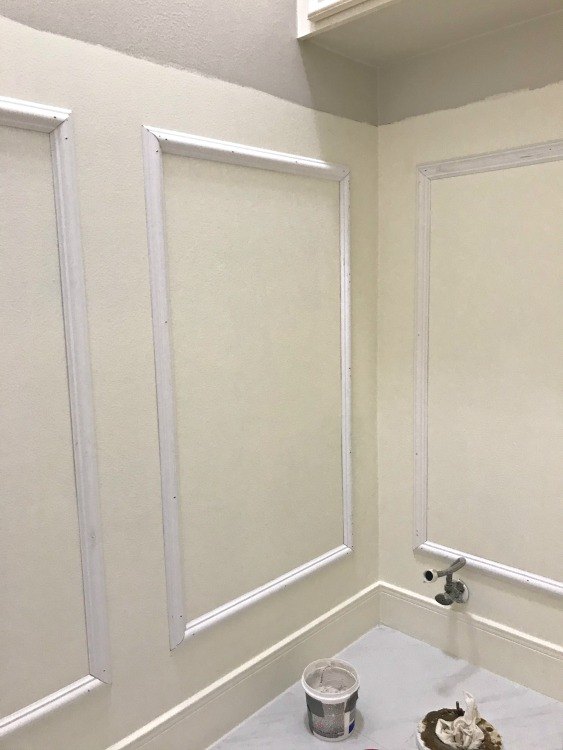
After painting, I cut the 45-degree angled, picture frame style moulding on my Miter Saw. Make sure to cut the opposite sides the exact same length to make perfect squares. I used those little dots I marked on the wall as my lengths.
The longer wall was also split into 2 picture frame squares to fit the style of my existing wainscoting.
You can get a better look at the exact moulding I used on the video and more details about installing the wainscoting.
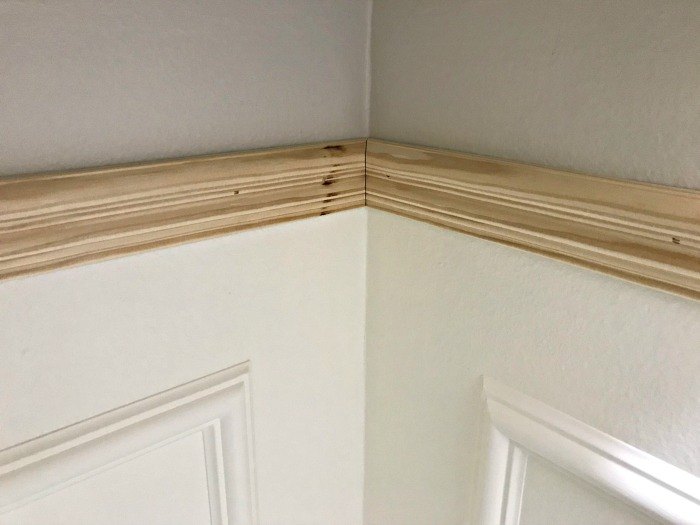
I used 1 1/4" Chair Rail along the top of the wainscoting. I picked these exact styles to match my existing wainscoting, like I said earlier. But you can find lots of sizes, profiles, and styles in the Chair Rail section of your local Home Depot, Lowes, or lumber supplier.
I used my brad nailer and construction adhesive to attach the moulding to the walls. Make sure you only use nails that will go halfway through the drywall, then you won't have to worry about hitting pipes or electrical wires with the nails. You can see more about that in the video too.
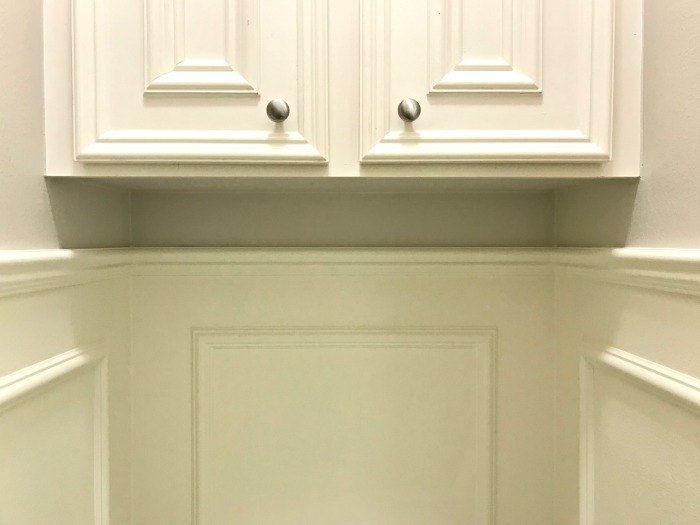
I filled all of the nail holes with wood filler, sanded that, then caulked along the wall for a smooth finish. Then painted all of that new moulding with 3 coats of the wainscoting paint.
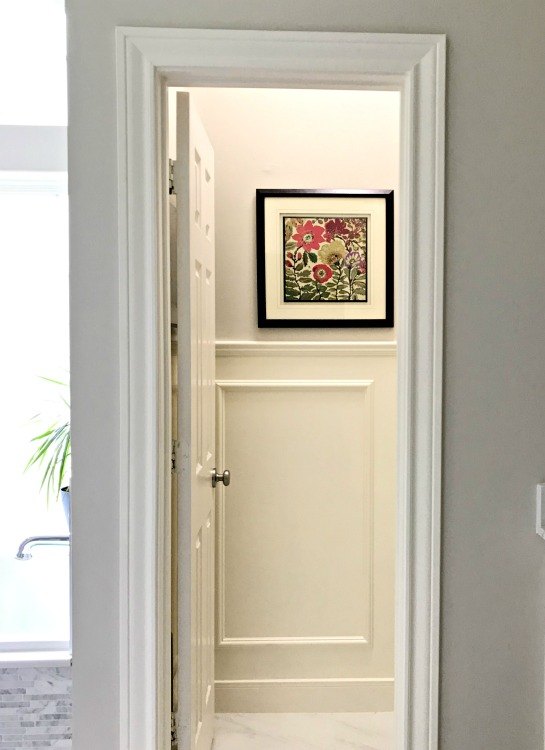
The finished wainscoting is exactly what I wanted. I love this little room now, guys! And, it fits right in with the traditional style of the rest of the house. :) You can find the tutorial and more install pictures on my blog.
Resources for this project:
See all materials


Comments
Join the conversation
-
I am definitely impressed with your skills and the finished room. I probably wouldn't choose a bathroom to do this project but I can see it in a bedroom. I am not fond of dusting these days so with all the other bathroom cleaning it would not be on my priority list. Nice work, though. I also like how you explained the differences between MDF and wood, as well as not nailing too deep.
-
Stunning and looks as if you hired professional, you nailed this project. 💪👊🏼💡🌟👏🏼❤️


Frequently asked questions
Have a question about this project?
What’s your YouTube channel? I wanted to check in out